How to Clean a Hat
Cleaning a hat isn’t like cleaning any other garment. It’s a delicate task that can be easier if you take care of it and store it properly after wearing it. Then, if it still needs a deep clean, the products and techniques you’ll use depend on the material with which the hat is made.
5-Minute Crafts wants to share different methods to clean your hats at home.
General maintenance tips
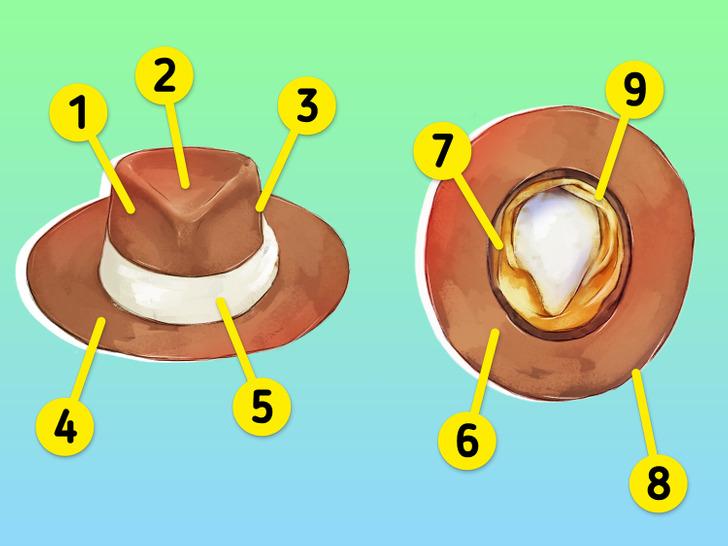
Before diving into the actual tips, you might want to take a look at the anatomy of a hat so that you understand better how it’s made:
- Crown: the top part of the hat
- Tip: the uppermost peak of the crown
- Pinch, dent, or crease: the indentations made along the front, back, and sides of the crown
- Brim: the hat’s ledge, starting at the base of the crown
- Hatband: a decorative strip that encircles the hat and is typically placed above the brim
- Underbrim: the underside of the brim
- Liner: the interior lining of the hat, often made of satin, velvet, synthetic mesh, cotton, or silk
- Brim binding: the trim around a hat’s brim, often made of leather, silk, or grosgrain ribbon
- Sweatband or inner band: a band that ensures the hat fits well and also helps to keep its shape
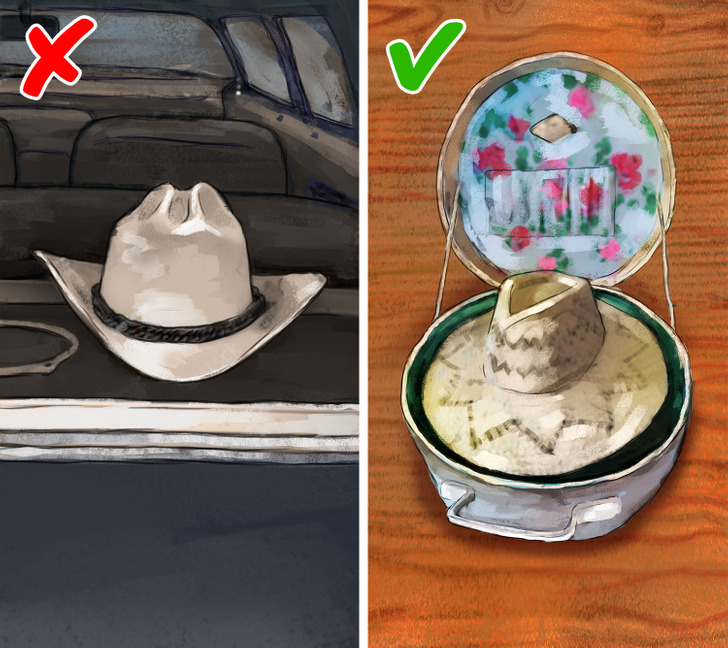
The elements we mentioned above can all have a different shape or be made of a different material. This is what makes for different styles of hats. However, some general maintenance tips apply to most hats:
Deep cleaning different types of hats
1. Straw hats
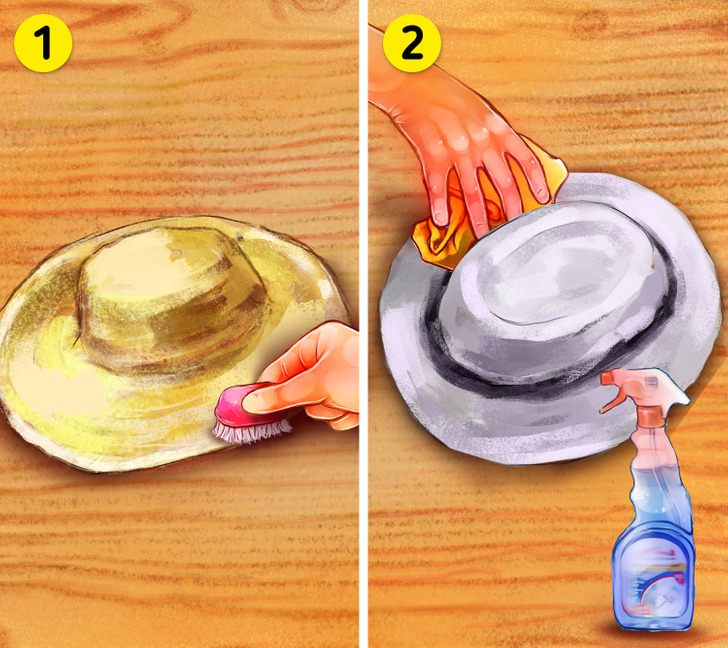
In addition to regular after-wear maintenance, you might need to deep-clean your straw hat every now and then. Doing so is easy and cheap because you can use products you most likely already have at home:
- Brush with a small whisk broom or wipe lightly with a damp cloth.
- Use window cleaner to get rid of heavier stains. If you prefer something stronger, you can buy specialty products to treat straw hats.
Most straw hats shouldn’t get soaked with rain, but if yours did:
- Wipe off the excess water with a dry cloth. Then, with the brim turned up, place on a level, clean surface to dry.
- Steam your hat to reshape, if necessary. Never use artificial heat in this process.
- Note: Straw hats should be stored on their top instead of the brim or hung from a peg to help retain shape.
2. Suede hats
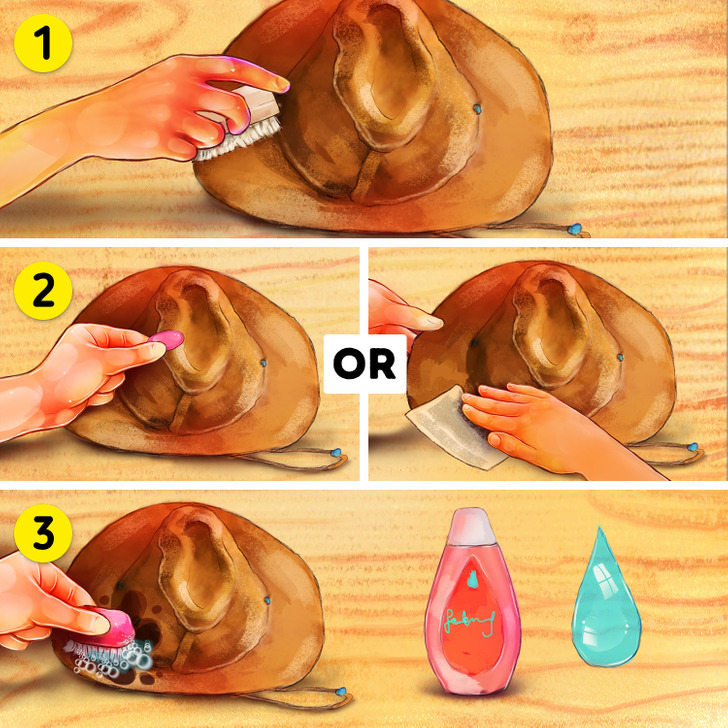
If you clean them properly, your more expensive suede hats can age with style. You can do so this way:
- Brush your hat with a nylon or slightly stiff bristle brush to get out loose dirt and dust. Try doing this periodically to keep the suede looking fresh.
- Buff caked-on dirt with emery cloth or fine-grit sandpaper (120-grit works well with most hats, but you might need to choose a different one depending on the type of suede you have). If you’re working with light-colored suede, an eraser is your best option. In that case, move the eraser in a circular pattern to get rid of the stain. You may need to work the material aggressively for set-in stains. Then brush again with the suede brush.
- Oily stains from sweat cannot be removed completely, but you can at least get rid of most of the oils and odors with a mixture of one part baby shampoo and 15 parts warm water. Use this mixture with your suede brush.
If the hat gets wet:
- Shake off excess water and let dry.
- Brush clean.
- Steam clean to get rid of water spots or to reshape your hat.
3. Leather hats
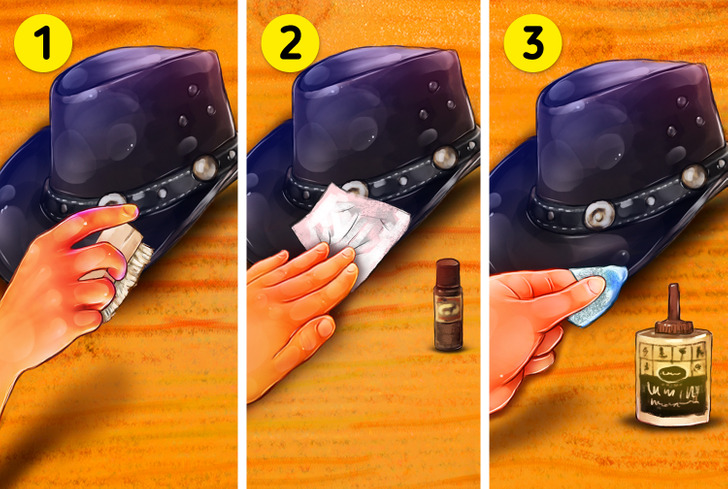
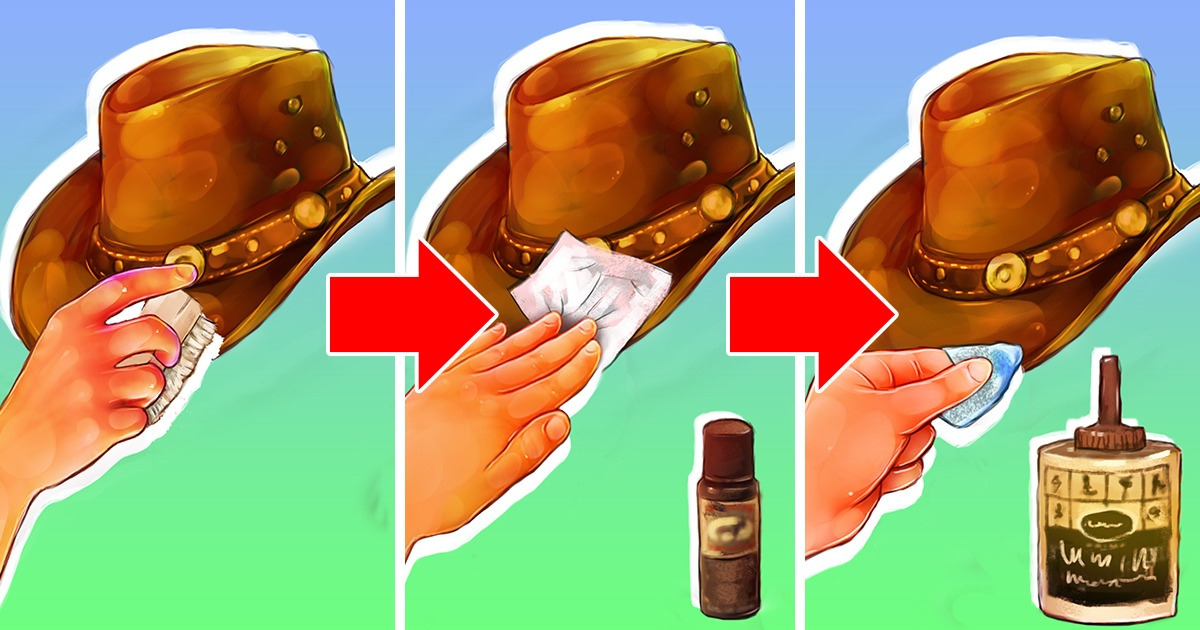
- Brush leather hats clean, as is shown above.
- Clean with Lexol or Bickmore’s Bick-4 leather cleaner. Do not use saddle soap: it can dry the thinner, lighter-weight leather used in hats.
- Treat periodically with mink or neatsfoot oil to soften and preserve the leather.
4. Felt hats
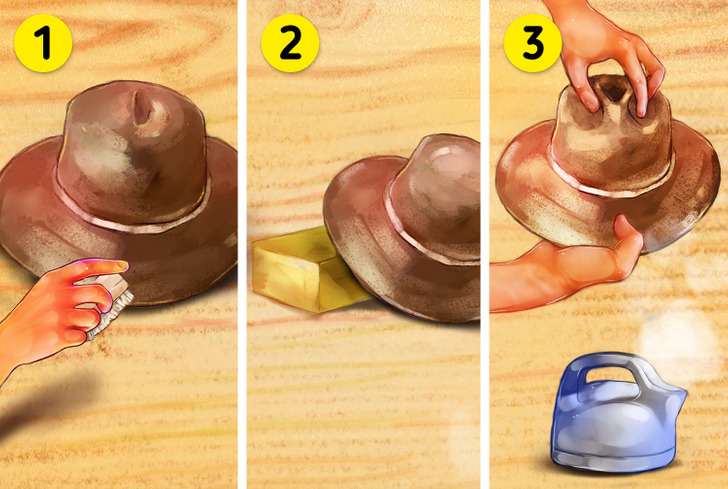
- Brush a felt hat from top to bottom and counter-clockwise with a soft bristle brush, gently removing dust and dirt.
- If a felt hat gets wet, shake off as much water as possible, let it dry, then brush clean.
- Use steam to reshape and clean hats. Boil water in a kettle or use a clothing steamer, and lightly steam-heat the fabric. Use your (clean) fingers to mold the hat back into shape gently. Allow to dry and brush as before.
Do you know any other good tips to clean hats? Share before and after pictures with us in the comments to show us how well these work!