How to Print on T‐Shirts
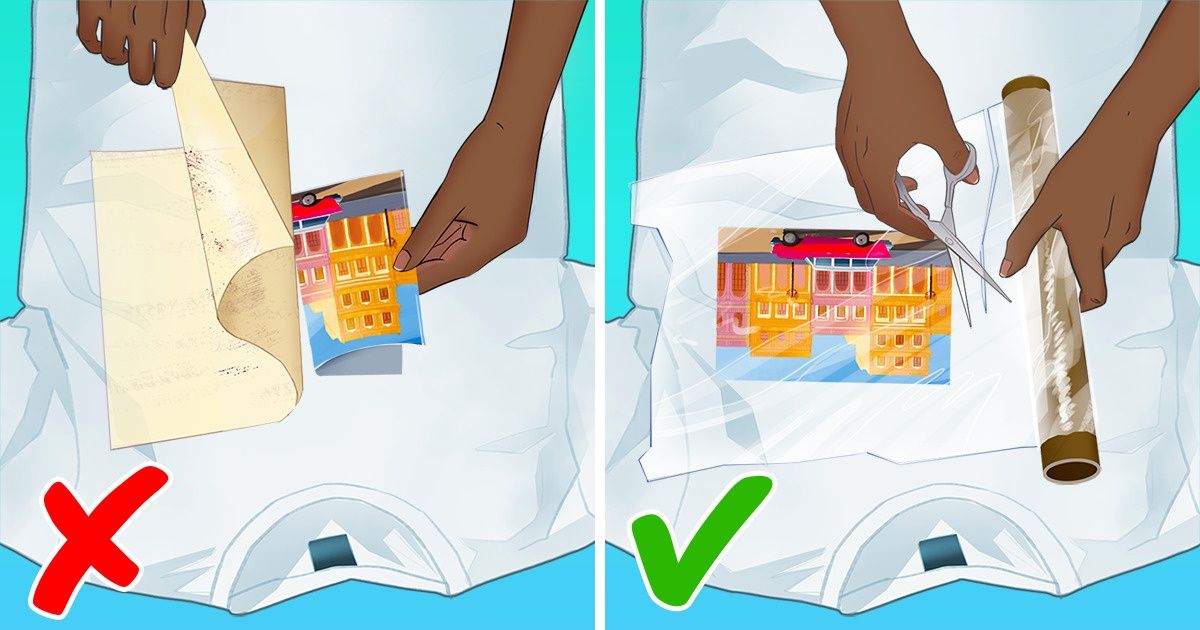
Printing T-shirts is a great method to create unique pieces of clothing without spending a lot of money. 5-Minute Crafts will show you how to do it in just a few steps.
- Plain T-shirts
- An iron
- Scissors
- Parchment paper
- Plastic wrap
- Printed pictures (it can be on normal paper)
Step 1

Cut off the white parts of your pictures so you’re only left with the image itself. Choose one picture to get started.
Step 2
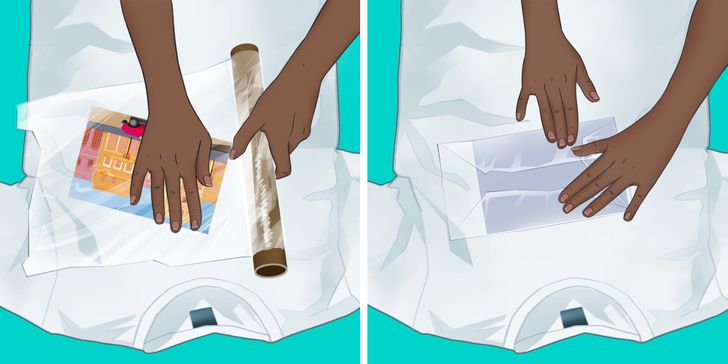
Wrap your picture with plastic wrap. Make sure to cover the entire picture, front and back.
Step 3
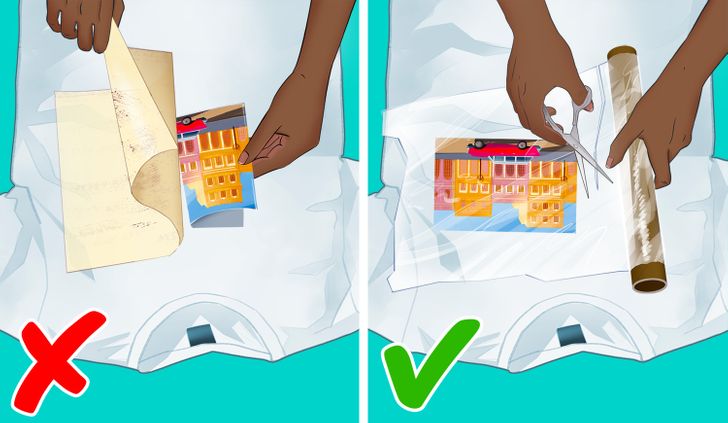
For this step to work, please make sure you use the plastic wrap as suggested in the previous step. If you don’t use it properly, it won’t stick to the T-shirt.
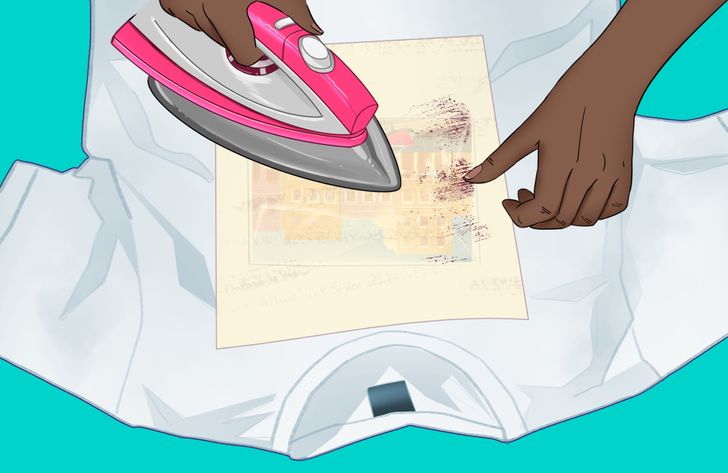
Lay the picture on the T-shirt where you want it to stick. Cover it with parchment paper. Iron your print down. Start with moderate heat and make sure the print sticks down and that you focus on the edges. Then you can turn the iron to the highest setting and keep ironing.
Note: It’s normal for the parchment paper to get slightly burned.
Step 4
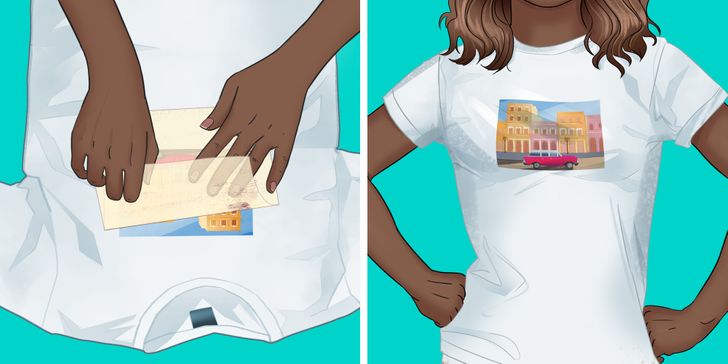
Once you feel everything is ironed well and the picture is completely stuck, you can take off the parchment paper. Your T-shirt is now ready to be worn. You can print as many T-shirts as you want with different images using this method.
Note: Make sure to only hand-wash your printed t-shirts — never throw them into the washing machine.