10 Easy Steps to Create Your Own Customized Doll and Make a Mini You
Transform a classic Barbie doll into a unique masterpiece with this comprehensive DIY guide. Discover step-by-step instructions on how to personalize every aspect of the doll, from its hairstyle and makeup to its outfit and accessories. Learn how to remove factory paint, repaint the face, create custom hairdos, and craft stylish clothing. Elevate your doll collection with this fun and creative project!
1. Create the design
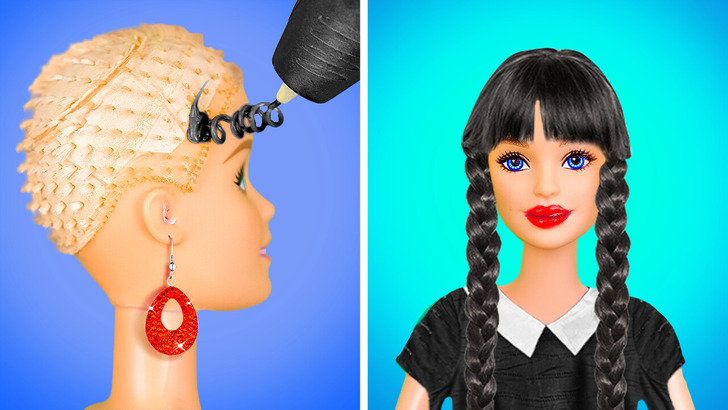
Planning the customization of a Barbie doll is an exciting project that allows you to add your unique touch to the doll. Have fun experimenting and creating a unique and special doll!:
- Begin by conducting research and finding inspiration to help you decide on the theme or style for your customized Barbie. Consider options like vintage fashion, superheroes, fairy tale princesses, rockers, and more.
- Create a sketch or drawing outlining the desired appearance of your personalized Barbie. Take into account specific details such as hair, makeup, clothing, and accessories.
- Compile a comprehensive list of materials required for the customization process. This may include paints, fabrics, accessories, glue, threads, and other necessary supplies. Ensure that you have everything on hand before you begin.
2. Erase the factory face
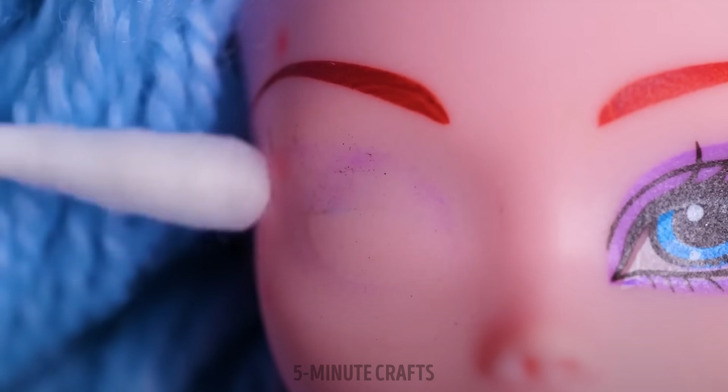
To remove the factory face paint from a Barbie doll and prepare it for repainting or redesigning, follow these steps:
Required Materials:
- Cotton balls or Cotton swabs
- Acetone (nail polish remover)
- Paper towels
- Protective gloves
Instructions:
Put on protective gloves and apply a small amount of acetone to a cotton swab. Gently rub the face of the Barbie doll with the damp cotton swab. Repeat the process until you have removed most of the factory paint. You may need several cotton swabs and a bit of patience. Once you have removed most of the paint, use a dry paper towel to clean the face and remove any acetone residue.
3. Paint the new features
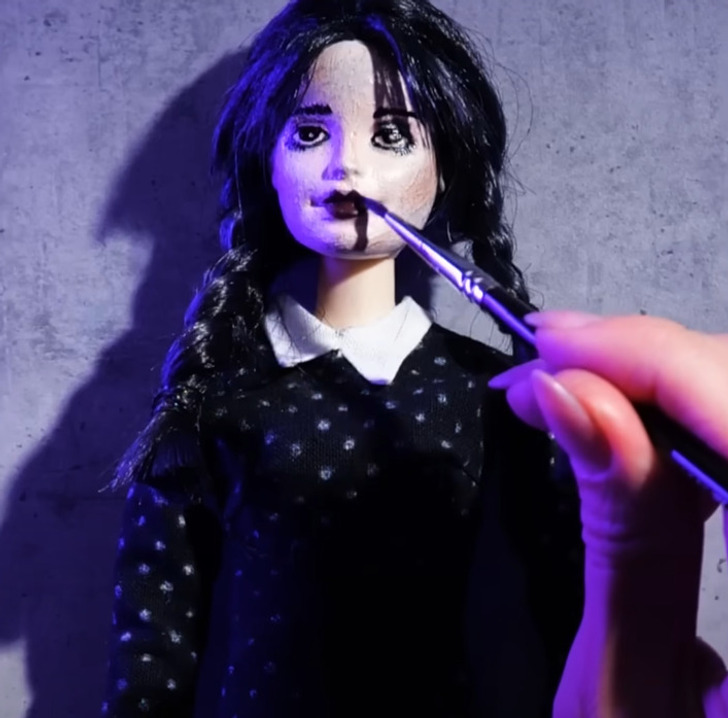
Painting the face of a Barbie doll requires practice and patience. You can practice a bit on a similar surface before working on the actual doll. Have fun and be creative in the process! Here we provide you with a general guide on how to paint the face of a Barbie:
Required Materials:
- Brushes of different sizes
- Acrylic craft paints
- Palette for mixing colors
- Water (for diluting paints)
- Paper towels
Instructions:
Squeeze a small amount of acrylic paint onto the palette. If you find the paint too thick, dilute it with a bit of water. Start with light strokes, applying thin layers for a smooth finish. Allow the paint to dry completely between layers. As you progress, add details such as eye highlights, shading on the cheeks, and other decorative elements according to your design. Once the paint is completely dry, you can apply a thin layer of transparent sealer or acrylic varnish to protect the paint.
4. Change the hair color
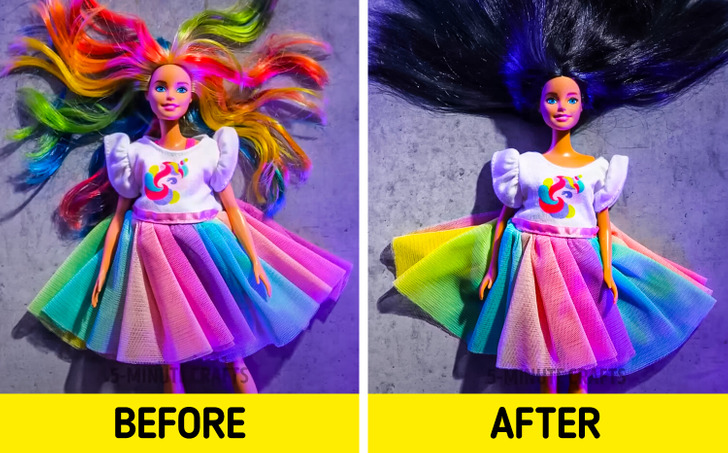
Changing the hair color of a Barbie doll can be a fun and creative process. We recommend using acrylic paint for this, but if you’re not comfortable with that, specialized doll hair dye products are also available as an alternative.
Required Materials:
- Barbie doll Acrylic paint (desired hair color)
- Paintbrushes Water
- Paper towels or cloth
- Protective gloves (optional)
Instructions:
Dip a paintbrush into the paint and begin applying it to the doll’s hair, starting from the roots and working your way down to the tips. Make sure to cover all strands evenly. Be careful not to get paint on the doll’s face or body. If you’d like to add additional details, such as highlights or lowlights, wait until the base color is dry, then, use small amounts of paint and a fine brush to apply the details.
5. Change the hairstyle
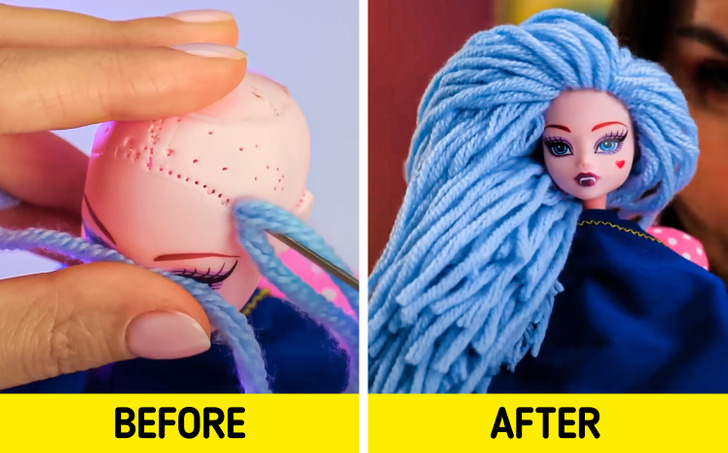
Changing the hair of a Barbie doll can be a lot of fun. Keep in mind that this process may vary based on your preferences and skills, so feel free to be creative and experiment with different materials and styles!
Required Materials:
- Yarn, string, or any material you want to use as new hair
- Scissors
- Large needle (optional)
- Strong glue Instructions:
Instructions:
If the doll still has its original hair, you can carefully cut or remove it using scissors. Cut the yarn, string, or chosen material into strips of the desired length for the doll’s hair. Use strong glue to secure the end of a hair strip at the top of the doll’s head, where the scalp would normally be. Continue attaching strips of new hair in rows, working from the top of the head downward. Once you have added all the new hair and are satisfied with the result, allow the glue to dry completely.
6. Personal details: Piercings
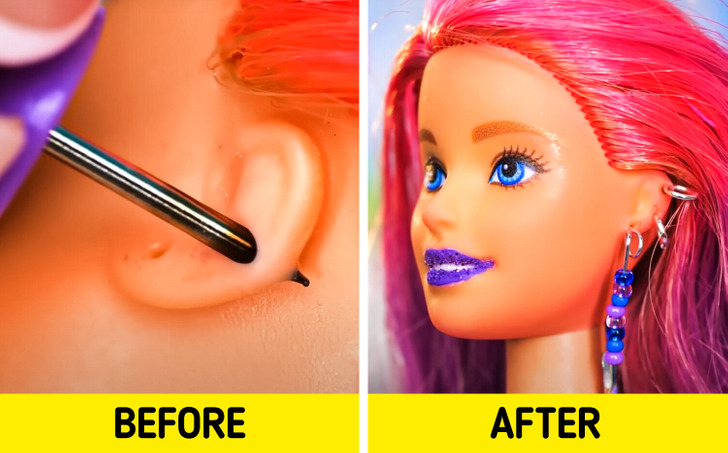
Creating a piercing for a Barbie doll can be a unique way to customize its appearance. Here’s how you can do it:
Required Materials:
- Small earring studs or jewelry findings
- Needle or pin
- Pliers (optional)
Instructions:
Use a needle or pin to carefully pierce the desired location on the doll’s ear or body. Carefully insert the earring stud or jewelry finding into the hole you created. You may need to use pliers to secure the earring back, especially if it’s a small stud. If needed, add a tiny amount of glue to the earring post or finding to help keep it in place.
7. Personal details: Tattoos
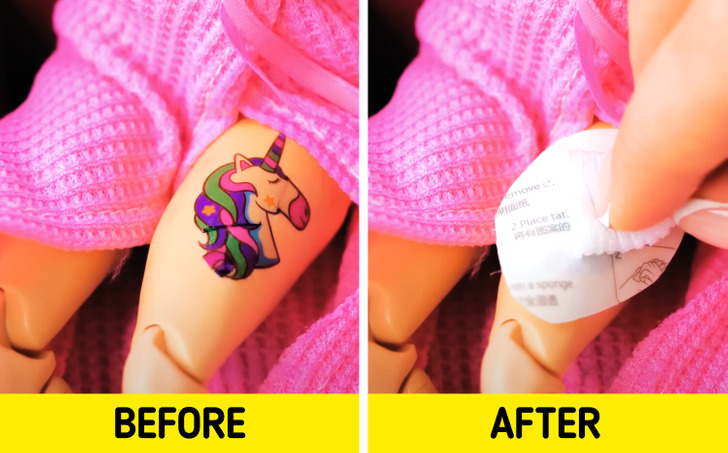
Creating a tattoo for a Barbie doll can be a creative way to customize its appearance. Here’s a simple method to make a temporary tattoo on a Barbie doll:
Required Materials:
- Temporary tattoo
- Scissors
- Water
- Paper towels
Instructions:
Carefully cut out the design from the temporary tattoo paper using scissors. Place the cut-out tattoo design face down onto the area of the Barbie doll’s body where you want the tattoo. Press a damp paper towel onto the tattoo paper, holding it in place for about 30 seconds. Gently peel off the paper backing from the tattoo, leaving the design transferred onto the doll’s skin. Be cautious to avoid smudging the design. Allow the tattoo to air dry for a few minutes.
8. Prepare the outfit
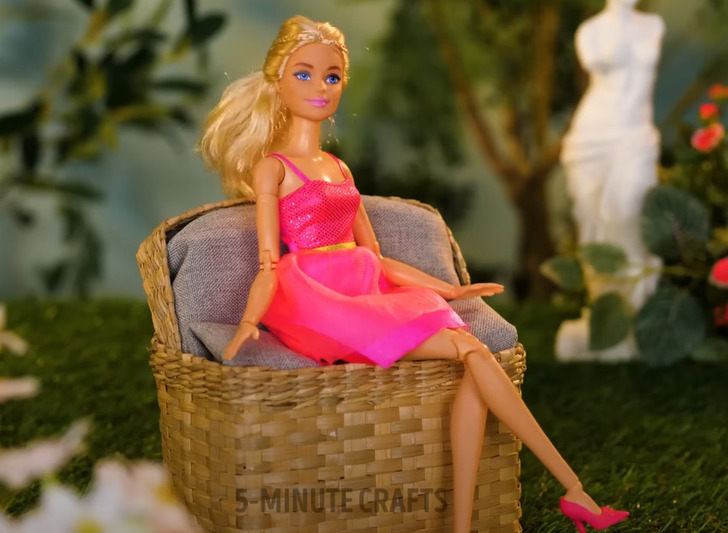
Creating a personalized outfit for a Barbie doll can be a rewarding craft project. Here’s a step-by-step guide to help you design and make a unique outfit for your Barbie doll:
Required Materials:
- Paper and pencil
- Fabric or felt in your desired colors and patterns
- Scissors
- Needle and thread or sewing machine
- Velcro or small snaps, buttons, beads, ribbons, or other embellishments
Instructions:
Start by sketching out your outfit design on a piece of paper. Select fabric or felt that matches your design and color scheme. Measure the Barbie doll’s body to ensure a proper fit for the outfit. Use the measurements to create pattern pieces on paper before cutting the fabric. Carefully cut out the fabric pieces according to your pattern. Use a needle and thread or a sewing machine to sew the fabric pieces together. Start with simple stitches if you’re a beginner. Try it on the Barbie doll to ensure a proper fit. Make any necessary adjustments to ensure that the outfit sits comfortably on the doll.
9. Make the accessories
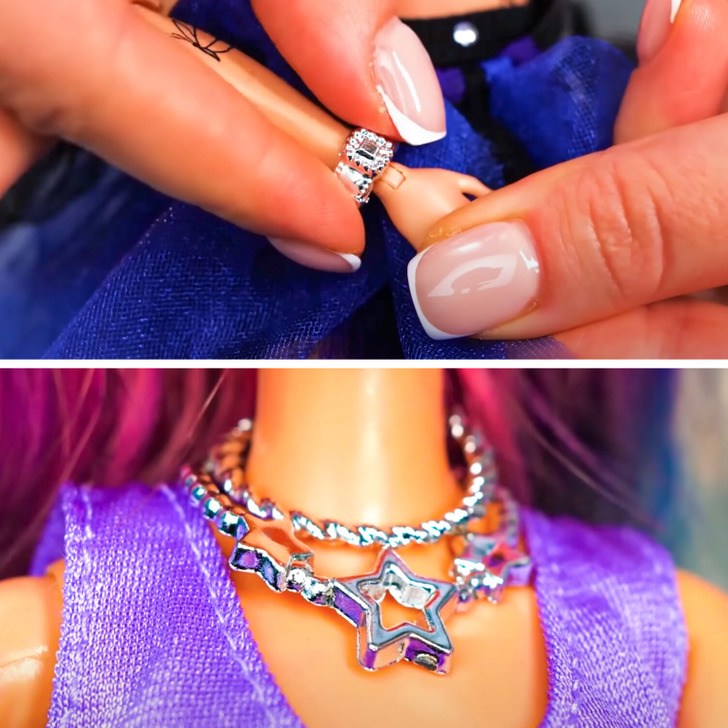
Complete the look by creating matching accessories like shoes, bags, or jewelry. Decide on the types of accessories you want to create for your Barbie doll. This could include hats, bags, jewelry, belts, scarves, and more.
Required Materials:
- Ribbons, lace, beads, chains, and charms (for jewelry) and other embellishments
- Needle and thread or glue (depending on the accessory)
- Miniature hangers, hooks, or clips (for certain accessories)
- Scissors
Instructions:
Sketch out your accessory designs on paper, considering the colors, styles, and embellishments you’ll use. Select appropriate materials for each accessory. For example, use fabric or felt for soft accessories like scarves, craft foam for rigid accessories like hats, and miniature chains or beads for jewelry.
10. It is ready. Pack up!
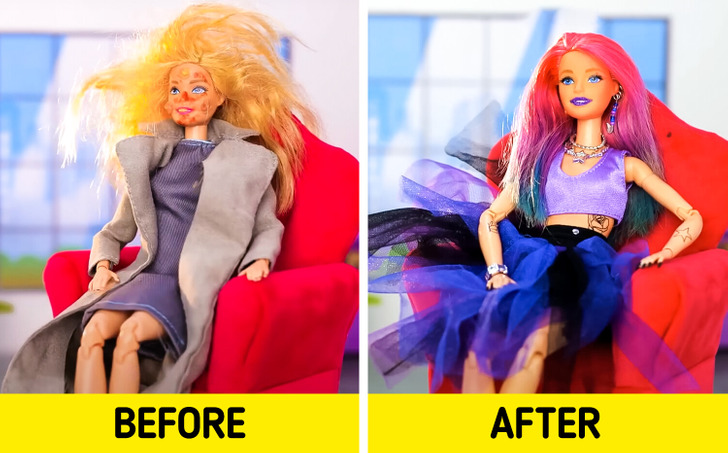
How to present your customized doll to the world:
- Showcase: Display the customized doll on a clean, well-lit surface to accentuate its unique features and details.
- Photo Session: Opt for a simple and complementary background that doesn’t divert attention from the doll. A solid-colored backdrop or a subtle pattern can be effective. Capture photos or videos of the doll from various angles to fully capture its appearance, including front, side, and rear views.
- Social Media: Share images or videos of the doll on social media platforms, crafting forums, or doll enthusiast communities. This will not only showcase your work but also allow you to connect with like-minded individuals who share your passion.
- Packaging: If you’re presenting the doll as a gift or for sale, ensure secure and aesthetically pleasing packaging. A custom-designed box, a ribbon, or carefully chosen to wrap can add a special and memorable touch.