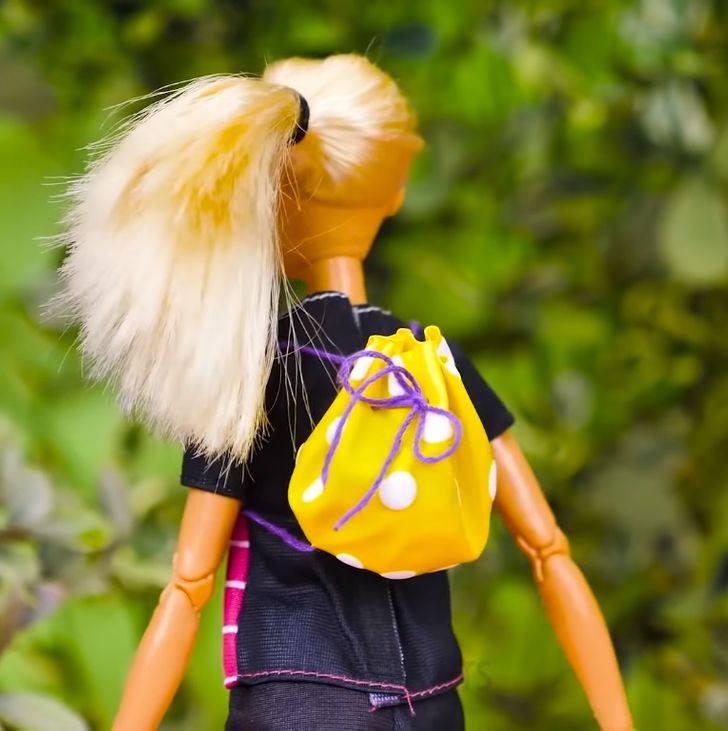
7 Barbie Accessories That You Can Make at Home
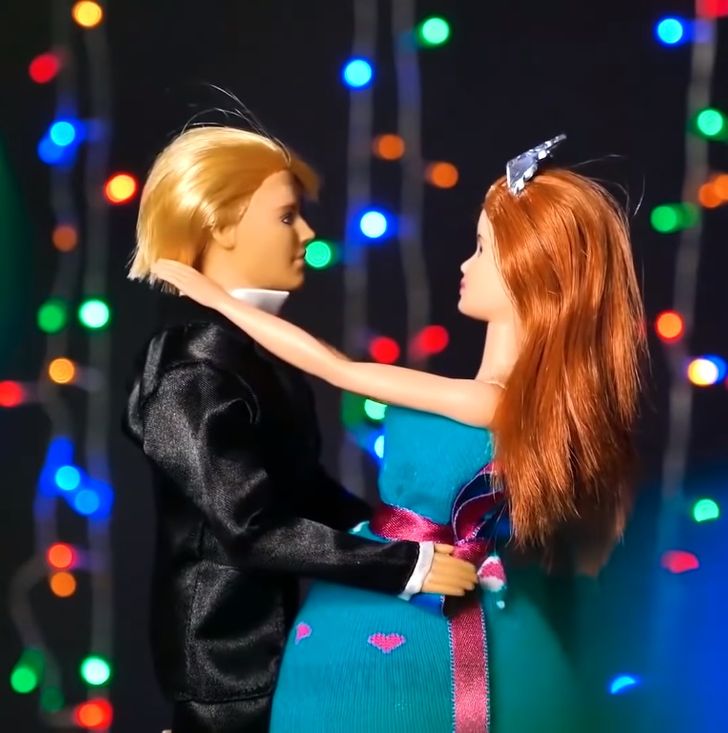
The Barbie doll is an iconic toy that many girls and boys still want to play with nowadays. There are several models and many accessories to play with. The way you play with it can change completely with every new accessory you buy or, in this case, make. Considering the prices and the amount of the existing accessories there are out there, it’s quite difficult to get all of them without having to spend a lot of money.
That’s why 5-Minute Crafts wants to show you how to make your own Barbie accessories with objects and materials that you probably already have at home. After crafting these things, playing with your Barbie will never be the same.
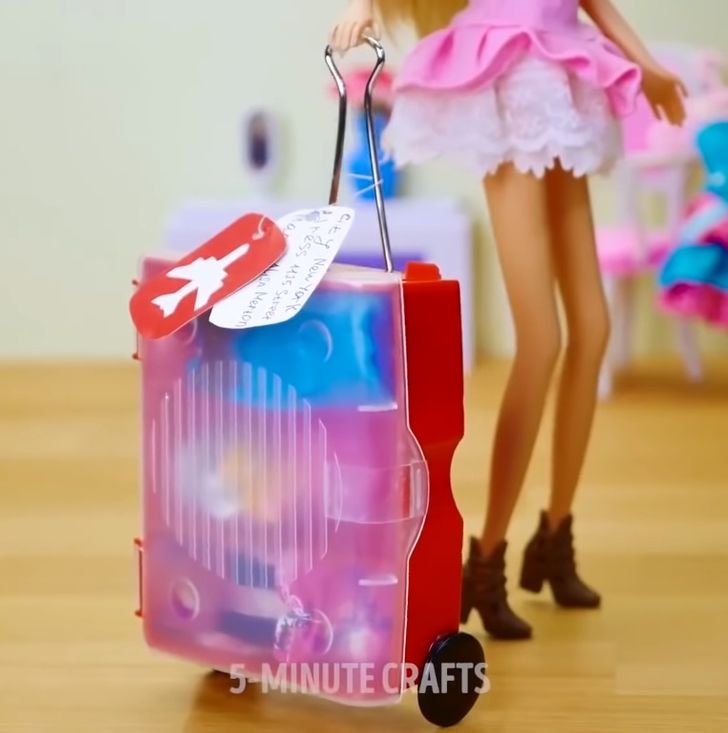
Suitcase
What you’ll need:
* 1 sewing thread organizer
* 1 binder clip
* 2 medium buttons (black is best)
* Silicone sticks
* An electric glue gun
Instructions:
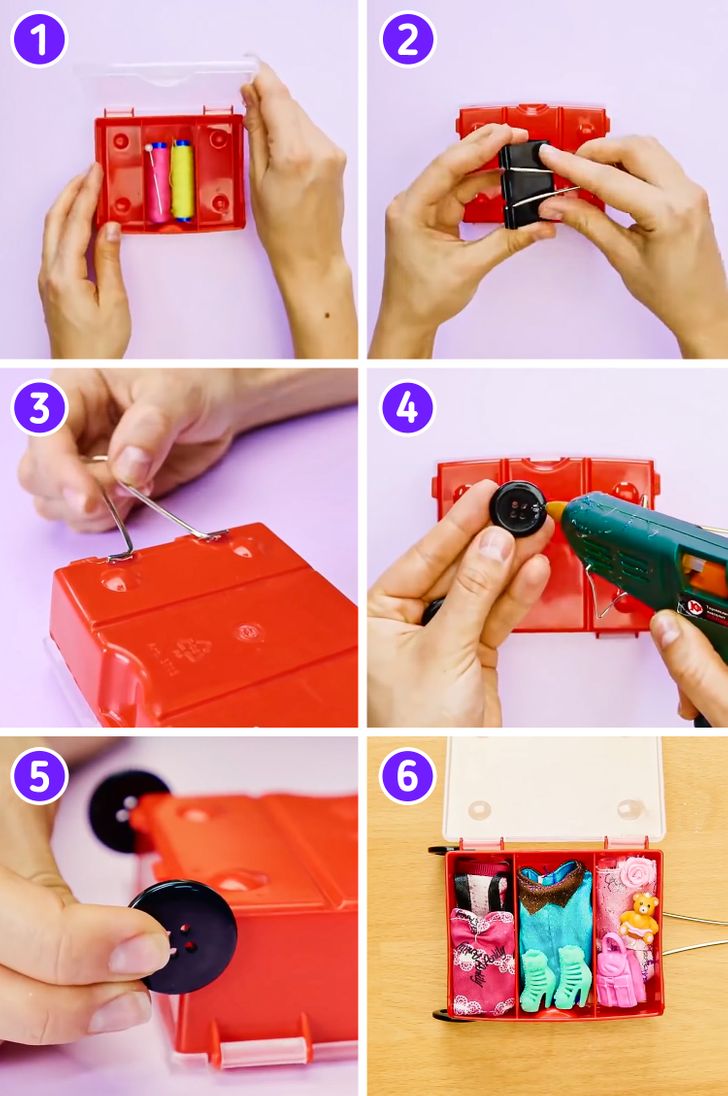
1. Remove all items from the case.
2. Disassemble the binder clip by removing the back wire.
3. Apply silicone glue to the ends of the wire and glue it to the top back of the case.
4. Glue the buttons on the sides of the bottom of the case (imitating suitcase wheels).
5. Make sure the buttons are even and have dried well.
6. Fill the new suitcase with doll clothes, and it’s ready to go on a trip!
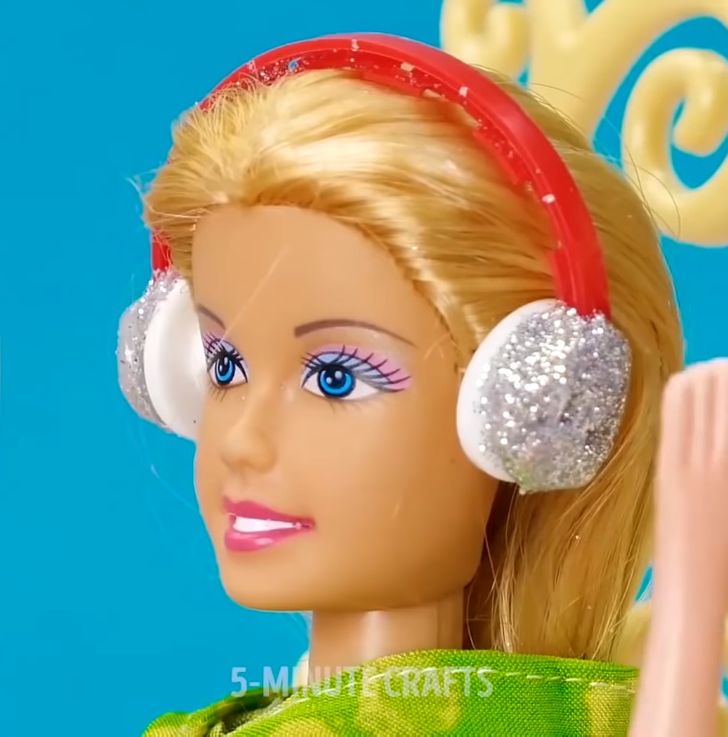
Headphones
What you’ll need:
* A plastic bottle ring
* Small buttons
* Glitter
* Silicone glue
Instructions:
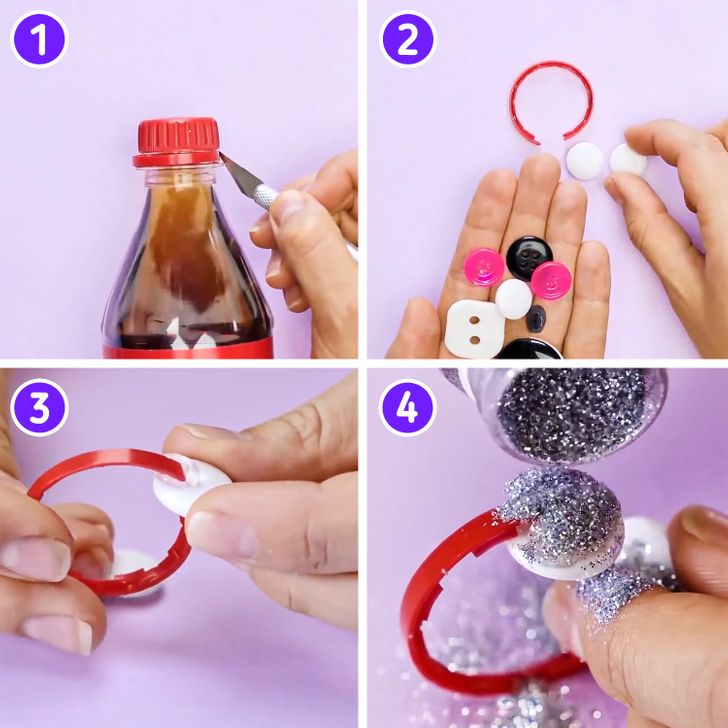
1. Cut the plastic ring on one side and remove it from the bottle.
2. Find matching buttons of suitable sizes (best without holes).
3. Glue the buttons on each end of the ring using silicone glue.
4. Before the glue dries, apply glitter over the buttons.
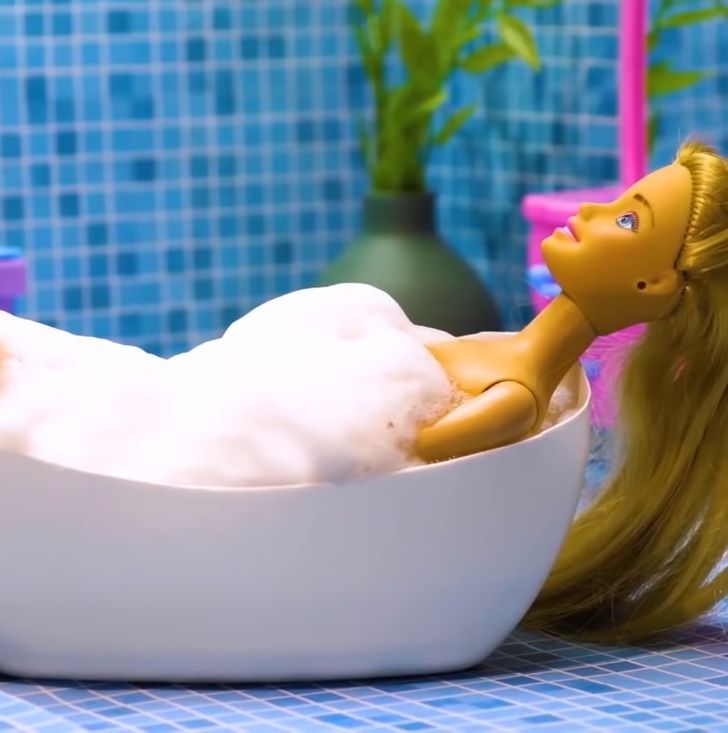
Bathtub
What you’ll need:
* 1 plastic bottle of some cleaning product (a white one is best)
* A marker
* A letter opener or sharp knife
Instructions:
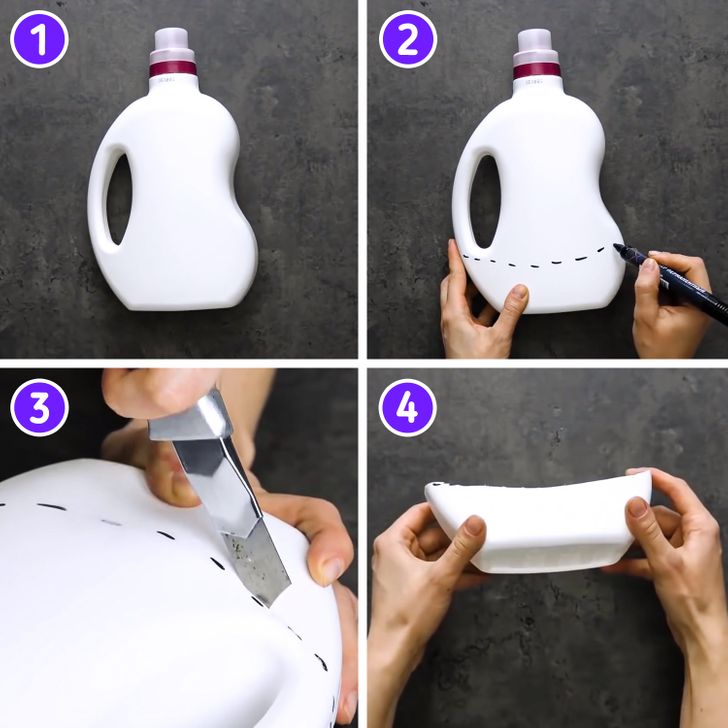
1. Find a plastic bottle of a suitable shape so that its bottom resembles a bathtub.
2. Draw the wavy cutting line with a marker as shown in the picture above.
3. Cut out the marked part with the help of a sharp knife.
4. Check if the shape looks good and if a little trimming is needed to improve the shape. The bathtub is ready!
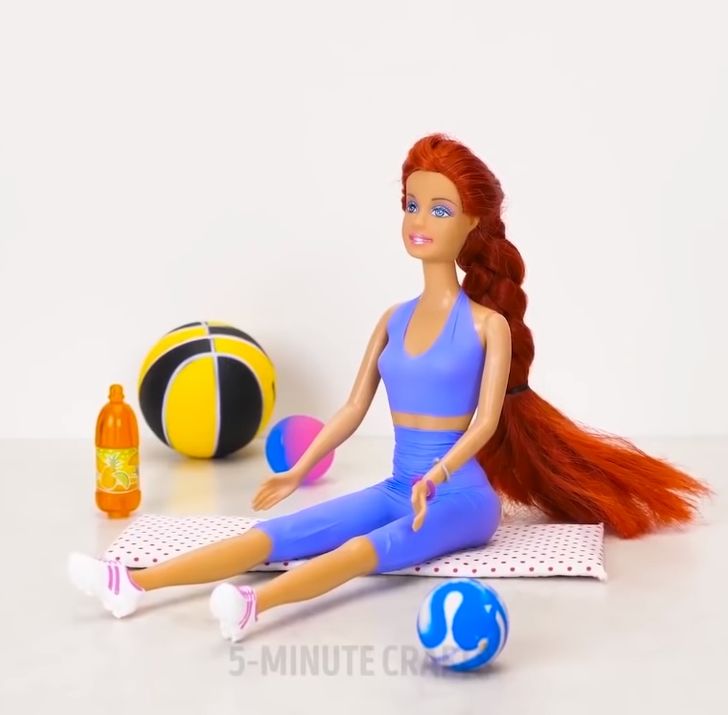
Sportswear
What you’ll need:
* 1 rubber glove
* Scissors
Instructions:
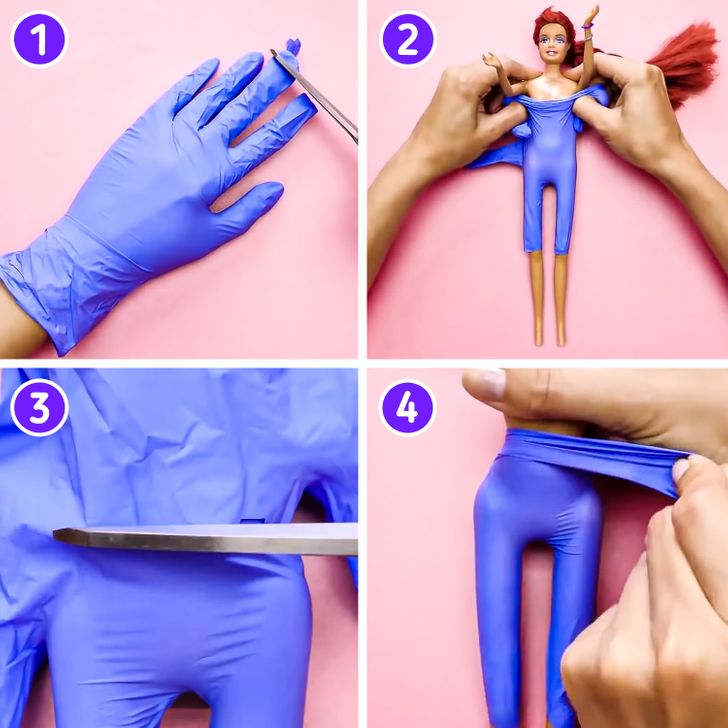
1. Cut the tips of the middle and index fingers of the glove, leaving them the same length.
2. Put the trimmed fingers of the glove to the wrist as pants.
3. With the help of scissors, separate the rest of the glove at the wrist waist area, leaving a half-length strip.
4. Wrap the remaining strip around the waist of the wrist, fixing the position of the new tights.
Dress
What you’ll need:
* A colored sock
* A plastic bottle
* Scissors
* Decorative tape
Instructions:
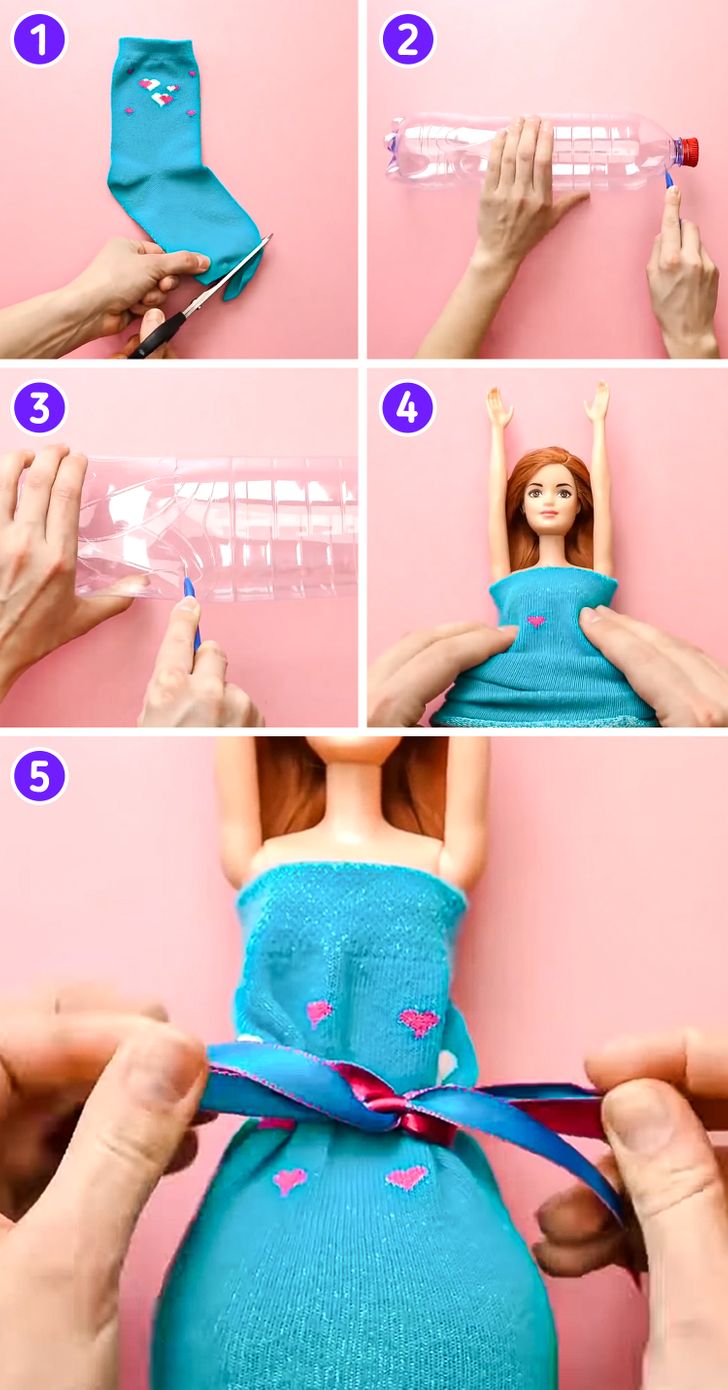
1. Cut off the end of the sock with the help of scissors.
2. Cut the top of the bottle as straight as possible, just below the cap.
3. Make another cut a little below the middle of the bottle, as shown in the picture above.
4. Tuck the doll into the cut-out bottle with the narrow side up.
5. Cover the doll inside the bottle with the sock.
6. Tie the decorative ribbon around the doll’s waist, securing the new dress and shaping it.
Shoes
What you’ll need:
* Plastic foil
* A colored silicone stick
* Scissors
Instructions:
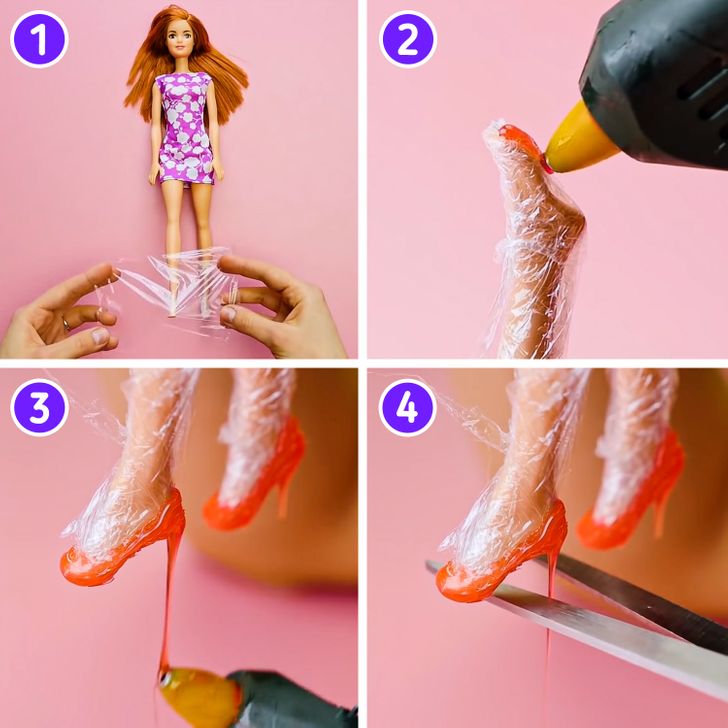
1. Wrap the doll’s feet with plastic wrap.
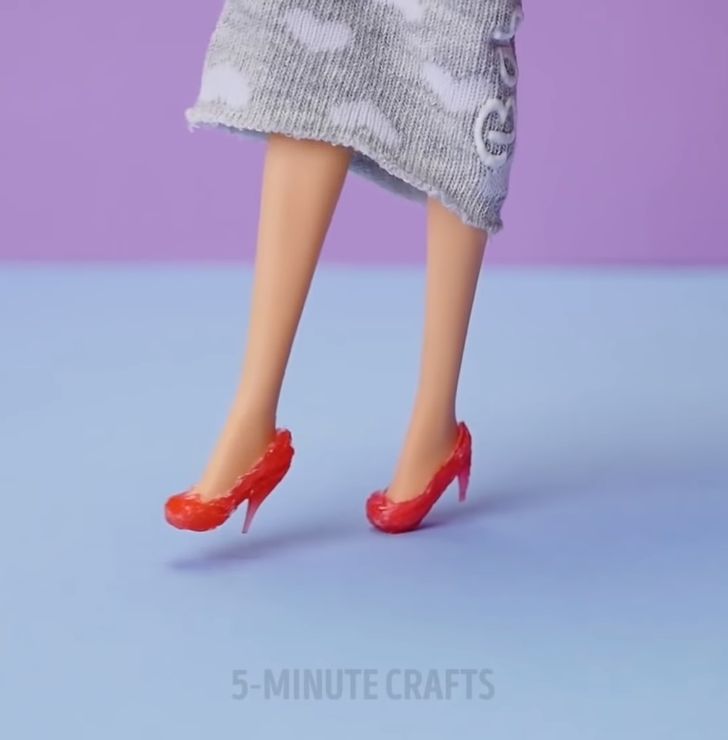
2. Apply the colored silicone to the shape of the future shoes, starting from the tip of the toes and ending at the heel area.
3. Hold the doll upright and when you reach the heel of each foot, pull the electric gun down so that the last drop of silicone stretches downward, as shown in the picture above.
4. Wait for the silicone to dry. With the help of a pair of scissors, cut off the aforementioned drop, which will shape it into the heels of your doll’s new shoes.
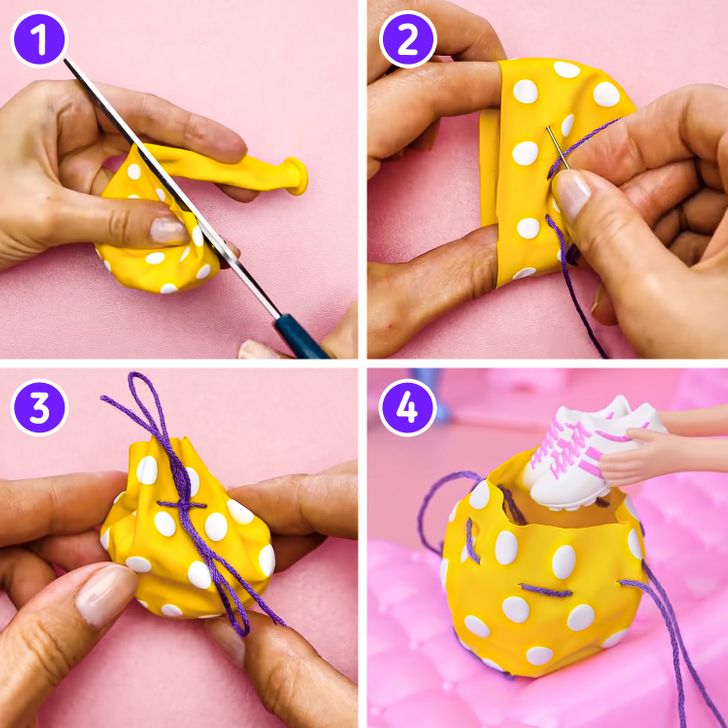
Backpack
What you’ll need:
* A balloon (it’s better if it has a printed pattern)
* Scissors
* Thread
Instructions:
1. Cut the balloon a little above the middle with a pair of scissors.
2. Go over the top edge with thread, as shown in the picture above. When you’ve trimmed the entire edge, tie the ends of the yarn together with a knot.
3. Store the doll’s small belongings inside.
4. Pull the yarn from the sides, closing the backpack and making a bow to keep the backpack closed.
