Create Your Own DIY Mermaid Tail with This Magical Step-by-Step Guide
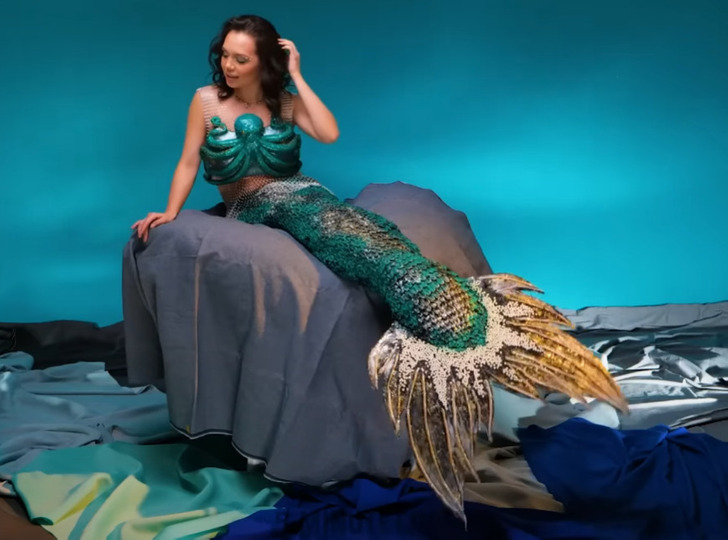
Calling all mermaid enthusiasts! Are you ready to dive into the magical world of mermaids? Today, we have something truly enchanting for you. Get ready to unleash your creativity and transform into a mystical sea creature with this amazing DIY Mermaid tail!
Materials you will need
- Plastic wrap
- Duct tape
- Sealant
- Spray paint
- Spray adhesive
- Pearls
- Plastic sheet
- Pair of sneakers
1. Wrap the person who will be wearing the mermaid tail in plastic wrap from the belly button to the ankles
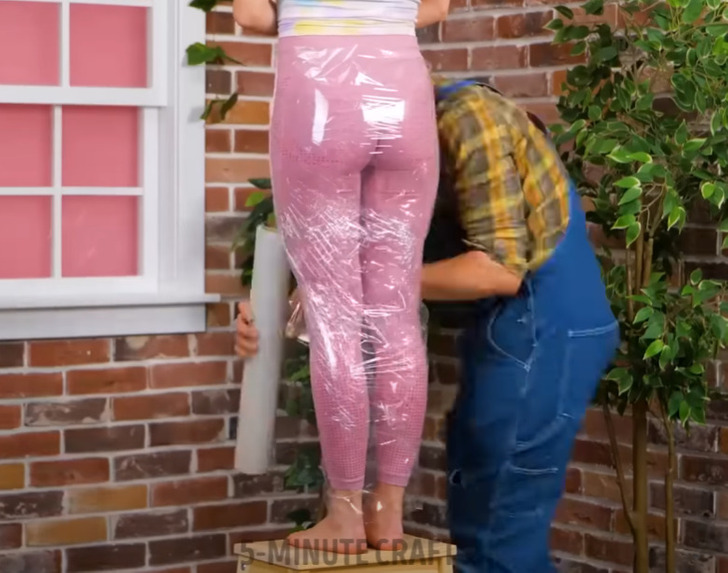
2. Once their legs are completely covered in plastic wrap, wrap them with duct tape, making sure to thoroughly cover the entire surface with tape
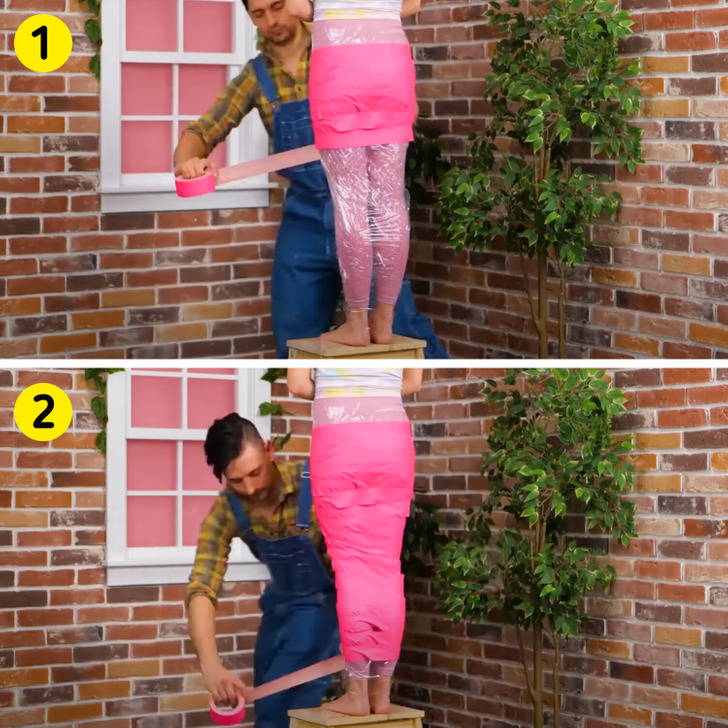
3. Using scissors, make a cut a few centimeters long through both the plastic wrap and duct tape layers. Make a lateral cut at hip level, enough to allow for easy removal of the tail from the model’s body
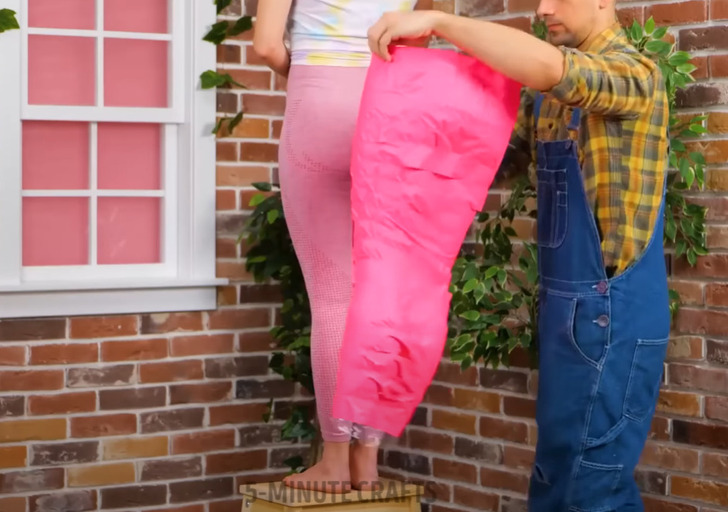
4. Place the structure on the table and to continue working on it comfortably, insert a pillow and fold a large jacket several times over itself inside
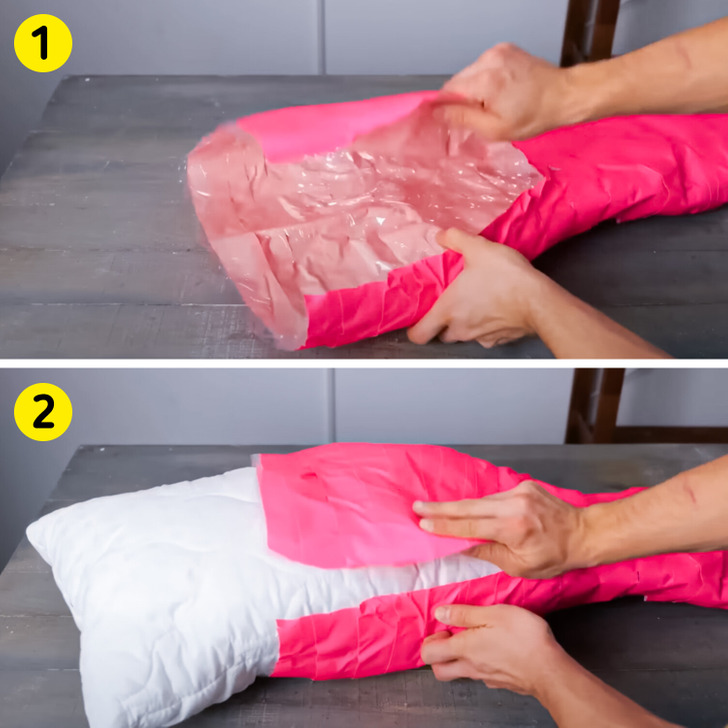
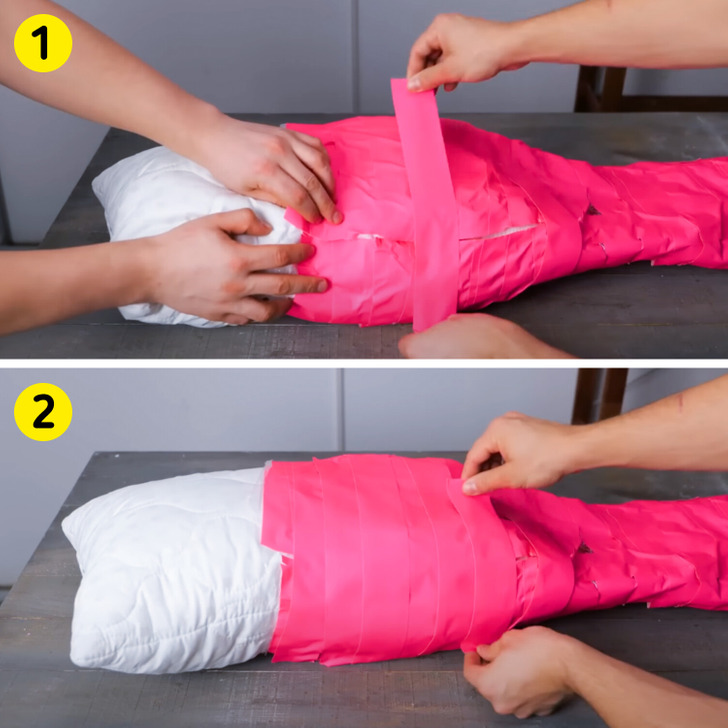
5. Once again, using duct tape, repair the cut you made at hip level earlier to remove the tail from the body
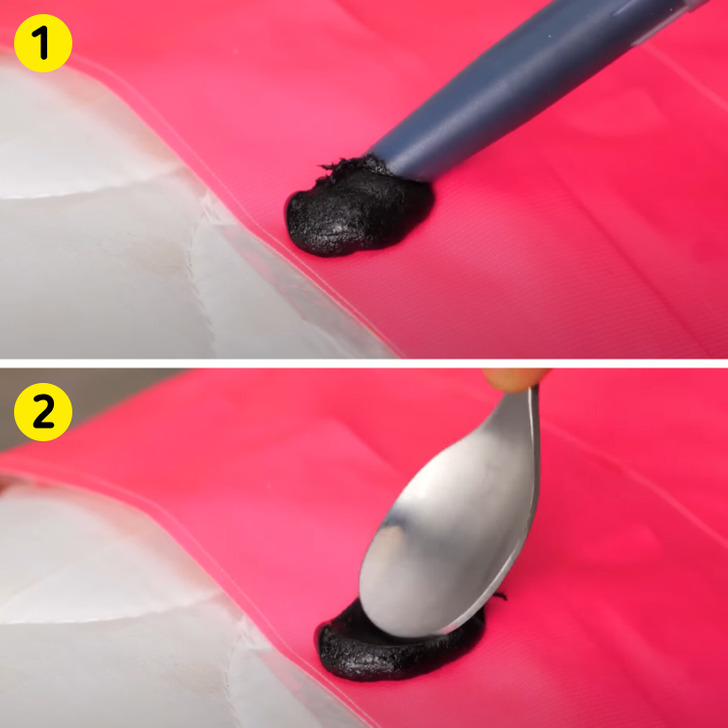
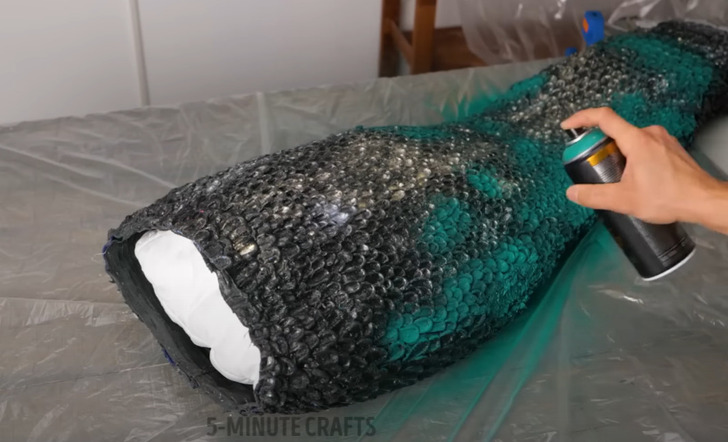
6. Now we will begin creating the scales by placing large drops of sealant next to each other and flattening them out with a spoon, spreading them evenly
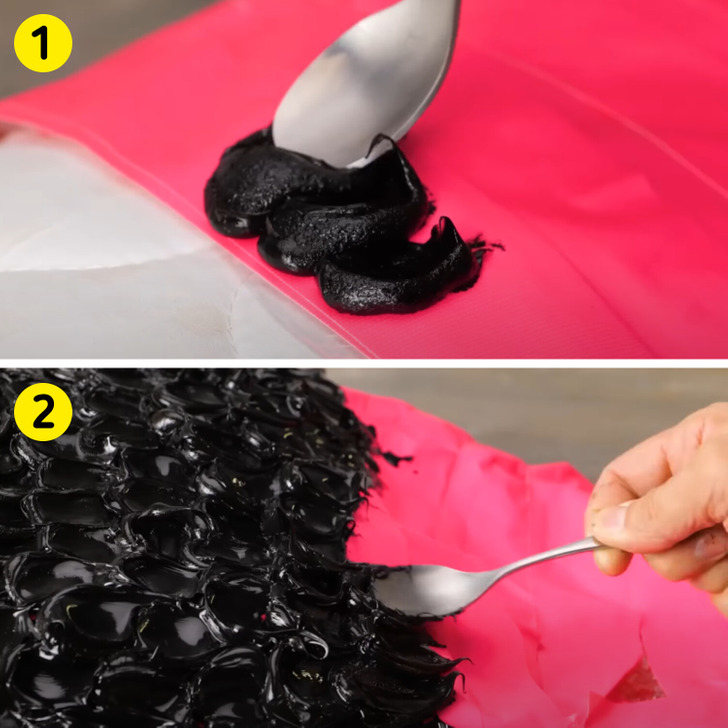
7. We need to continue repeating this process until we cover the entire tail completely, both on the front and the back
8. Now it’s time to add color, and here you can unleash your creativity by painting it with the colors of your choice. You can even add glitter to give it an extra touch of shine
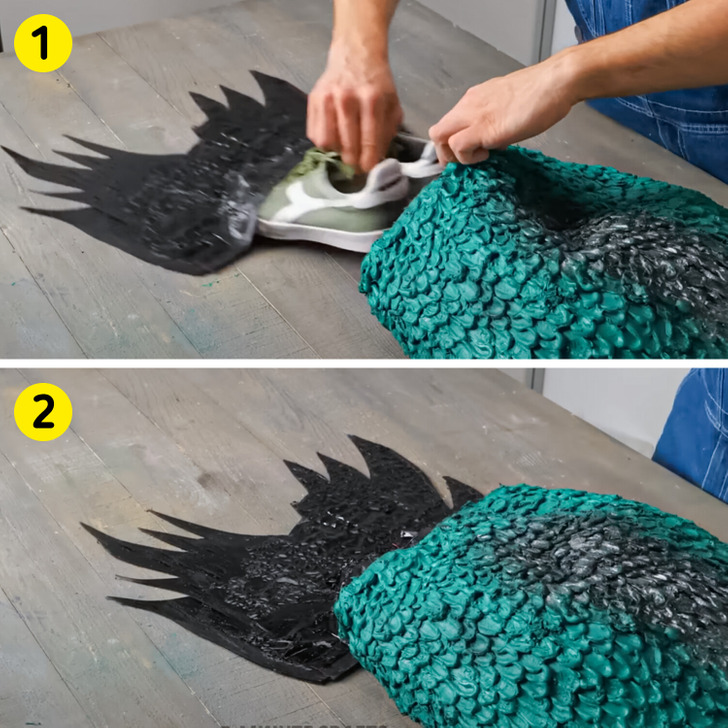
9. Allow the upper part of the tail to dry while we work on the lower part. At one end of your plastic sheet, place the sneakers and secure them to the sheet using duct tape

10. Using a marker, draw the shape of the tail on the plastic and cover the entire tape with the sealant

11. Cut out the shape drawn on the plastic and cover it with sealant as well

12. Insert this final piece into the body of the mermaid tail from the bottom
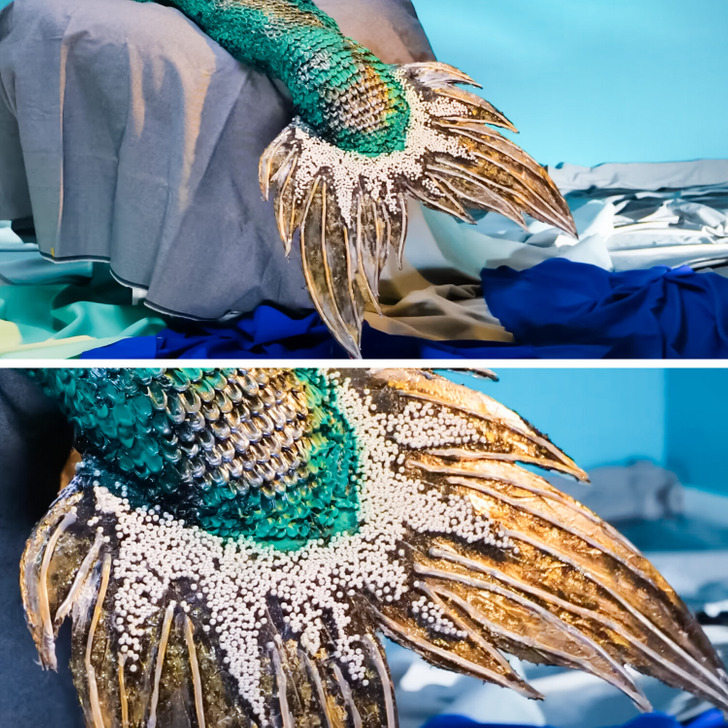
13. Using the sealant again, create some lines to add relief and texture to the tail

14. Now, let’s add color to the tail and then proceed to glue decorative pearls on top
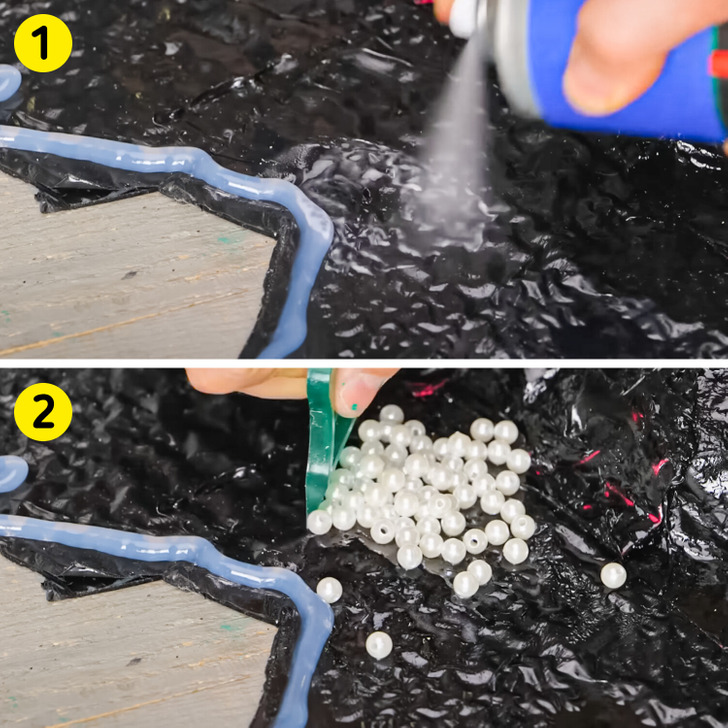
15. Arrange the pearls to create a design that complements the chosen tail fin shape
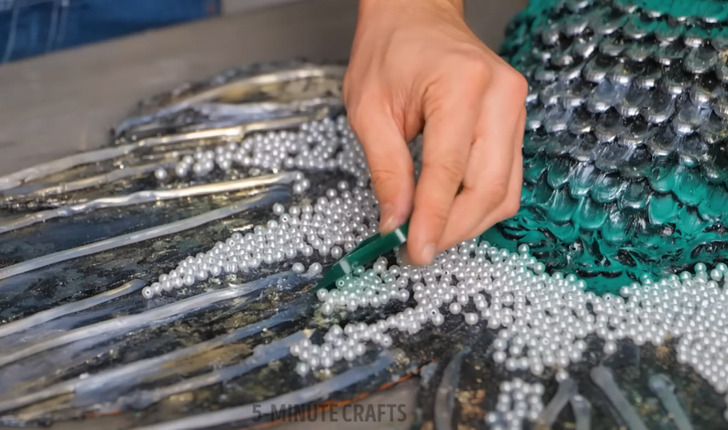
16. And that’s it! Once everything is thoroughly dry, our mermaid tail will be ready to flap and swim
Check out all these DIY mermaid crafts and hacks
Share This Article