DIY Wall Organizer: Crafting Your Own Schedule Easily and Step by Step
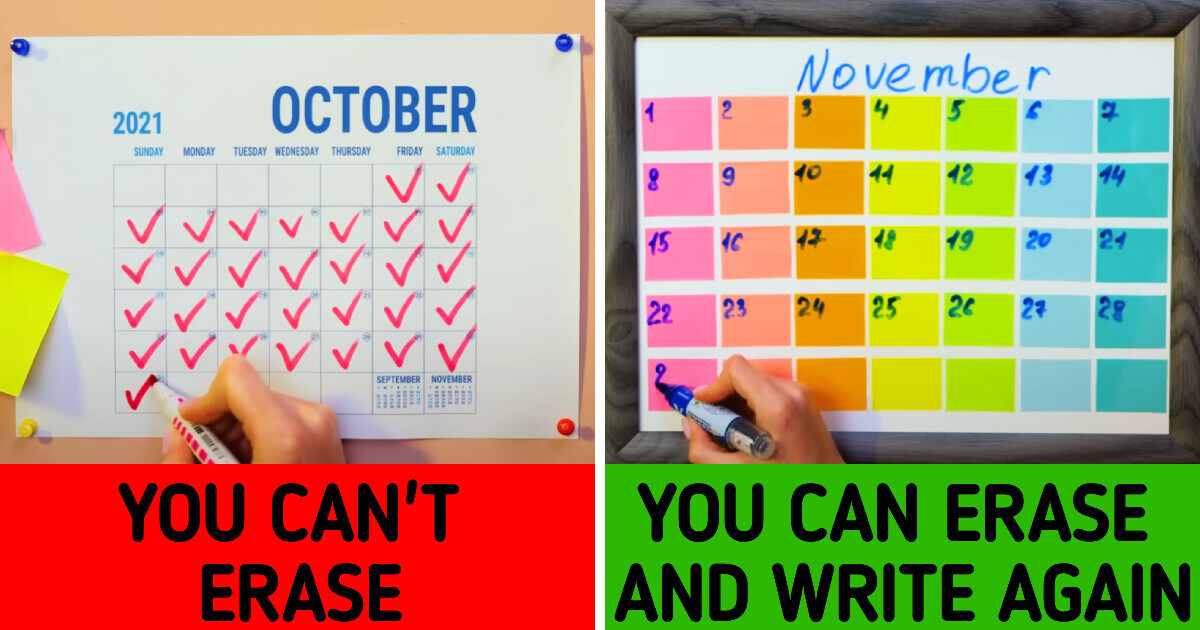
Welcome to our channel, where we present the most innovative and creative DIY school crafts and brilliant hacks that will make you the envy of your classmates! Today, we’ll be preparing to organize our days in an effortless and effective manner with this ingenious idea to enhance your school experience and save valuable time
Materials You Will Need
- White card stock
- Colored sticky notes or colored paper
- Glue
- Picture frame with glass
- Marker
- Eraser or glass cleaning cloth
- Hot glue and ribbon or string (optional)
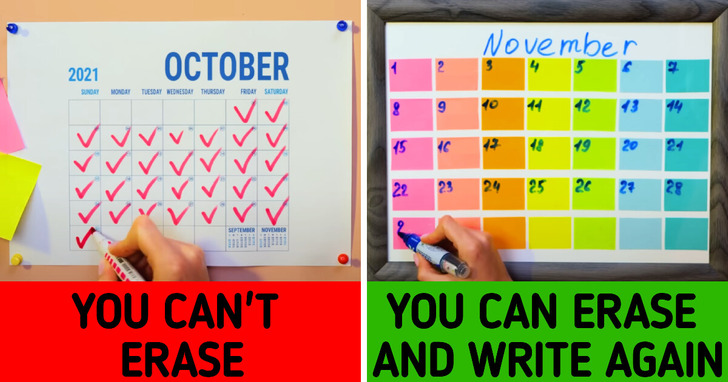
1. Cut a rectangle from the card stock that is the same size as the picture frame you are going to use
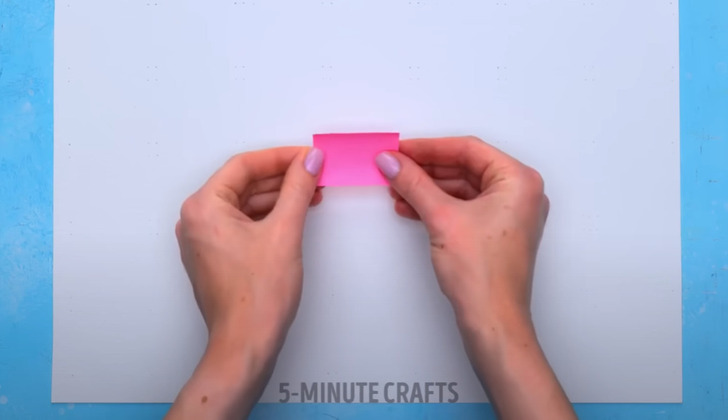
2. Prepare seven different colored sticky notes or cut small rectangles of seven different colored paper
3. Glue the paper rectangles onto the top of the cardboard in a horizontal line side by side
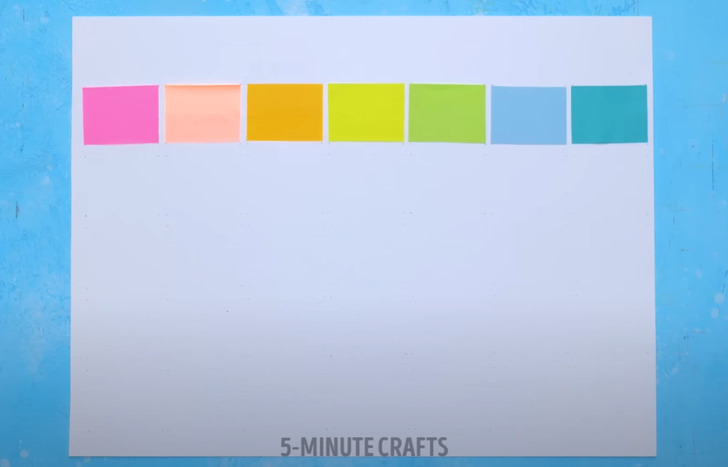
4. Add four more lines of paper below, following the same color pattern as the first one
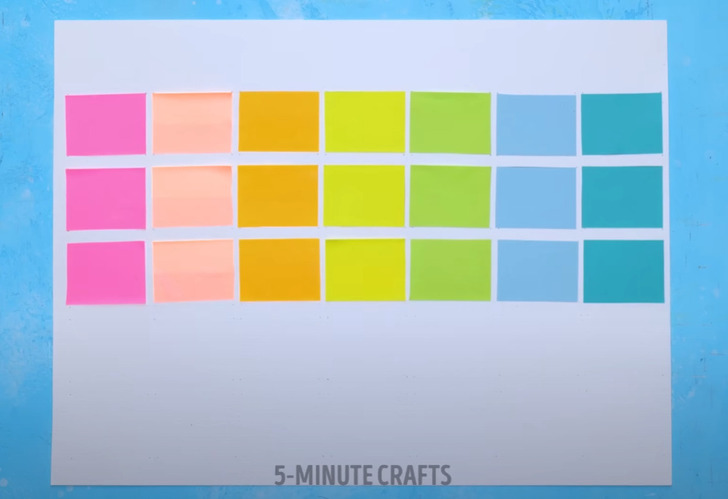
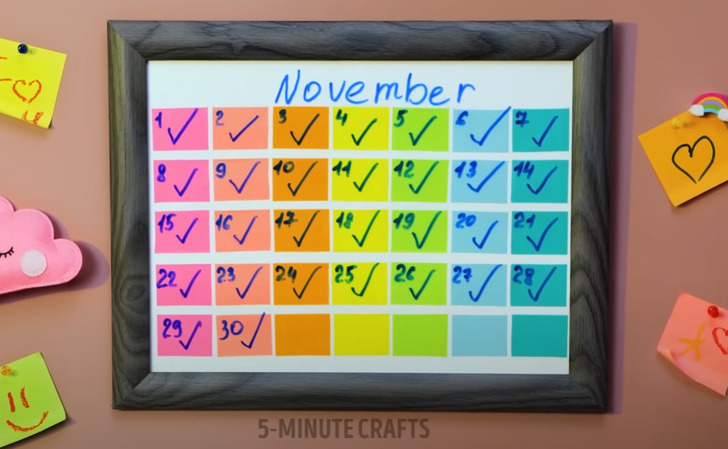
5. The final result should be seven columns, five rows, and a total of thirty-five colored rectangles
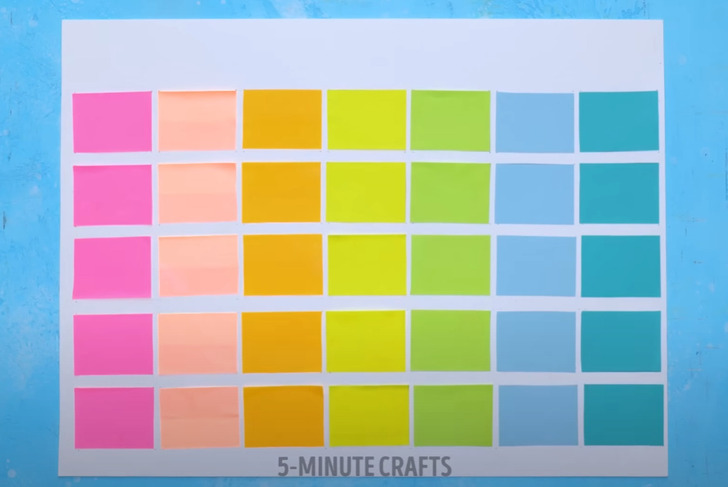
6. Open the photo frame and place the cardboard with the colored rectangles inside, facing towards the glass
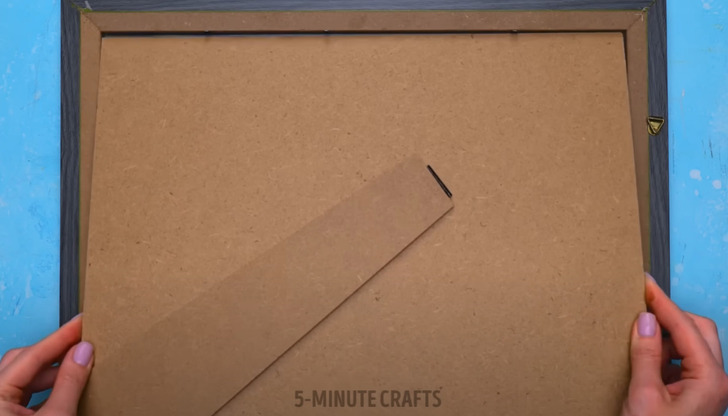
7. Write the name of the month at the top
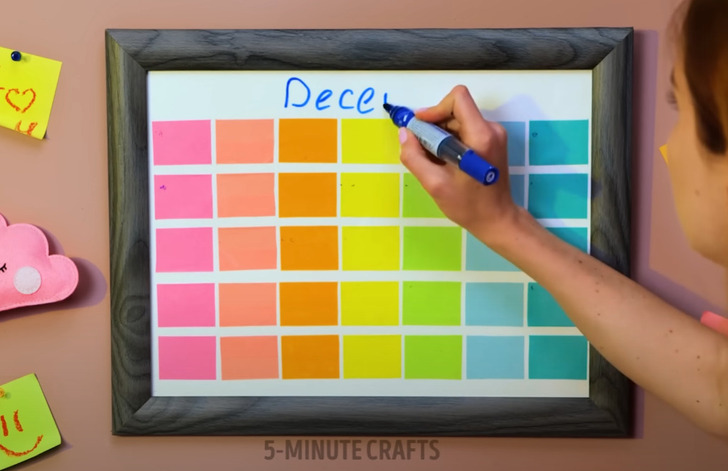
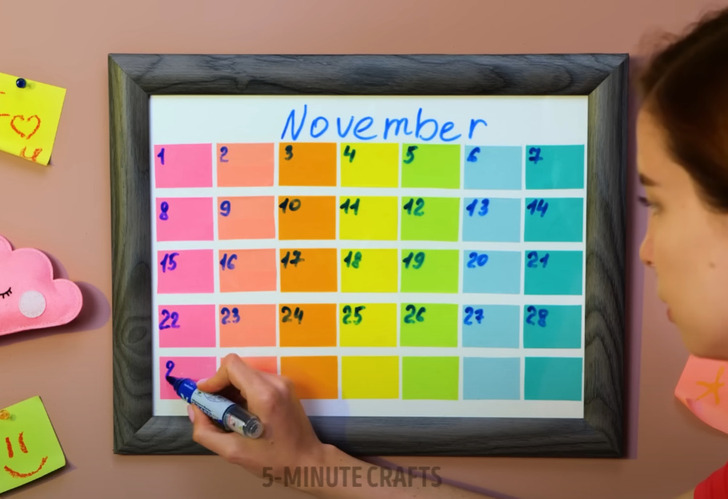
8. Check on a calendar which day of the week the month starts, position yourself in that column, and begin writing the numbers from one to the total number of days in that month
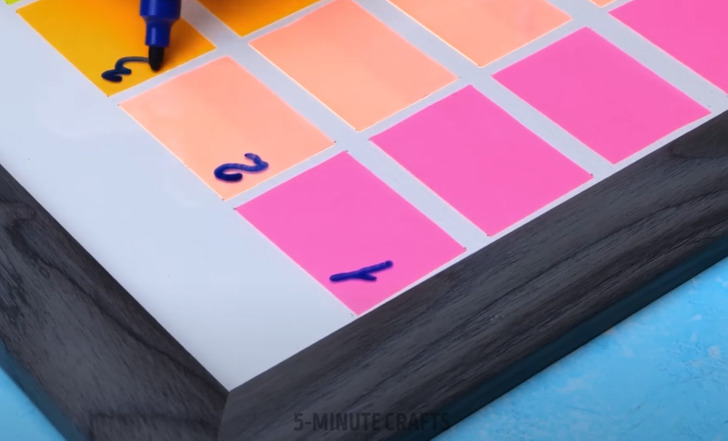
9. Note whatever you want in each colored compartment throughout the entire month
10. Once the month is over, erase everything using a whiteboard eraser or a glass cleaning cloth, and then rewrite the new month and its days
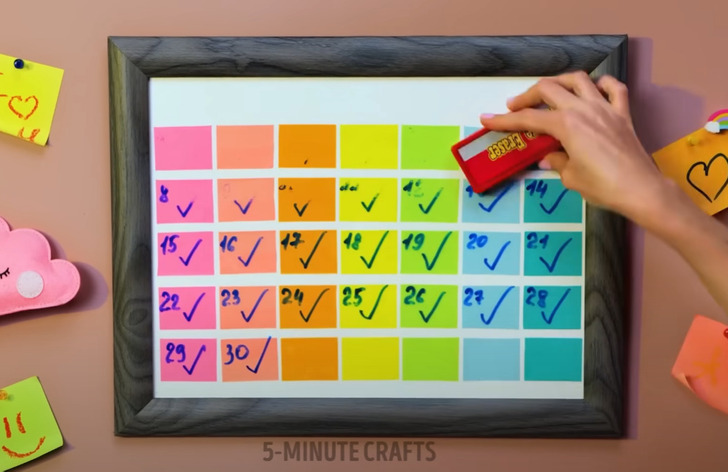
11. As an optional finishing touch, you can attach the marker and eraser to a ribbon or string using hot glue and stick them to the back of the photo frame for easy access
Check out all these clever DIY school crafts and hacks
Share This Article