How to Change a Switch
Whether it’s for esthetic reasons or because it has stopped working, changing a light switch is something you can manage to do in just a few steps. You need the proper tools and materials at hand and remember to shut off the power before you start to avoid electrical accidents.
5-Minute Crafts will show you how.
Materials
-
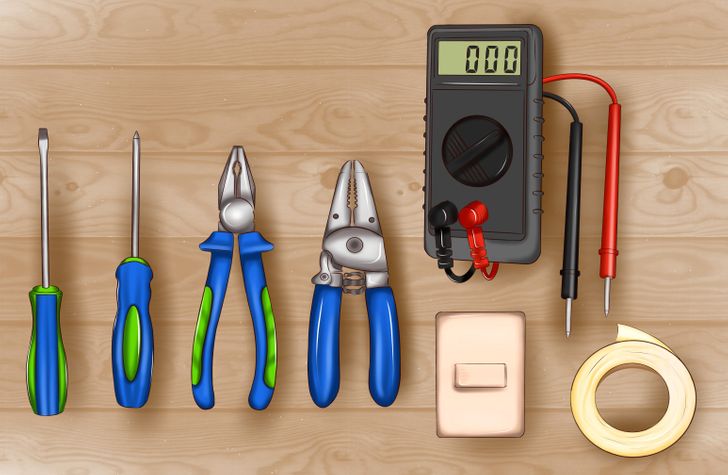
Flat head screwdriver
-
Philip’s head screwdriver
-
Electrician pliers
-
Cutting pliers
-
Electrical tester
-
Switch
-
Masking tape
Step 1
-
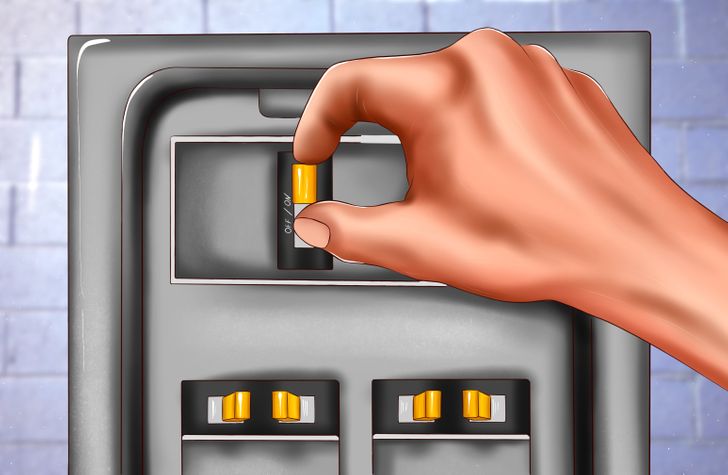
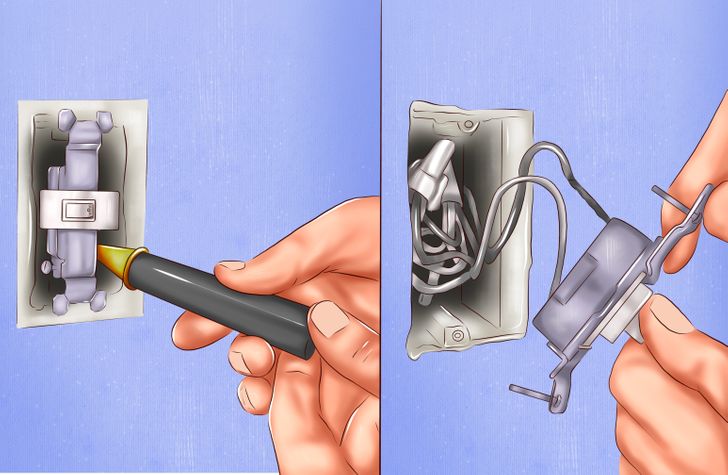
Turn off the power to your house at the source. Verify that there’s no electricity by turning switches on and off or using an electrical current tester.
Step 2
-
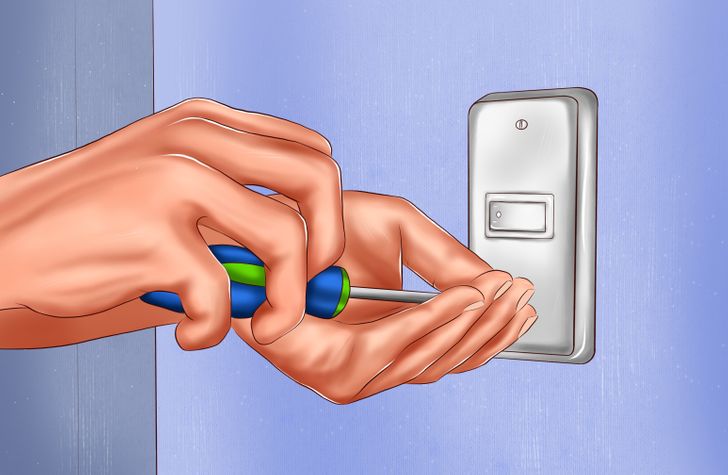
Take off the damper cover by removing the screws with the screwdriver. If it isn’t attached to the wall with screws, you can lift the cover off with a flat head screwdriver.
Step 3
-
Remove the switch, be very careful when pulling it out so that you avoid damaging the cables. When you follow this step, make sure, once again, that the electricity isn’t on.
Step 4
-
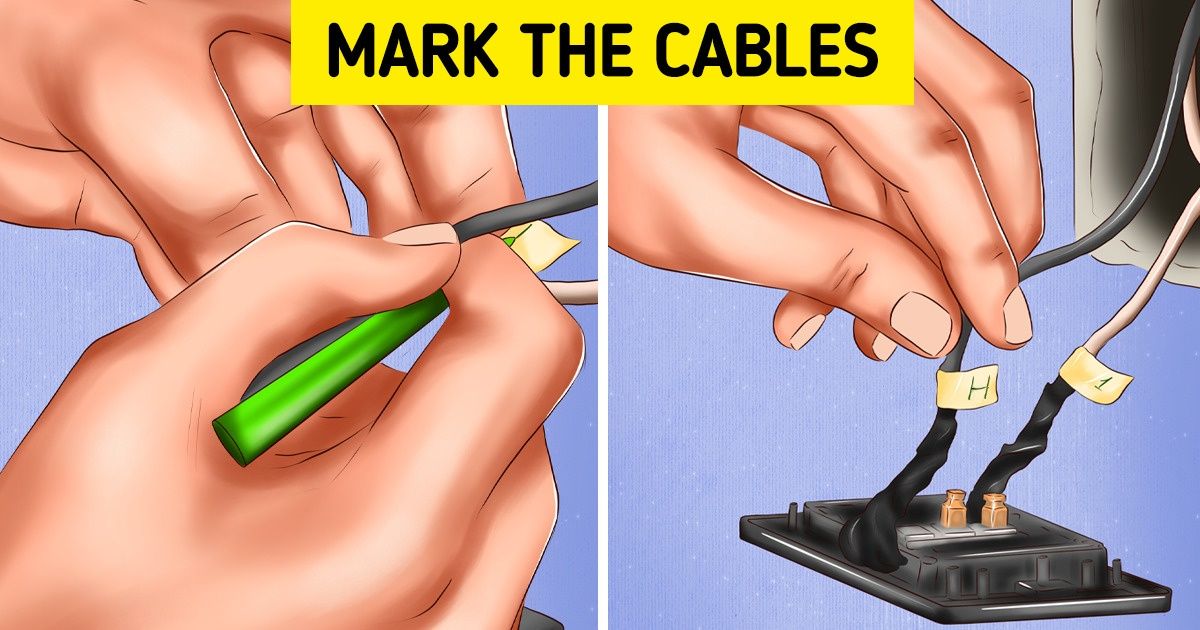
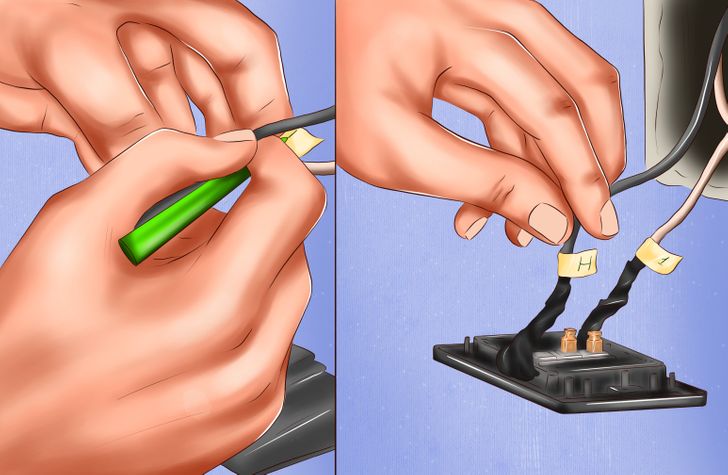
Take a good look at the way the cables are connected. You can draw a diagram or take a photo. Mark them with masking tape, “H” for the hotline and “1” for the ground.
Step 5
-
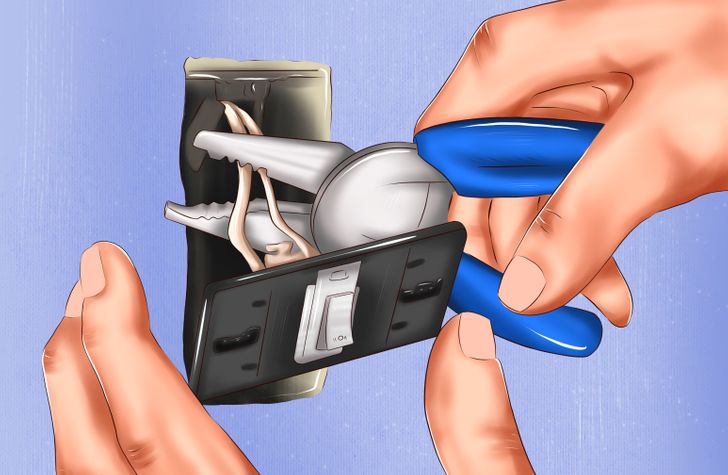
Remove the cords from the old switch with pliers. Take into account that you will need to leave enough cable to make a new connection.
Step 6
-
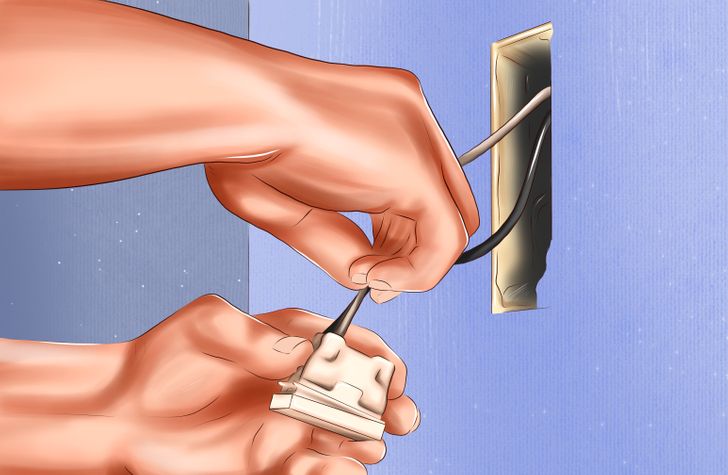
Plug the cables into the new switch, check that it is off, and turn it upside down, making sure that the switch button is facing down.
Step 7
-
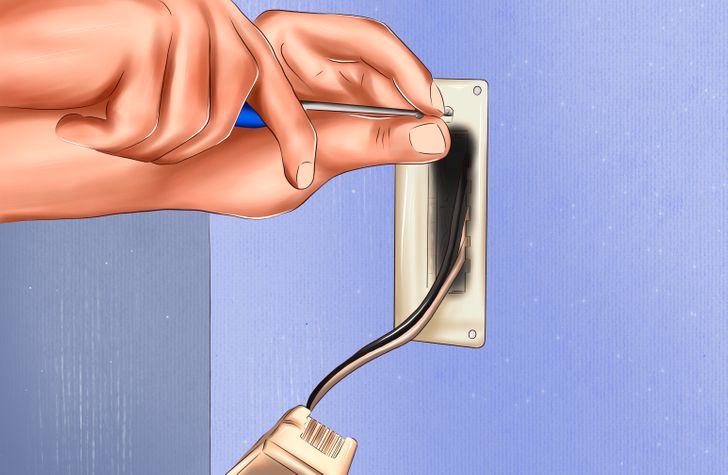
Screw, fix the base, and carefully wind the cables inside the box.
Step 8
-
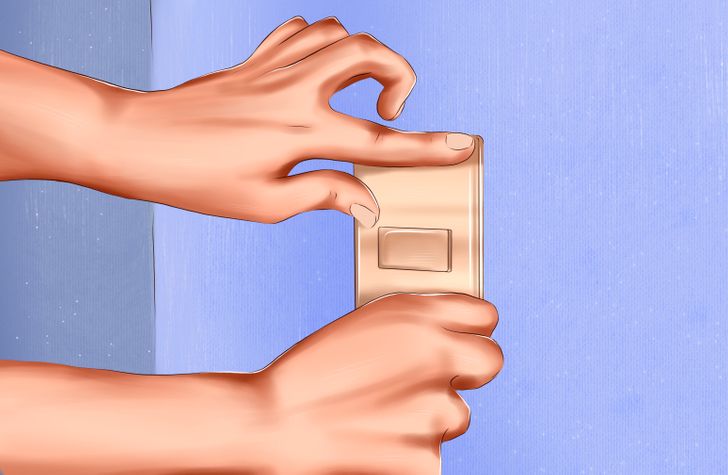
Replace the switch cover and tighten the screws to the surface. Do it gently to avoid breakage.
Step 9
-
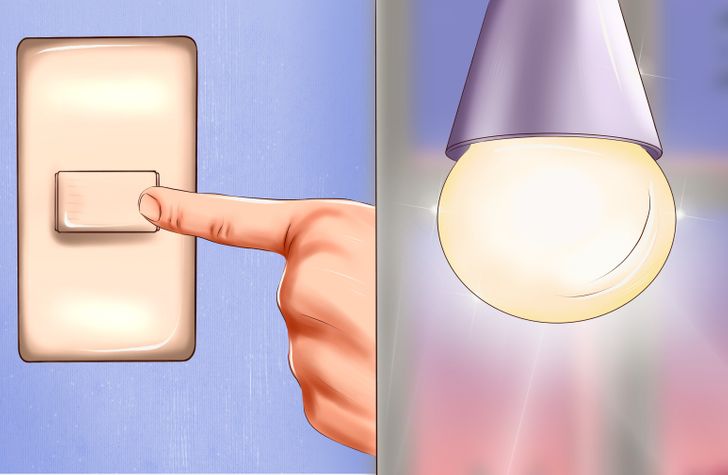
Reconnect the power at the main power box. Then check the correct operation of the switch by turning it on several times.