How to Create a Fun and Practical Bed with Slide and Clothes Hanger
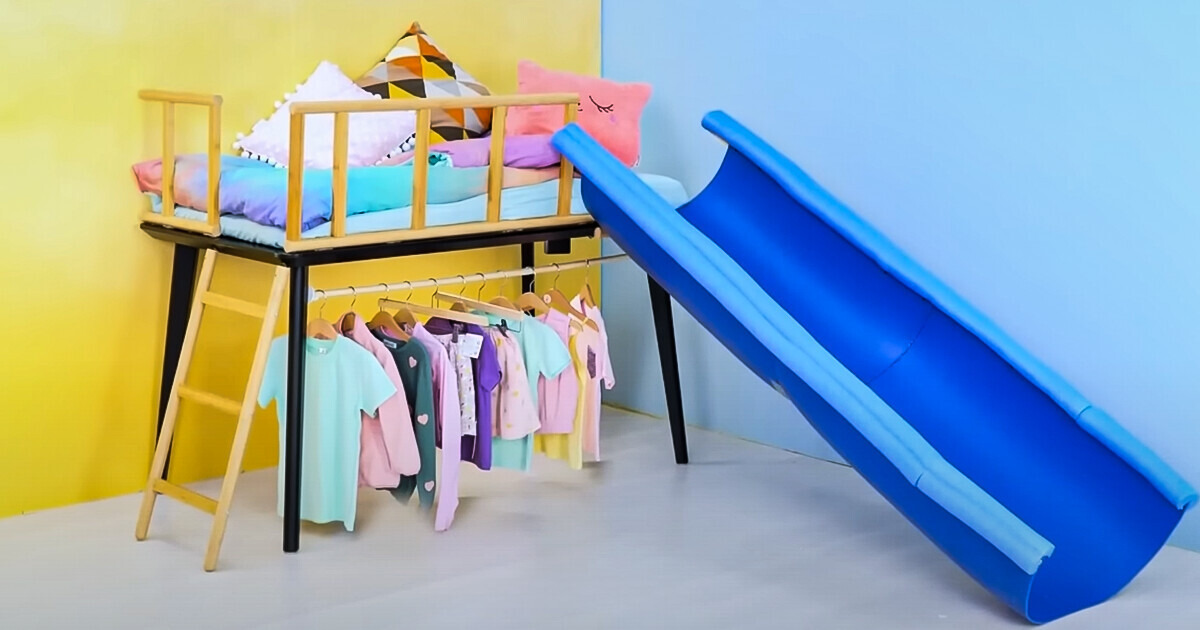
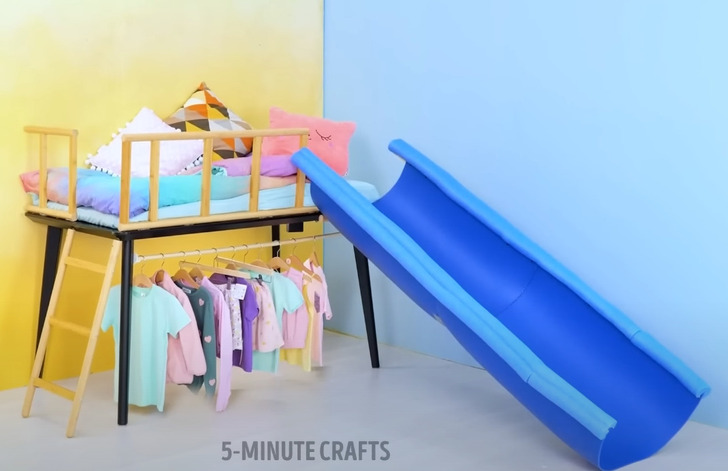
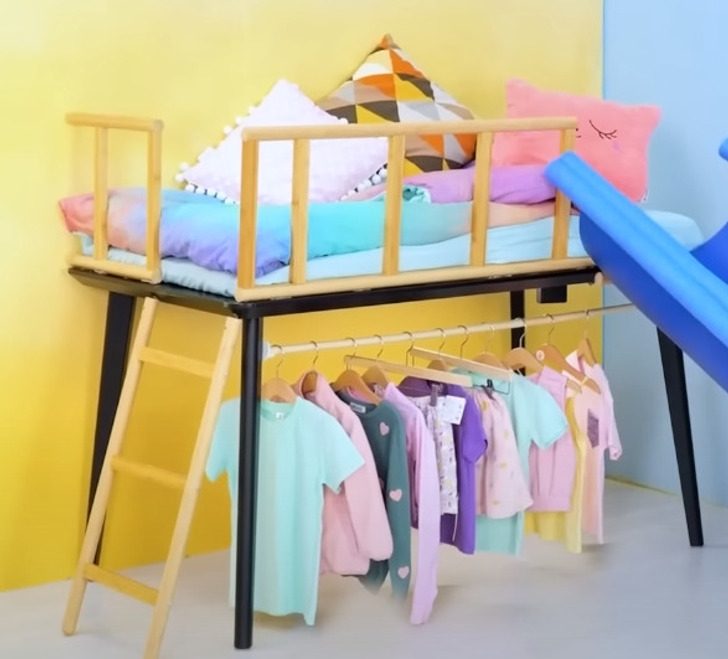
In this article, we’ll walk you through a straightforward and budget-friendly project that combines the joy of a kids’ bed with a slide and the practicality of a clothes rack. Create a delightful and functional space for your little one without breaking the bank. Join us as we show you how to make this fantastic beed to your child’s room!
Necessary materials
- Large plastic barrel
- Wooden table
- Wooden slats
- Screws and a screwdriver
- Ladder
- Saw or handsaw
- Pool noodle
- Silicone sealant
- Gloves
- Clothes rack tube support and clothes rack tube
1. Place the large plastic drum in a spacious area where you can work comfortably
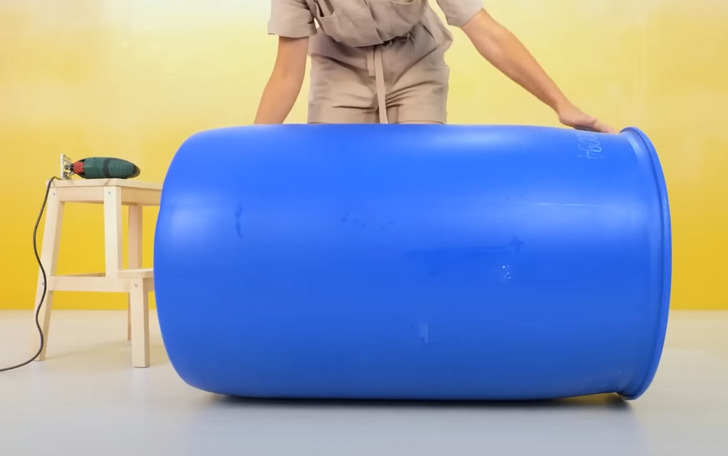
2. Cut the plastic drum vertically in half, creating two equal parts
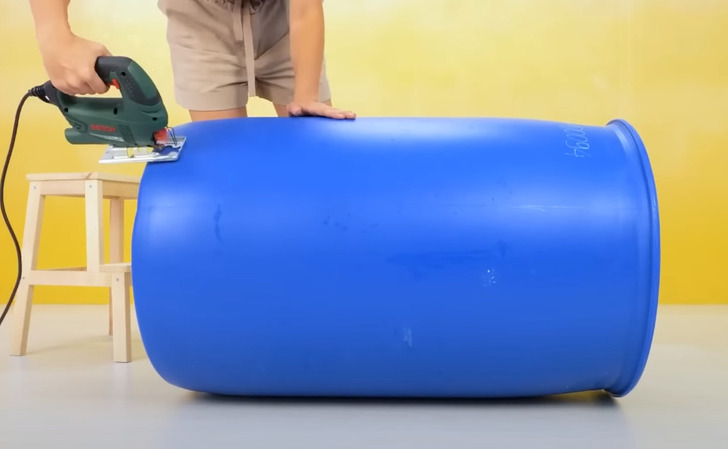
3. Remove and set aside the top and bottom of the drum; you won’t be using them
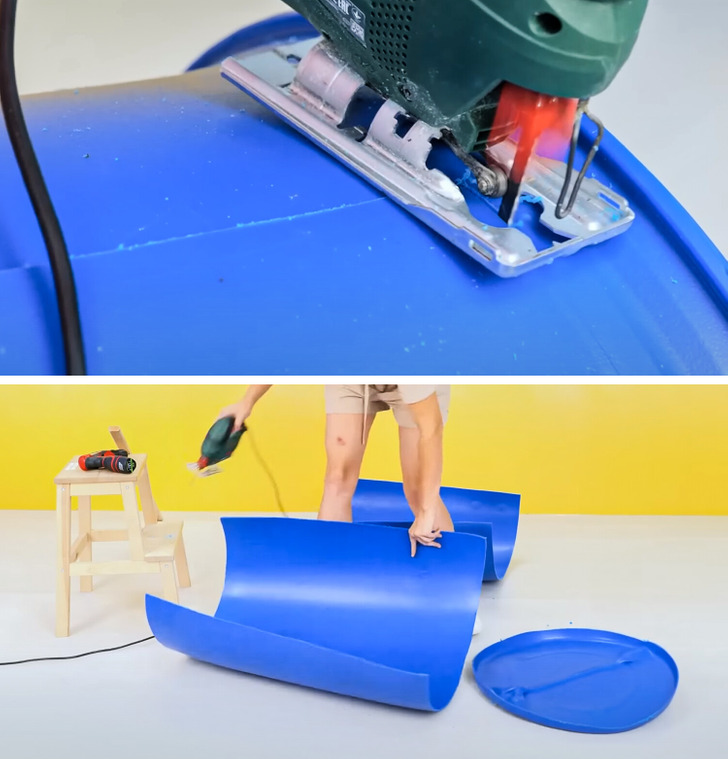
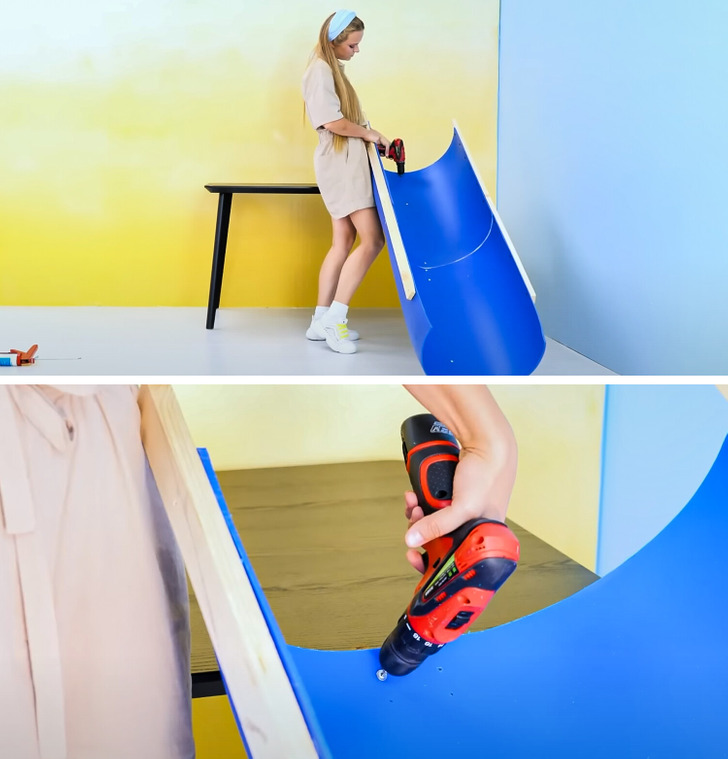
4. Take one of the drum halves and screw its side edges to a wooden plank
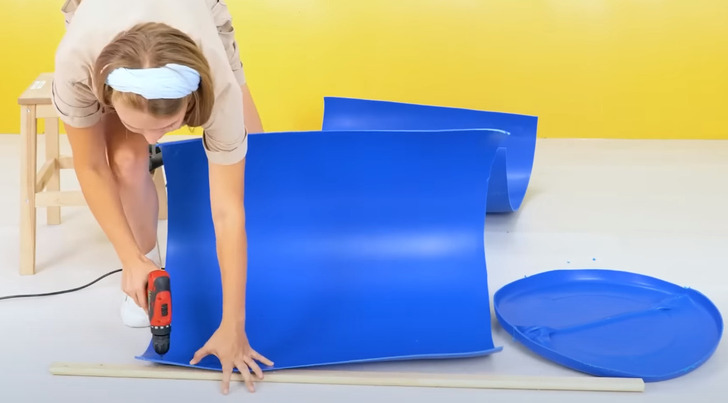
5. Use at least three screws to secure both ends and the center of the drum
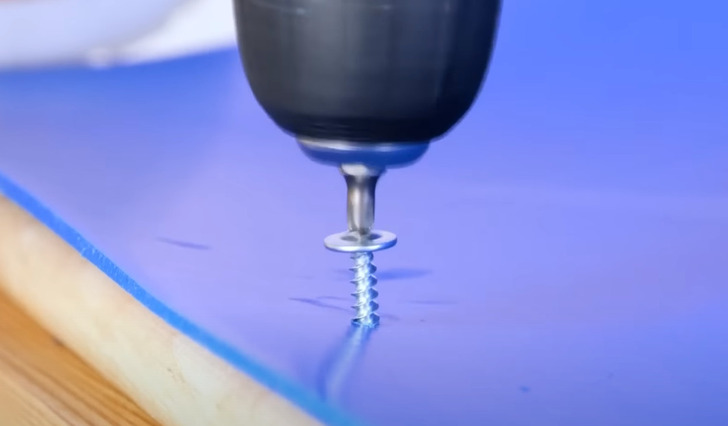
6. Just below the middle of the first drum half, similarly screw the other half
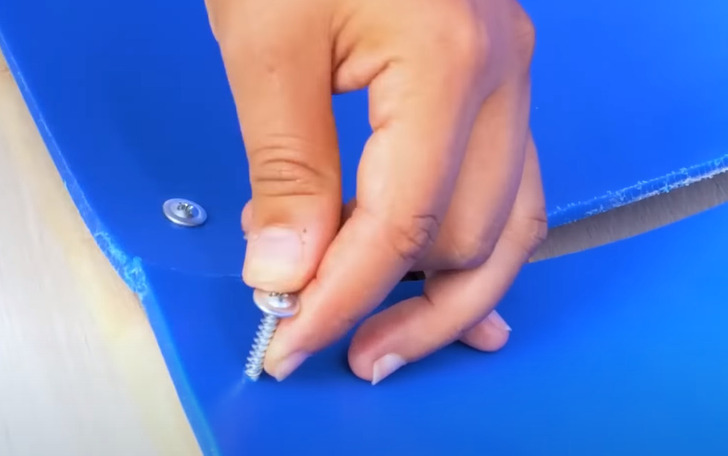
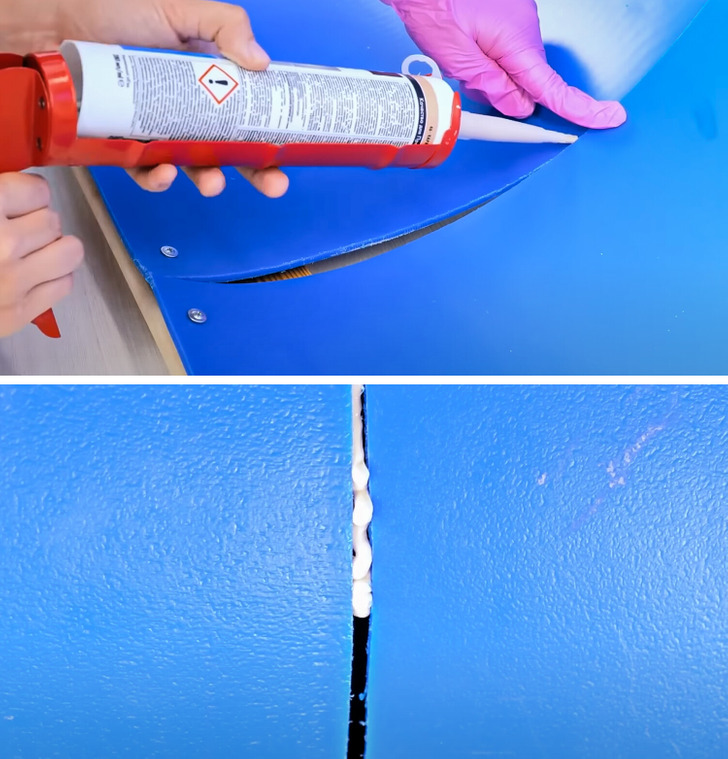
7. Apply sealant to the top and bottom edges and use your finger to achieve a uniform finish, joining the end of the first drum half to the beginning of the second
8. Secure the top part of the slide to the wooden table
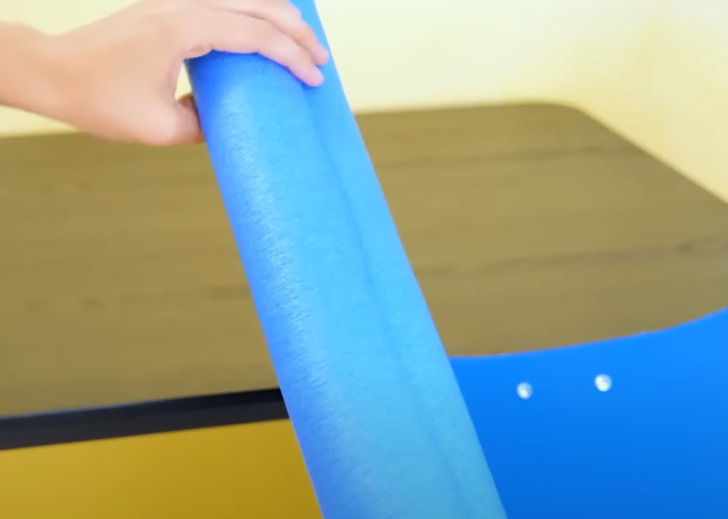
9. Cut pool noodles in half and place them as protectors on the sides of the slide
10. Cut the wooden ladder to match the table’s height and attach the remaining ladder section to the top of the table to create a safety barrier
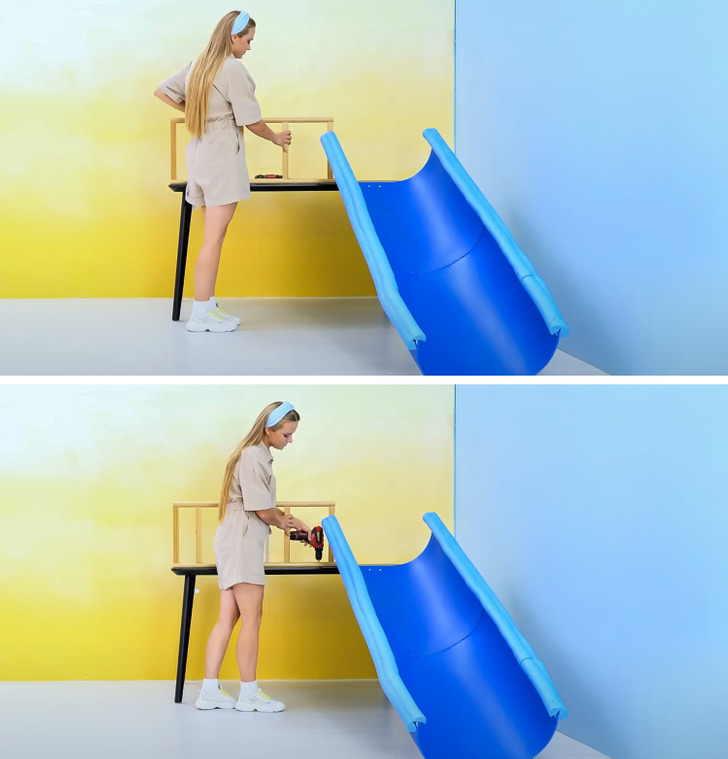
11. Secure the ladder in place by screwing it onto the table at the desired location
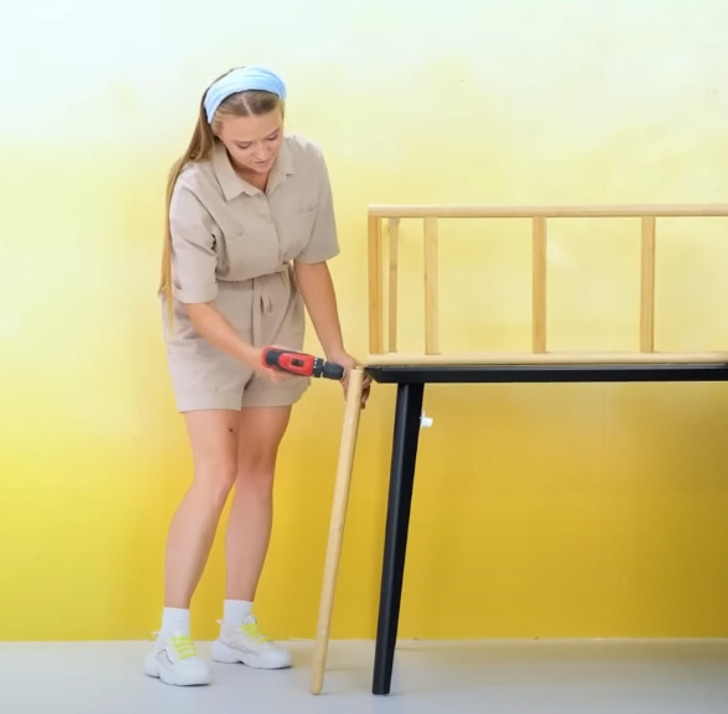
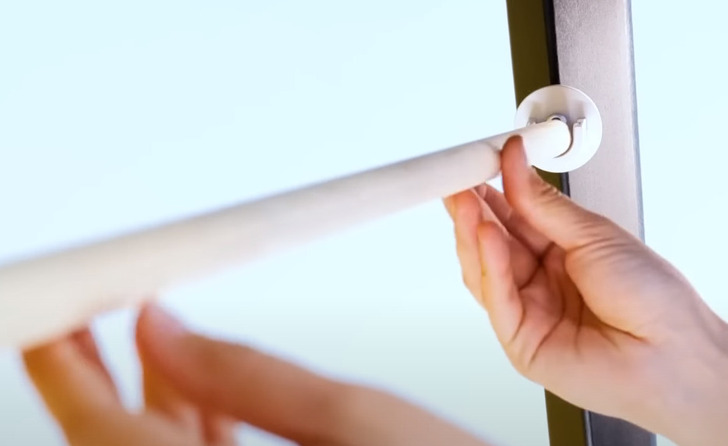
12. Now, attach clothing rack hooks to the two side legs of the table and add bedding and hangers for hanging clothes
13. This fantastic bed is now ready to use and will be a delightful surprise for the little ones in the house; they will surely love it
Check out more awesome kids’ room crafts and makeovers
Share This Article