How to Create a Modern and Stunning Glass Table with Realistic Legs
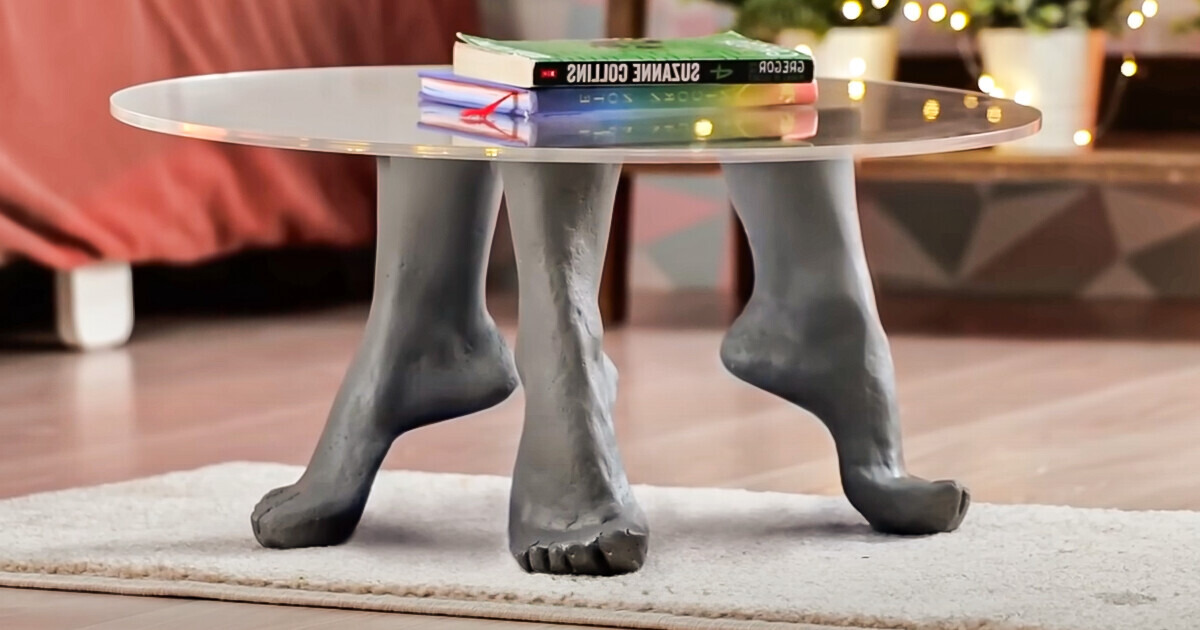
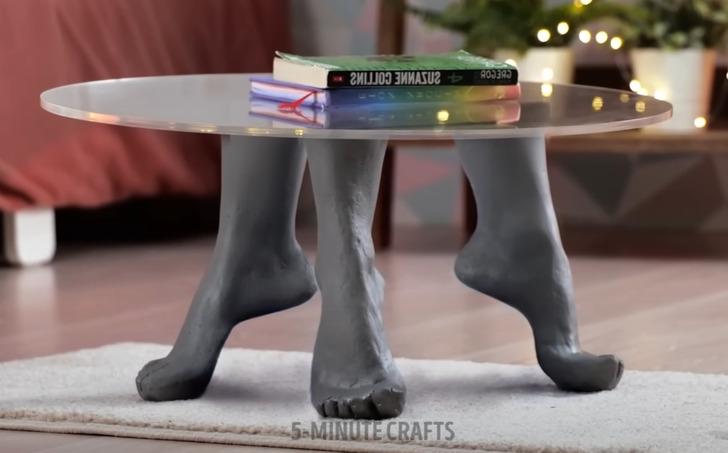
Discover a unique and creative way to elevate your interior design with our step-by-step guide on crafting a glass table featuring lifelike leg sculptures instead of traditional table legs. By following our instructions, you can add an artistic and eye-catching piece to your home that’s sure to be a conversation starter. Let your imagination run wild and take your home decor to the next level with this exciting project.
Materials you will need
- Medical-grade or specialized silicone for molds
- Plaster or gypsum
- Vaseline or another mold-release agent
- The body part you wish to replicate
- Scissors and sandpaper
- Plaster bandage
- Rectangular or square mold
- Circular glass
- Paint to decor (optional)
1. Start with a clean and dry leg, and apply a layer of Vaseline or oil to make it easier to demold later

2. Begin by covering the entire leg with silicone
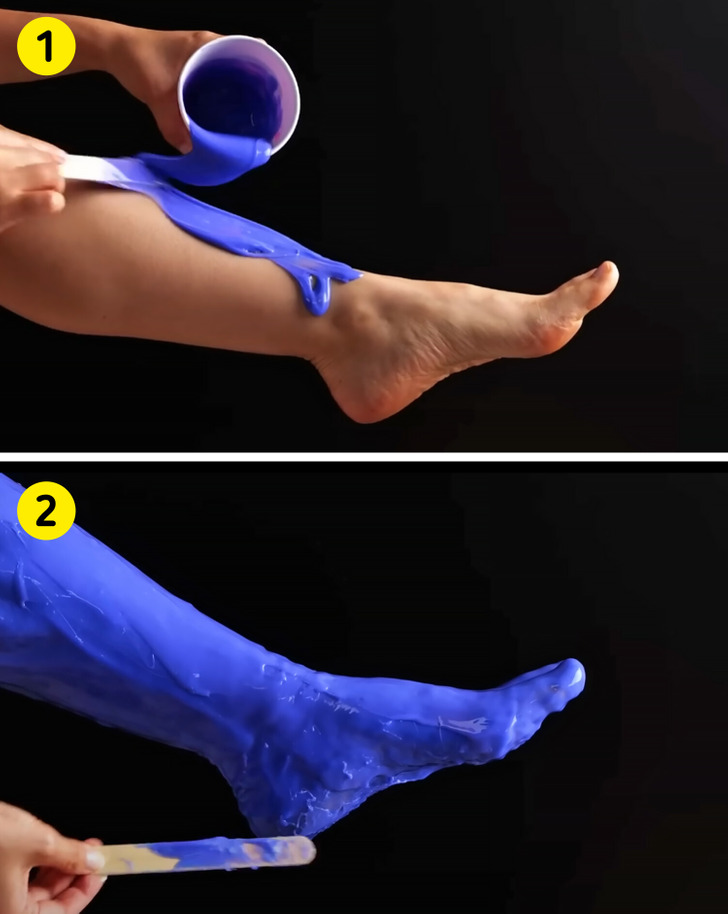
3. Once the leg is fully covered in silicone, apply the plaster bandages on top
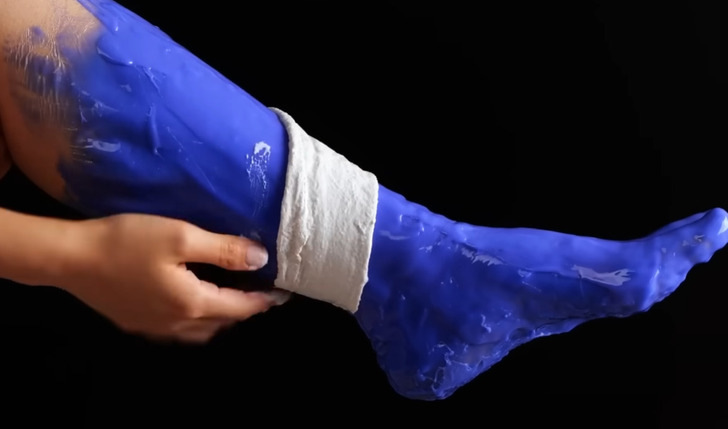
4. Make sure to overlap the strips to ensure thorough coverage
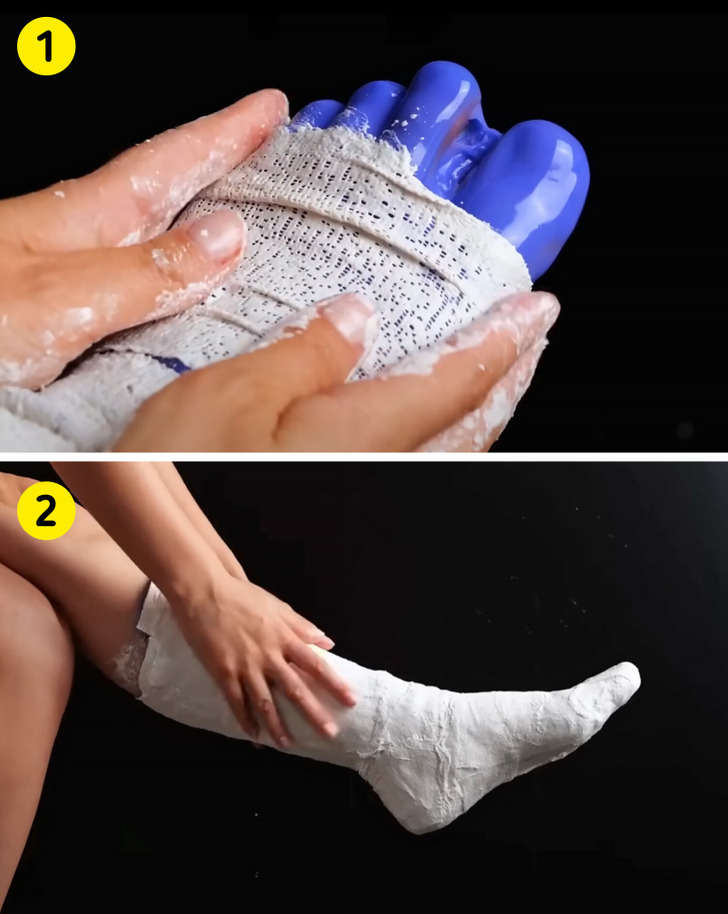
5. Once the plaster has solidified, carefully and gently cut only the plaster mold away

6. You don’t need to cut it all the way through; just enough to remove it from the leg
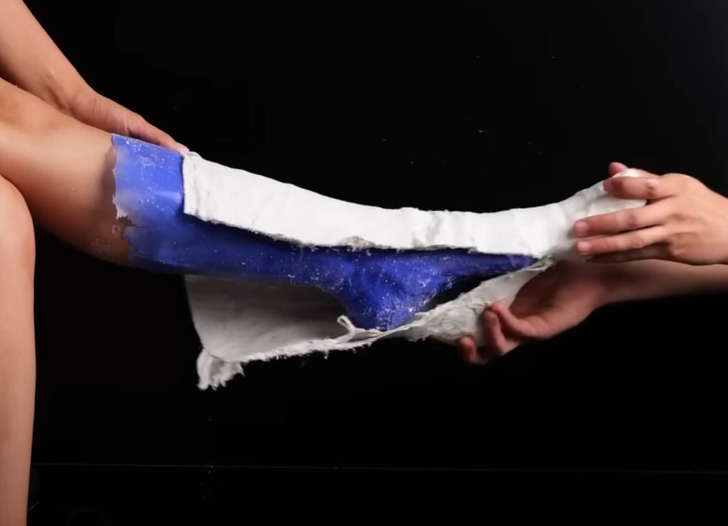
7. Now, like a sock, remove the silicone mold from your leg
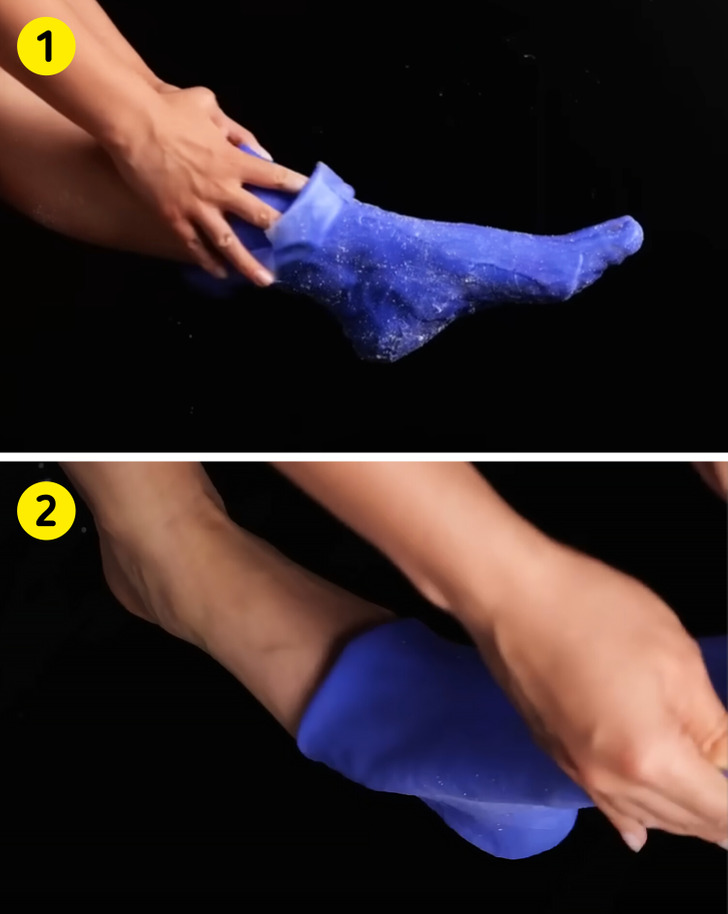
8. Place one mold inside the other, ensuring it fits snugly without any wrinkles or folds
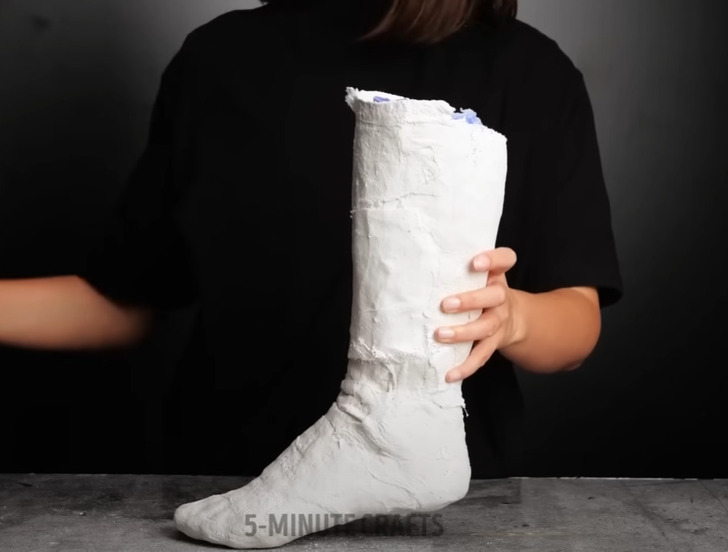
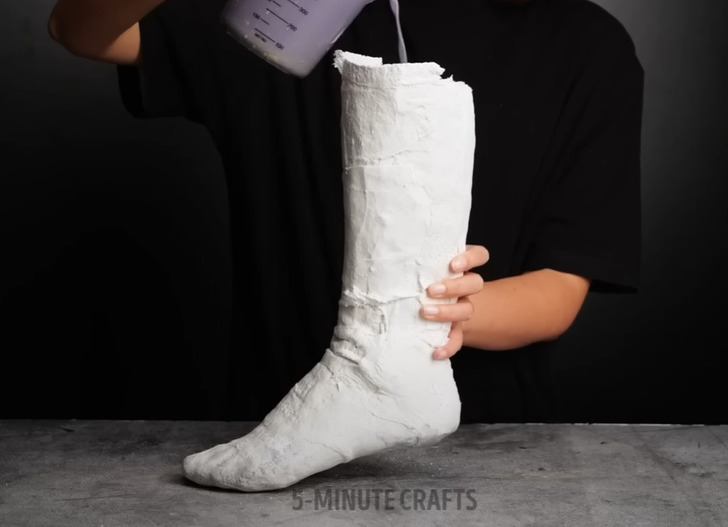
9. Seal the cut of the plaster mold with adhesive tape for extra support, and fill the molds with a mixture of liquid plaster
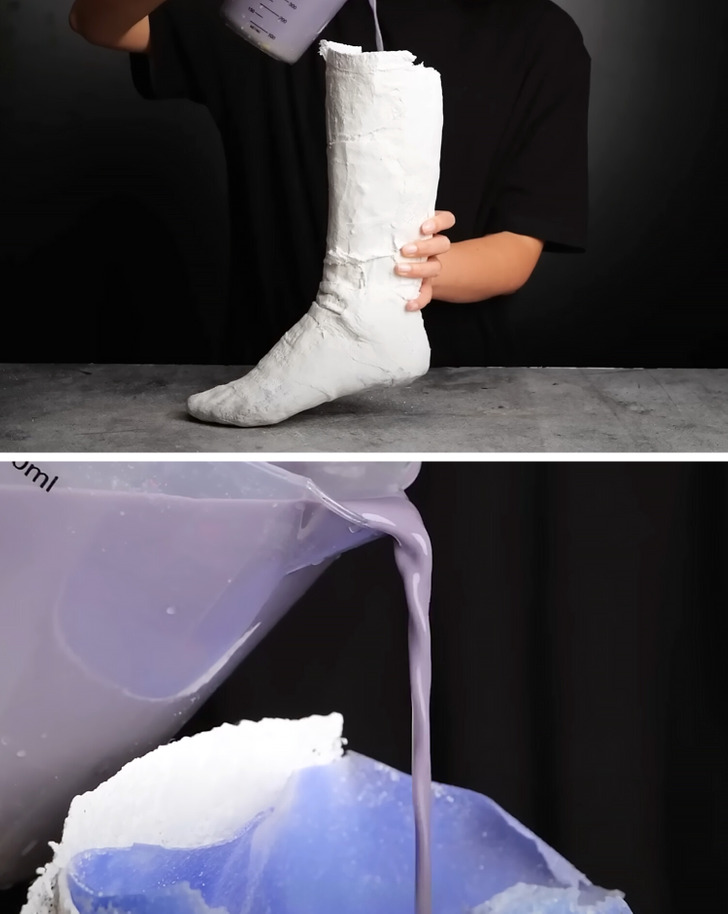
10. Once it has solidified, carefully remove the molds in the same manner you removed them from your leg and create two identical pieces in addition to the one you just made
11. Finally, place the three leg pieces, with the foot facing upwards, onto the rectangular or square mold and apply plaster to create a support piece that will hold the legs together and secure the glass
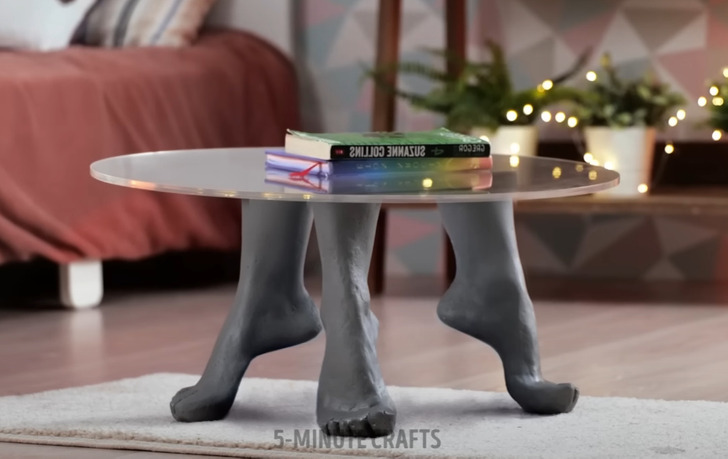
Check out more fantastic crafts and DIY decor with silicone, cement, and epoxy resin
Share This Article