How to Create a Stunning 3D Hand Drawing with Lines and Colors
In this step-by-step guide, we will walk you through the process of crafting a lifelike 3D hand illustration that will captivate your imagination. Whether you’re an aspiring artist or simply looking for a creative project, this tutorial will take you on a journey to transform a flat piece of paper into a three-dimensional masterpiece. Let’s dive in and explore the artistry of 3D hand drawing together!
List of materials you will need
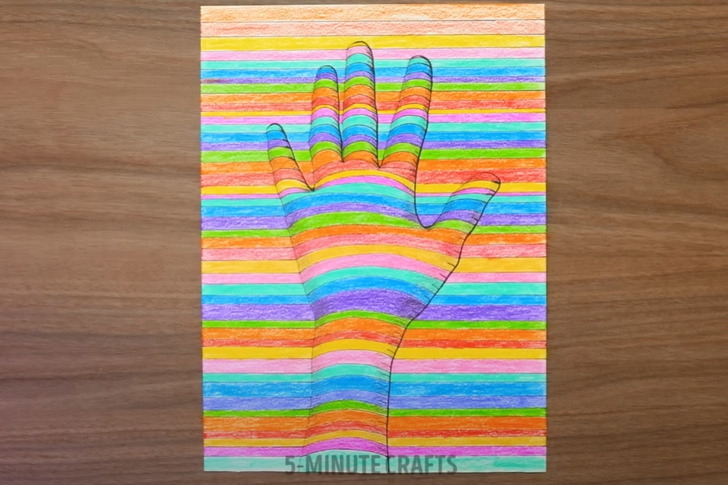
- White paper
- Pencil
- Eraser
- Ruler
- Color pencils or markers
1. Place your hand flat on the paper, fingers spread apart, and trace the outline using a pencil
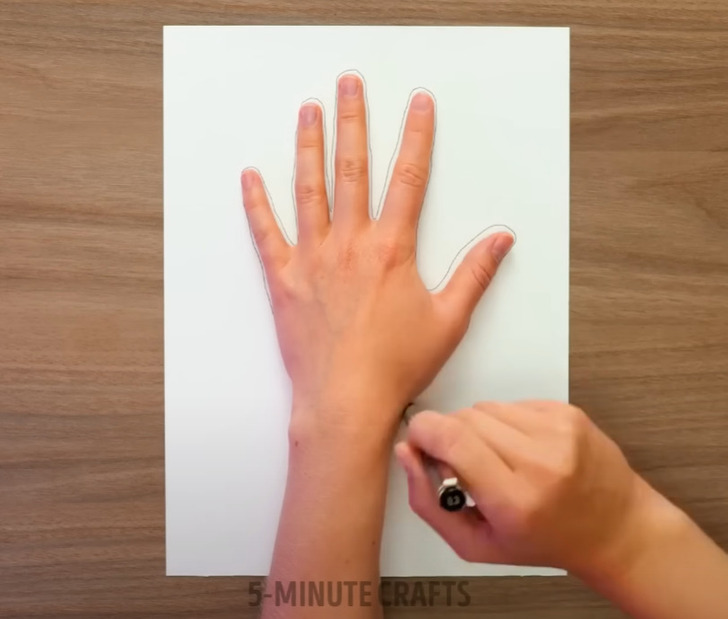
2. Using a ruler, draw straight lines extending from the fingertips towards the wrist
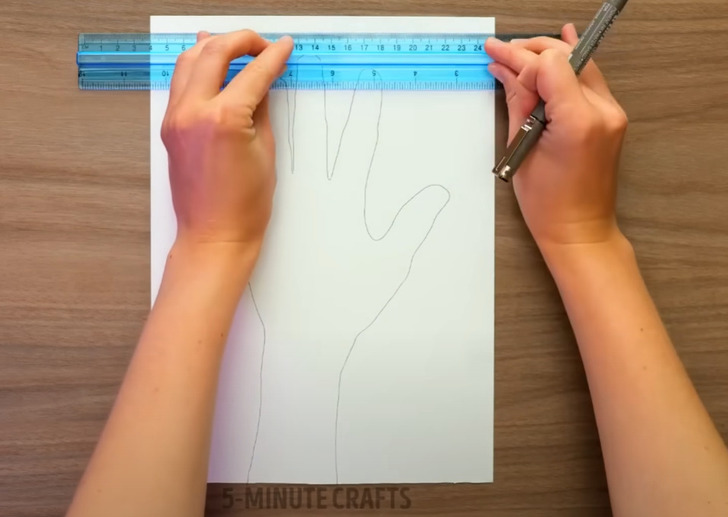
3. These lines will create the illusion of depth, so make sure the lines are evenly spaced and parallel to each other
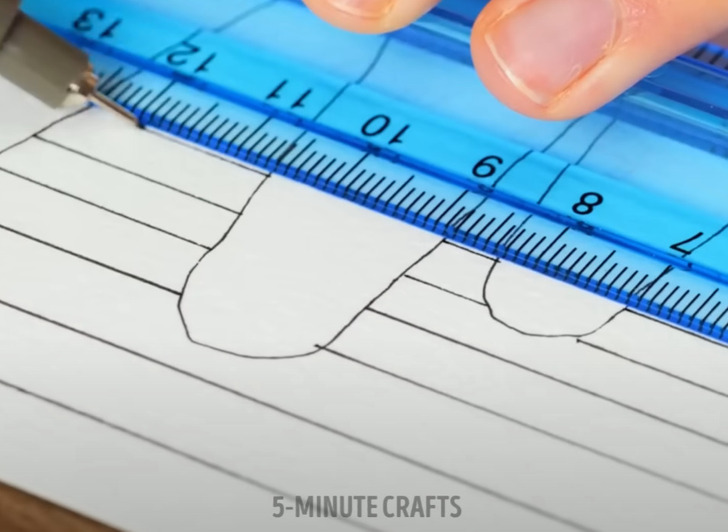
4. To give the hand a more natural shape, draw curved lines along the outline of the fingers
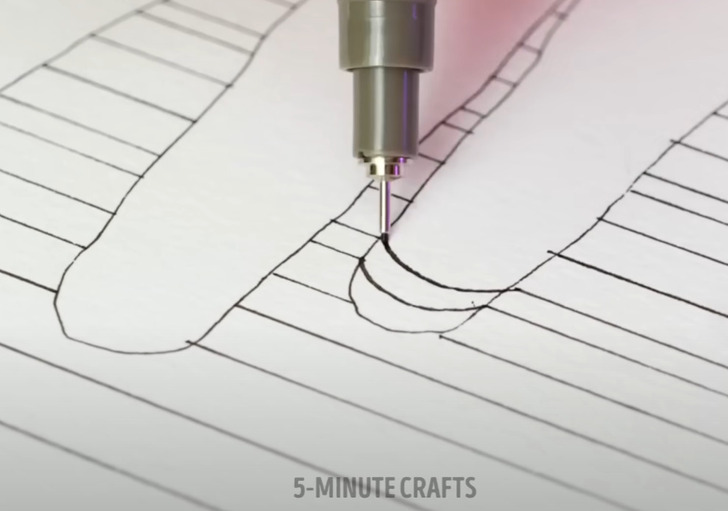
5. These curves will represent the knuckles and joints, so add curves on the palm too to show its natural contours
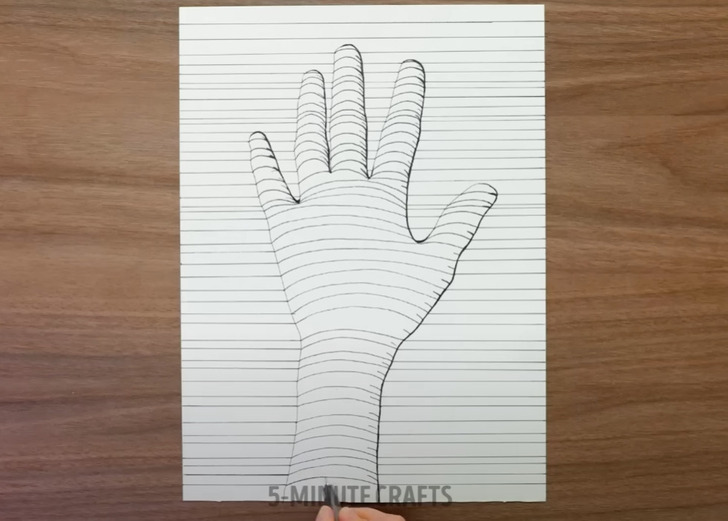
6. Decide where your light source is coming from (e.g., top-left, top-right) and shade the areas of the hand that would be in shadow accordingly
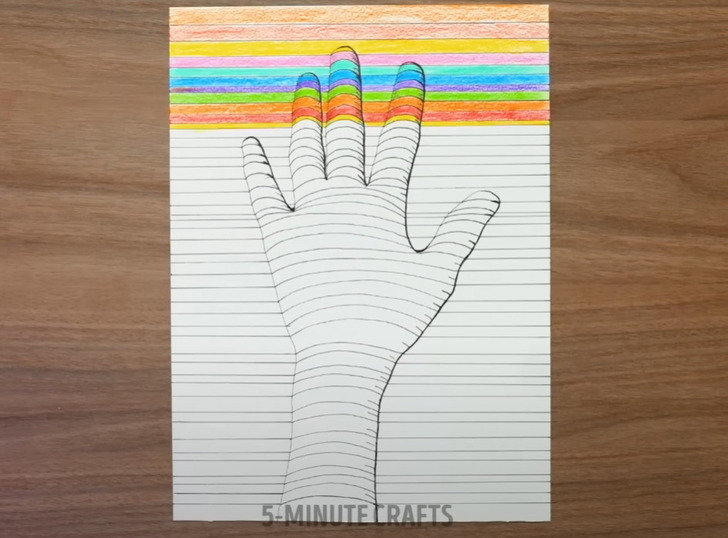
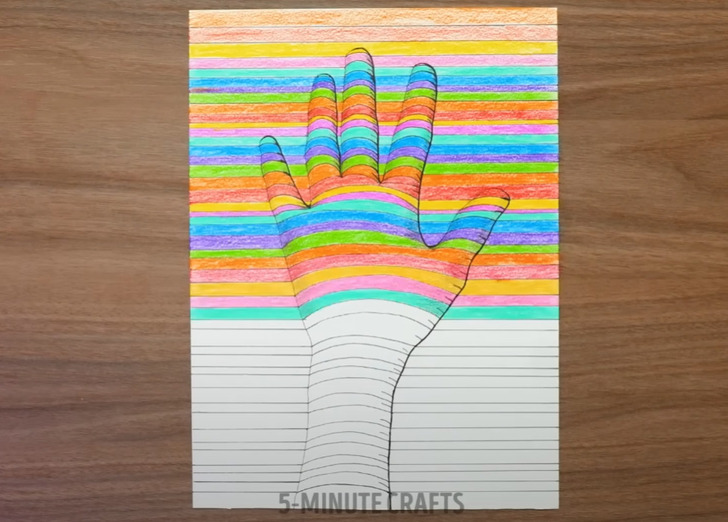
7. Use colored pencils or markers to add shades to the lines, each line in the same color from one end to the other until you cover the entire paper
Check out more awesome art hacks and easy drawing ideas
Share This Article