How to Create a Stunning LED Constellation Nightlight with Epoxy Resin
Discover how to create a mesmerizing LED constellation lamp that brings the night sky into your home. With a transparent epoxy centerpiece filled with sparkling bubbles and a reflective base, this DIY project not only adds a touch of magic to your decor but also serves as a soothing nightlight. Explore the cosmos from the comfort of your room with this creative and illuminating craft.
Materials needed
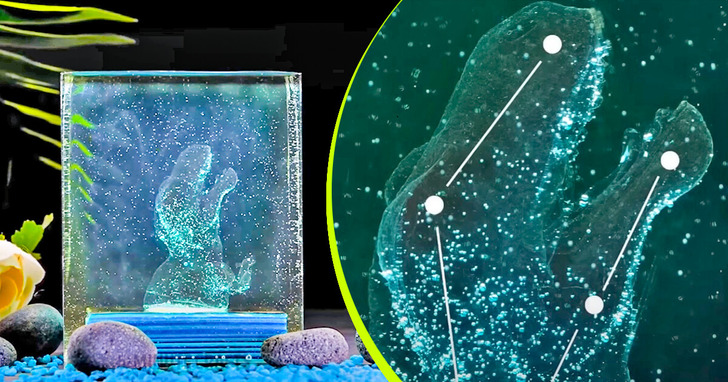
- Transparent epoxy resin
- Silicone
- Rectangular mold
- LED lights with battery pack
- Constellation template or design
- Wood base for the lamp (optional)
- Stirring sticks
- Disposable cups
1. Find a constellation design or template that you’d like to recreate in your lamp and place it into a mold, we will use a plastic dinosaur

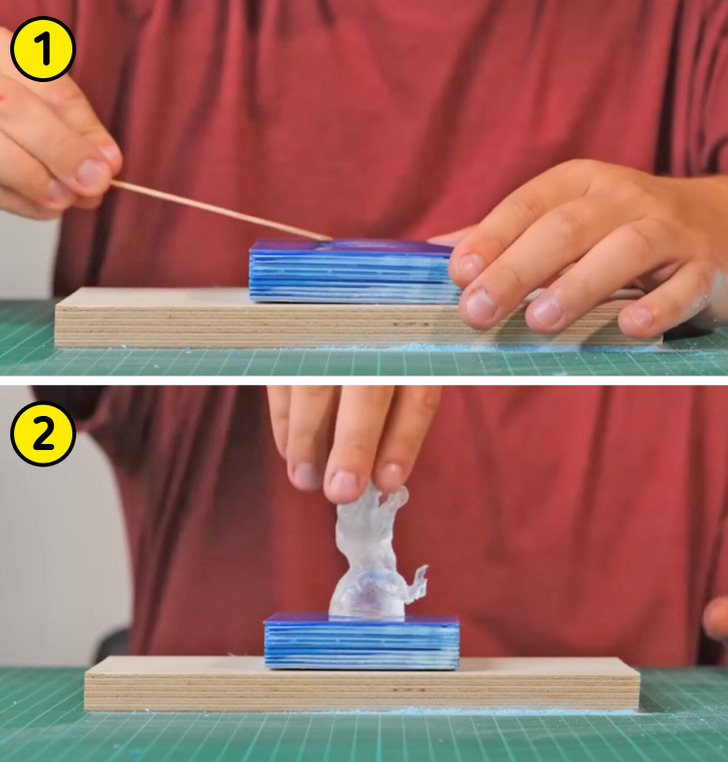
2. Fill the mold with the silicone, completely covering the object you have chosen
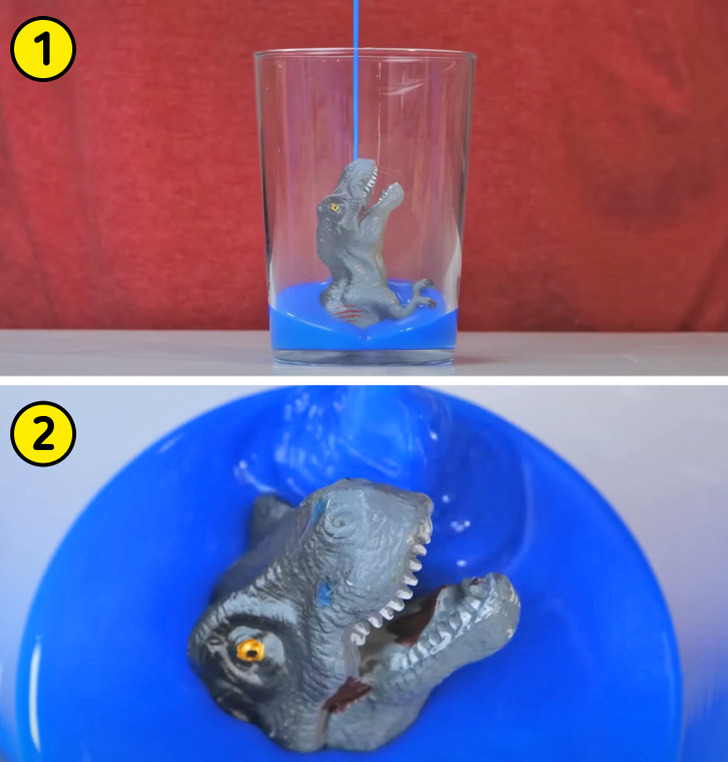
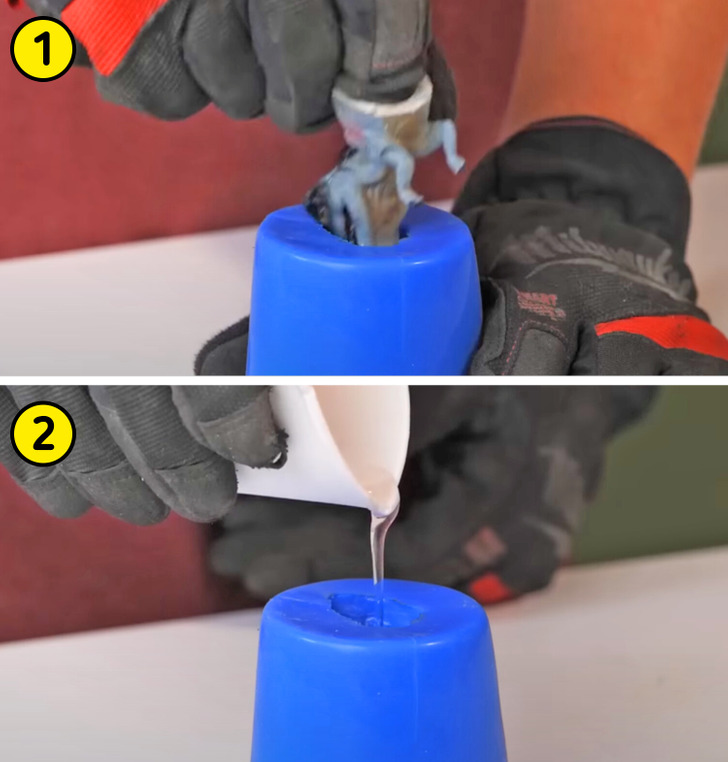
3. Once dry, remove the object from the silicone mold and fill the space created with transparent Epoxy resin to replicate the design
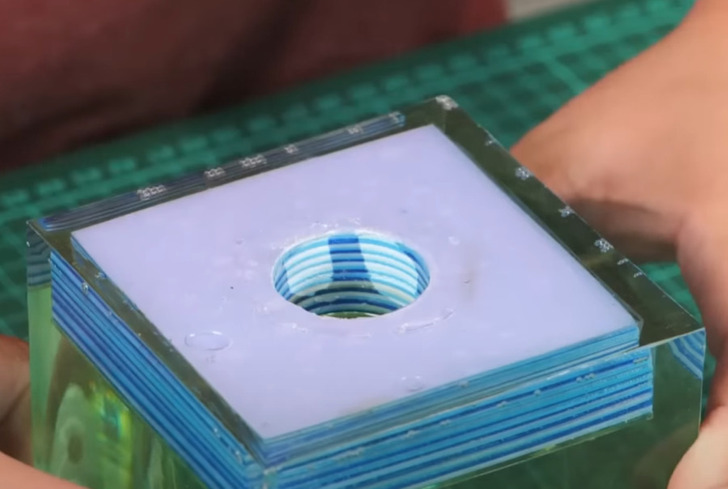
4. For the base you can use a piece of wood or create an epoxy base, one way or another, the important thing is that the base has a hole for the LED lights in the middle
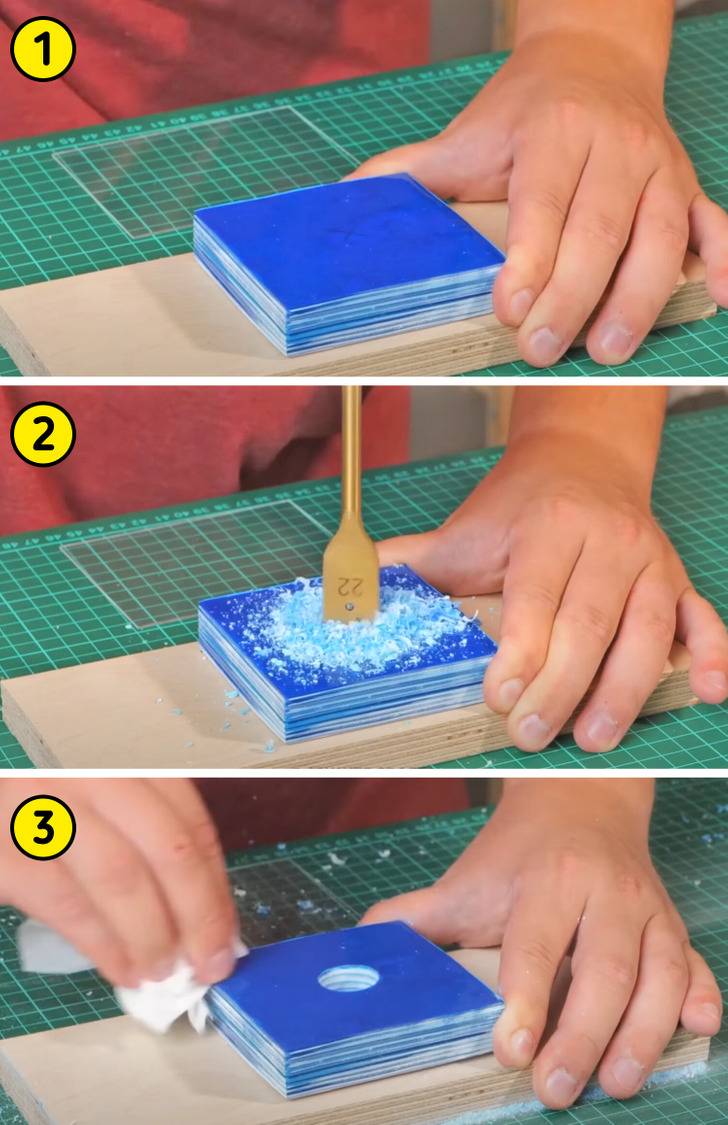
5. Cover the top of the base with glue and adhere an acrylic sheet piece of similar size to the base
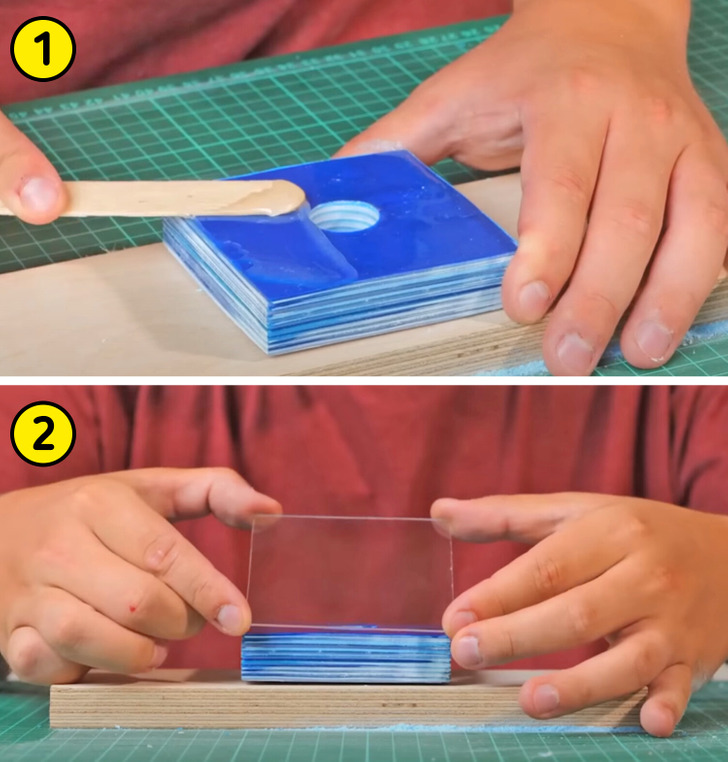
6. Center the epoxy resin piece on the acrylic sheet and glue it in place
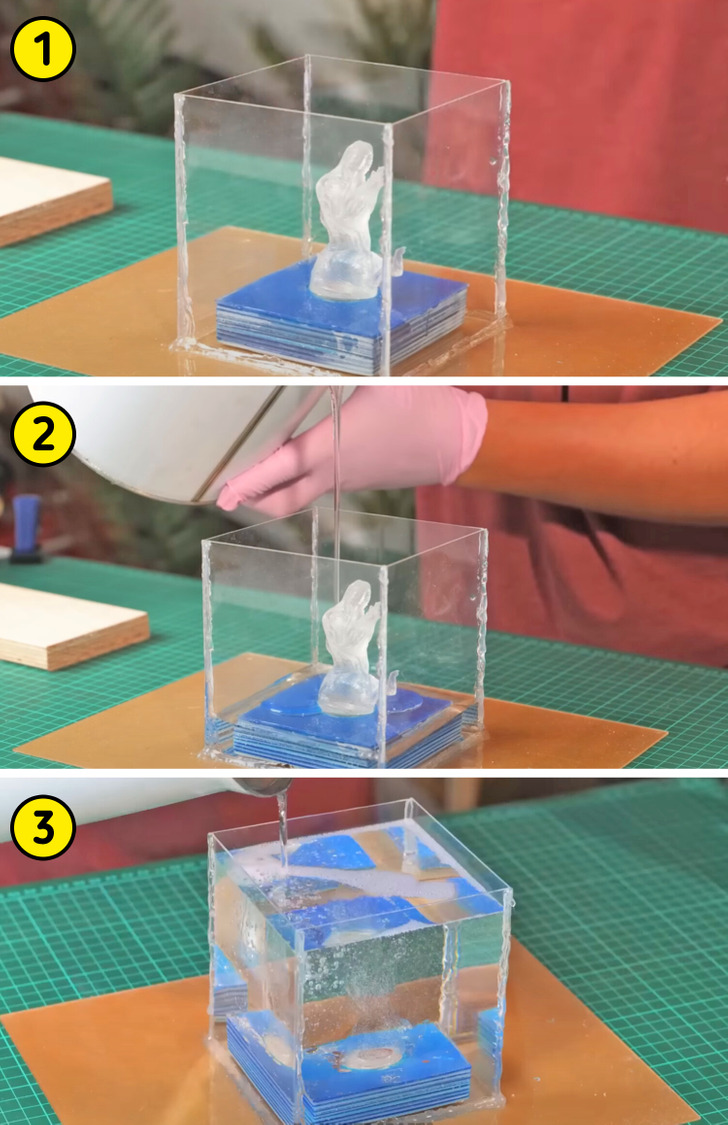
7. Place the full piece into a mold and fill it with transparent Epoxy resin
8. Once dry, unmold carefully
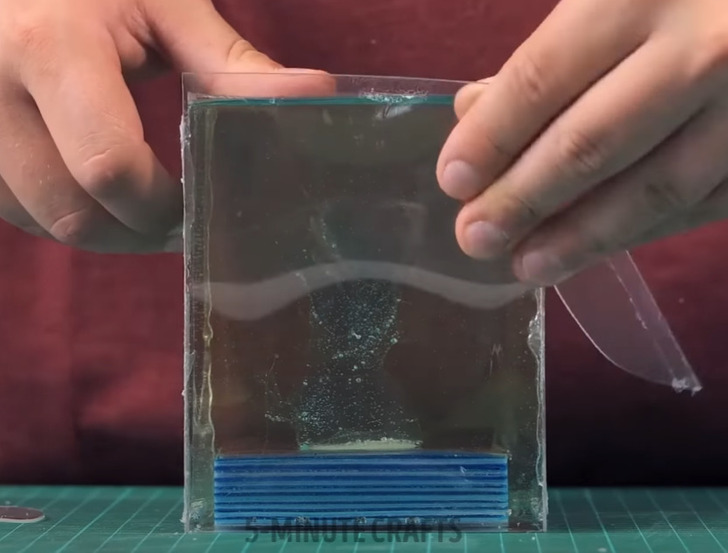
9. Finally, place the LED lights inside the hole in the base, turn them on, and enjoy the magic
Check out more fantastic epoxy resin crafts for all occasions
Share This Article