How to Create a Useful DIY Kids’ Bike Rack to Save Space in Your Home
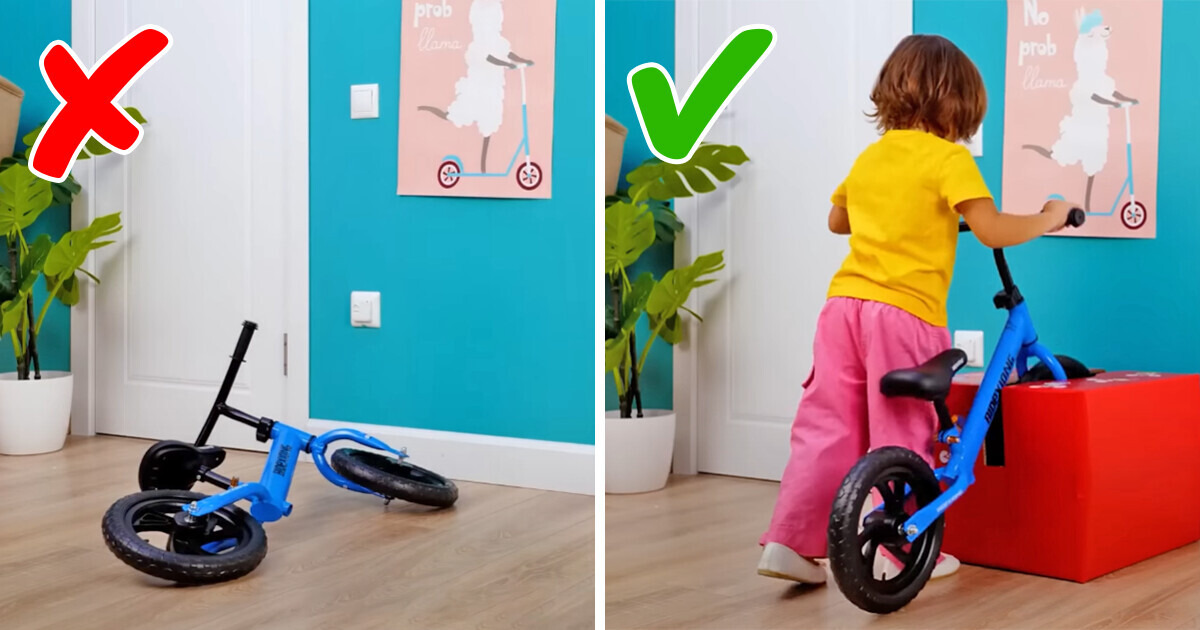
Learn how to make a cardboard bike stand for kids in this step-by-step guide. It’s a fun and creative DIY project that provides a simple solution for storing and displaying children’s bicycles. Get ready to roll with this handy tutorial!
Materials you’ll need
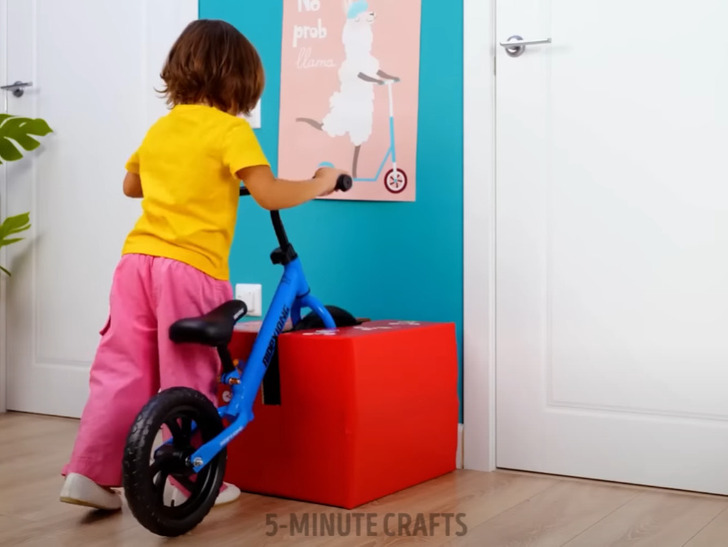
- A large and sturdy cardboard box
- Cutter or scissors
- Strong adhesive tape
- Colored adhesive paper
- Markers or decorative stickers
1. Get a large and sturdy cardboard box
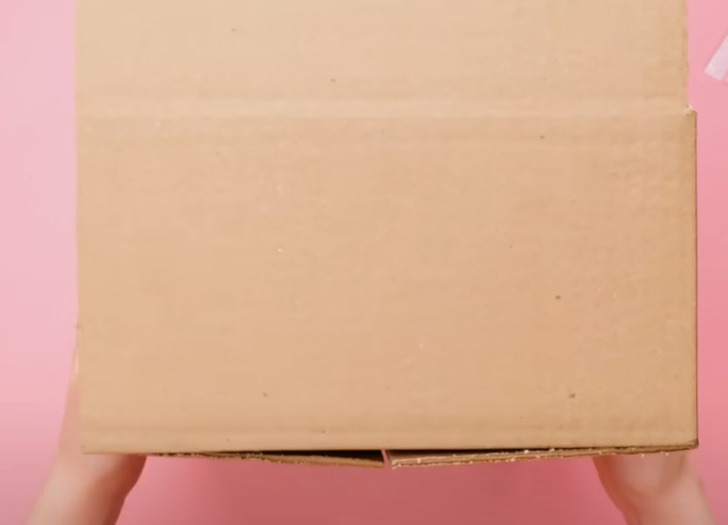
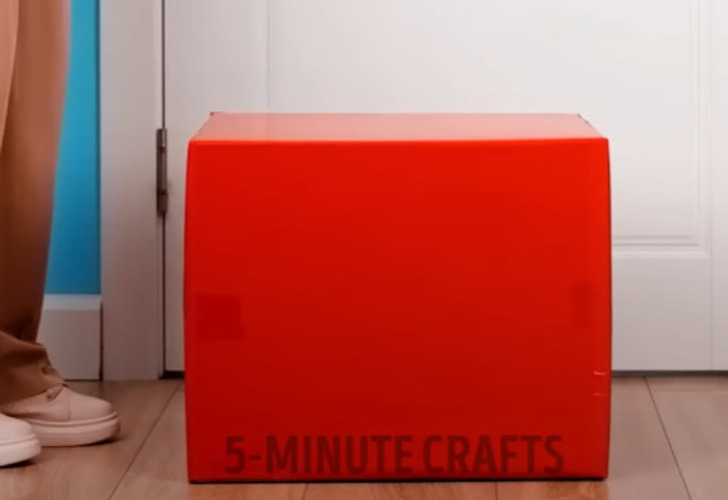
2. Close the box with tape and cover it with colored adhesive paper
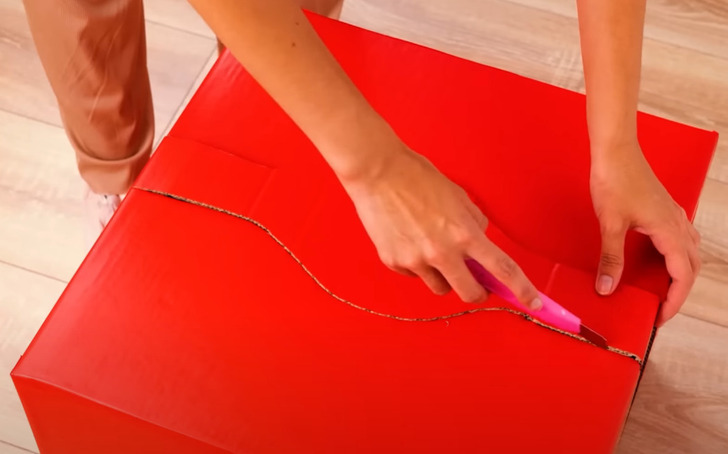
3. Cut a strip across the top, from one end to the other, with a width just slightly larger than the bicycle’s wheels
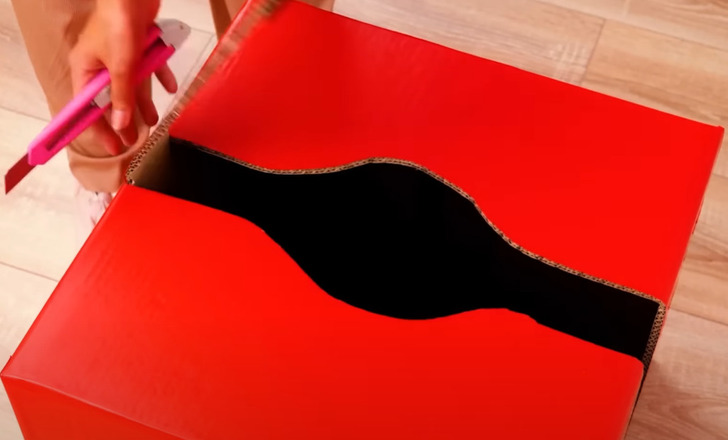
4. In the center, the strip will need to widen even further to allow for the passage of the front wheels’ attachment of the bicycle
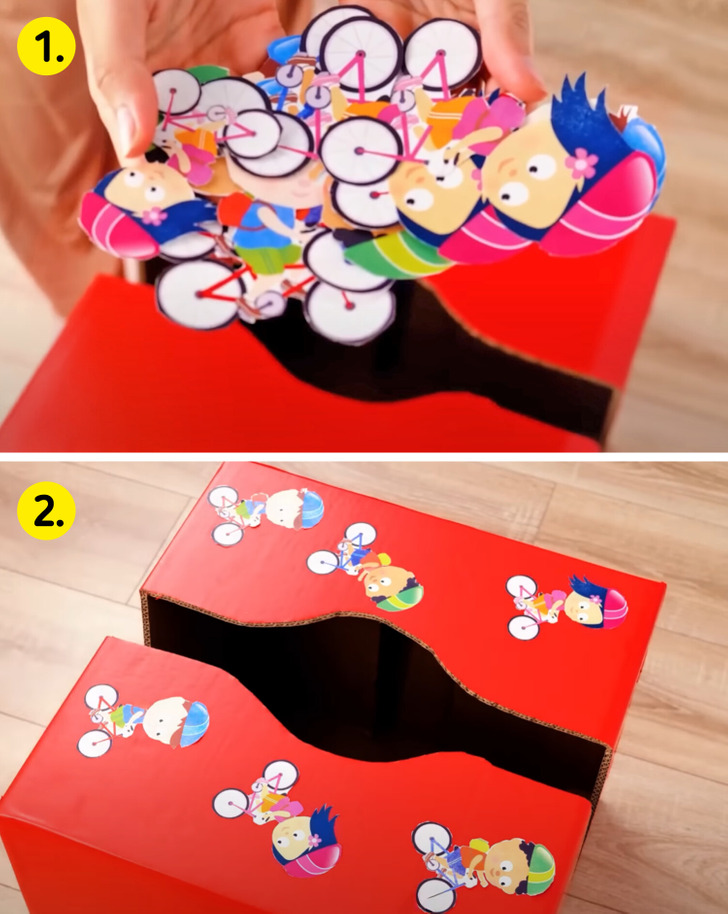
5. If you want to decorate the stand, this is the time to do it, you can draw fun designs or add decorative stickers
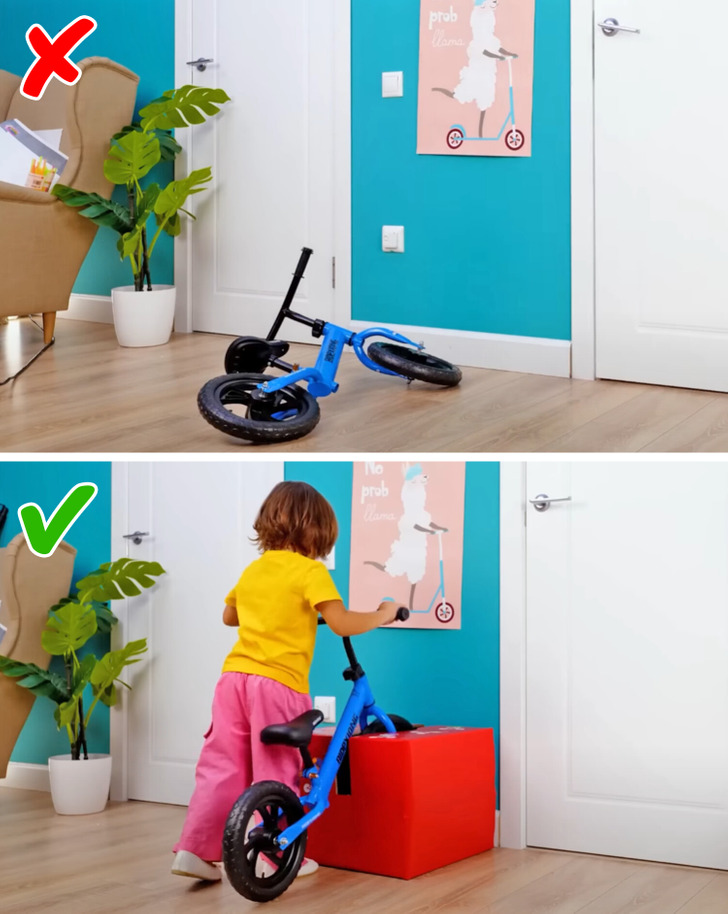
6. The bike wheels should fit into the slots you’ve created and for added stability, you can secure the box to the floor with strong adhesive tape or add additional weight inside the box
Check out more awesome parenting hacks and crafts
Share This Article