How to Create Decorative Stickers of Your Favorite Characters at Home
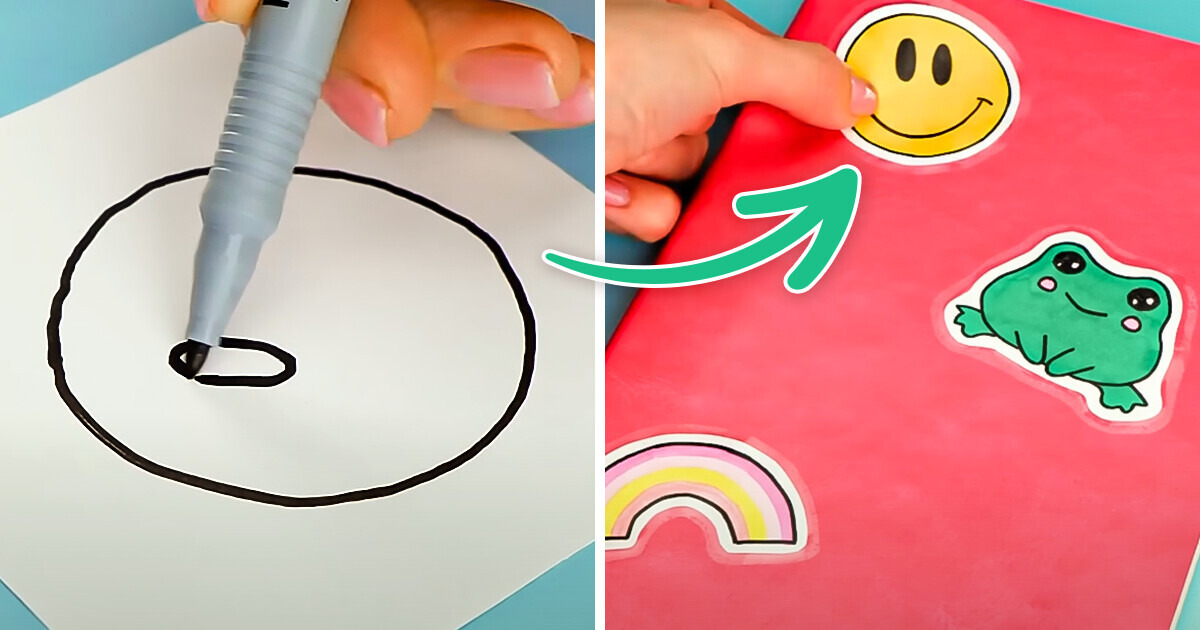
Learn the art of creating homemade stickers with our step-by-step guide. Crafting your own stickers is not only fun but also allows you to personalize your belongings. Dive into the world of DIY stickers and discover creative ways to add a personal touch to your items.
Materials you will need:
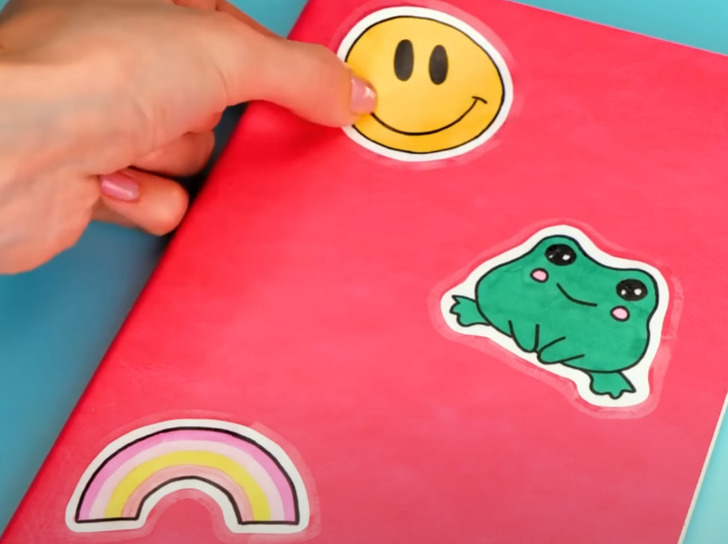
- Parchment paper
- Transparent contact paper
- Images or designs for stickers
- Scissors
1. Choose the images or designs you want to turn into stickers, these could be pictures, drawings, or printed images.
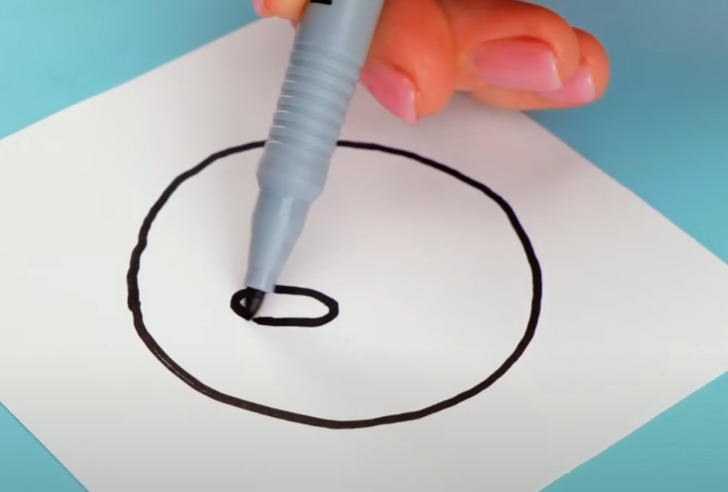
2. Trim your image following its shape, but not right along its edge, leave a few millimeters of space.
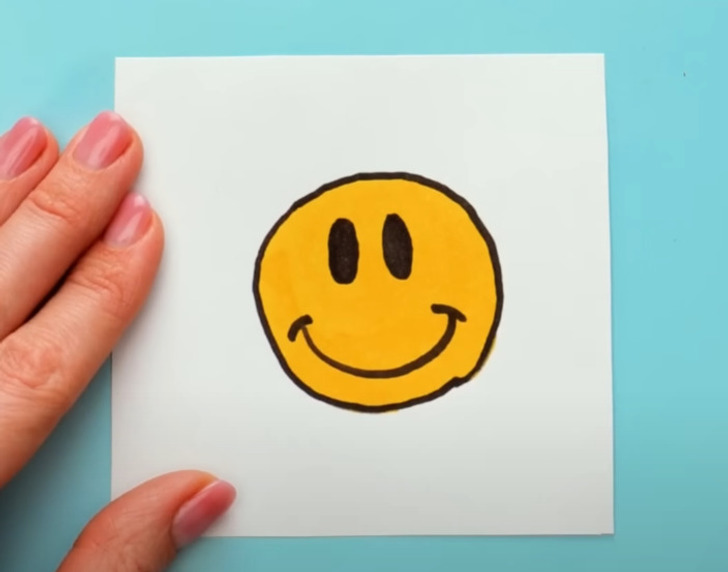
3. Place a sheet of parchment paper on a flat surface, ensuring it’s clean, and lay your chosen images or designs on the parchment paper.
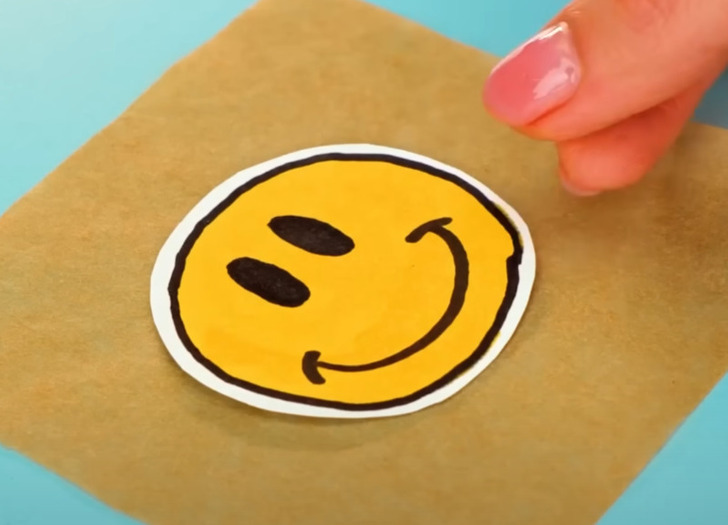
4. Once your images are in place, cut a piece of transparent contact paper slightly larger than the parchment paper with the images and carefully peel the backing off the transparent contact paper to expose the adhesive side.
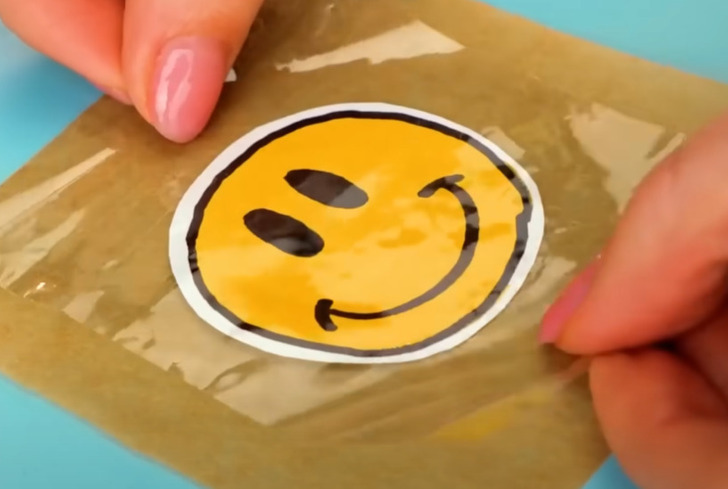
5. Lay the sticky side of the contact paper over the images on the parchment paper and smooth out any bubbles or wrinkles, ensuring a firm bond between the contact paper and the images.
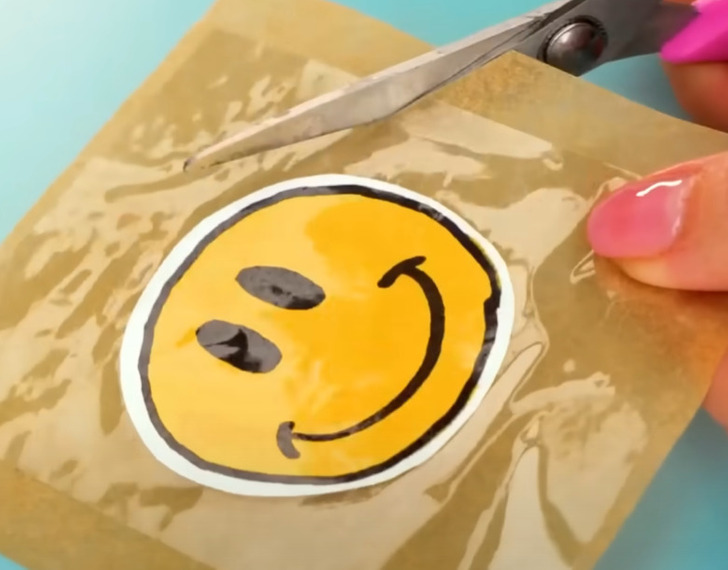
6. Using scissors, carefully cut out the sticker shapes, again following its shape, but not right along its edge, leaving a few millimeters of space.
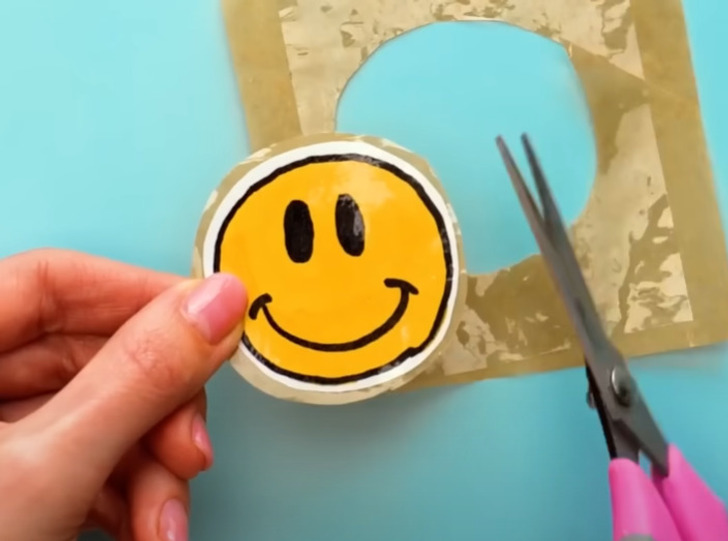
7. Once you’ve cut out all your stickers, you can use a pen to add any additional details or outlines to enhance the stickers’ appearance.
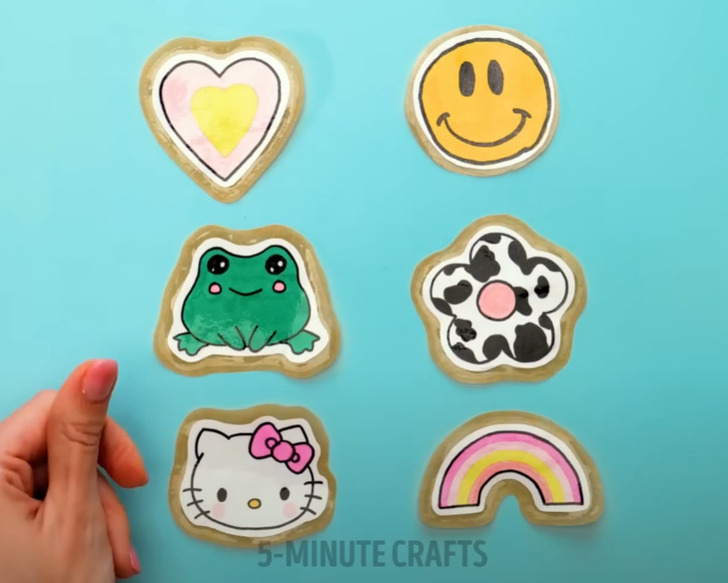
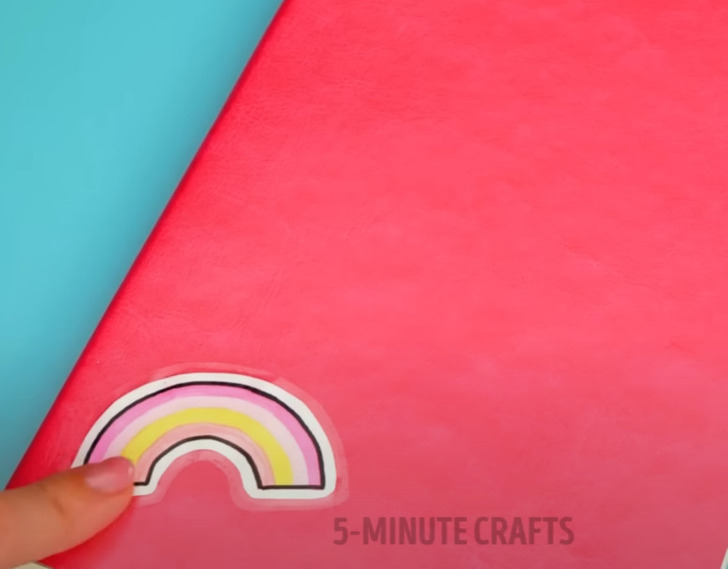
8. Your homemade stickers are now ready to use! Simply peel off the backing of the contact paper to reveal the adhesive side of the stickers, and then stick them wherever you like.
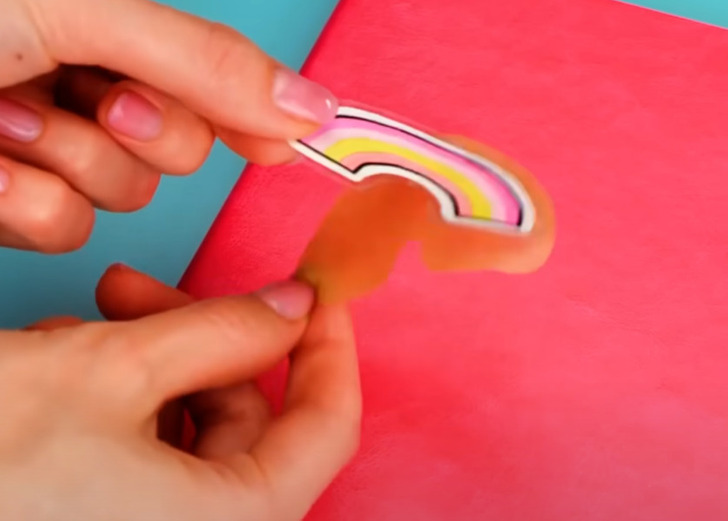
9. Remember, this method allows you to create custom stickers from your own designs or images, making it a fun and creative DIY project. Enjoy decorating with your homemade stickers!
Check out more school hacks and crafts that will blow your mind!
Share This Article