How to Create Easy and Stunning DIY Jewelry with Shrink Plastic
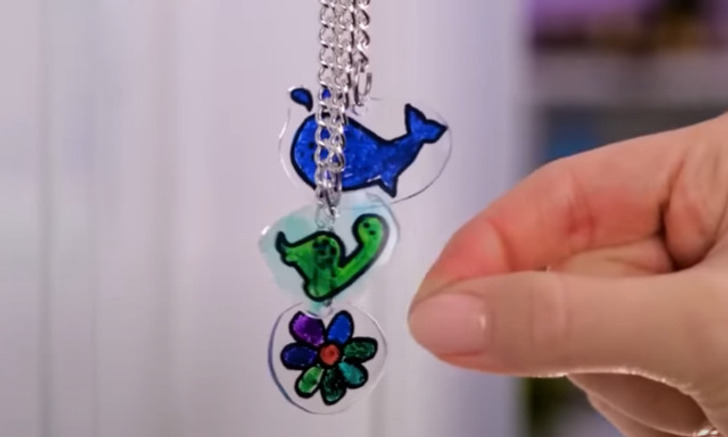
Discover the world of shrink-plastic jewelry with our easy-to-follow guide. Whether you’re a seasoned crafter or a beginner looking for a creative project, making your own unique pendants using shrink plastic is a fun and rewarding endeavor. Create personalized pendants that reflect your style and imagination. Let’s get started on your shrink-plastic pendant-making adventure!
Materials Needed
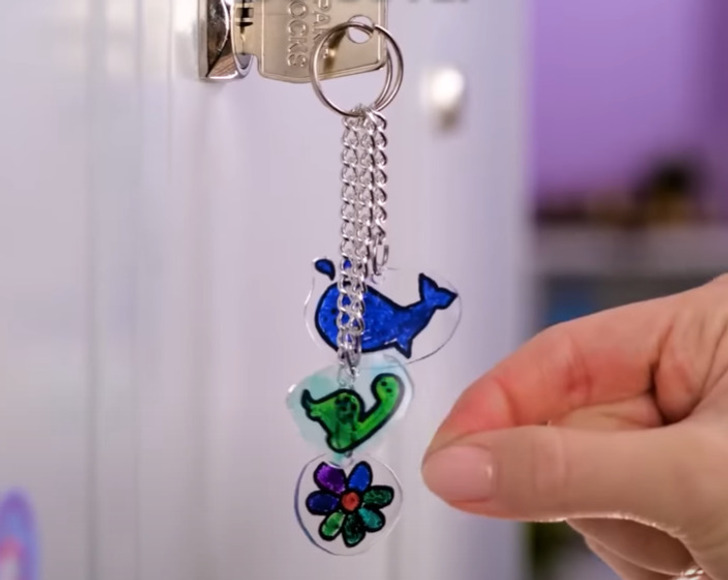
- Disposable plastic trays
- Scissors
- Permanent colored markers
- A hole punch
- Parchment paper
- Microwave oven
- Thread, cord, or charms
1. Wash and dry the disposable plastic trays to ensure they are clean and free of food residue
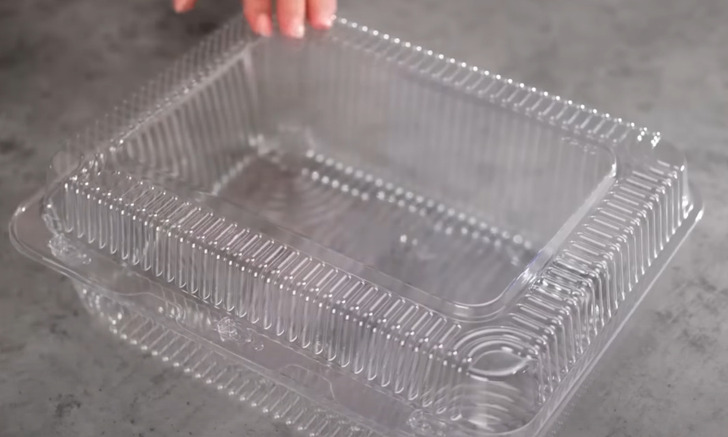
2. Use permanent colored markers to decorate your plastic shapes, keeping in mind that their size will shrink by half after baking
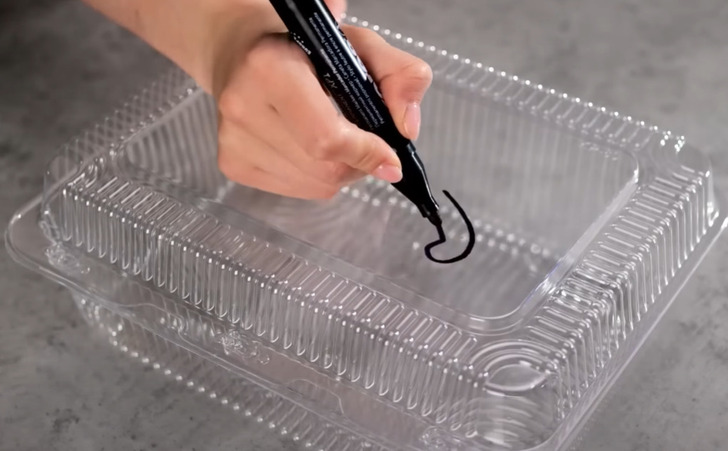
3. You can draw patterns, colors, or abstract designs on one side of the pieces, the decoration will appear more intense after shrinking
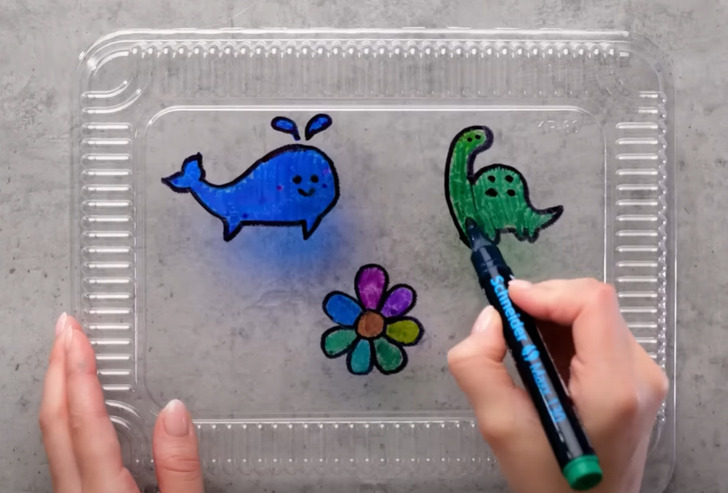
4. Cut the plastic trays into the shapes you want for your pendants, you can opt for simple geometric shapes or more elaborate designs
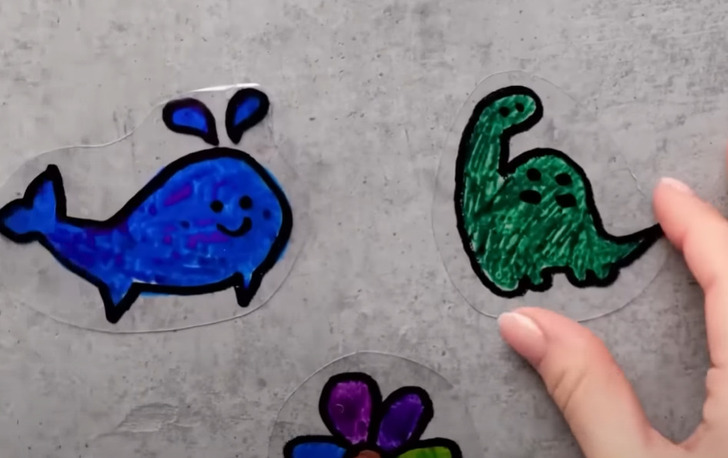
5. Use a hole punch to make a small hole at the top of each plastic shape
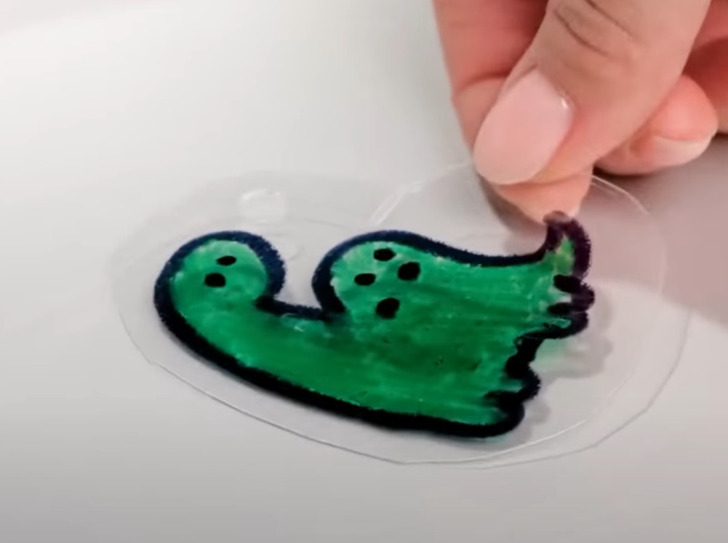
6. Place the plastic shapes on a piece of parchment paper in the microwave oven, the shrinking process takes a few seconds at high power
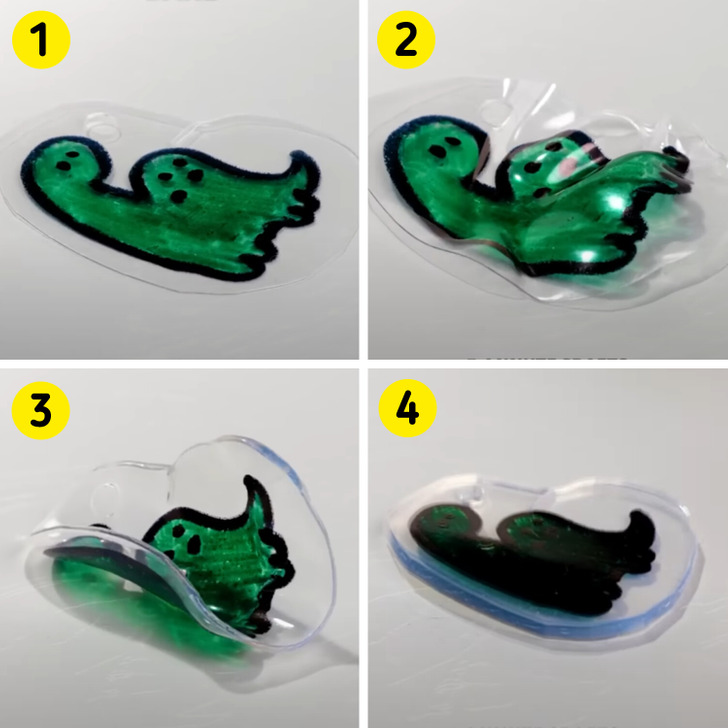
7. Watch the shapes as they shrink; they will curl and then flatten as they shrink, you can remove the shapes when they are completely flat again
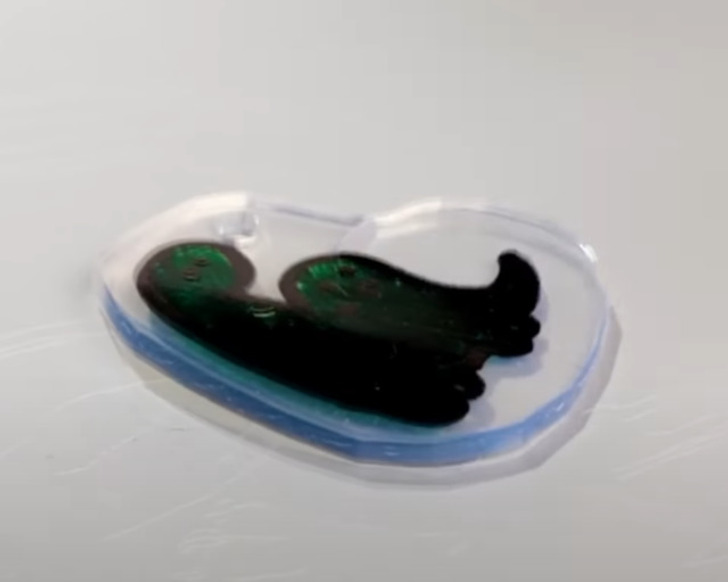
8. Let them cool completely before handling them. Once they are cool, thread the thread, cord, or charms through the hole in the shrunken shape and adjust it to the desired length
Check out more gorgeous jewelry crafts you will love
Share This Article