How to Draw a Shark
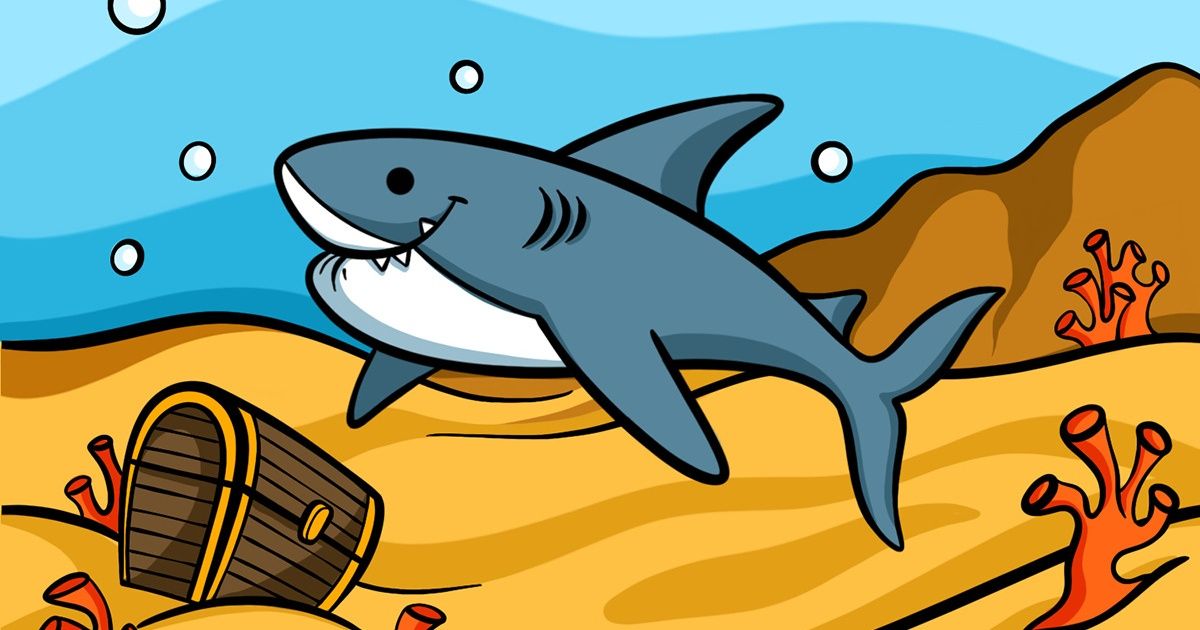
It is true that you can learn to draw at any age. You just need a bit of patience, a good example, and proper training to be on the path to your first masterpiece.
We at 5-Minute Crafts think that we should start with the simple things. For example, let’s draw a shark in 2 different styles.
How to draw a realistic shark

-
Divide a sheet of paper into 9 equal parts with thin lines that you can later erase.
-
Mark the location of the future shark.
-
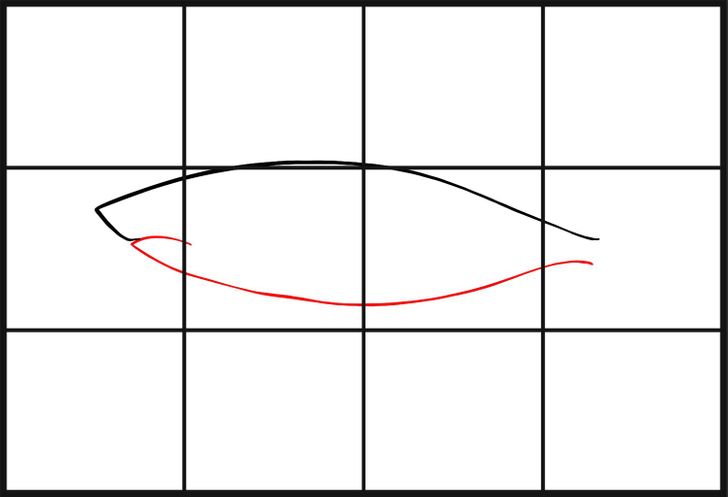
Draw the back and the nose.
-
Below, draw the lines for the belly and the mouth.
-
The body has to be symmetrical.
-
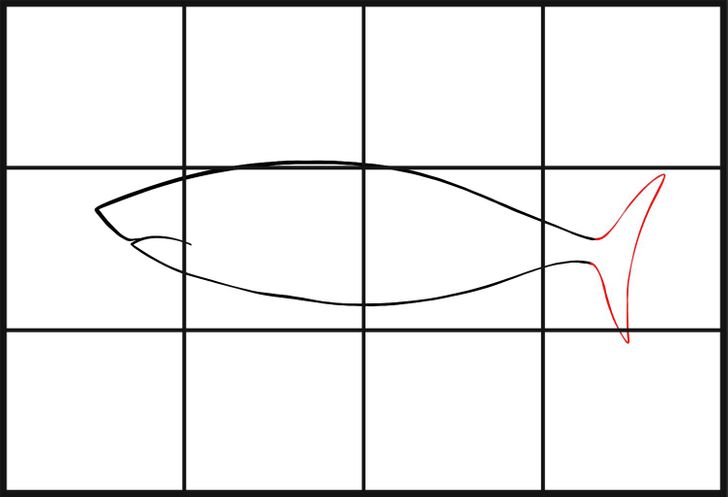
Add the tail as the picture shows.
-
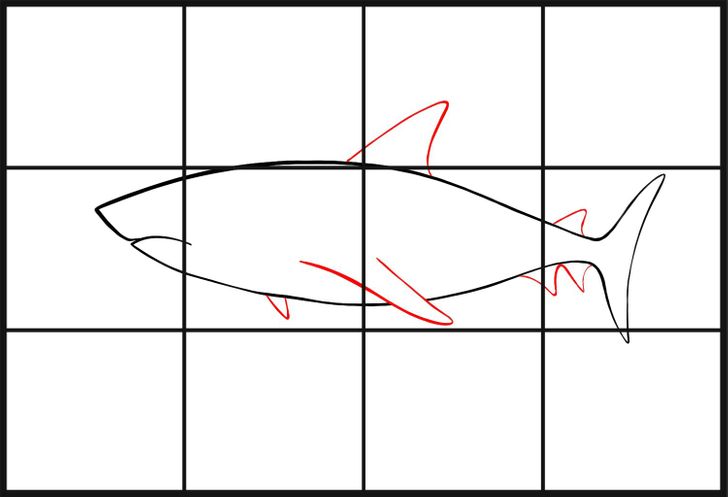
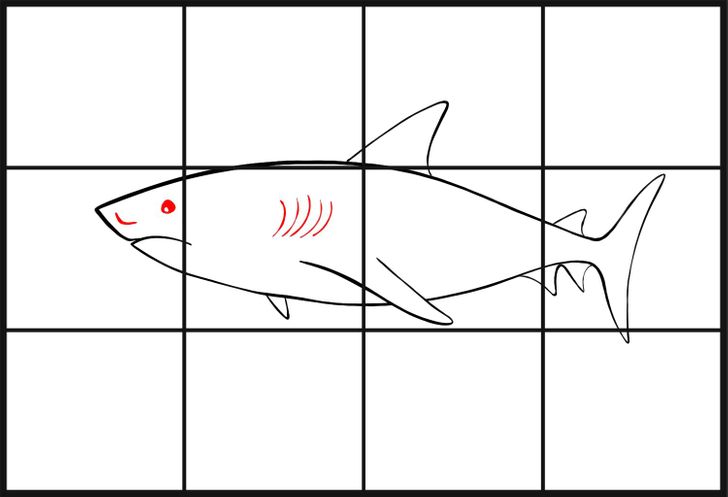
Draw the fins: 1 on the top, 2 on the sides, 3 on the tail.
-
Draw the eyes, the nose, and the gills.
-
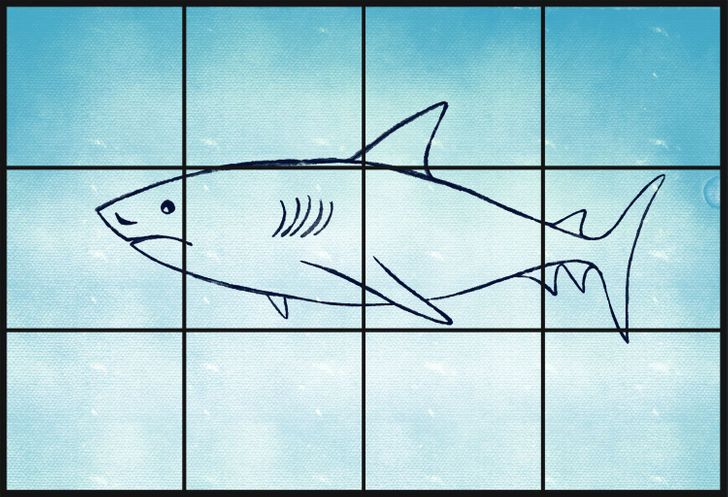
Draw the background: it should be blue or green-blue like the sea.
-
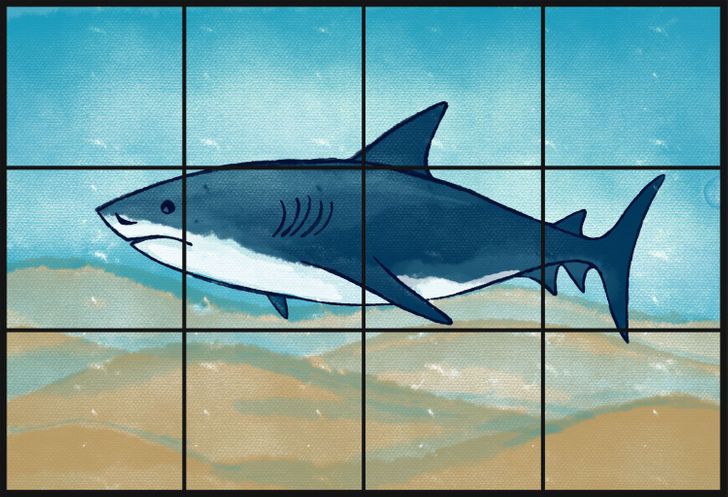
Use watercolor.
-
Draw the bottom.
-
Paint the shark blue, and the belly should be light.
-
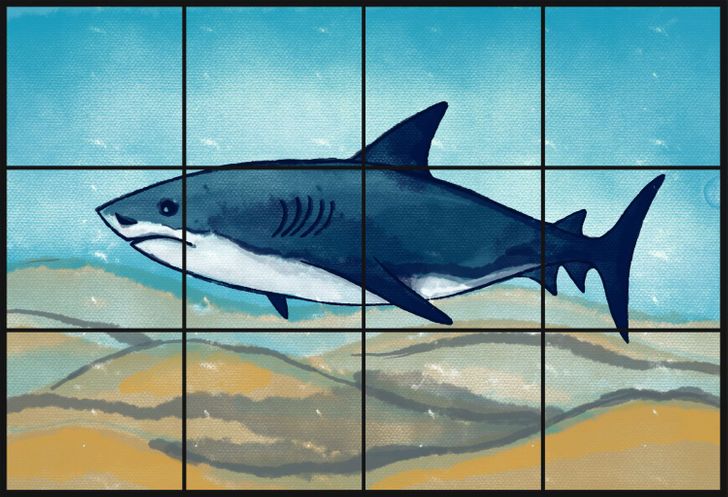
Add the details.
-
Make the most important lines even brighter.
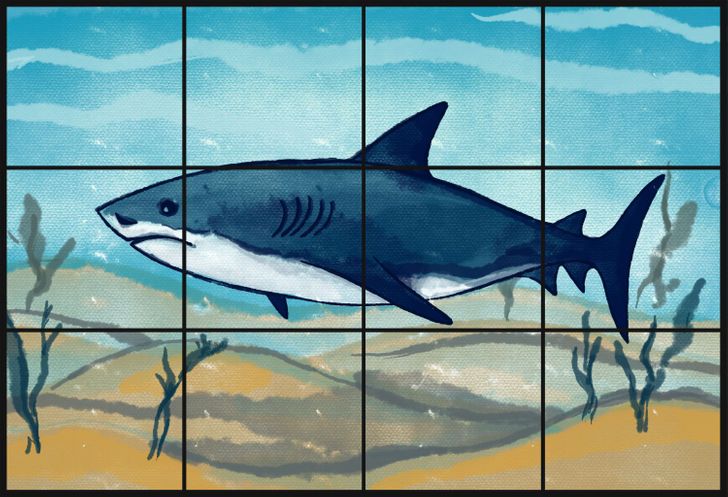
-
Don’t forget the seaweed and the flowing water.
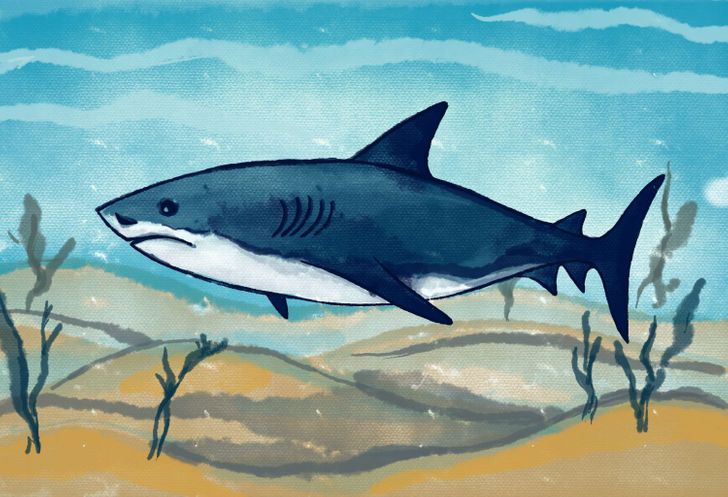
-
Erase your starting lines.
-
Your picture is done!
How to draw an IKEA shark

-
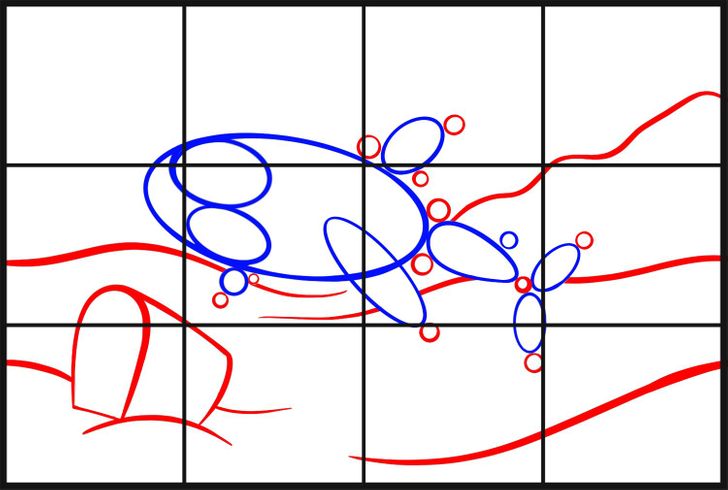
Divide a sheet of paper into 12 equal rectangles. If you are drawing on paper, all the temporary lines should be quite light.
-
Draw an oval that will soon be the body and the head of the shark.
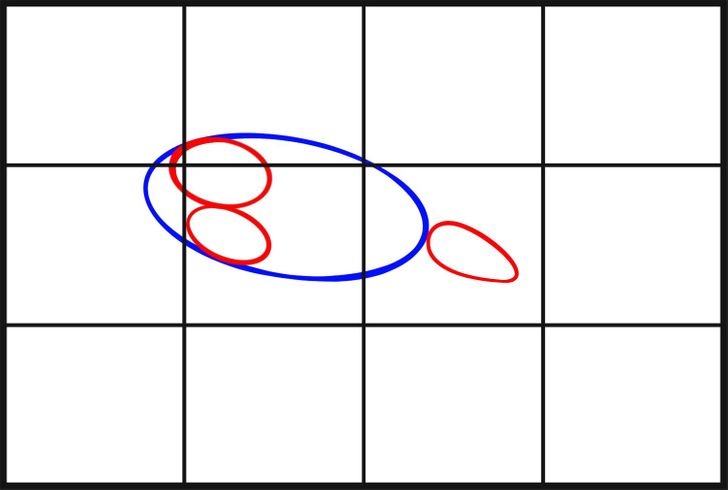
-
Add 3 more ovals: the 2 on the left will be the marks for the mouth, and the one on the right is the beginning of the tail.
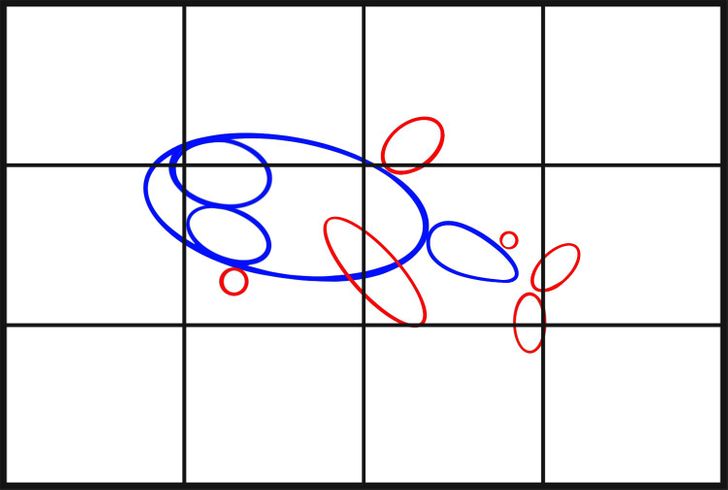
-
Draw circles for the fins.
-
Add a few circles for the details. Look at the plan: they are needed to make all the lines proportional.
-
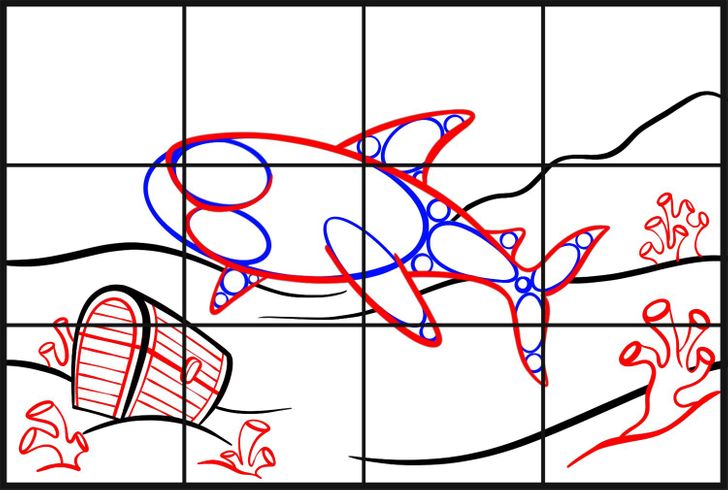
Start drawing the sea bottom.
-
Draw the body of the shark in using thicker lines.
-
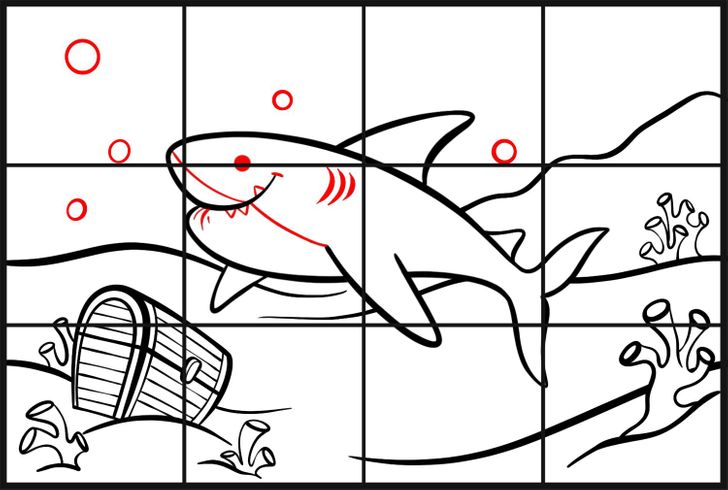
Remove all the secondary lines.
-
Draw the eyes, teeth, gills, and air bubbles.
-
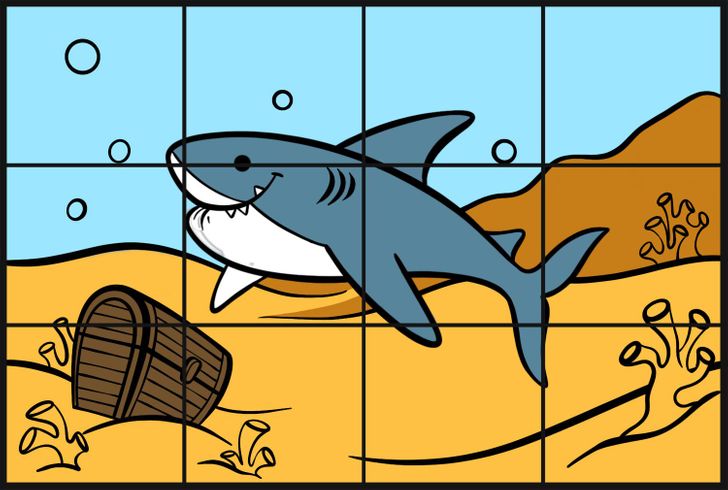
Start painting the picture. At first, pay attention to all the basic colors.
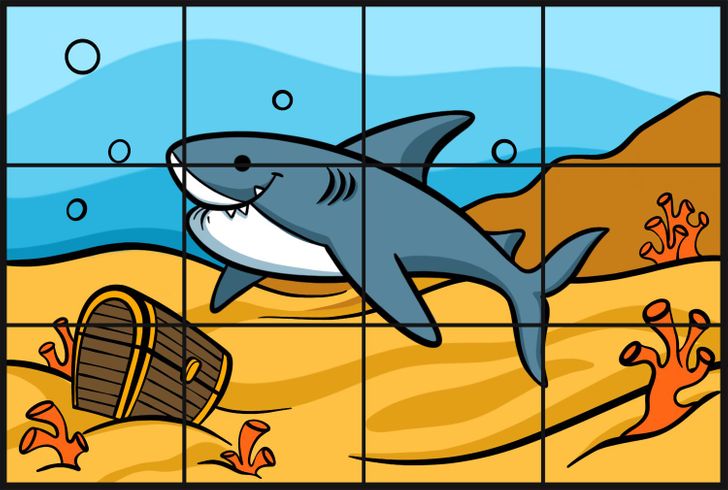
-
Add shadows using darker colors.
-
Paint smaller details.
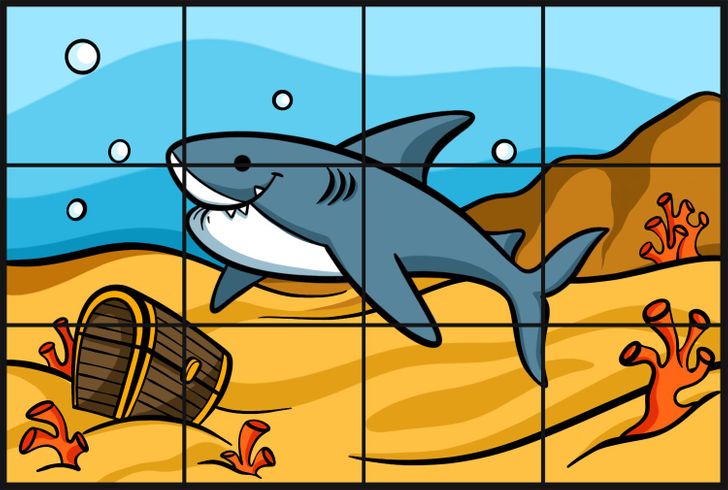
-
Check to see if all the details, shadows, and lines are drawn well.
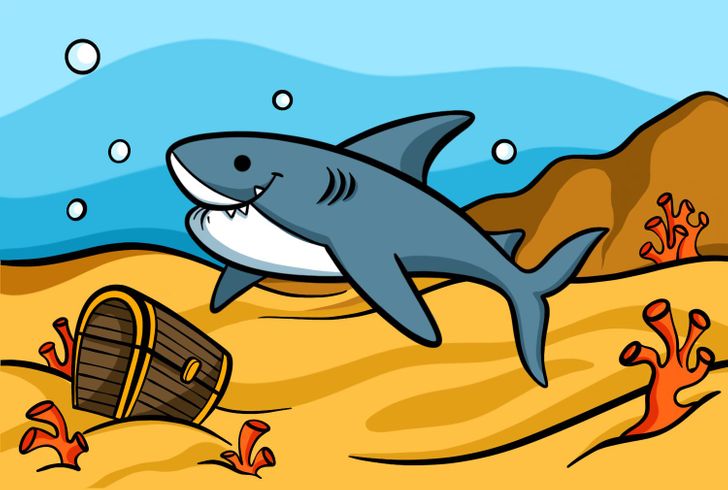
-
Remove all the starting lines.
-
Your picture is done!