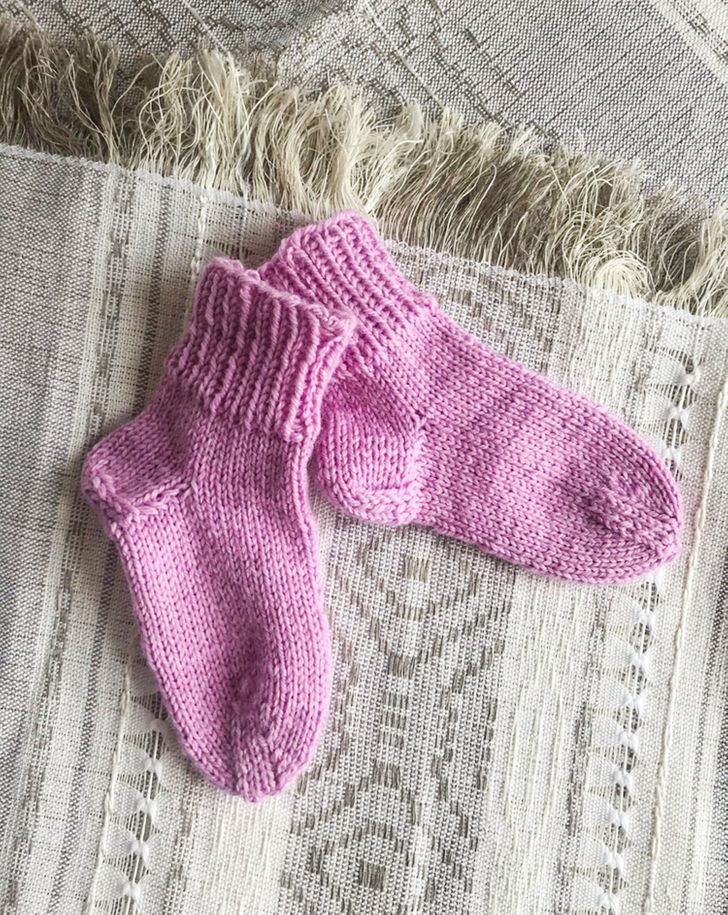
How to Knit Socks Using 5 Knitting Needles
For those taking their beginning steps in knitting, making socks can be difficult. But the task is less daunting than it seems. Once you’ve learned the basic techniques, you’ll be able to knit all kinds of lovely warm things for your family and friends.
We at 5-Minute Crafts have put together a step-by-step guide on how to make socks using 5 knitting needles.
What you’ll need
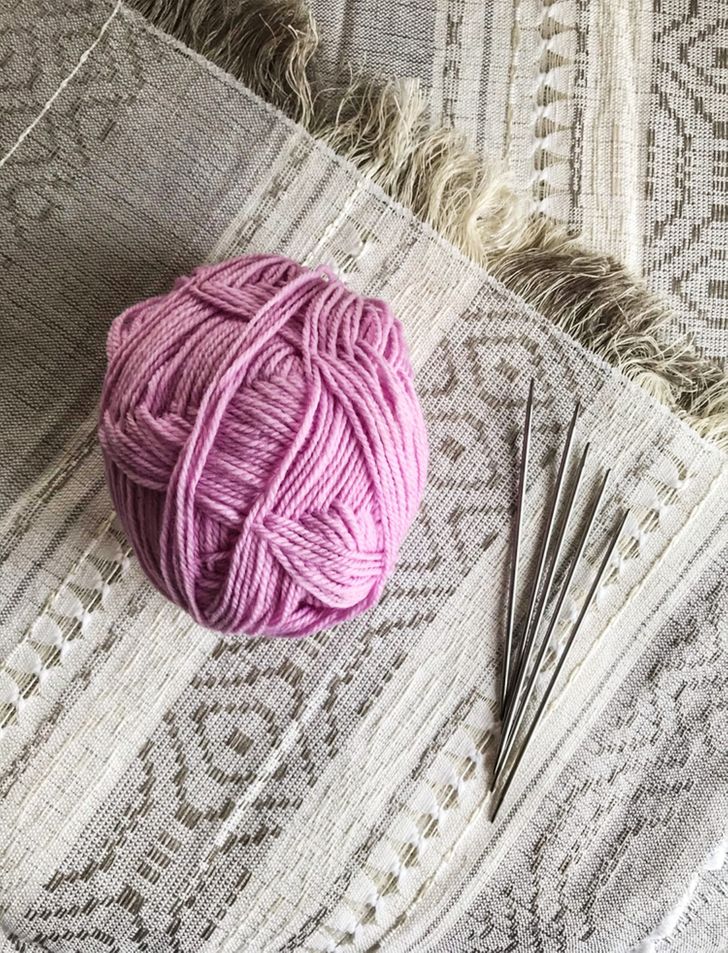
- 1-2 skeins of thick thread
- 5 knitting needles
Completing the task
1. Calculate the number of loops that you’ll need to make while knitting your sock. You can do this yourself or use a special calculator.
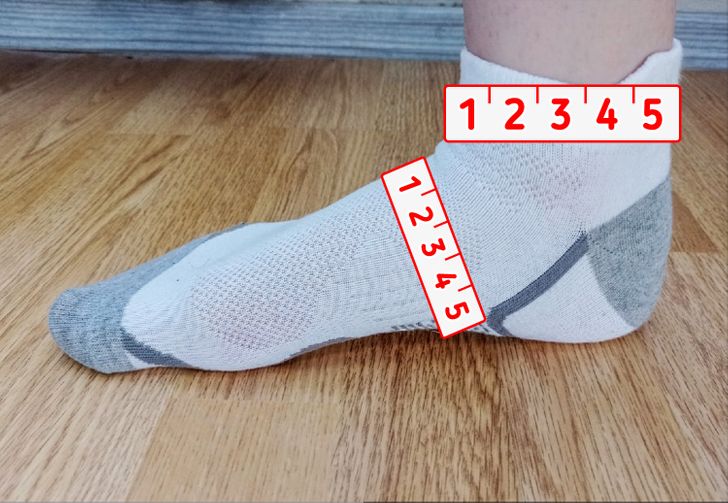
- To use the calculator, you’ll first have to take 2 measurements — the circumference of the foot near the ankle (or around the place where the sock’s upper edge will be) and the lift.
- Calculate the average girth based on the measurements obtained. To do this, add up both values and divide their sum by 2.
Example: If the circumference of the foot is 23 cm (9 in) and the lift is 27 cm (11 in), then 23 + 27 = 50. 50:2 = 25 cm/10 in (average girth value). - Using a garter stitch, knit a control sample (approximately 15 cm × 15 cm or 6 in × 6 in) to calculate the density of your knitting. Count the number of loops in a row for 10 cm (4 in) of the sample. Memorize the value. For example, let it be 15.
- Put together a proportion and calculate the number of loops you need.
Example: In our case, the proportion is as follows: 10 cm (4 in) is 15 loops, and 25 cm (10 in) is X. To find X, let’s complete the following calculation: 25 × 15 : 10. The number of necessary loops is 37.5. Now we round it up to 38, and voila! - Having found out the necessary number of loops, round it up again, so that it’ll be divisible by 4. This way, it’ll be easier to distribute the loops over the spokes.
Example: The number closest to 38, which can be divided by 4 without a remainder, is 40. Therefore, 40 is the number of loops you will need to gather in order to start knitting the sock.
2. Gather the calculated number of loops required to start knitting your sock.
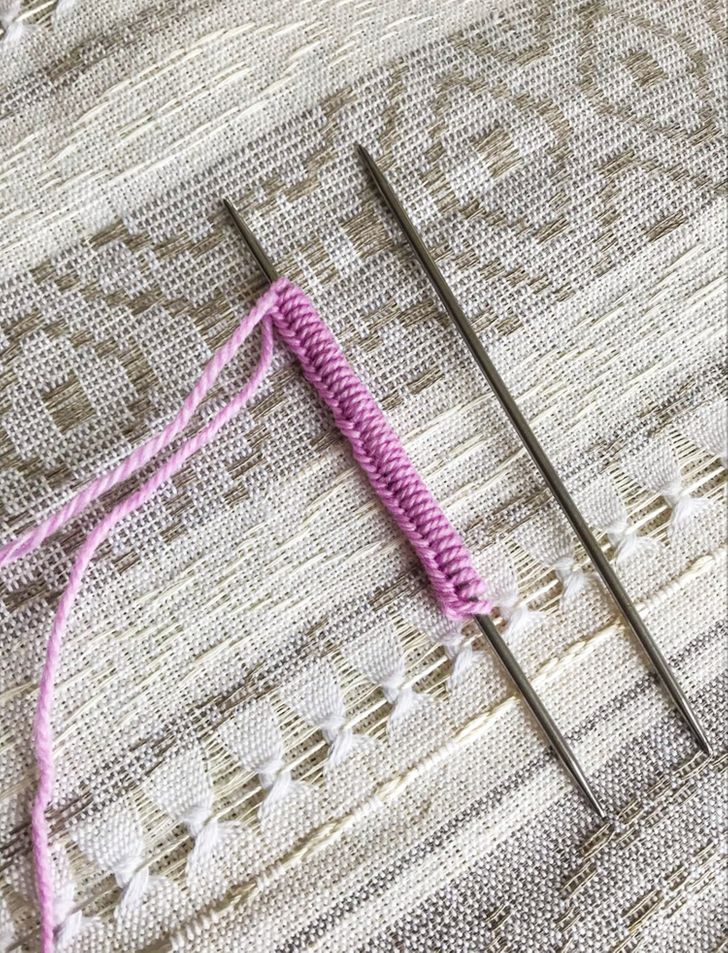
3. Evenly distribute the loops over the 4 spokes. After that, make one more additional loop and transfer it to the first spoke.
4. Use the first loop on spoke #1 and the additional loop together (so as to conceal the joining of the loops).
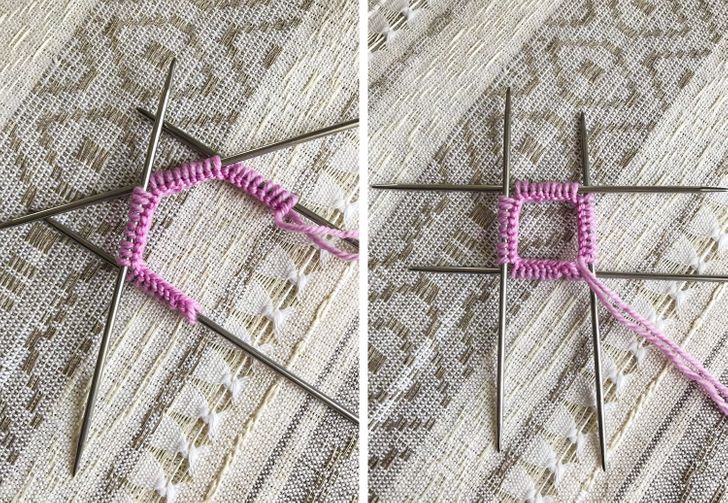
5. Using the spoke #5, knit with an elastic band, 1×1 or 2×2 (1 front and 1 wrong, or 2 front and 2 wrong) in a circle of 4 cm to 5 cm (1.5 in to 2 in), depending on the size of the sock and its intended length.
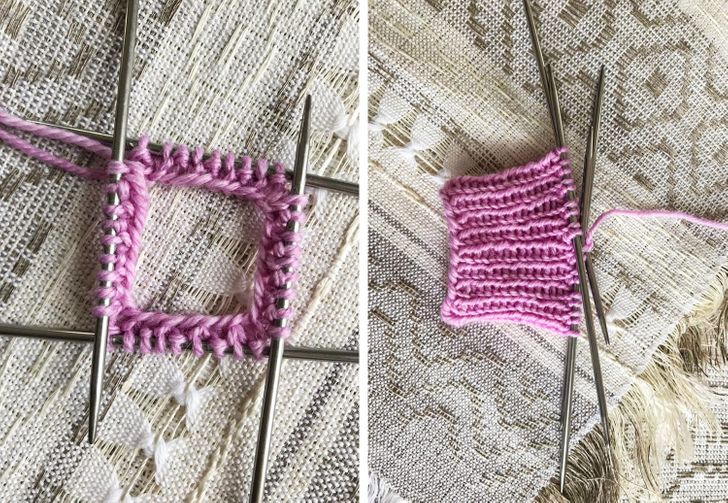
6. After the elastic band, use the stockinette stitch (front loops) for 3 cm to 10 cm (1 in to 4 in). As for the length, base it on the size of the foot of the person for whom the socks are intended and on the length of the sock.
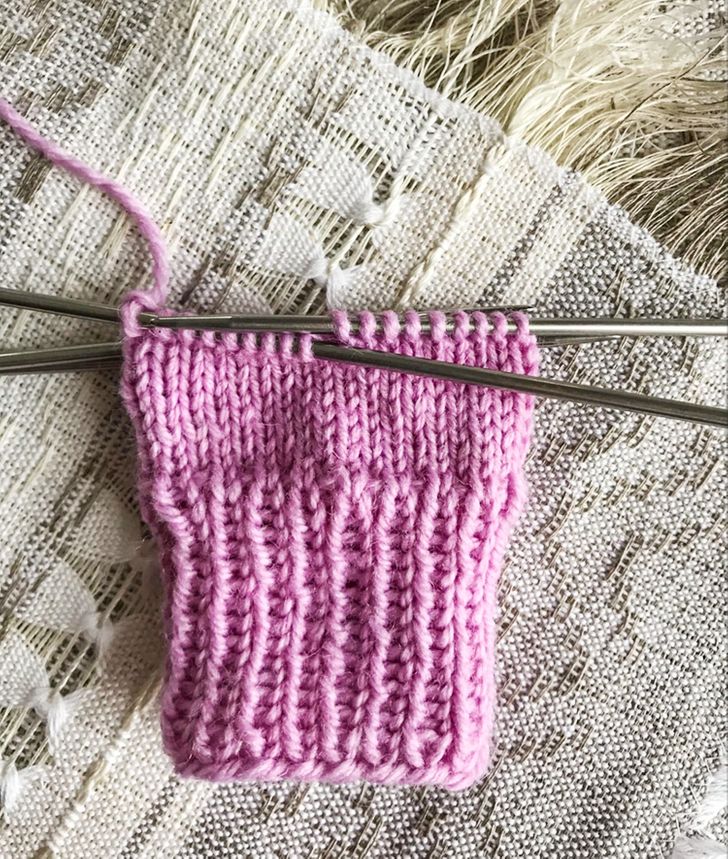
7. For now, leave spokes #1 and #2 as they are (to make things more convenient, you can temporarily move all the loops to one spoke). Join the loops from spokes #3 and #4 onto one spoke. Knit for 3 cm to 5 cm (1 in to 2 in) with stockinette stitches.
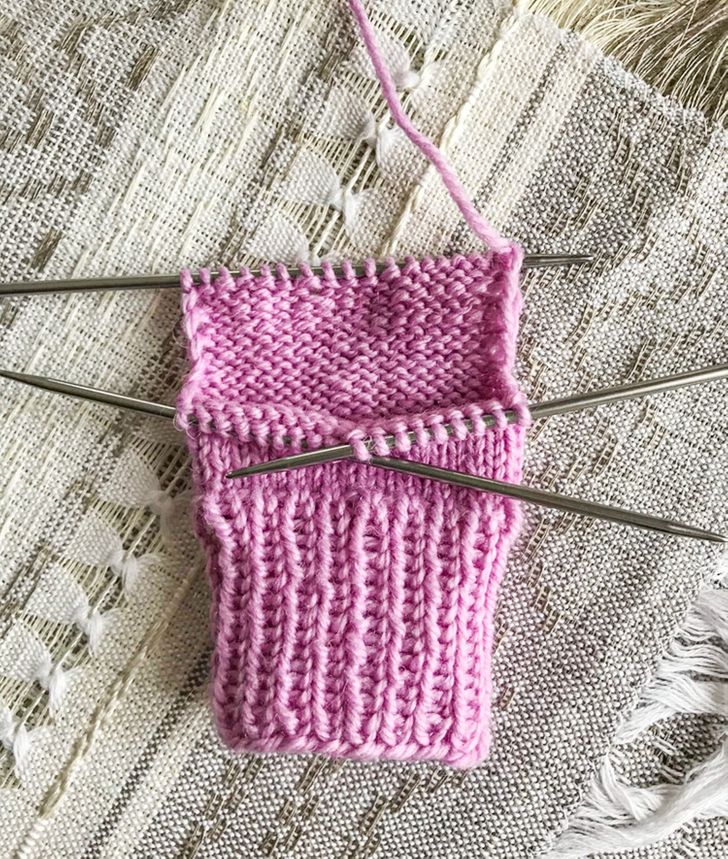
8. Divide the loops on the spoke you’re working with into 3 sections. Start working with the middle section, alternately grabbing loops from the 2 neighboring spokes. Thus, the number of loops on the outer spokes will decrease and the heel of the sock will begin to form.
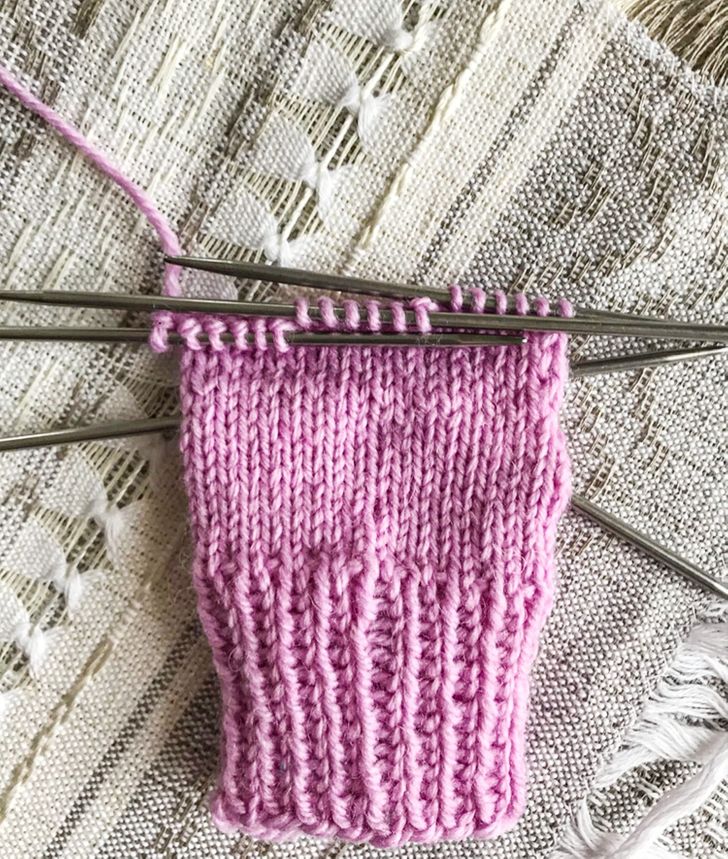
9. Continue to knit in this way until only the middle part of the loops remain. Of the total number of loops that were there before you knitted the heel, 1/3 should now remain.
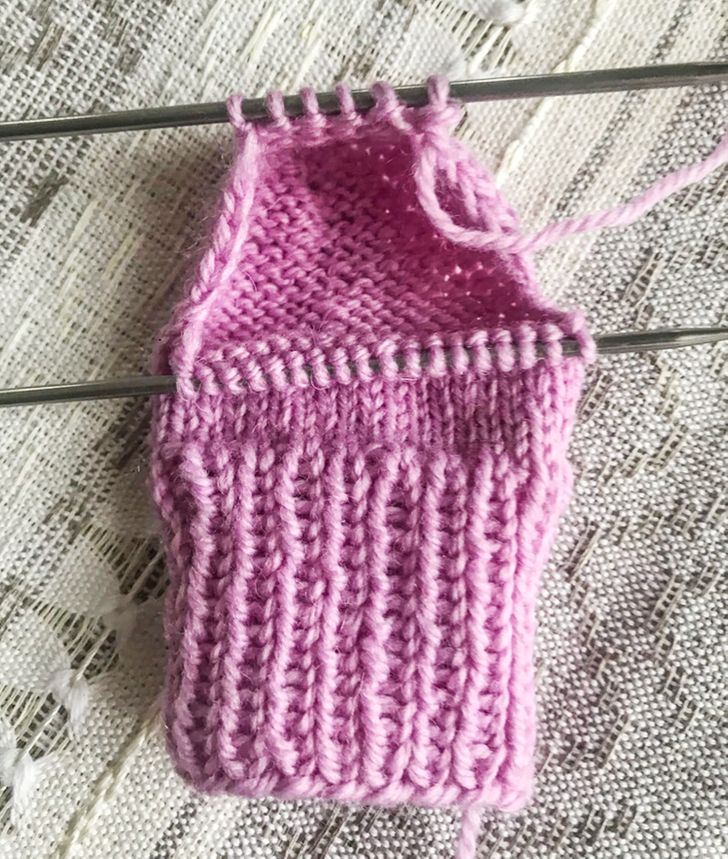
10. The loops that were left over from knitting the heel should be evenly distributed between 2 spokes.
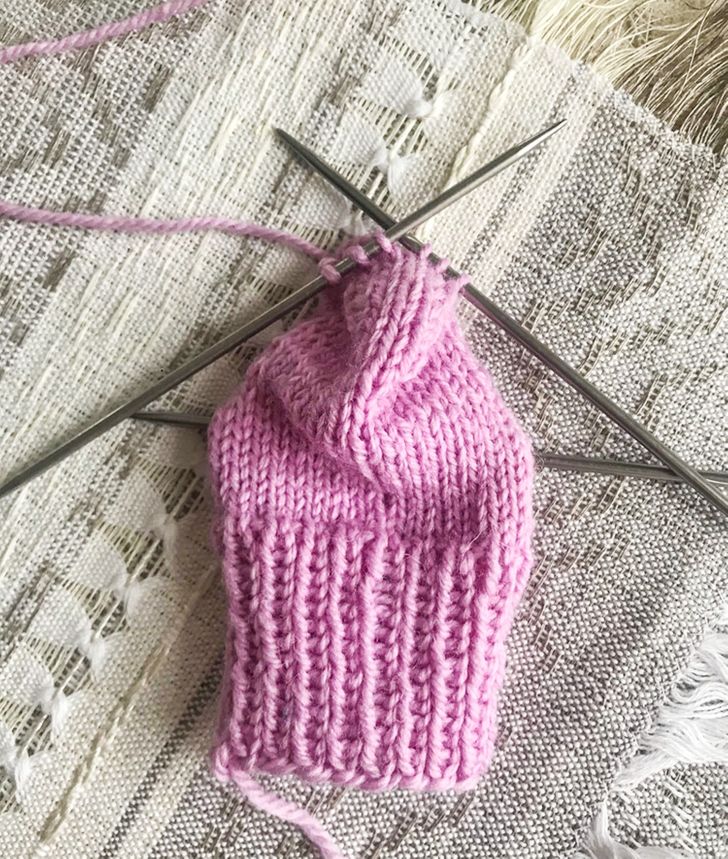
11. Begin to use the rim loops for working on the sides of the heel. To avoid holes, tie the loops by the back walls. This way, the result will be neater.
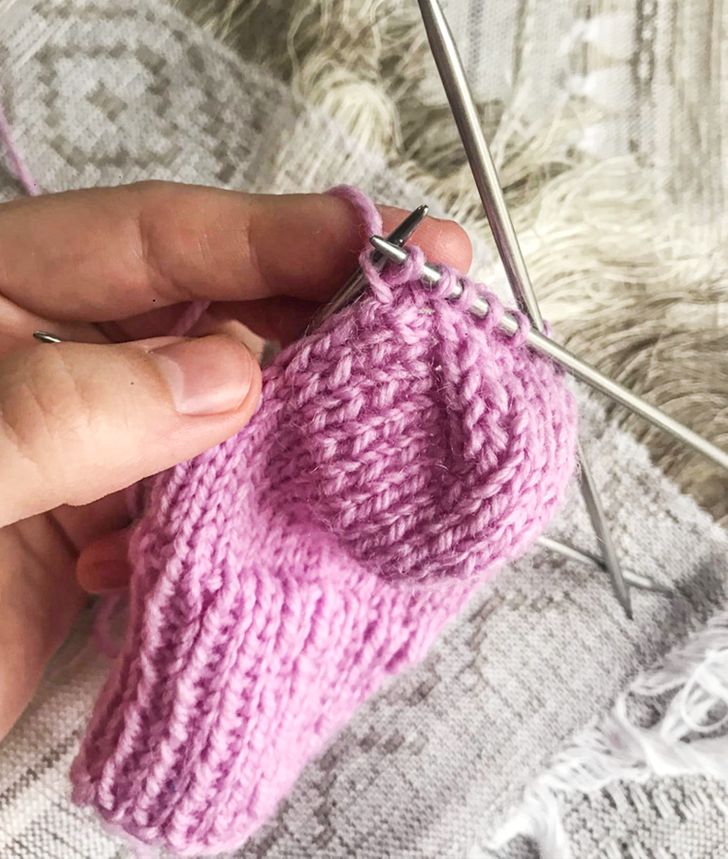
12. Gather the loops on the spokes until you get the same number you had earlier at the very beginning of your work (see step #3).
13. Having gathered the required number of loops on one side of the heel, knit the loops on the 2 spokes that weren’t used in making the heel (see step #7).
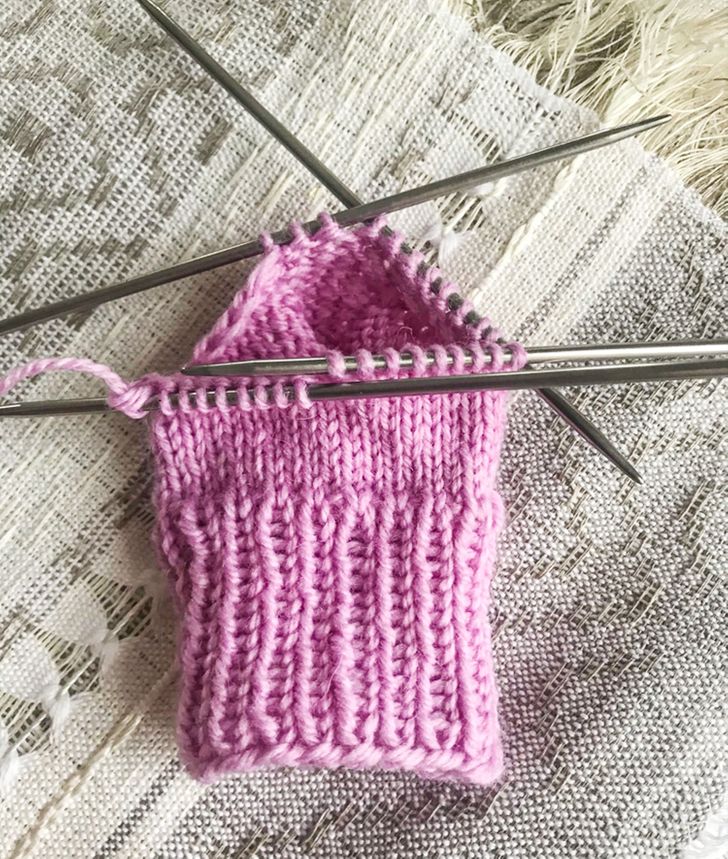
14. Gather the loops for the other side of the heel using the rim loops, just as you did in step #11. Check the number of loops on each spoke — they should be equal once again.
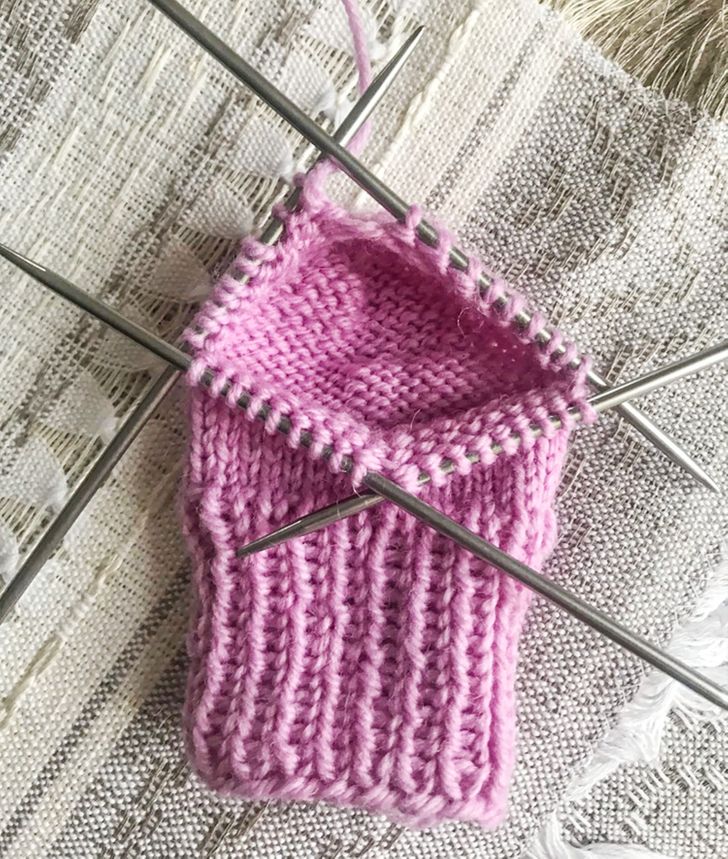
15. Continue knitting in circles with stockinette stitches until you reach the length required to cover the little toe.
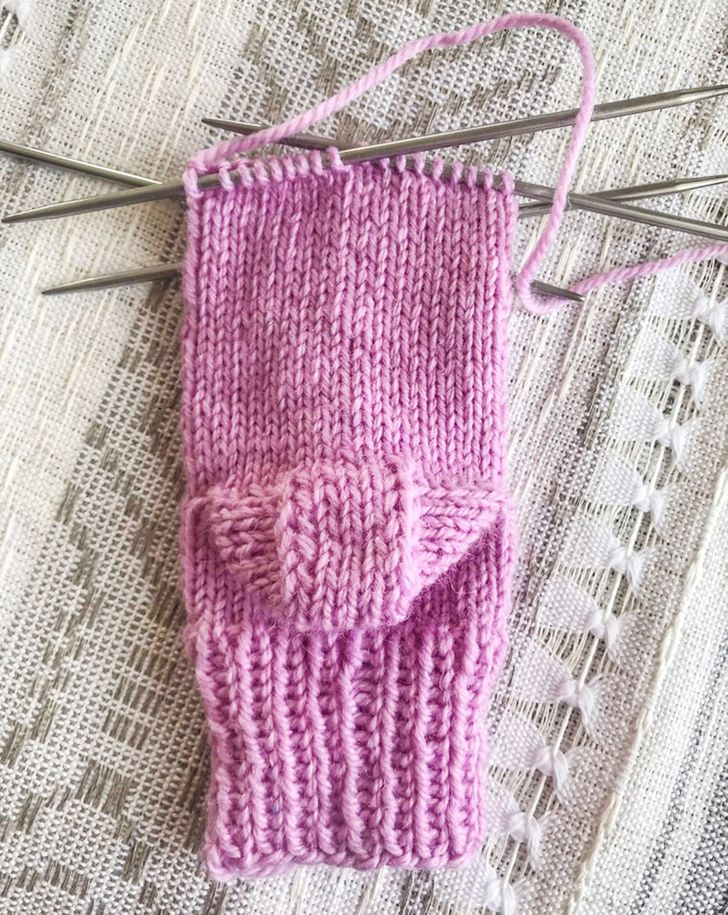
16. To complete the sock, begin to make reductions in the number of loops while knitting based on the following scheme:
-
Spoke #1: Make 1 front loop, and the next 2 loops should be knitted together by the front walls — then the remainder should be front loops.
-
Spoke #2: All loops should be front loops, except for the last 3. The second and third loops from the end should be tied together by the front walls, and the last loop should be tied face.
-
The loops on spoke #3 should be tied in the same way as the ones on spoke #1.
-
The loops on spoke #4 should be tied in the same way as the ones on spoke #2.
Knit the next circle without reducing the number of loops on any of the spokes. The one after that should be done with a reduction (based on the scheme mentioned above). Thus, make 6 more circles, alternating the ones with reductions and the ones without reductions.
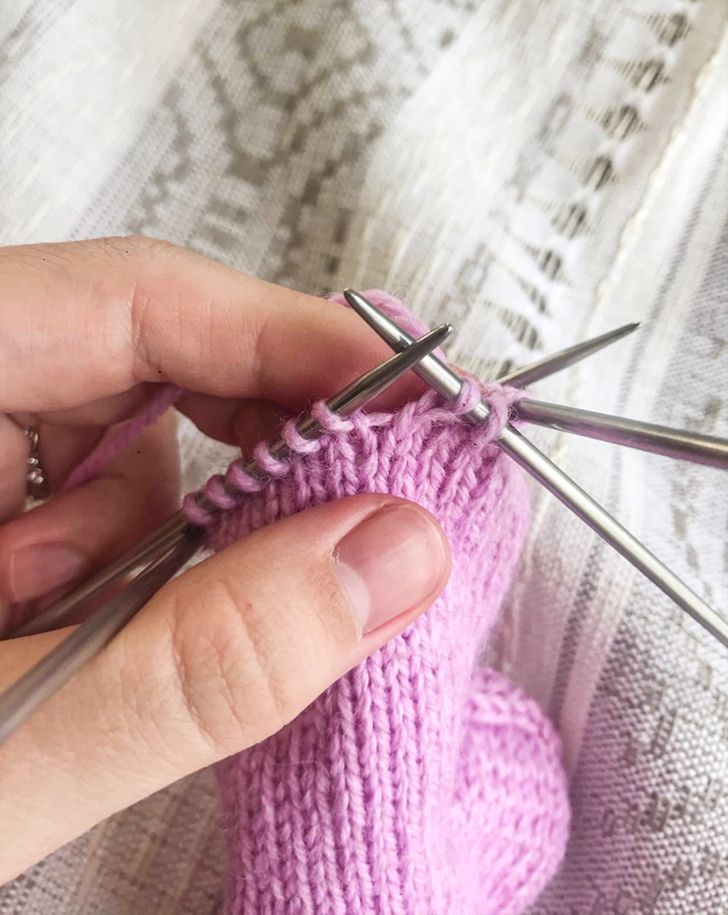
17. After that, knit circles with reductions in the number of loops until there are 3 loops left on each of the spokes.
18. To complete the work, tie all the loops in twos. Pull the remainder of the thread through the resulting loop, tie a knot, and hide it inside.
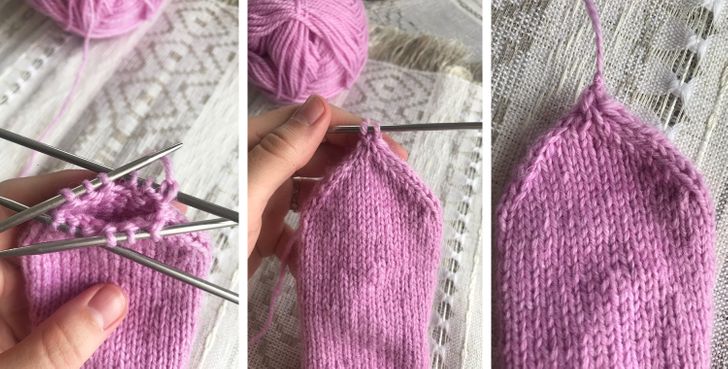
19. Knit the second sock according to the same scheme.
