How to Learn to Make Origami: 13 Basic Shapes
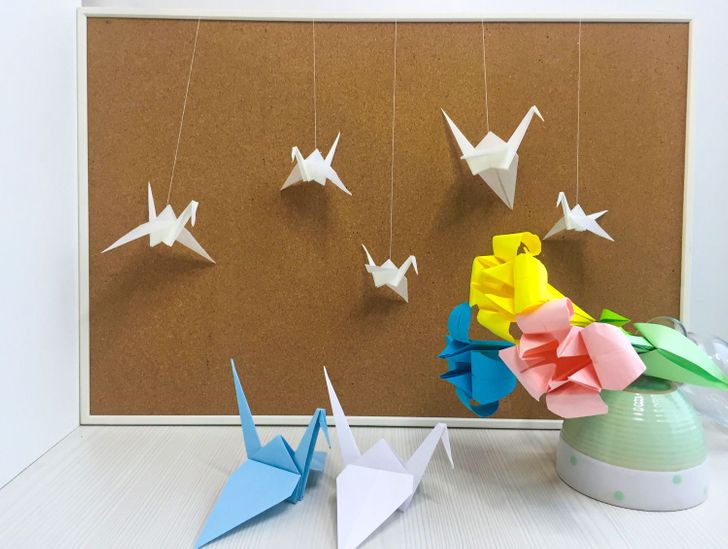
People that are familiar with the art of origami know that you can create a true miracle using a simple sheet of paper. By using some not-so-difficult techniques, origami masters create animals, birds, flowers, and many other things, often connecting the parts into bigger projects.
Anyone can learn to do origami. You just need to know where to start.
5-Minute Crafts is going to tell you how to get started in the world of origami.
Kinds of origami
Origami is the art of folding paper and making different figures. Depending on the materials and the techniques you use, there are the following kinds of origami:
- Simple: When making the figures in this technique, there are just a few folds. The models made this way are not complex and are great for beginners.
- Modular: This is the kind of origami where a figure is made of smaller parts. Most of the time, glue is not used — the parts are simply put one into another.
- Pattern: This is a complex origami technique made from drafts with the lines of folds.
- Kusudama: This kind of origami is about making spherical models made of many blocks. The parts of kusudama are sewn or glued together.
- Wet-Folding: This is when wet paper is used. The origami made this way has very smooth lines.
How to choose origami paper
Origami paper has to be dense enough and must be able to retain the shape and the folds you make. If you’re a beginner, you can use the following:
- Office paper for the printer (white or colored)
- Notebook paper
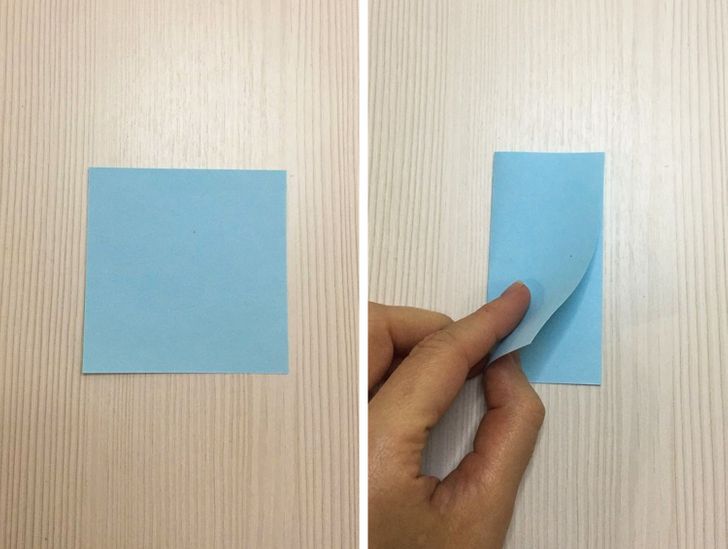
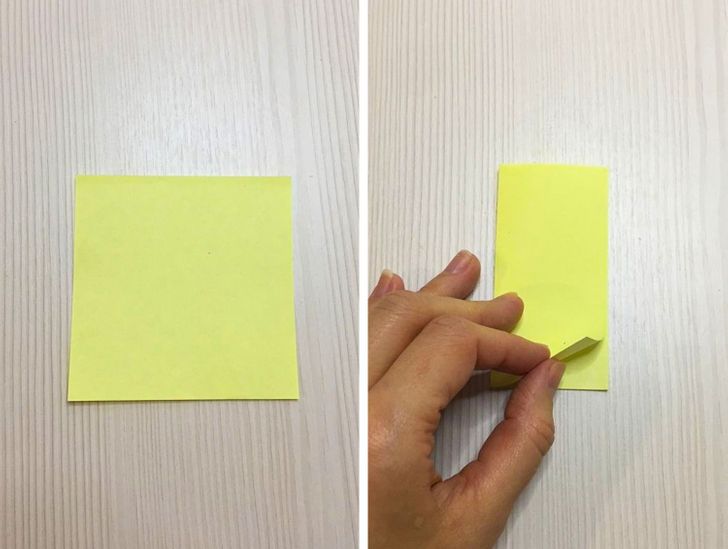
- Paper stickers for notes
- Wrapping paper
You can also use newspaper, magazine pages, or baking paper for thinner models.
Additional materials for origami
The main material for making origami is paper but you may also need:
- Scissors or a box cutter may be necessary for working with parts when making certain models. It’s better to use small scissors, like the kind you’d use for a manicure.
- Glue is rarely used when folding the models. But by using glue, you can add additional elements to a model or make certain parts stronger. A glue stick is probably the best option.
- Pencils, for beginners, can be used to draw the fold lines in the necessary spots. You can also use a pencil to draw in eyes and noses on figures.
Basic origami shapes
Most complex origami is made of simple, basic shapes, which are made of squares. So it’s better to start with the basic shapes.
1. Triangle
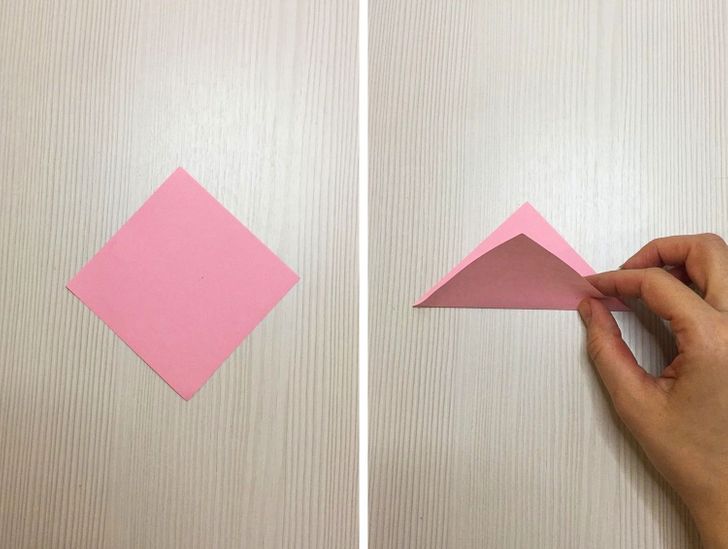
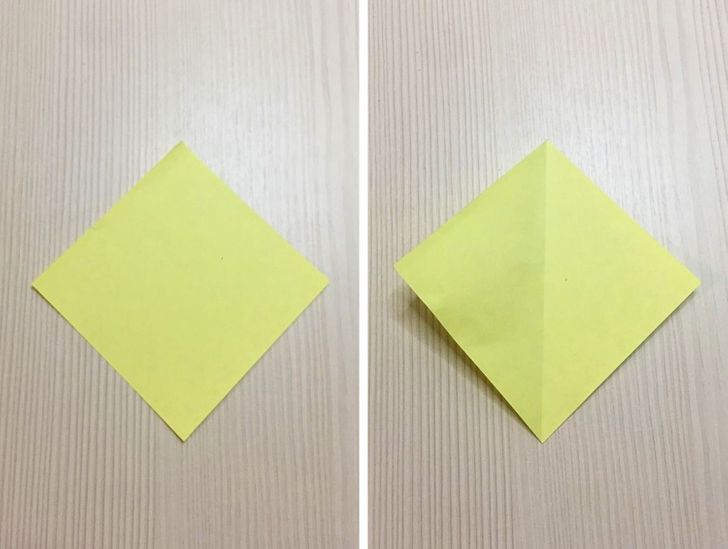
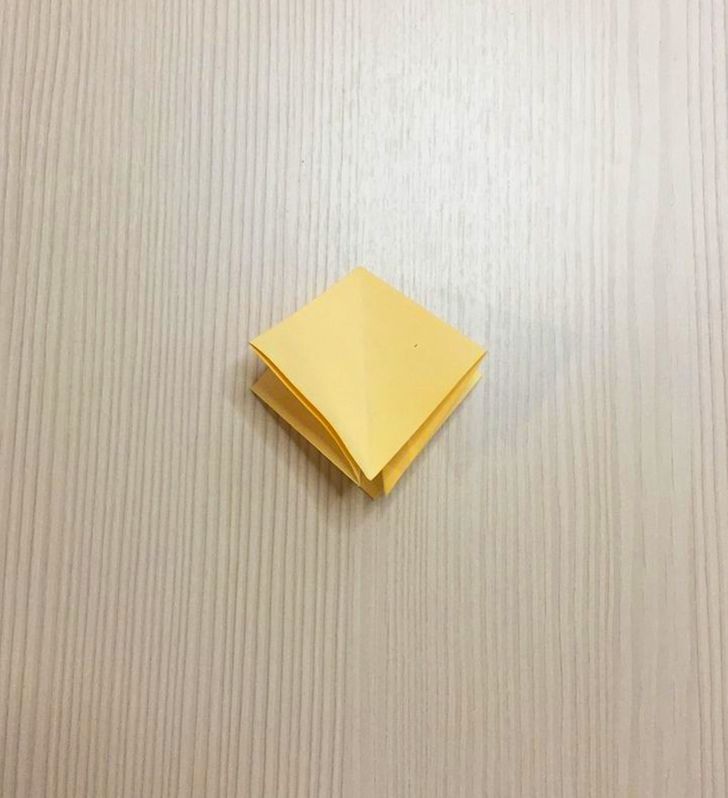
To make a triangle, fold a square along the diagonal line in half.
2. Double triangle
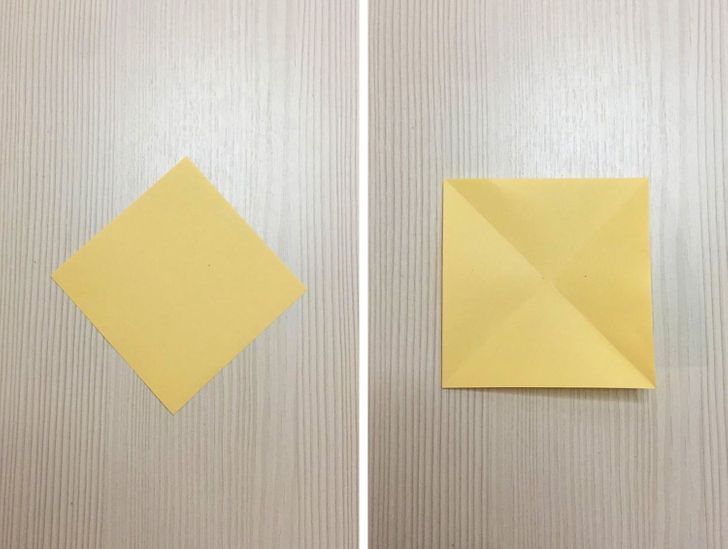
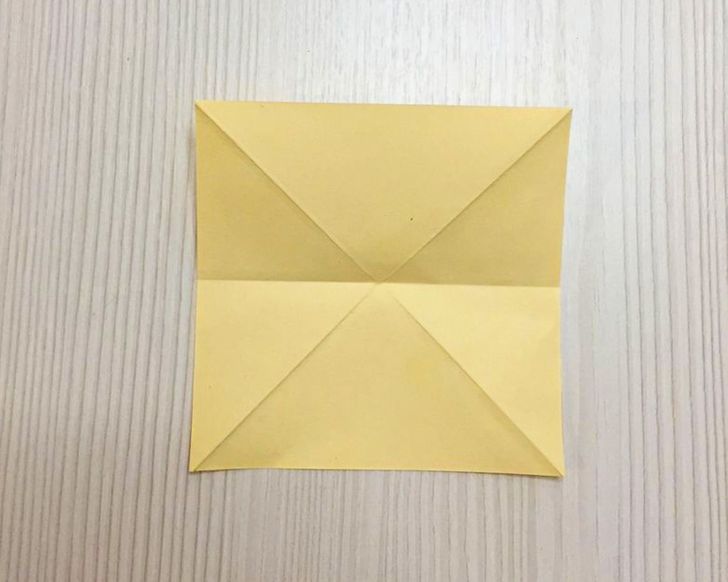
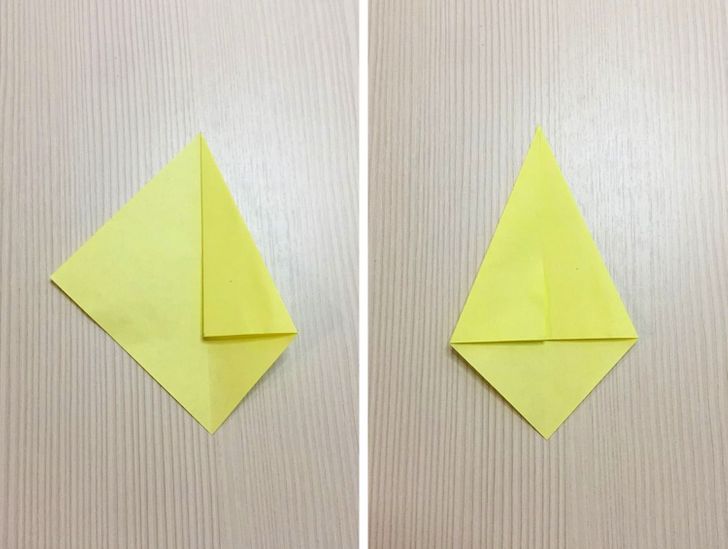
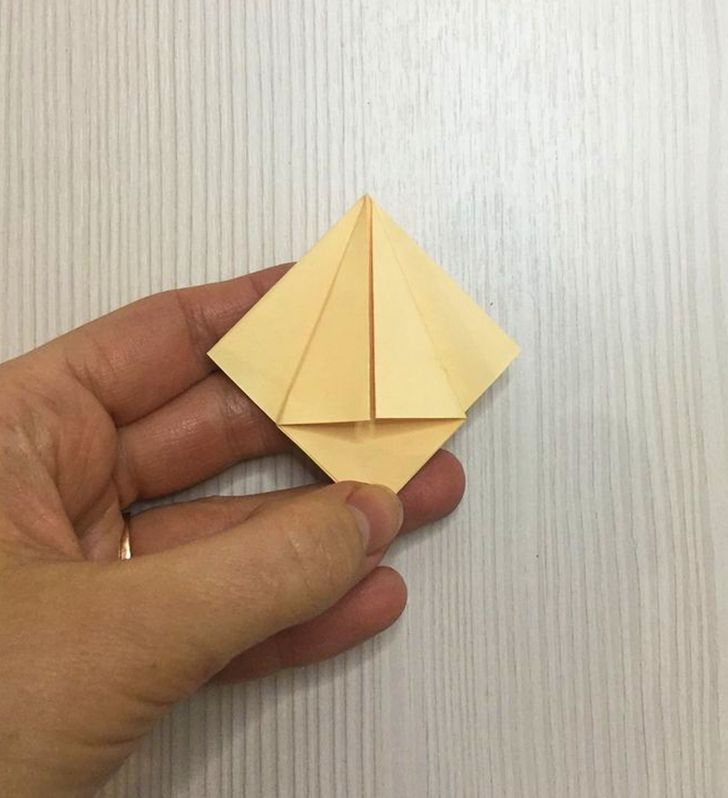
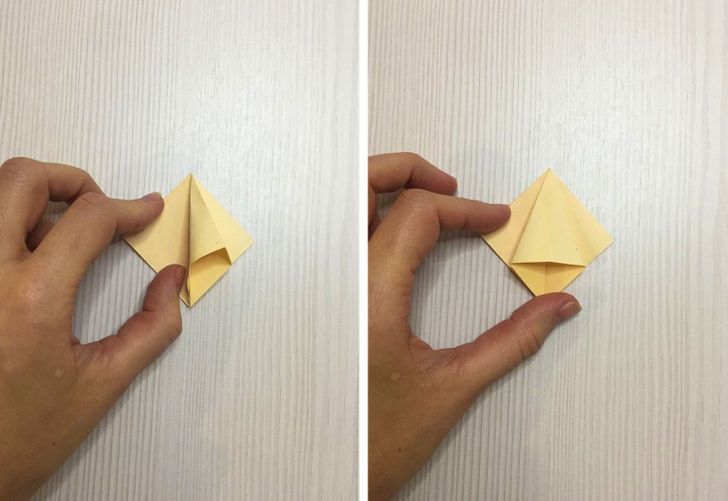
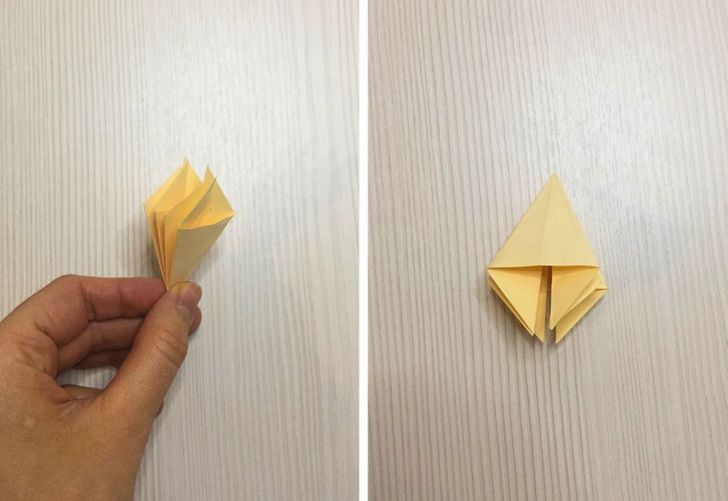
1. Fold a square along the diagonal line in half. Unfold it and repeat on the other side.
2. Now, fold the square in the middle.
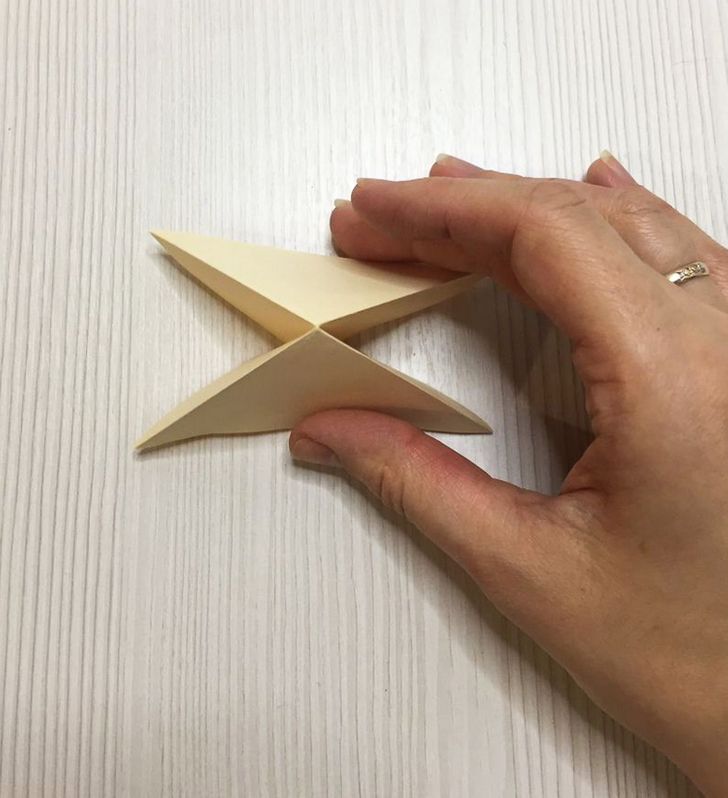
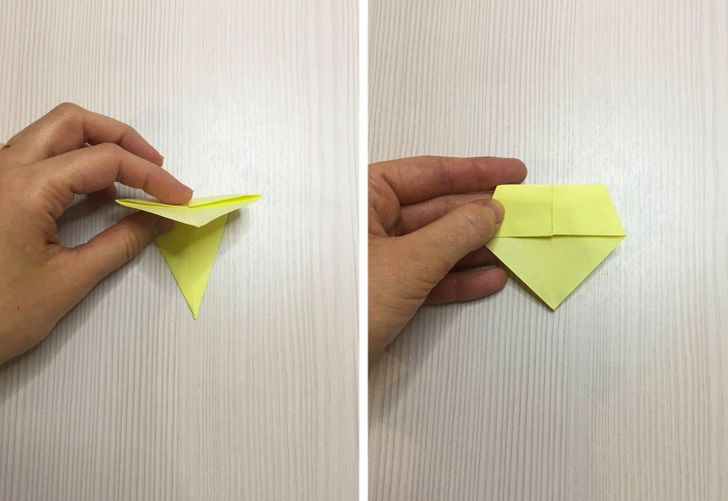
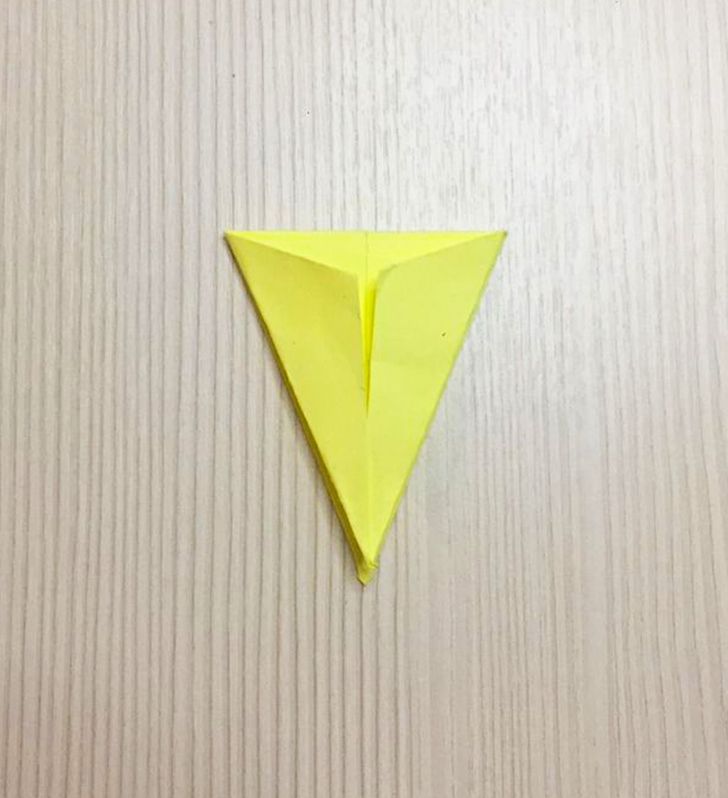
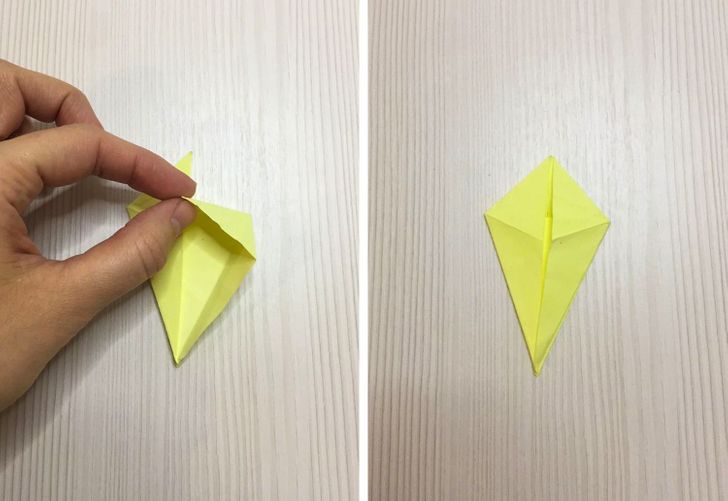
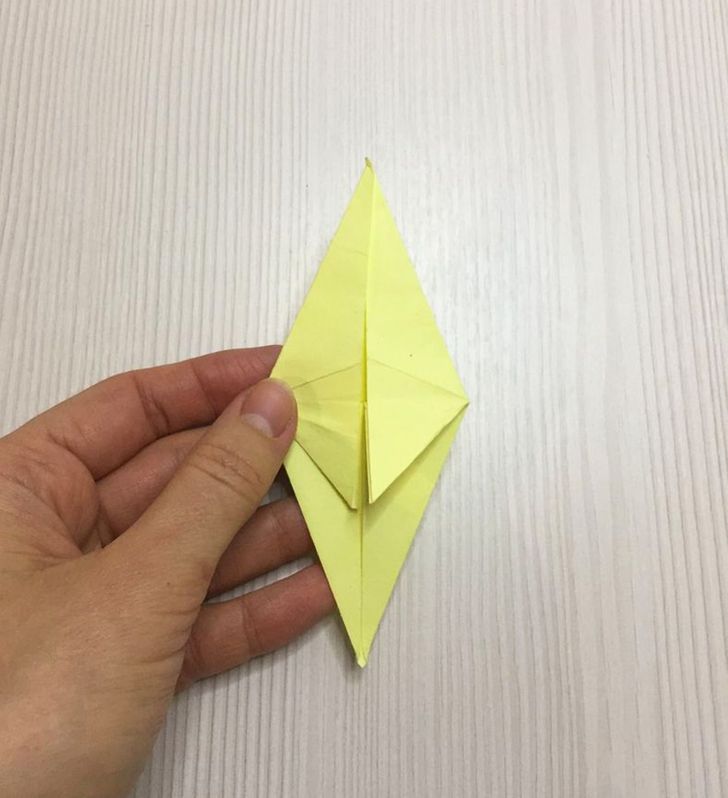
3. Place the square right in front of you. Make a triangle with a top at the intersection of the lines. To do this, bend the sides inside, holding the top of the triangle with one hand.
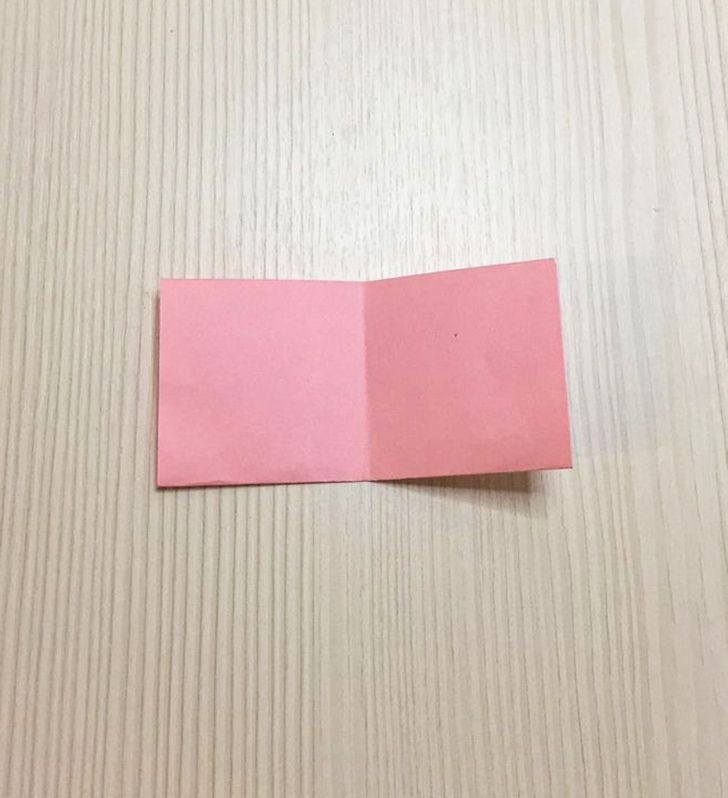
3. Book
Fold a square in half vertically and press the fold. You have a book!
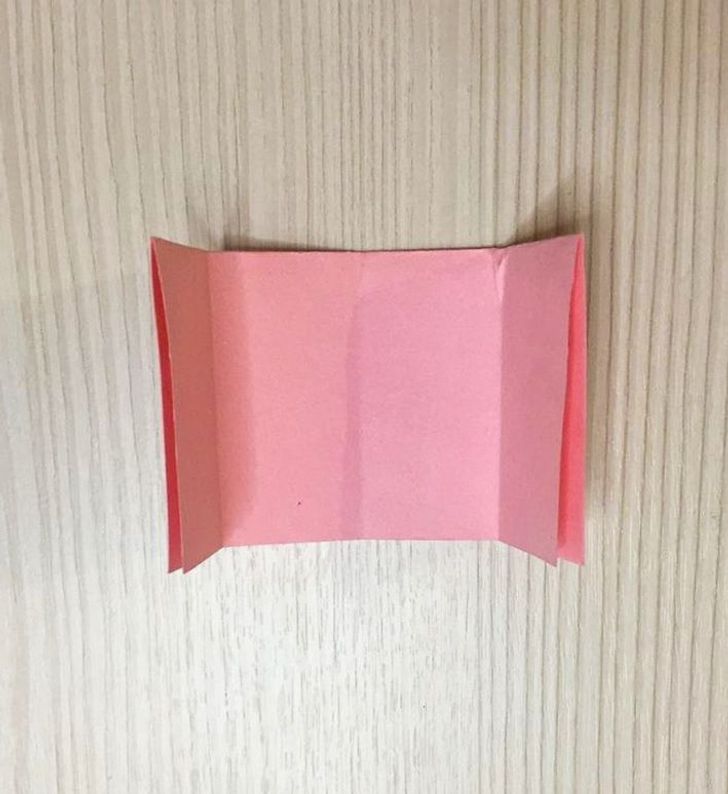
4. Door
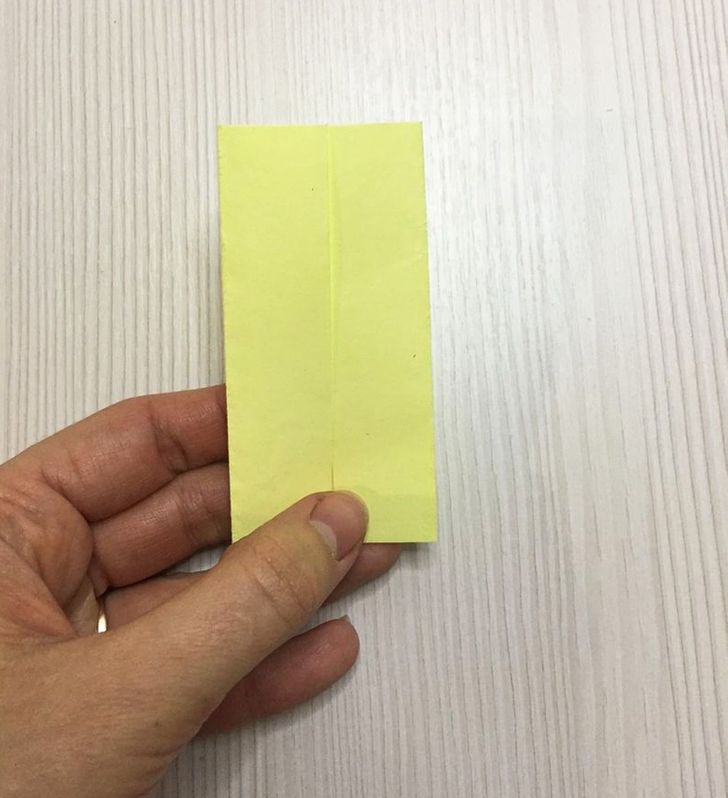
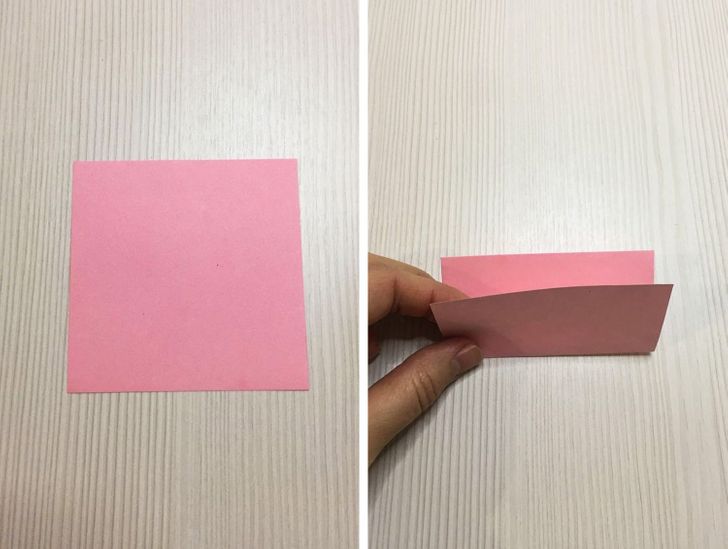
1. Fold the square in half vertically and press the fold.
2. Each of the parts of the square fold vertically so that the edges meet on the initial fold line. The model should look like a wardrobe with opening doors.
5. Double square
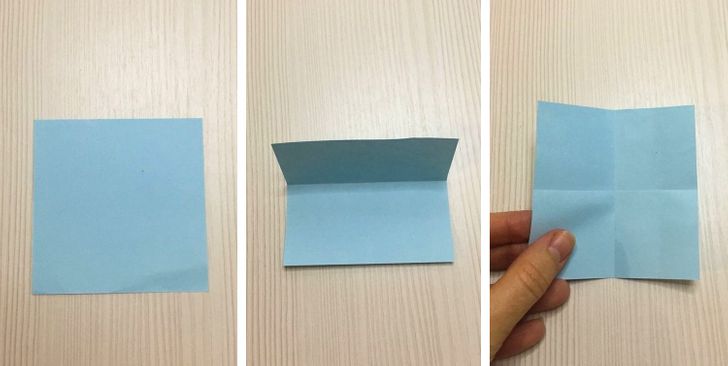
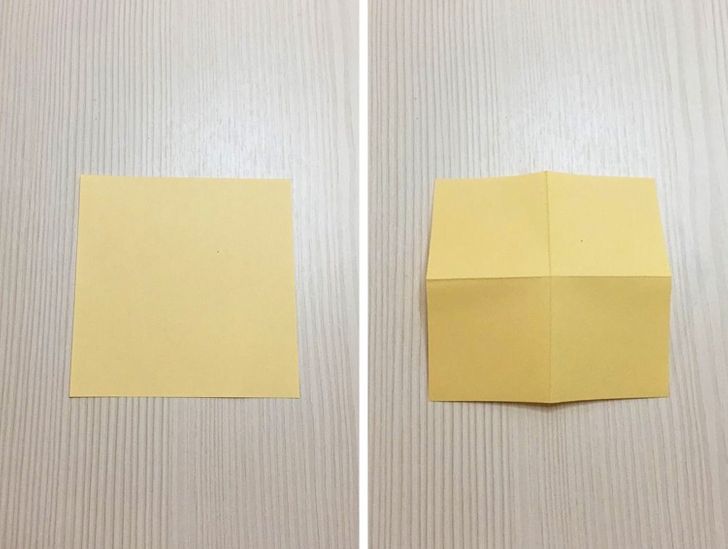
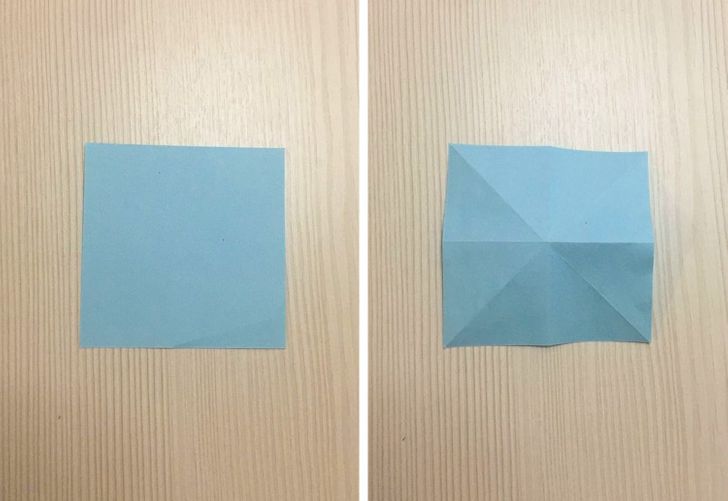
1. Place a square sheet of paper in front of you. Fold it in half horizontally. Unfold it and fold it again but vertically this time.
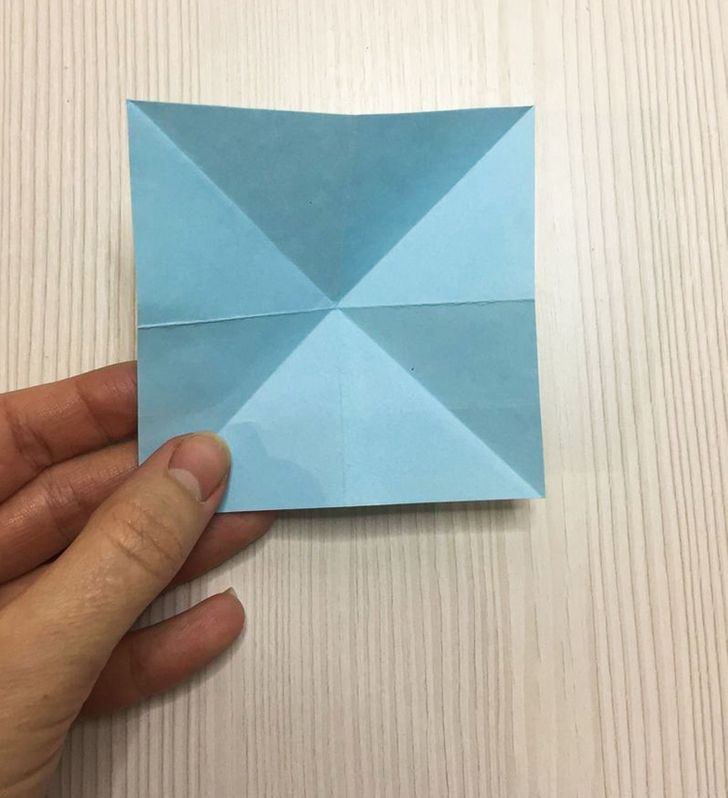
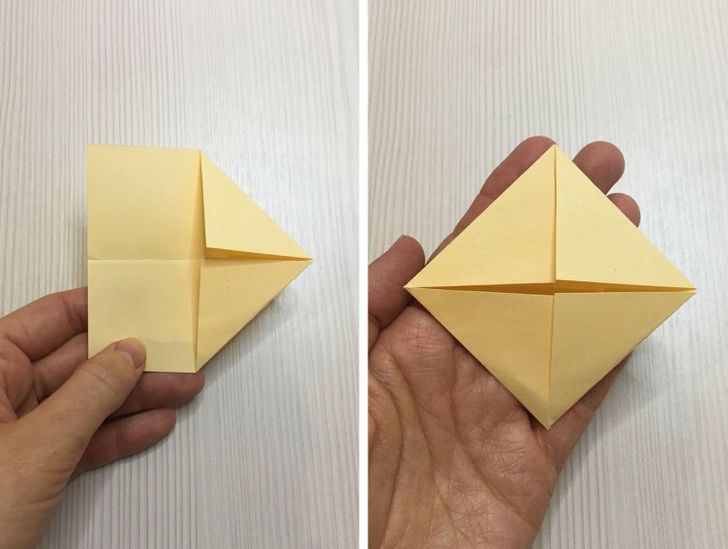
2. Turn the paper and fold the sheet diagonally twice: on one side and on the other.
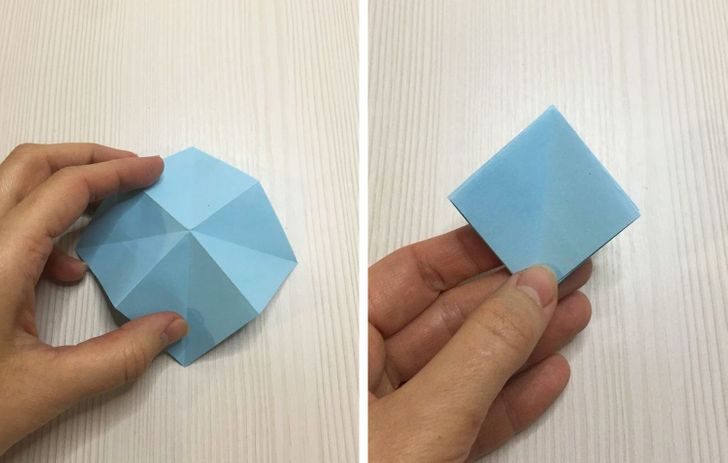
3. Place the square in front of you like a diamond. Take the paper in the center where the lines intersect and fold the side corners inside. You should have a square with opening sides.
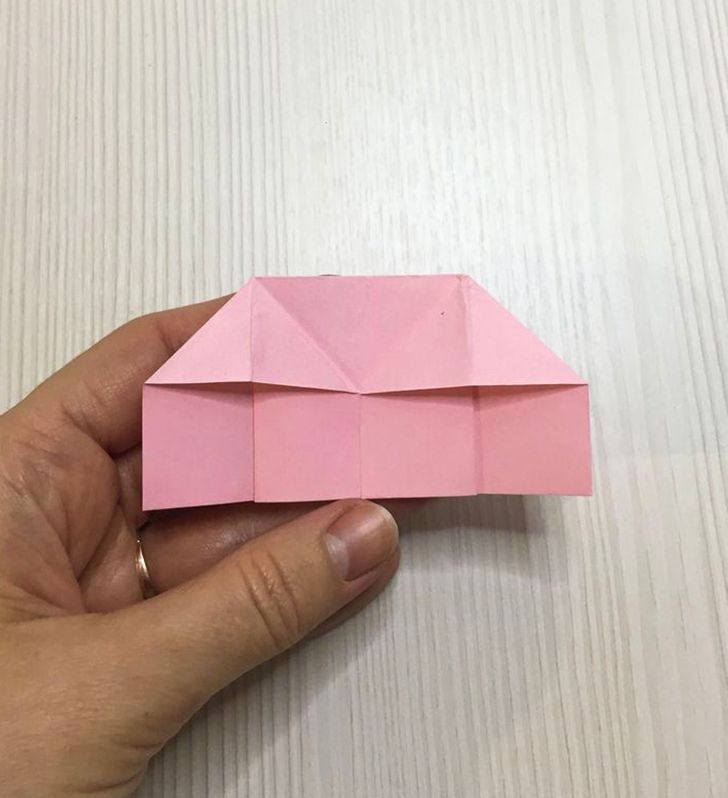
6. Double house
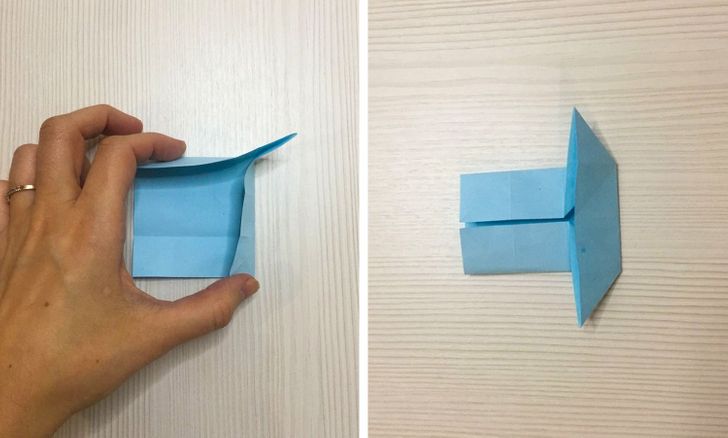
1. Place a square sheet of paper in front of you and fold it in half horizontally. Press the fold.
2. Now, fold the rectangle in half and press the fold. Unfold the paper to the stage of the rectangle.
3. The edges of each of the sides of the rectangle should be folded inside so that their ends match the central fold line. Press the new folds.
Important: The model should be on the desk with its horizontal fold upward and the free ends should be below.
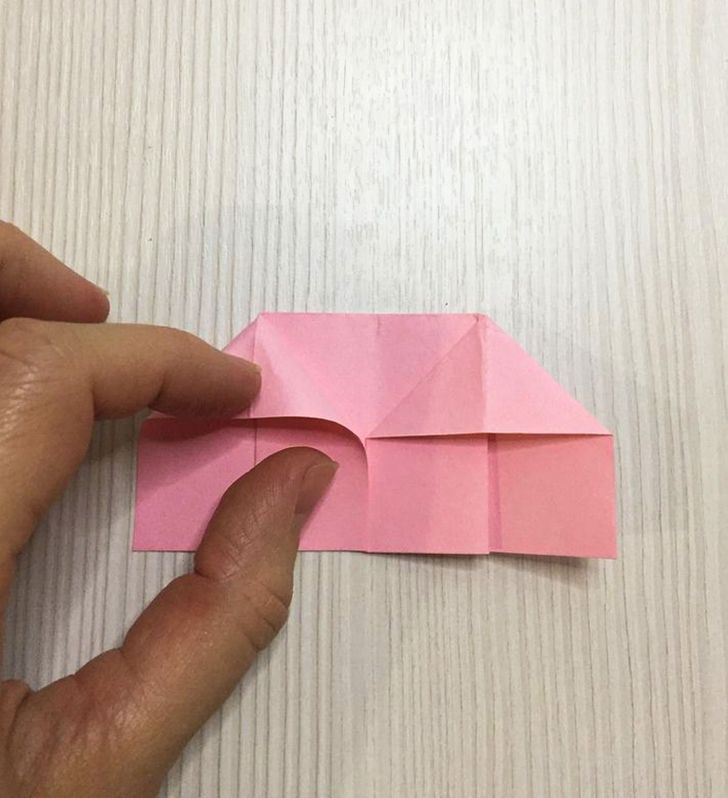
4. Unfold the paper to the stage of the rectangle. You should have a double rectangle divided into 4 equal parts. When holding the paper in the center, put the right quarter inside so that the right upper corner is in the middle of the right line. Press the fold. The model should look like a house with a roof.
5. Repeat the same thing on the left side. Now you have the double house shape.
7. Kite
1. Place a square sheet of paper with one corner toward yourself so that it looks like a diamond.
2. Fold the paper diagonally, press the fold, and unfold to the initial state.
3. Grab the right corner of the square and fold it inside so that the edge is right on the central fold.
4. Repeat the same thing on the left side. The model should look like a kite.
8. Pancake
1. Place a square sheet of paper in front of you and fold it in half twice: first on one side, then on the other.
2. One by one, fold each corner to the center. Their tops should meet at the intersection of the diagonal lines.
9. Bird
1. Make the double square.
2. Place the double square with the folds facing upward. From the lower edge to the center, fold the right and left corners. Press the lines.
Important: You should only fold the upper pieces.
3. Fold the upper corner of the model so that the fold line is level with the left and right corners. Unfold the triangles to the initial state (the double square).
4. Holding the lower part of the model with one hand, carefully unfold the upper part and fold both of its sides inside along the fold line of the upper triangle. Press the folds.
5. Turn the model on the other side and repeat the 2 previous steps. First, fold the right and left sides to the central fold line, and then fold the upper corner of the square to them. Carefully holding the lower part of the square, pull the upper part of the paper, and fold the left and right sides of the square inside along the fold line of the upper triangle.
10. Fish
1. Start by making the kite.
2. Once you have the kite, turn the model with its front part down and connect the tops of the upper and lower corners. Press the fold and turn the model with the top facing you.
3. Fold the right part of the model to the center so that the right corner is on the center fold line. Do the same on the other side.
4. Press the folds and unfold them to their initial state.
5. Holding the model at the bottom, carefully pull the right edge of the pocket upward and fold it to the central line. Do the same with the left pocket.
6. Pull one of the corners upward and turn the model on the other side. The fish is done!
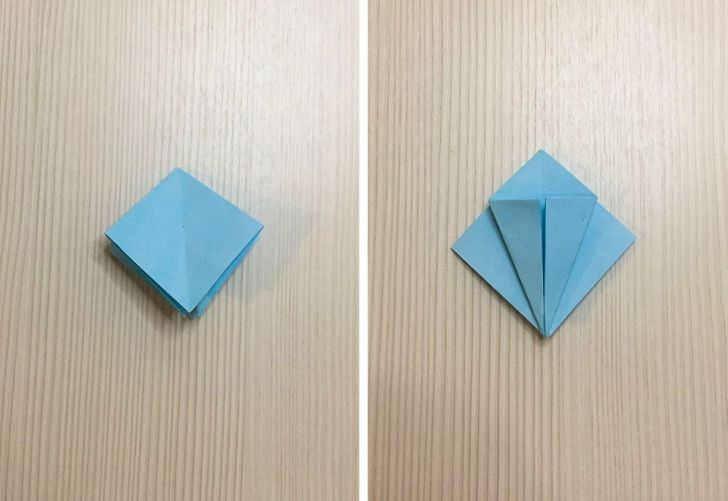
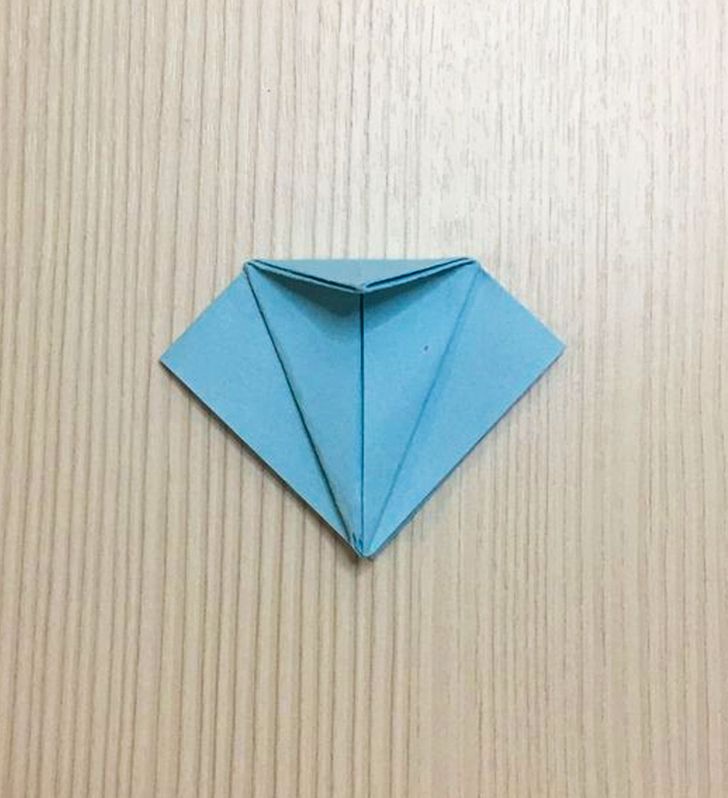
11. Rosebud
1. Make the double square. Put the model with the open part facing you.
2. Fold the right and left parts of the upper square to the center so that their edges are right on the line of the central fold. Press the folds and unfold the model.
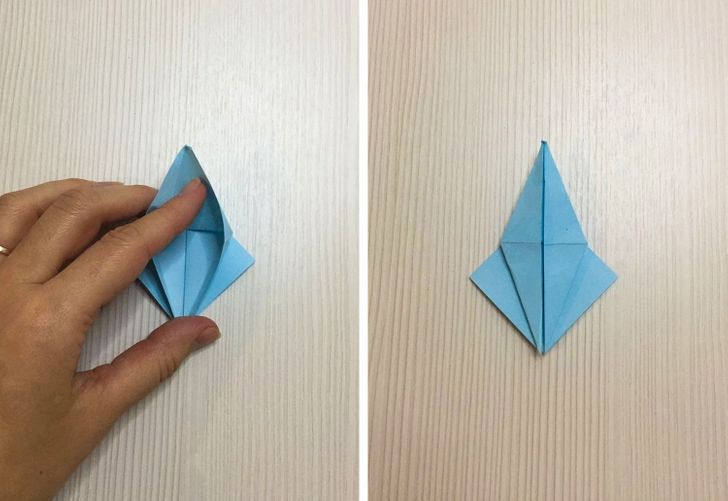
3. Grab the right edge of the upper square, pull it to the side a little, and then put it inside along the fold line. Repeat the same thing on the other side.
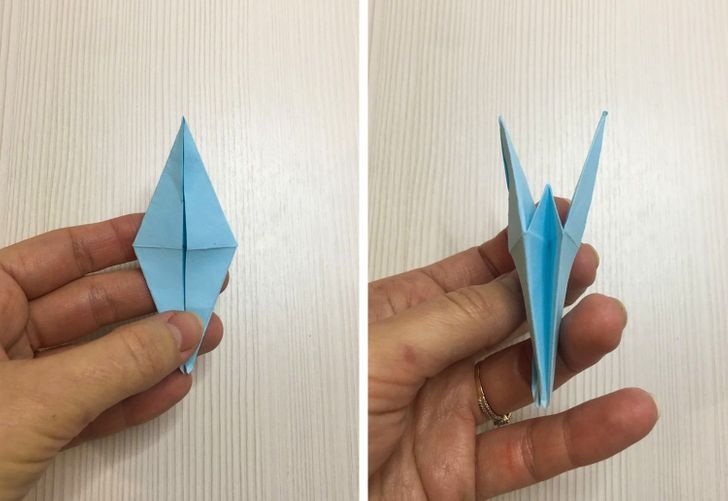
4. Turn the model on the other side and repeat all the steps: fold the left and the right parts of the square from the top to the center, press the folds and unfold them, and put the corners inside.
12. Frog
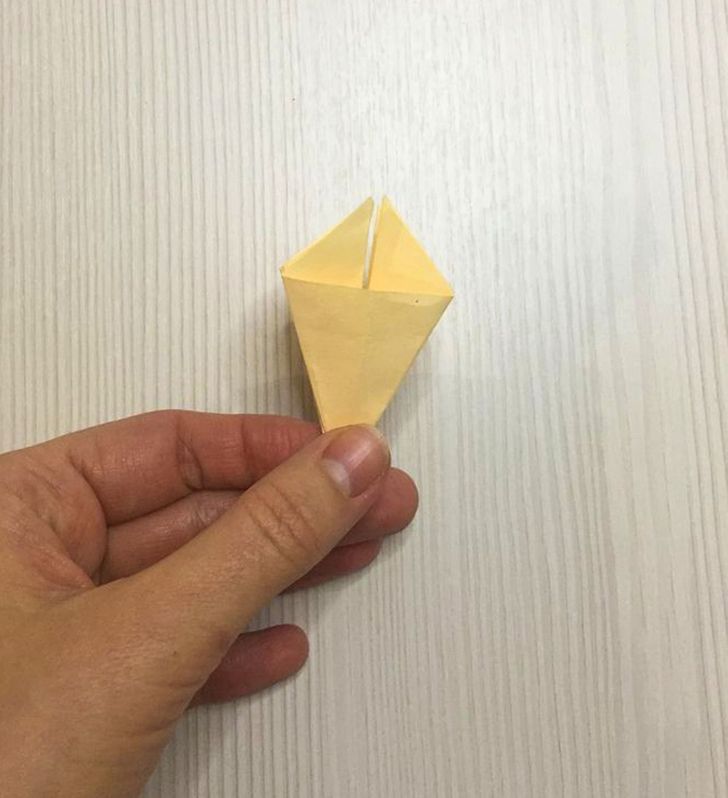
1. To start working on the frog, you need to make the double square and then turn it into a rosebud.
2. Put the rosebud in front of you and connect the upper and lower parts of the model, then press the fold.
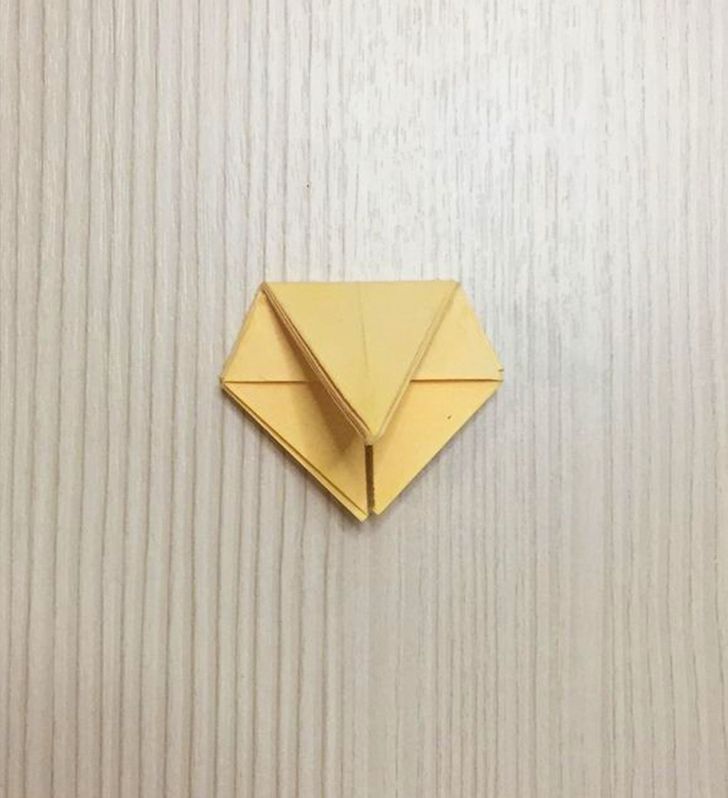
3. Unfold the model. On the left, separate one layer and fold it toward the center. Repeat this on the right. Press the folds and unfold them.
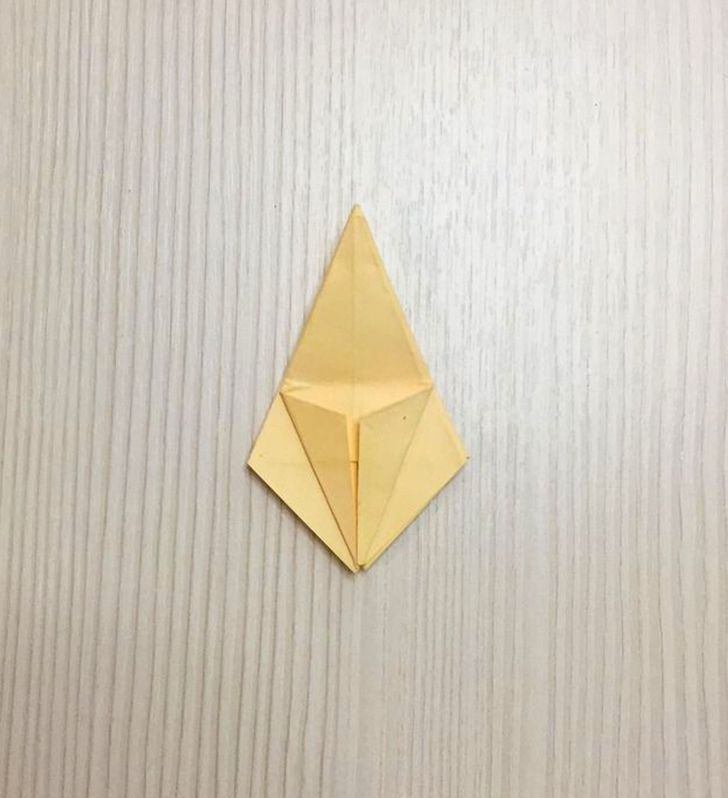
4. While holding the lower part of the model with one hand, grab the horizontal fold in the middle and pull it upward. Then, put the left and the right parts inside.
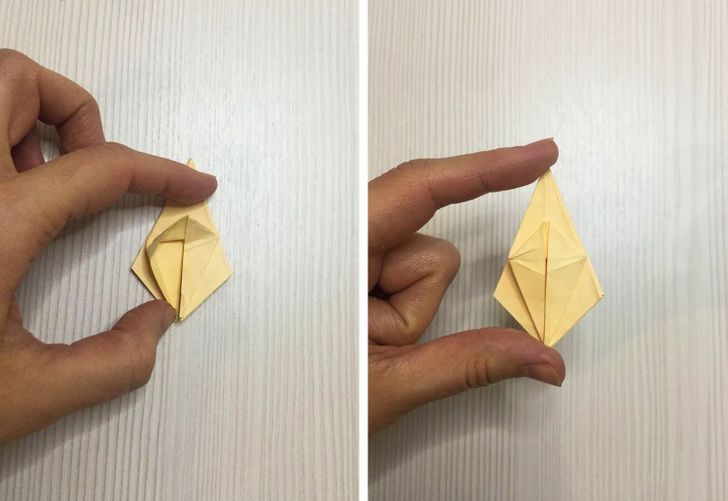
5. Turn the model and repeat all the steps: fold the right and left upper parts to the center, press the folds, and unfold them. Then, holding the bottom of the model, grab the horizontal fold and pull it upward, folding the left and the right sides inside.
6. Flip the folds on the left and right. Once you have a model that looks like a rosebud, repeat the folding inside as was described. You need to do this 4 times.
13. Catamaran
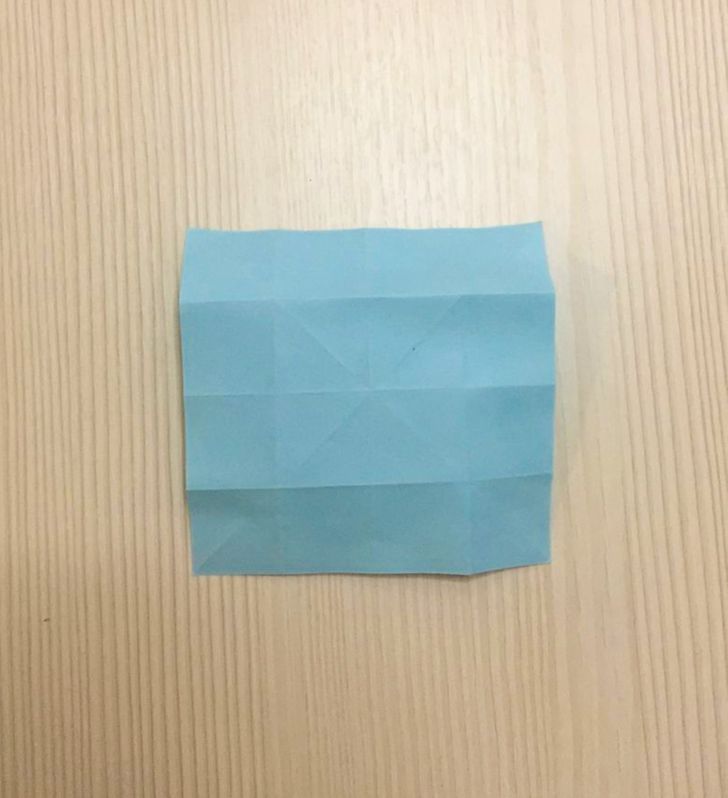
1. Take a square sheet of paper and fold it in half horizontally, unfold it, and then fold vertically and unfold again.
2. Fold the square diagonally, press the fold, and unfold it. Repeat on the other side.
3. Fold the lower part of the square to the center, press the fold, and repeat on each of the 3 other sides.
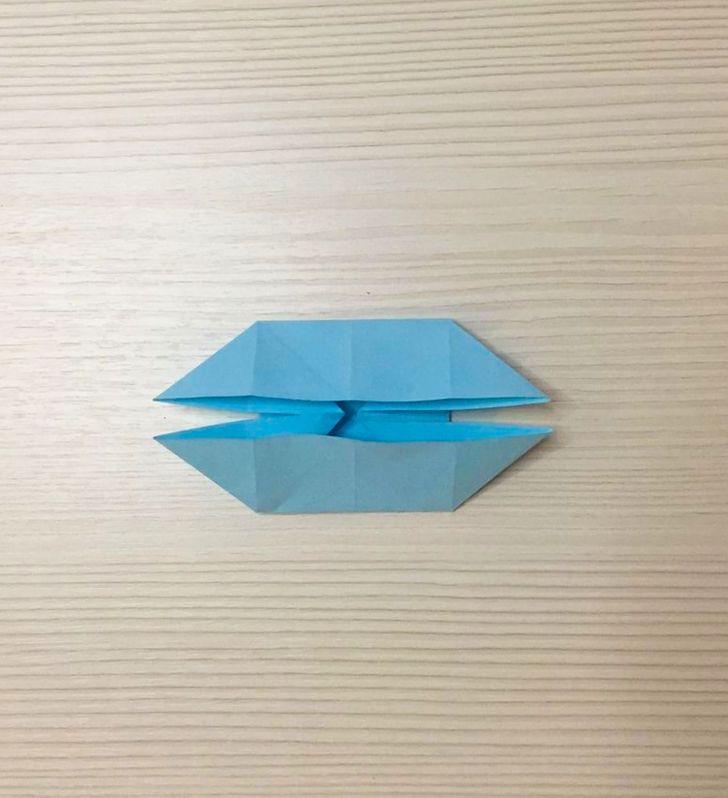
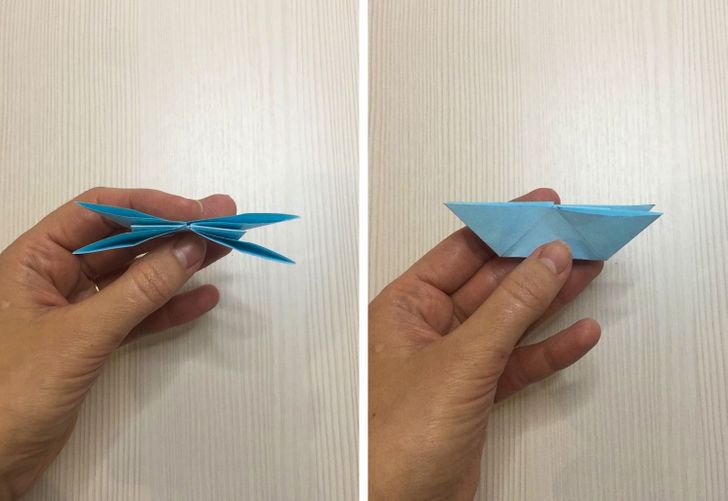
4. Grab 2 neighboring edges so that they’re folded inside. Focus on the corner between them and fold outward as the picture below shows.
5. Repeat on the opposite side.
6. Do the same thing with the other 2 sides.
7. On the central fold line, fold the model in half so that the model looks like a boat.
General recommendations
-
When you learn to do the most basic origami, you’ll be able to do more difficult projects. They’re still based on the same principles used in simpler projects.
-
When choosing the paper for certain origami, take the size of the sheet into account. The more difficult the project and the more parts there are, the bigger the sheet of paper should be.
-
Don’t use thin or very soft paper for complicated projects, especially when you’re just starting out.
-
When doing origami, every line matters. They determine the accuracy and the overall look of the result. Try to be extremely careful while pressing the folds, especially the corners.
-
To have very clean folds, it’s better to use a ruler, and you can use the ring of the scissors to press them.
