How to Make a Bow From a Ribbon
Making loops into a beautiful bow is not as easy as it seems. Fortunately, there are quite a few tricks that can help you to simplify the task. For example, using a usual fork or a small plate.
5-Minute Crafts is going to show you several simple methods for how to make a bow that can be used for decorating clothes, hair, or gifts.
Method #1
You’ll need:
-
a fork
-
2 multicolored thin ribbons
-
scissors
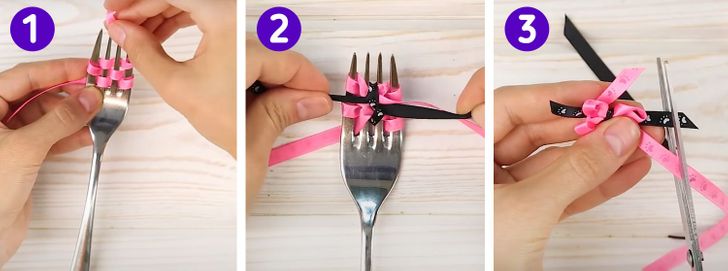
How to make it: Take a fork and wrap one ribbon around it, looping it through the teeth (like a snake) until you get several rows. After that, take the second ribbon and thread it through, between the central teeth, so that you can tie the interweaving of the first ribbon. Make a knot and take the fork out so that you can get a bow. Cut the ends of the ribbons with scissors. It’s ready to go!
Method #2
You’ll need:
-
4 bamboo skewers
-
a sheet of cardboard
-
2 ribbons in different colors
-
scissors
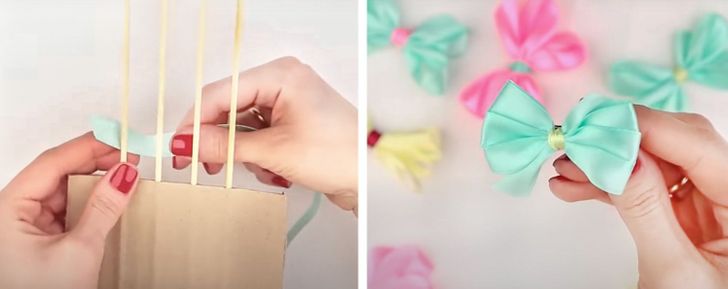
How to make it: This method resembles the first one, apart from the fork that is replaced with its analog, which allows you to make bigger bows. Skewers should be fixed in the cardboard, like shown above. Later you will wrap it with ribbons, exactly the way that we showed in the previous method.
Method #3
You’ll need:
- long satin ribbon
-
double-sided adhesive tape
-
a pin
-
scissors
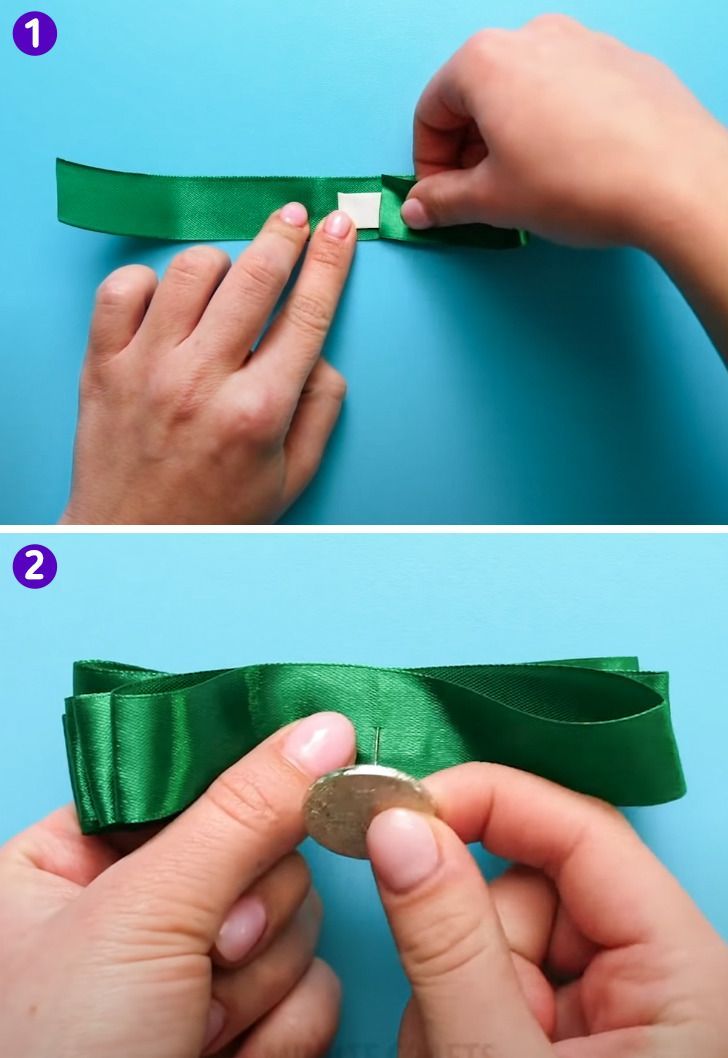
How to make it: Cut the tape into 5 equal pieces. Glue a piece of double-sided tape to the inside in the center of each section, and then adjust the ends of the ribbon to it by folding them. Place all the segments folded in the aforementioned way over each other and fix them with the help of a pin. Your ribbon is ready to go!
Method #4
You’ll need:
- wire-edge ribbon
-
plate
-
metal thread
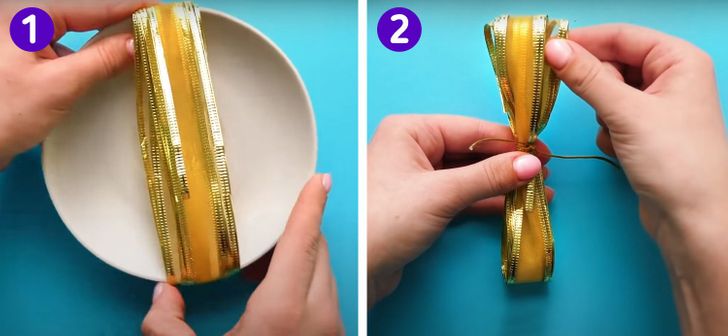
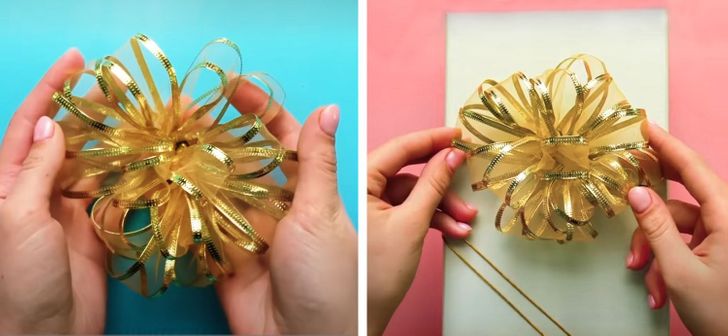
How to make it: Wrap the ribbon around the plate. The final size of the bow depends on the plate’s diameter: the smaller the size of the plate is, the smaller bow you’ll get. After that, remove the plate and tie the ribbon with a piece of metal thread in the middle. The only thing left to do is to “fluff” the bow by arranging it into the necessary shape. It’s ready!
Method #5
You’ll need:
-
blouse ribbon or a neck scarf
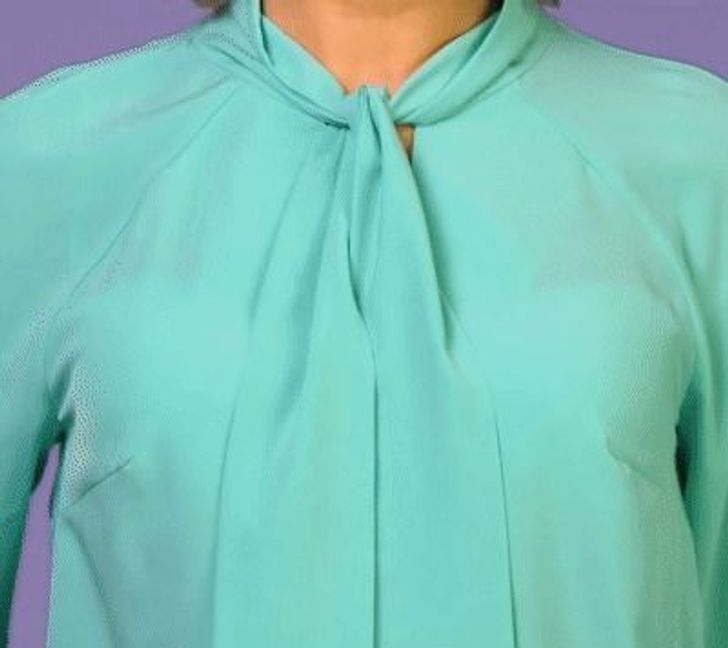
How to make it: Wrap the middle of one blouse ribbon end around your fingers so that you can get the first loop. Make the second loop simultaneously with the first one from the rest of the ribbon. Loop the second end of the blouse ribbon through the first loop, tightening the second loop at the same time until you get a bow. It’s ready!
Method #6
You’ll need:
-
satin ribbons
-
thread and needle
-
glue
-
a lighter
-
hair barrette
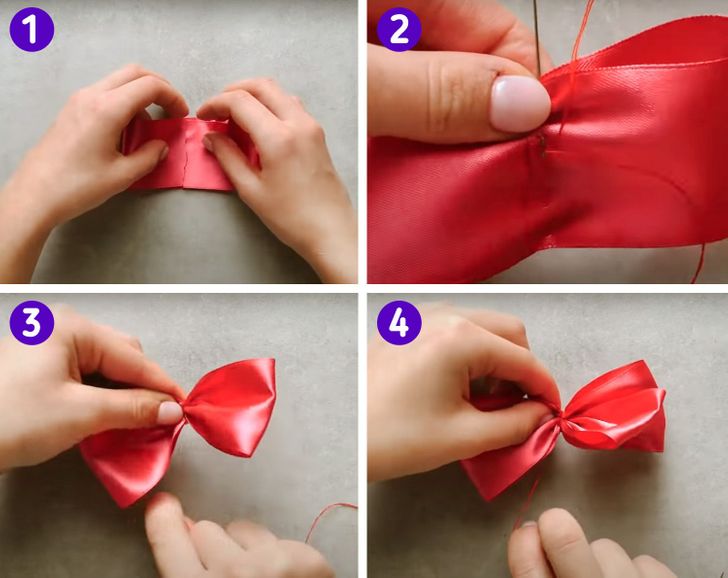
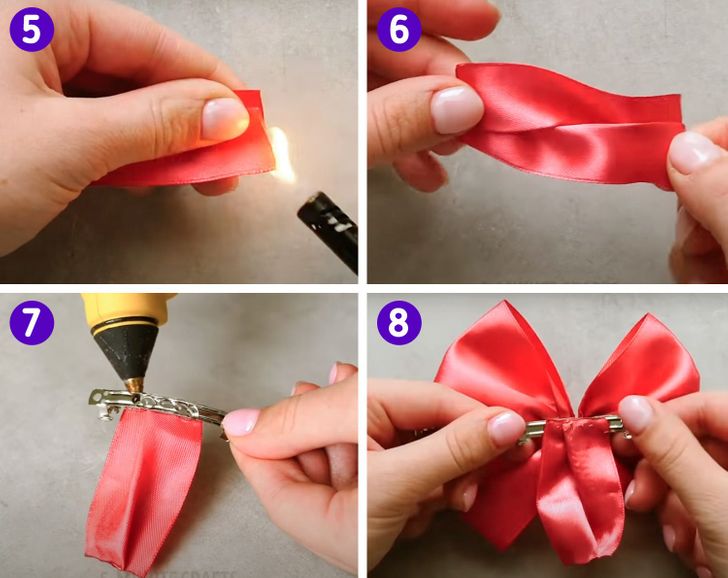
How to make it: Take 2 ribbons as long as 4 inches each. Fold the ends of one ribbon to its center and stitch them together. After that, without removing the needle, wrap the thread in the middle of the ribbon so that you get a bow. Then, stitch the second ribbon with the same needle so that you get a bow and wrap it with a thread so that you can adjust the 2 bows to each other.
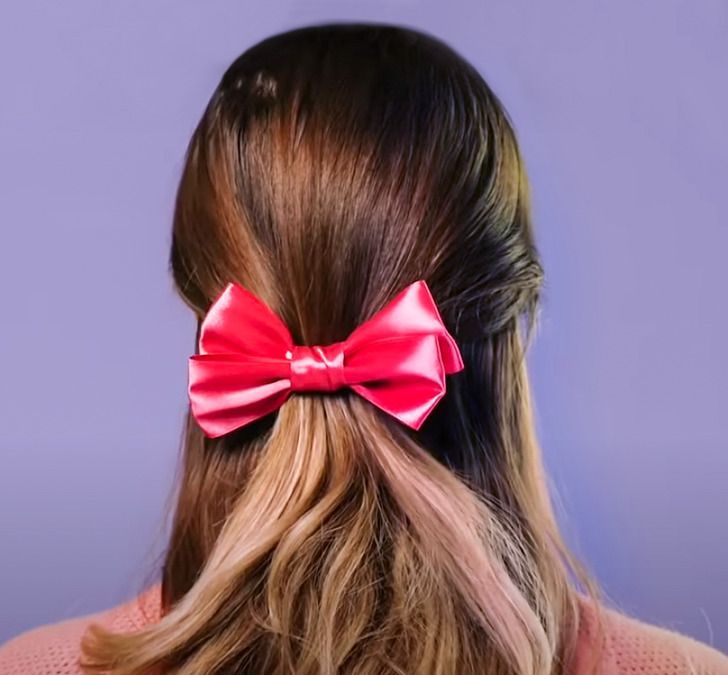
Now take a small piece of ribbon. Lay the ends from both sides over each other and slightly burn them with a lighter. After that, glue them to the backside of the hair grip base. Glue the bow to the front part of the hair grip and wrap the free end of the short ribbon (the one at the backside) around it by gluing its end to the backside of the hair grip. It’s ready!
Method #7
You’ll need:
-
gift wrapping paper
-
double-sided adhesive tape
-
scissors
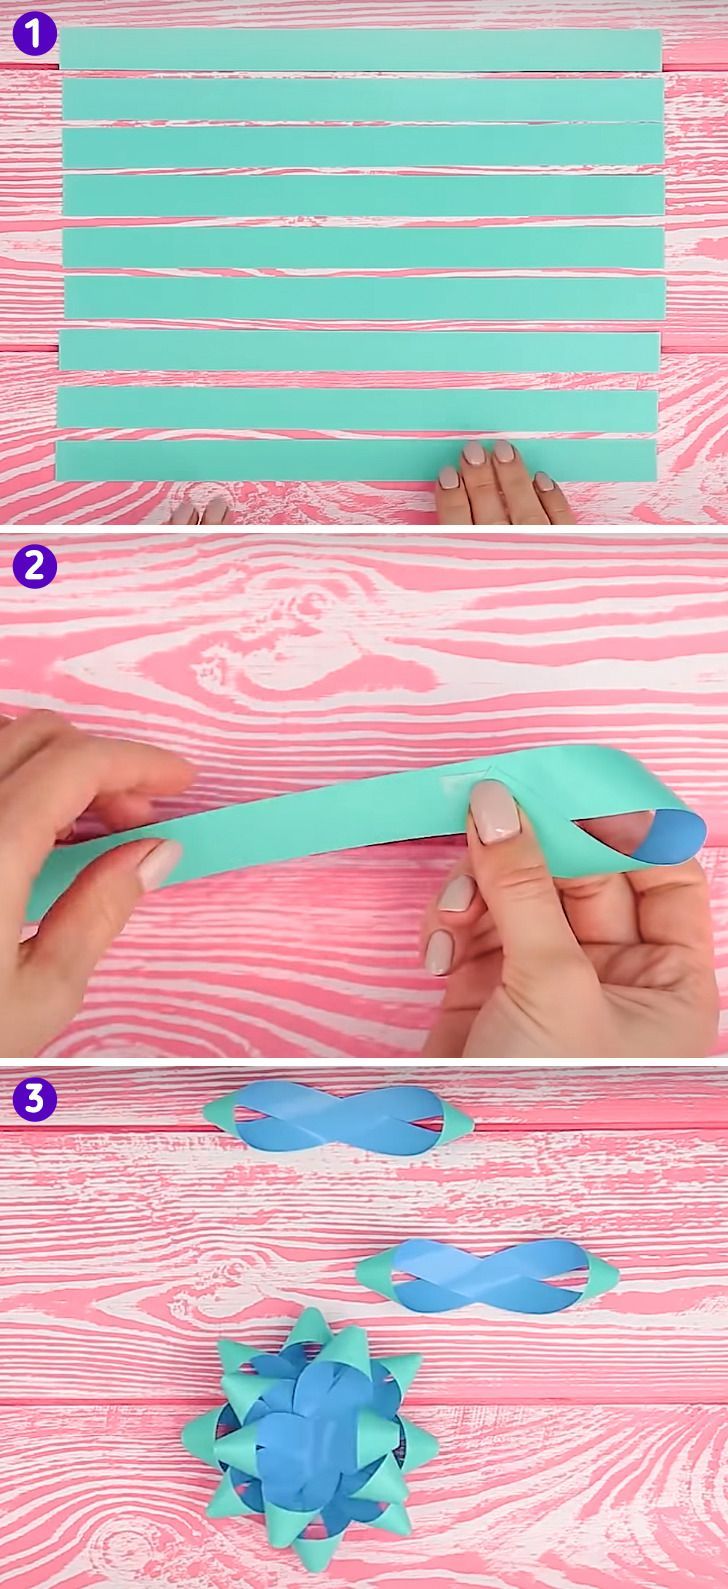
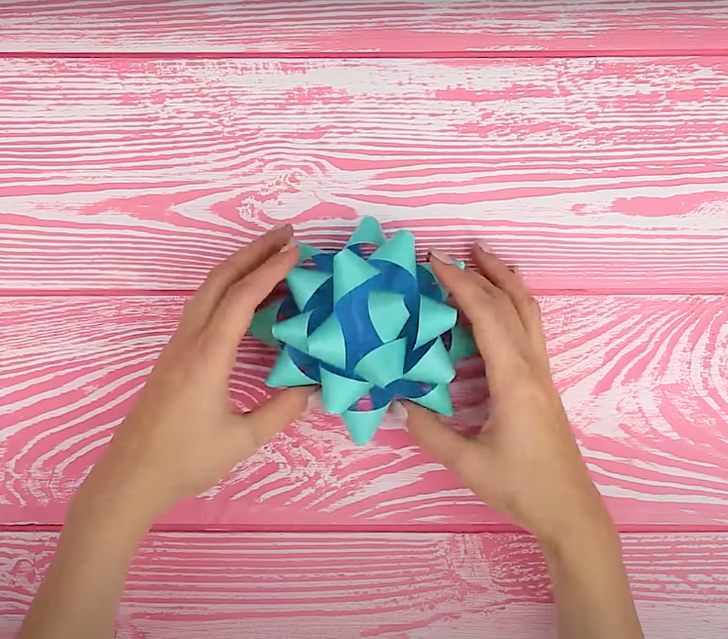
How to make it: Cut a sheet of gift wrapping paper into 9 equal pieces. Make a loop from each strip as shown in the photo above. Adjust the ends of each strip to its center with the help of adhesive tape. Secure the strips that you got between each other, slightly bending the ends so that you can get a voluminous bow. It’s ready!
