How to Make a Charming Epoxy Resin Photo Frame to Preserve Your Memories
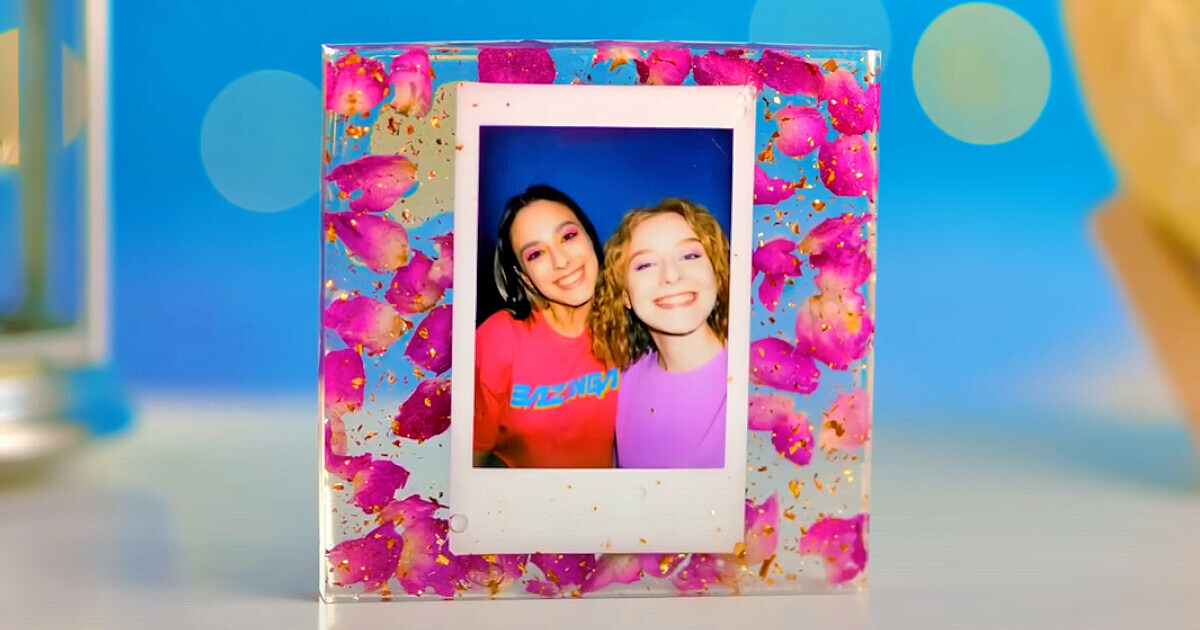
Unlock your creativity and craft a stunning DIY epoxy resin photo frame adorned with preserved flowers and a touch of golden elegance. In this article, we’ll guide you through the steps to create a unique, transparent masterpiece that beautifully showcases your cherished memories.
Materials needed
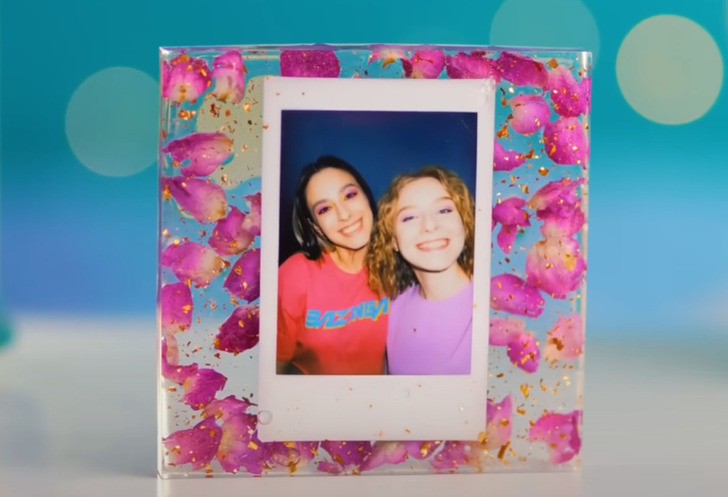
- Epoxy resin kit
- Dried flowers of your choice
- Gold leaf or gold flakes
- Mold
- Mixing cups and stirring sticks
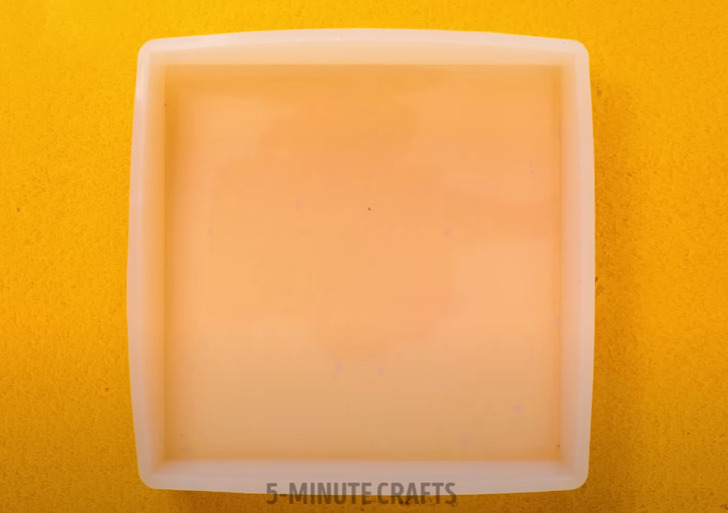
1. Ensure you have a clean and well-ventilated area to work and place your mold on it
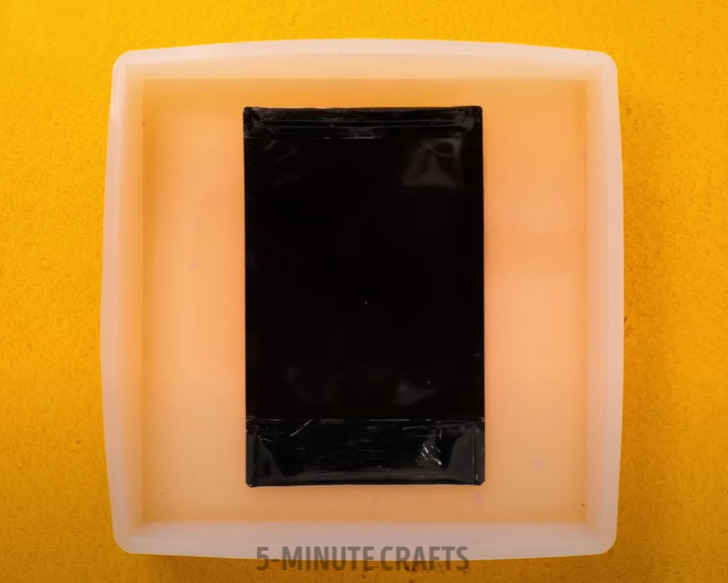
2. Place your photo in the center of the mold with the side with the image facing down
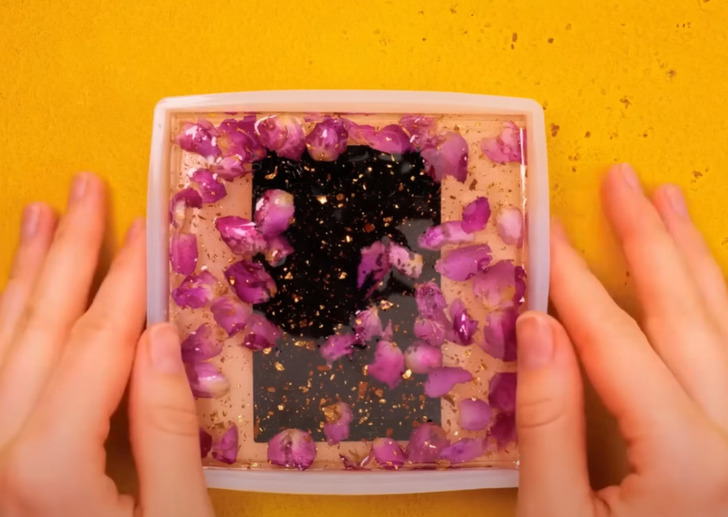
3. Arrange the dried flowers on the frame to create the desired design
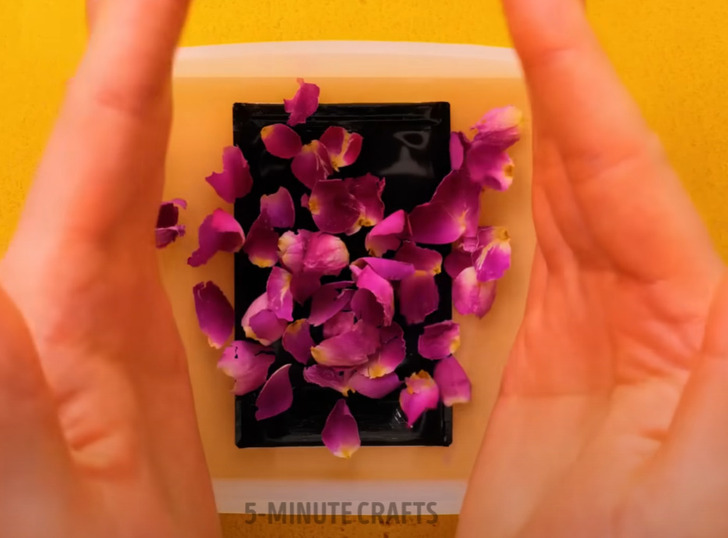
4. If you’re using gold leaf, tear or cut small pieces and gently place them on top of the dried flowers, but If you’re using gold flakes, add them directly to the epoxy mixture
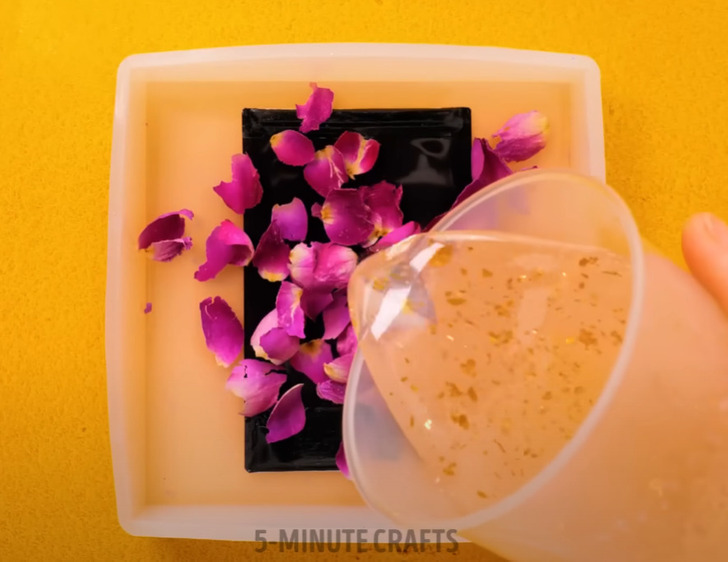
5. Carefully pour the mixed epoxy over the arranged flowers slowly to avoid air bubbles
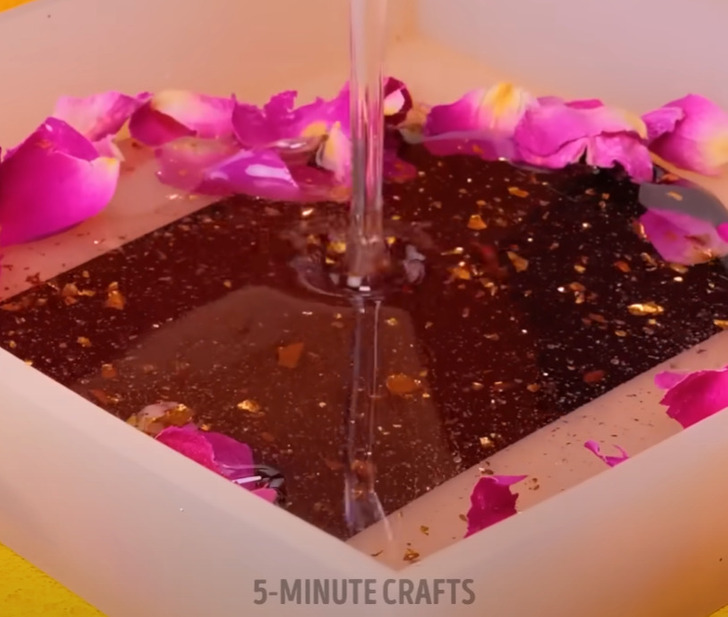
6. Let it cure for at least 24–48 hours, or as directed by your epoxy resin kit
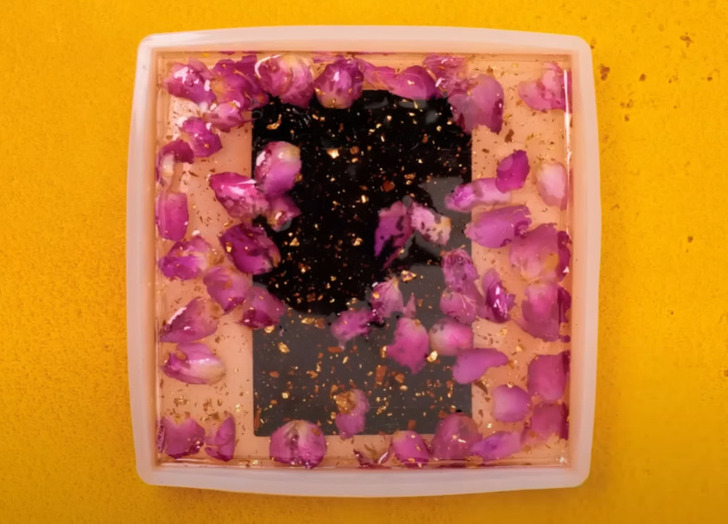
7. Once the epoxy has fully dried, your resin photo frame will be ready to showcase your cherished memories
Check out more amazing Epoxy resin crafts
Share This Article