How to Make a Clothes-Folding Board to Help Kids Keep Their Room Organized
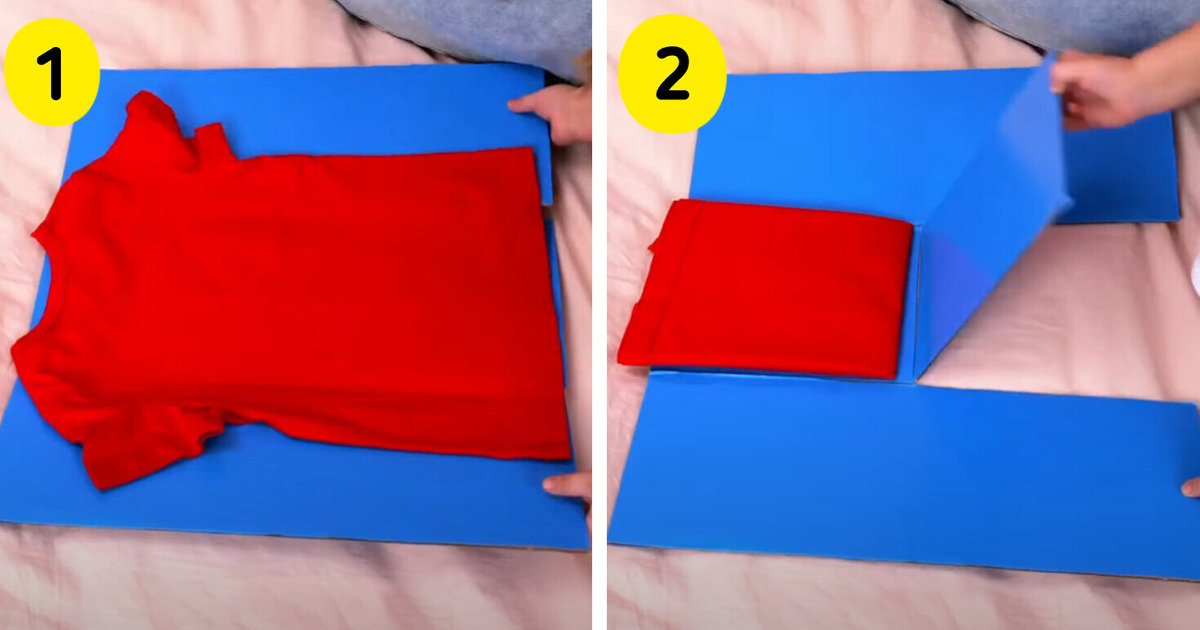
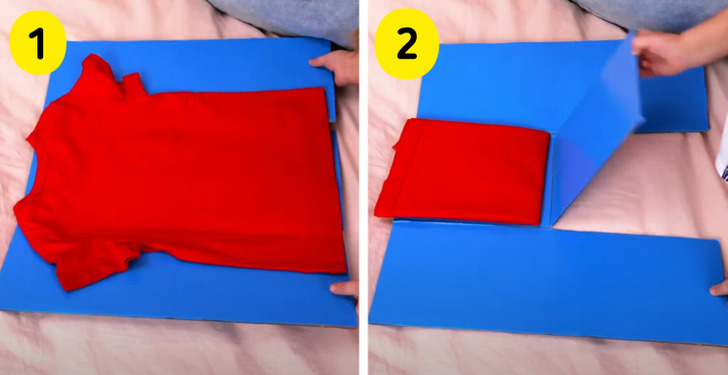
Discover an engaging DIY project that will make teaching kids how to fold clothes both fun and educational. In this article, we’ll guide you through the process of creating a cardboard clothes-folding board, designed especially for young learners. With these easy-to-follow instructions and creative ideas, your children will master the art of folding clothes in no time.
Materials Needed
- Cardboard sheet
- Ruler
- Pencil
- Scissors
- Duct tape or masking tape
- Optional: Paint, colored markers, or stickers for decoration.
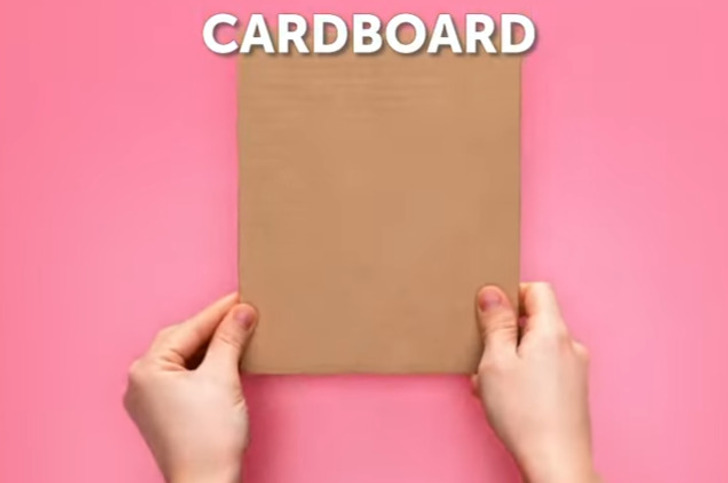
1. Lay your cardboard sheet flat on a table or workspace and draw and cut one rectangle piece measuring about 15×20 centimeters
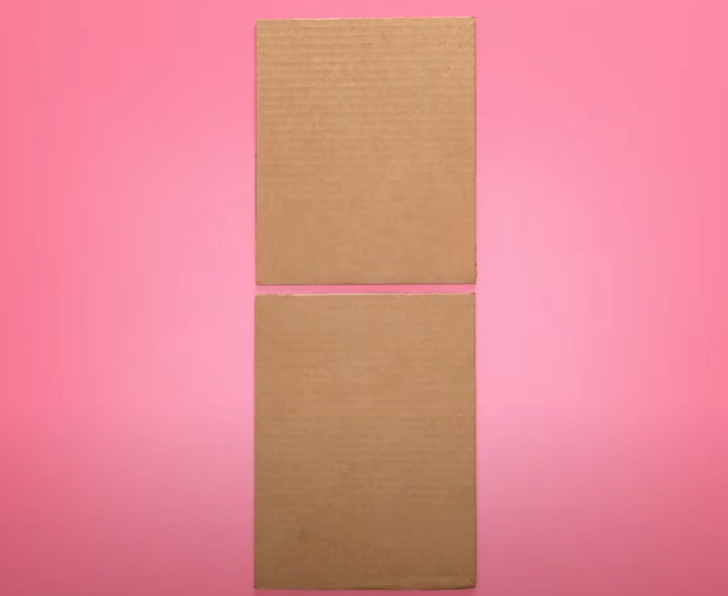
2. Cut another piece of similar width but a few centimeters longer, and place it beneath the previous one with approximately one centimeter of spacing between each piece
3. For the sides, cut two rectangular pieces of the same width as the previous ones, but with a height equal to the combined height of the two small cardboard pieces placed one beneath the other
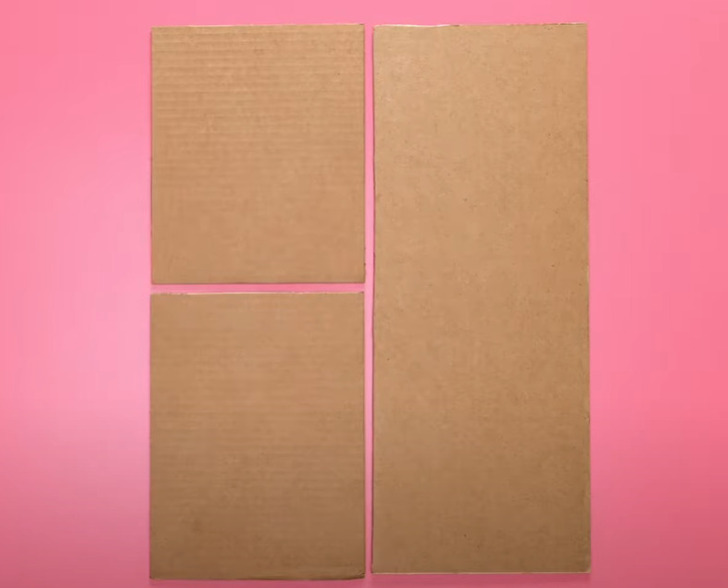
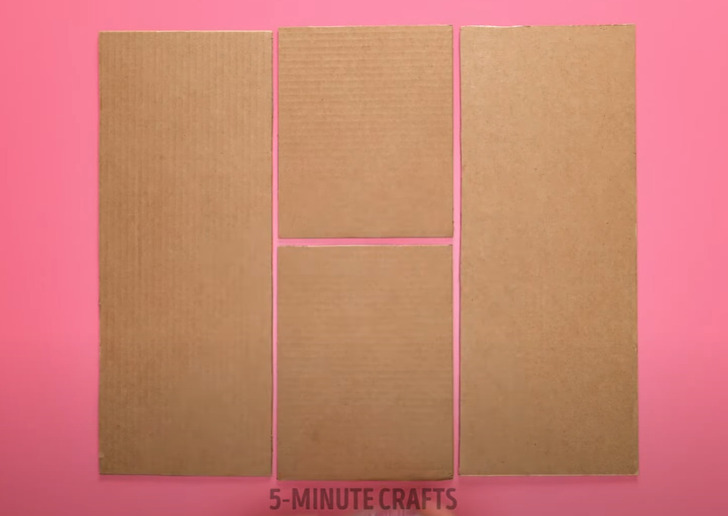
4. Position both side pieces on either side of the aligned small pieces, ensuring their top and bottom edges are aligned, with approximately one centimeter of spacing at the lateral joints
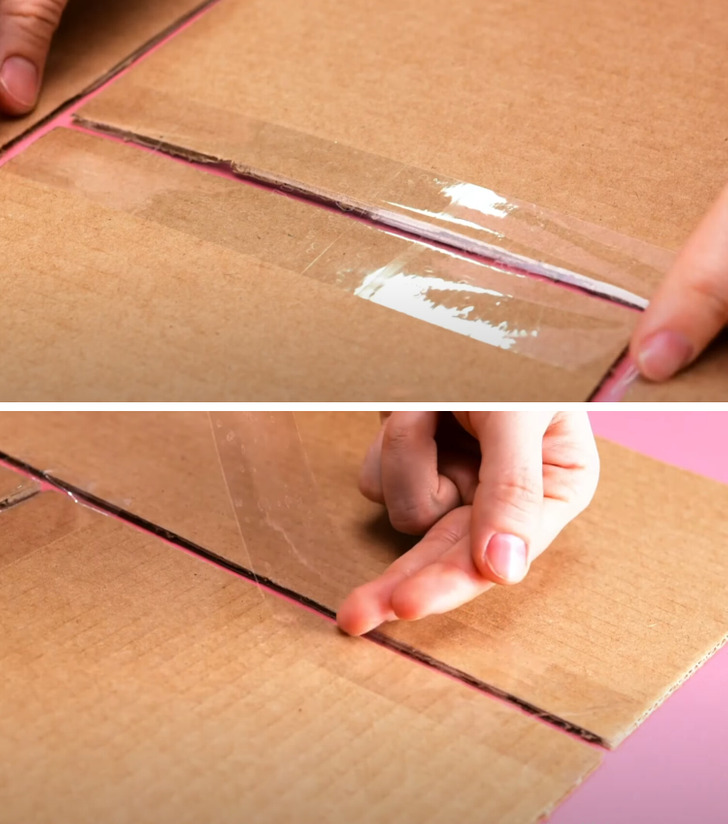
5. Tape both the front and back sides of the three junctions of the main piece with the surrounding pieces, both sides and the bottom edge
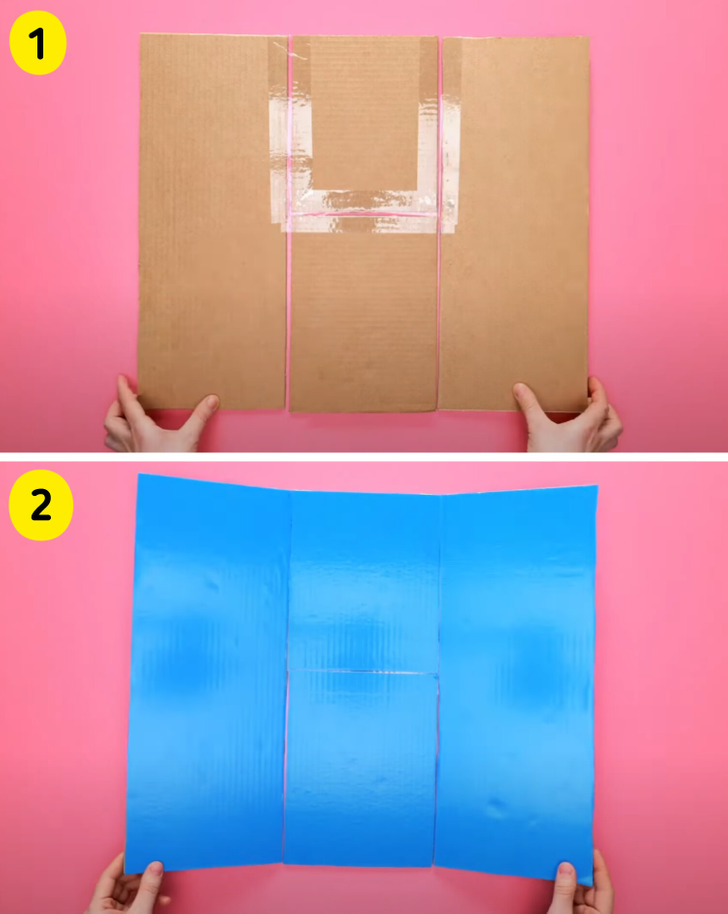
6. Once taped, you can decorate it as desired, whether by painting, drawing, or applying stickers
Check out more genius gadgets and crafts for smart parents
Share This Article