How to Make a Cute DIY Kitty Phone for Kids
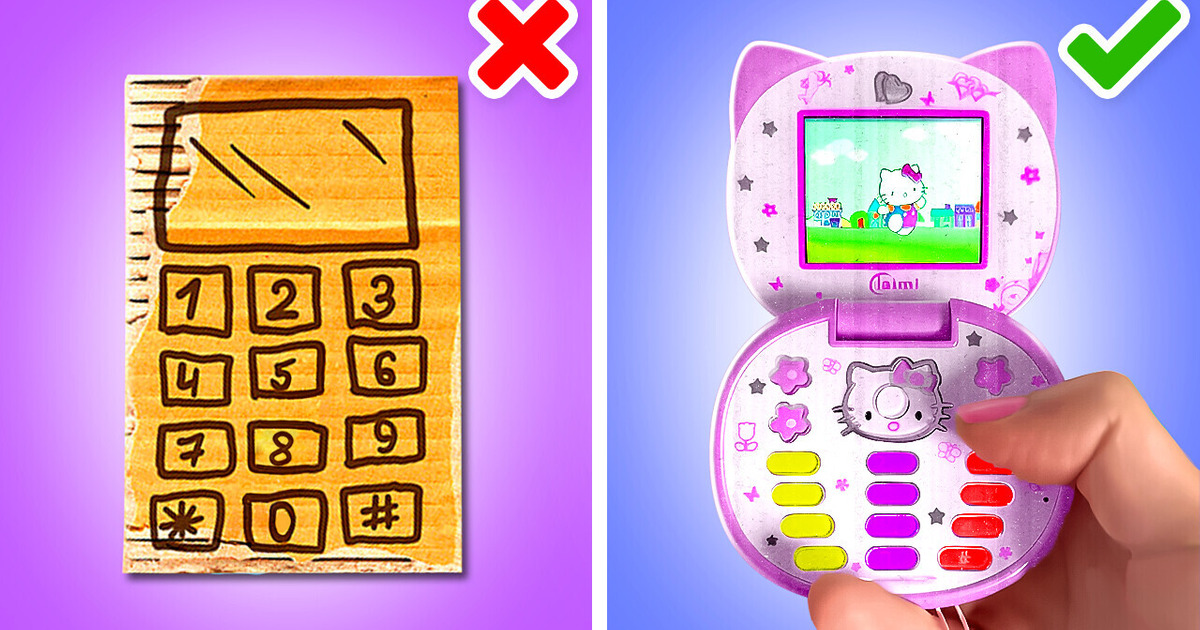
Calling all smart moms and dads! Get ready to unleash your creativity and make your little ones’ day with our DIY Kitty Phone tutorial. Join us on this exciting journey of DIY creativity and smart parenting. Together, we’ll foster a love for crafting, spark imaginative play, and create lasting memories with your children.
Materials you will need
- Smartphone
- Cardboard
- Colored adhesive paper
- Glue
- Bottle caps
- Colored beads
- Switch
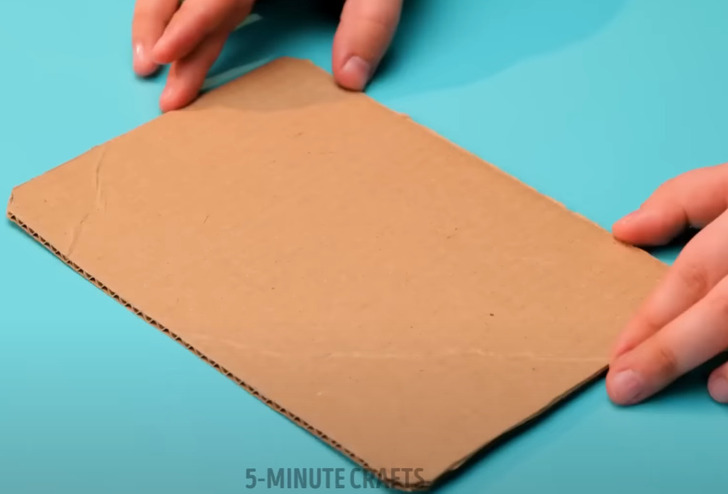
1. Cut four rectangles of the same size with rounded corners from the cardboard
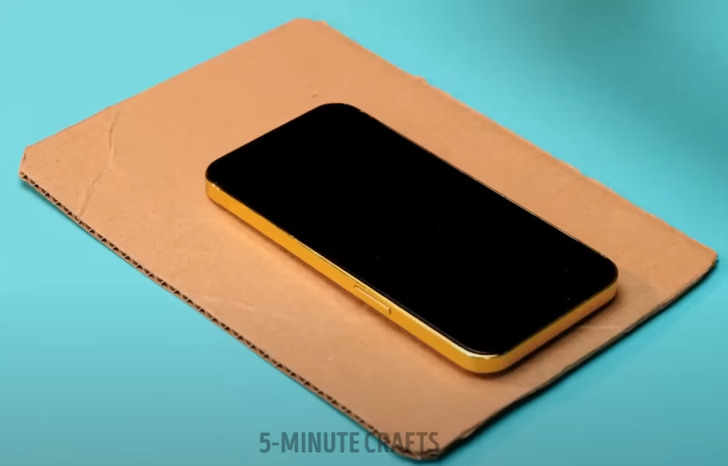
2. Place the smartphone on the cardboard, centered, and align its base with one of the shorter sides of the rectangle
3. Trace the outline of the phone onto the cardboard, cut out that space, and glue that cardboard layer on top of the previous one
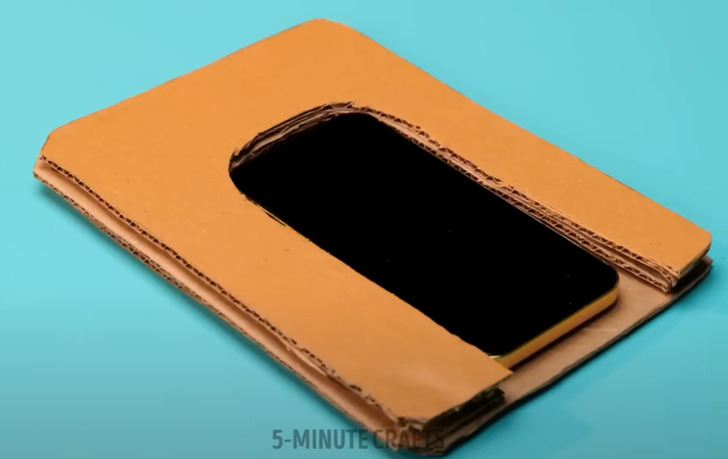
4. Repeat the exact same operation with another cardboard rectangle
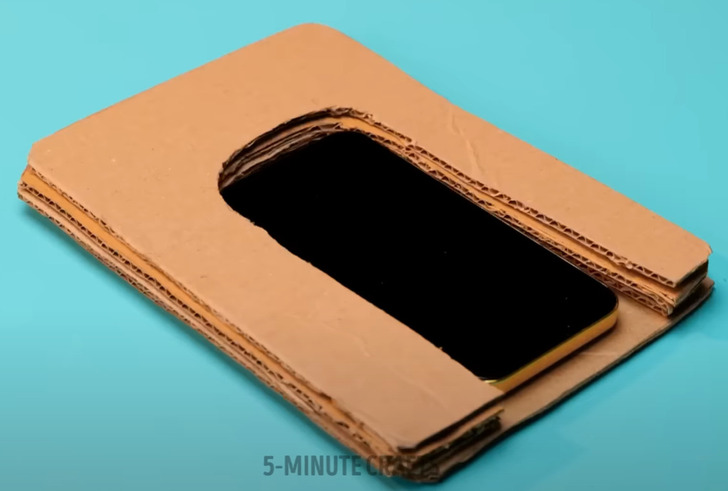
5. For the fourth and final piece of cardboard, don’t cut out the entire base; that is, only trace the complete smartphone shape on it and glue it onto the previous structure
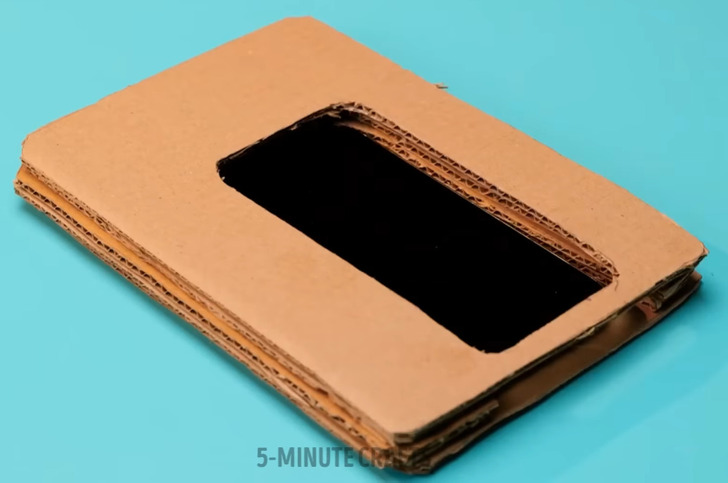
6. Cut two pieces of colored adhesive paper and attach them to the front and back of the cardboard structure
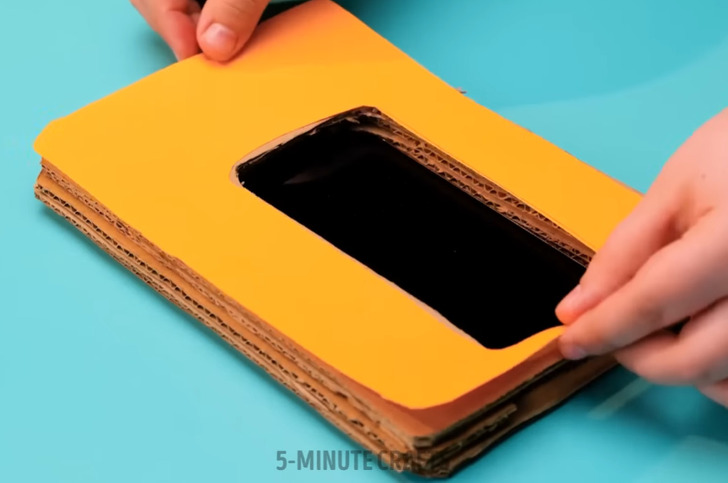
7. Also, cover both the outer and inner edges with colored adhesive paper
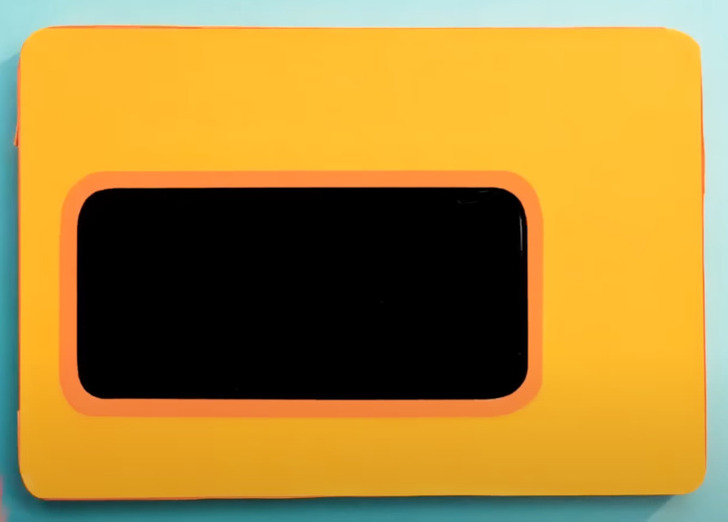
8. Place the rectangular structure horizontally and glue some beads on the top as if they were buttons
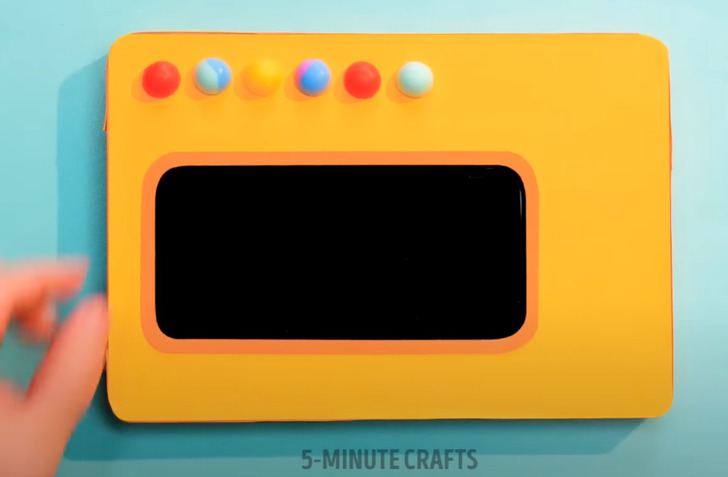
9. Stick a square piece of white paper with the letters “TV” painted on it in one corner
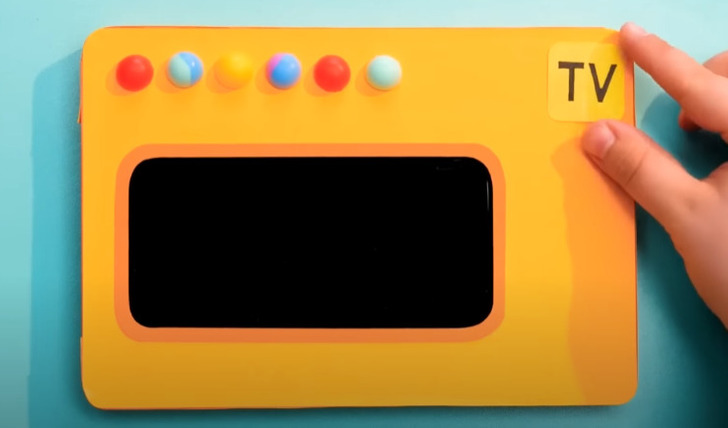
10. Attach a plastic bottle cap on the side as if it were a tuner wheel
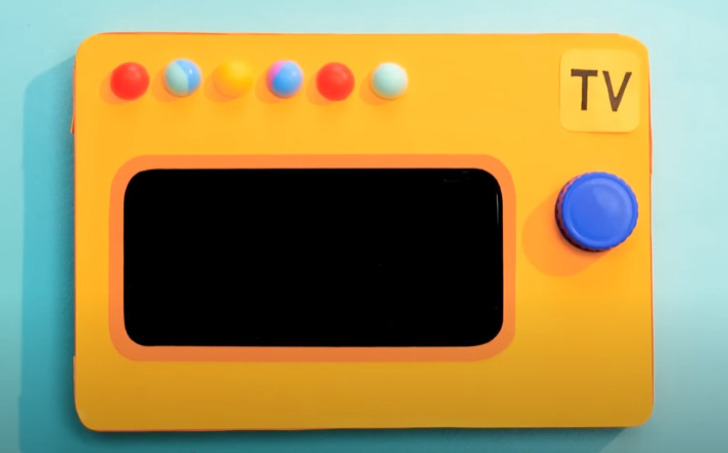
11. Take another bottle cap and attach a switch in the center before gluing it onto the cardboard
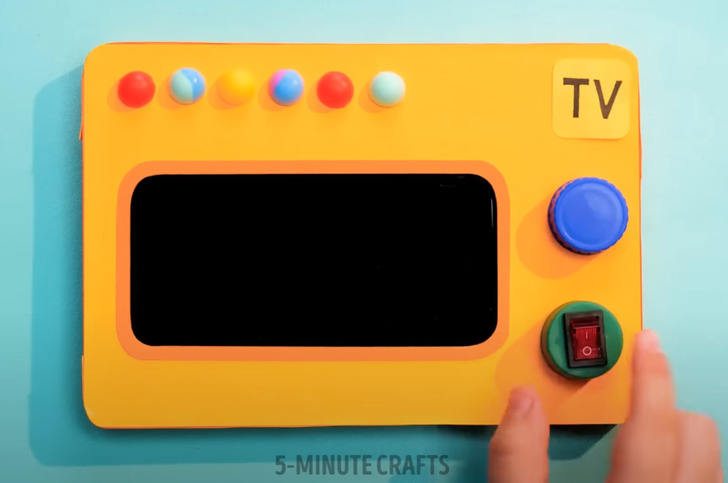
12. Remove the phone, turn it on, and then place it back inside, playing whatever you want to watch
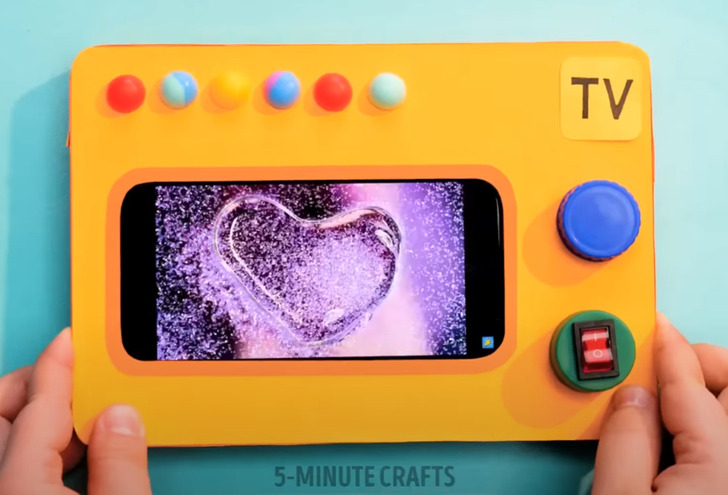
13. If you want it to stand upright, add some triangular pieces of cardboard to the back as support
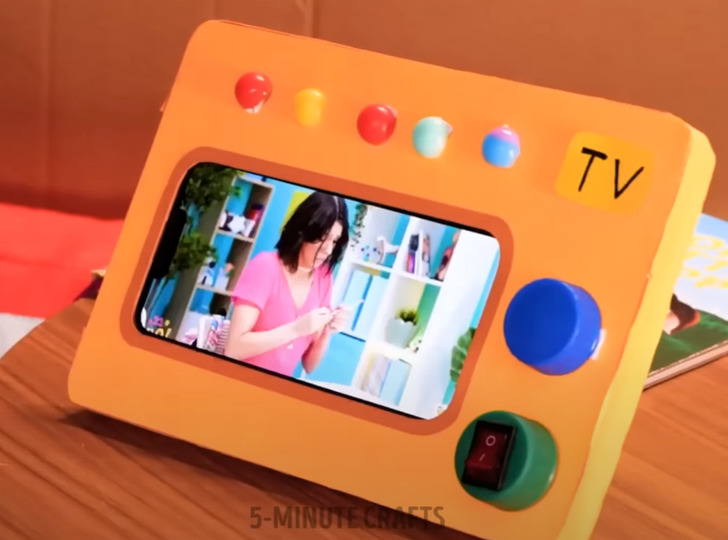
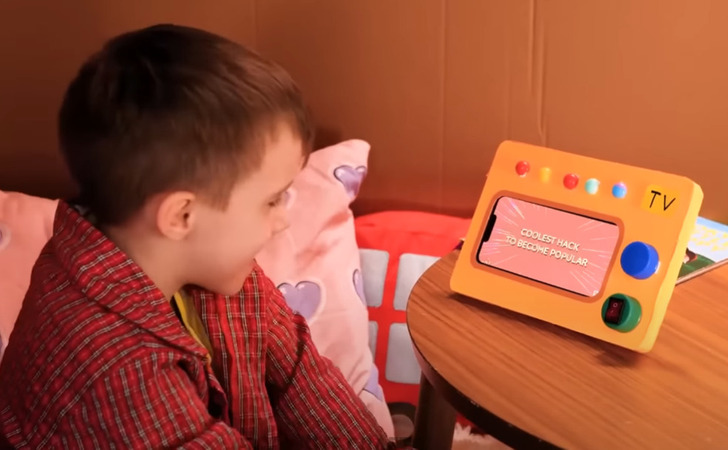
14. Let your little one enjoy watching their favorite cartoons or shows without fear of the smartphone slipping from their hands and falling to the ground
Check out more amazing DIY ideas for your kids
Share This Article