How to Make a DIY Cardboard Dollhouses and Shelves Your Kids Will Love
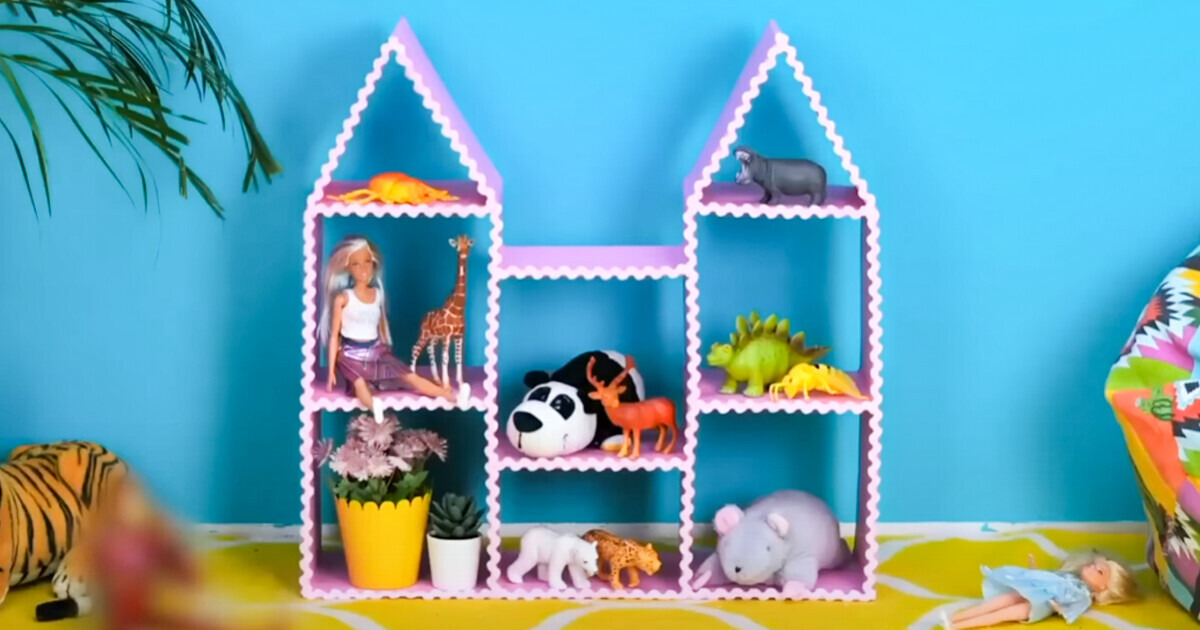
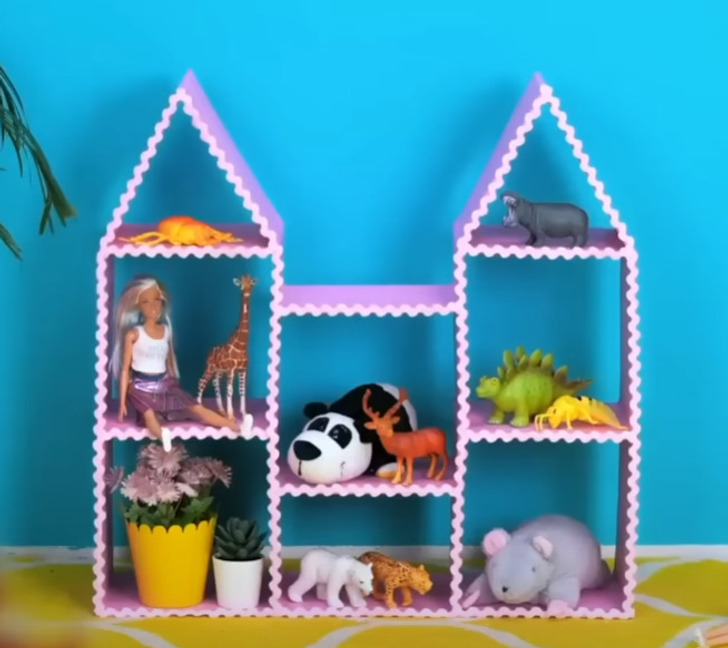
In this article, we’ll take you through the step-by-step process of creating a cardboard dollhouse or shelf, a fantastic DIY project that combines creativity and functionality. Whether you’re looking to craft a charming dollhouse for your little one or an inventive shelving unit for your collectibles, this guide has got you covered.
Materials you will need
- Cardboard
- Hot glue
- Scissors
- Ruler
- Pencil
- Color adhesive paper
- Decorative adhesive tape
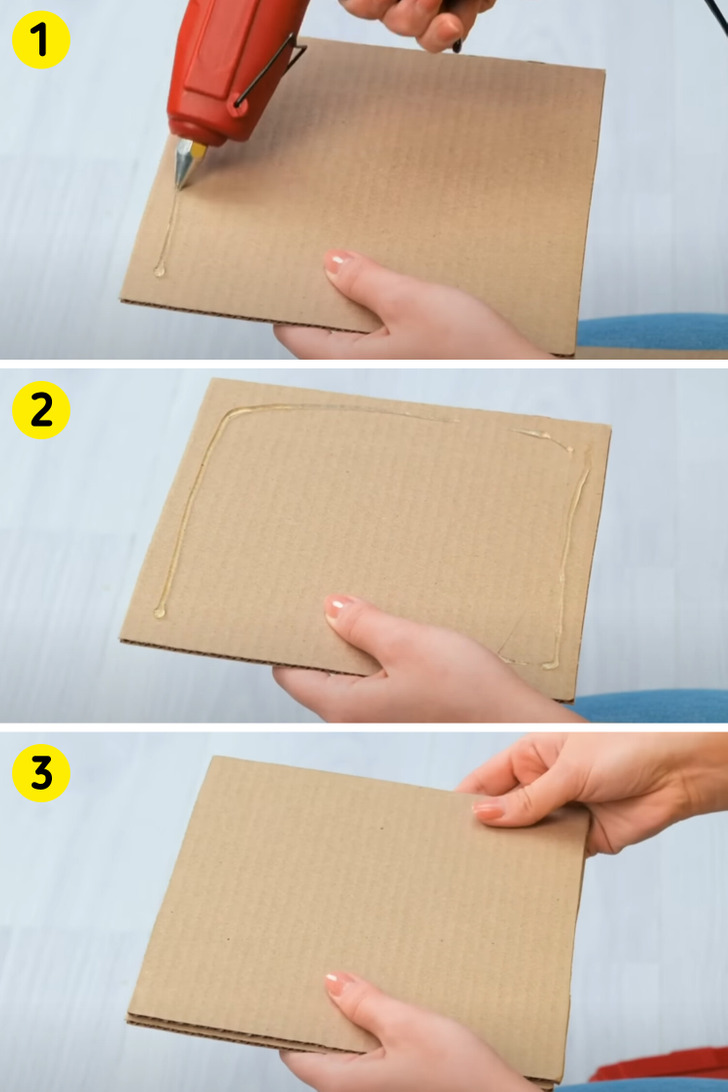
1. Cut square pieces of cardboard of the same size to create the walls and ceilings of the structure, and if your cardboard is very thin, glue it in double layers
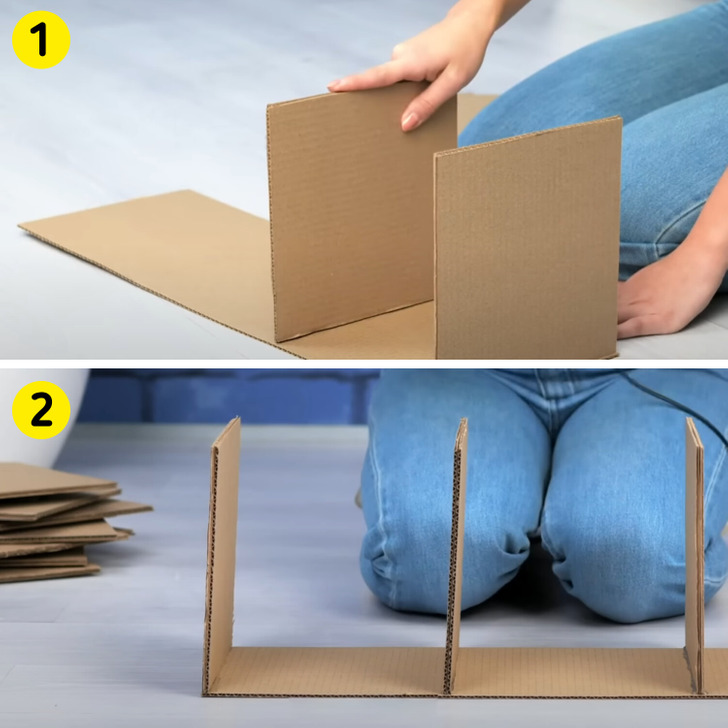
2. Cut a rectangular base piece that has two of its sides the same size as the squares and two others three times the size of the squares
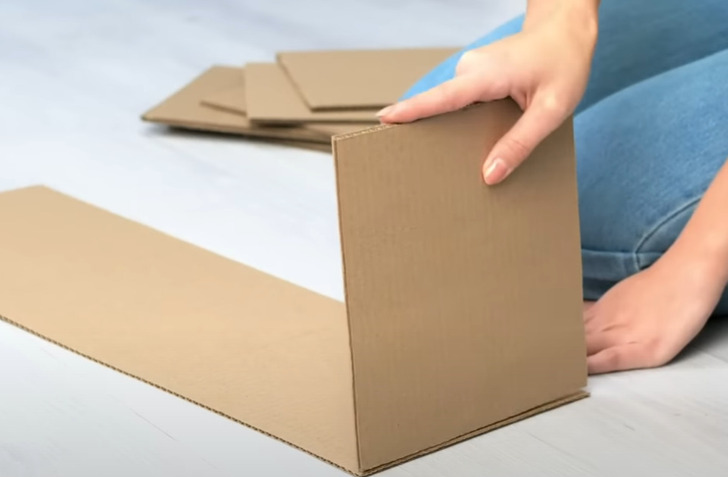
3. Glue the walls, vertically, to the base rectangle
4. Put glue on the top of the walls to stick the ceiling on top
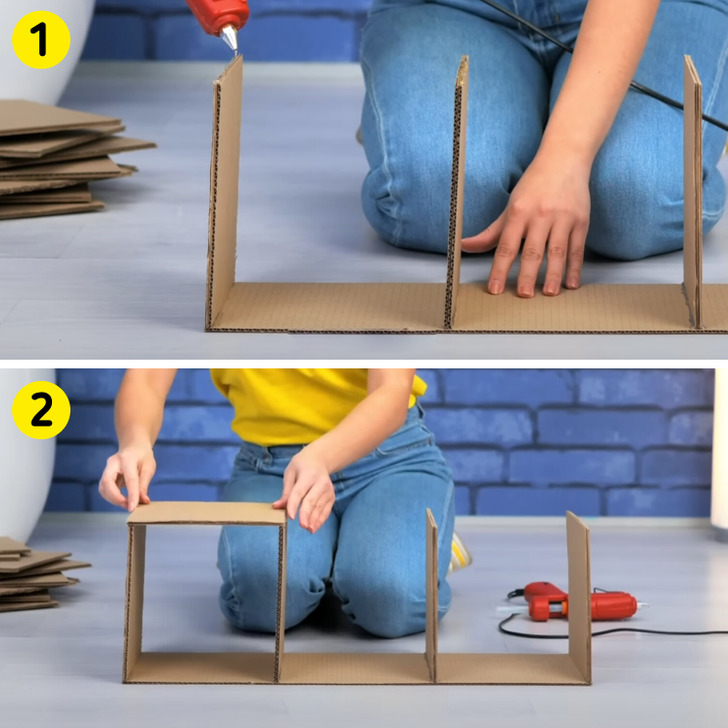
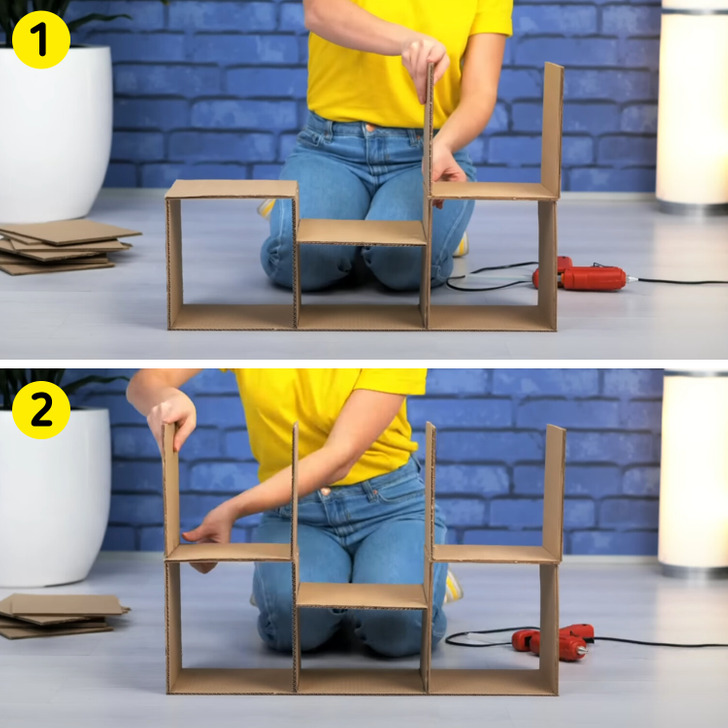
5. The structure will have three roofs at different heights, attach the two exterior ones to the same level
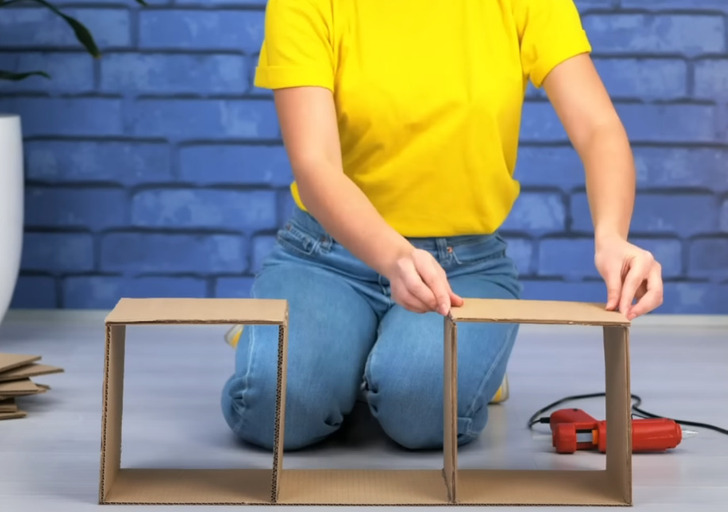
6. Put the central roof a little lower than the other two
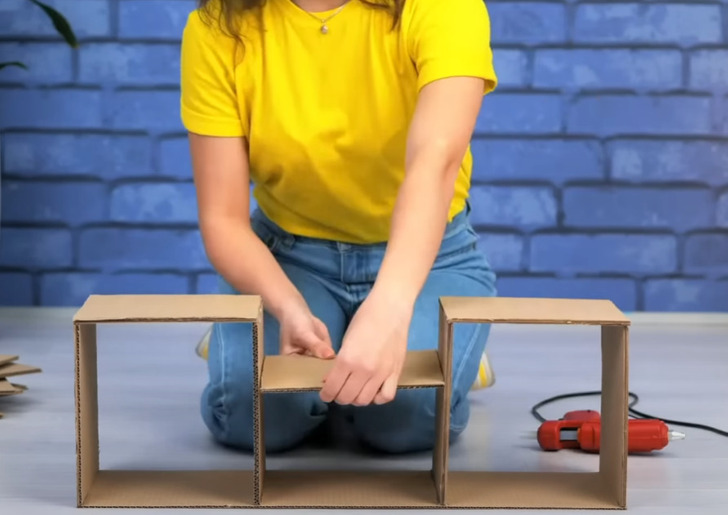
7. Add an upper floor following the same steps as before, but this time gluing the walls to the ceiling instead of the base
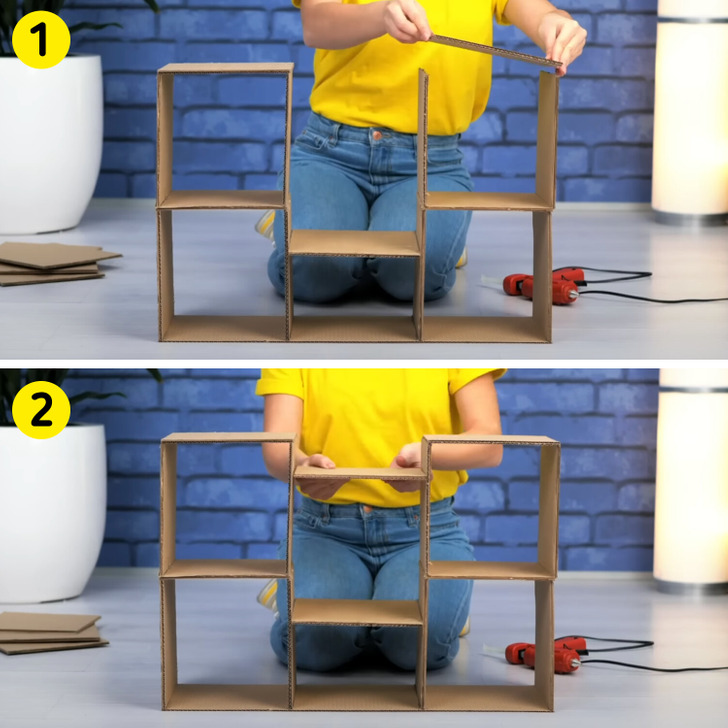
8. And in exactly the same way place the ceiling of the second floor, two at the same level and one a little lower
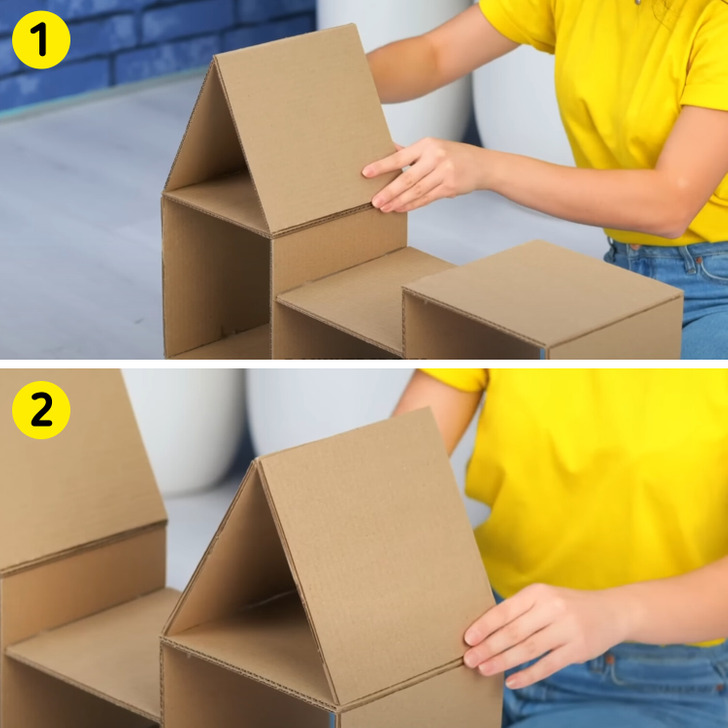
9. To recreate the roof, we will add to the two roofs of the same height a triangle formed by two square pieces of cardboard of the same size that we used in the rest of the structure
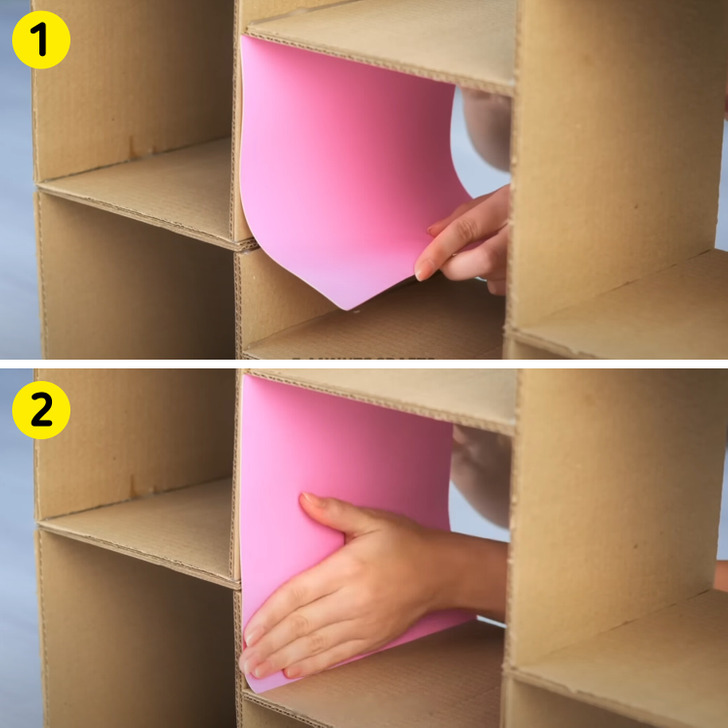
10. The structure is ready, now we are going to cover it with adhesive paper to, in addition to giving it color, give it more resistance
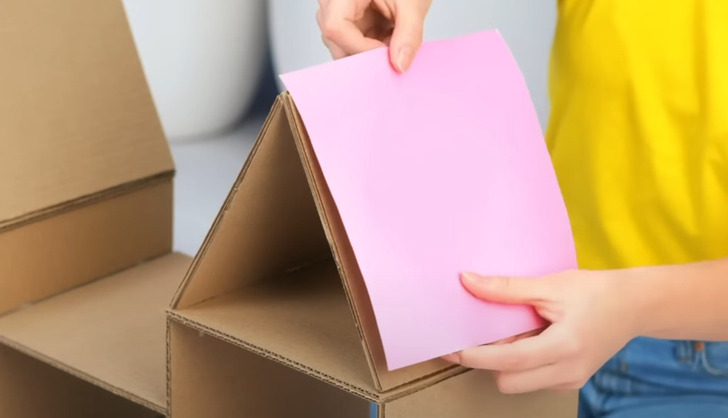
11. Also line the inside, you can do it using the same tone and using a contrasting one, both ways will look great
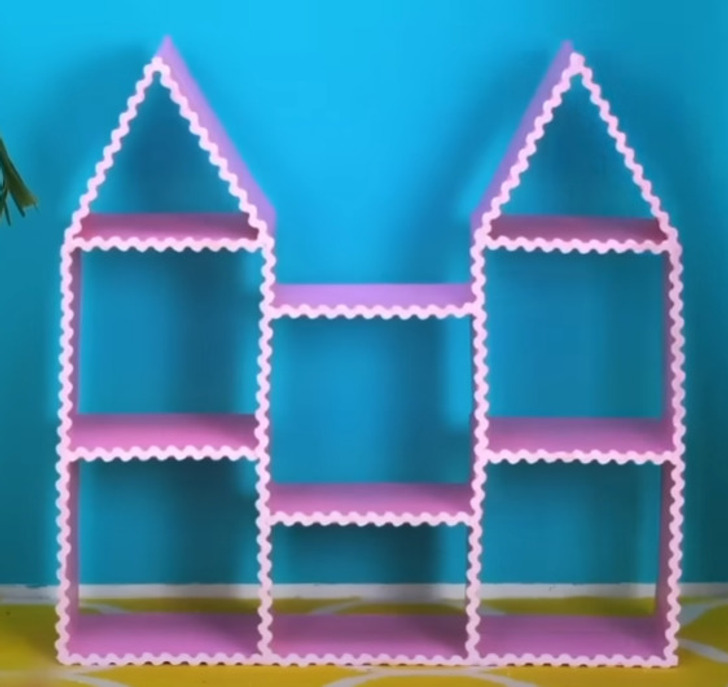
12. As a last detail, cover all the cardboard edges with decorative adhesive tape to give it a perfect finish
Check out more creative crafts and DIY ideas
Share This Article