How to Make a DIY Wooden Sandbox to Build a Creative Outdoor Play Area
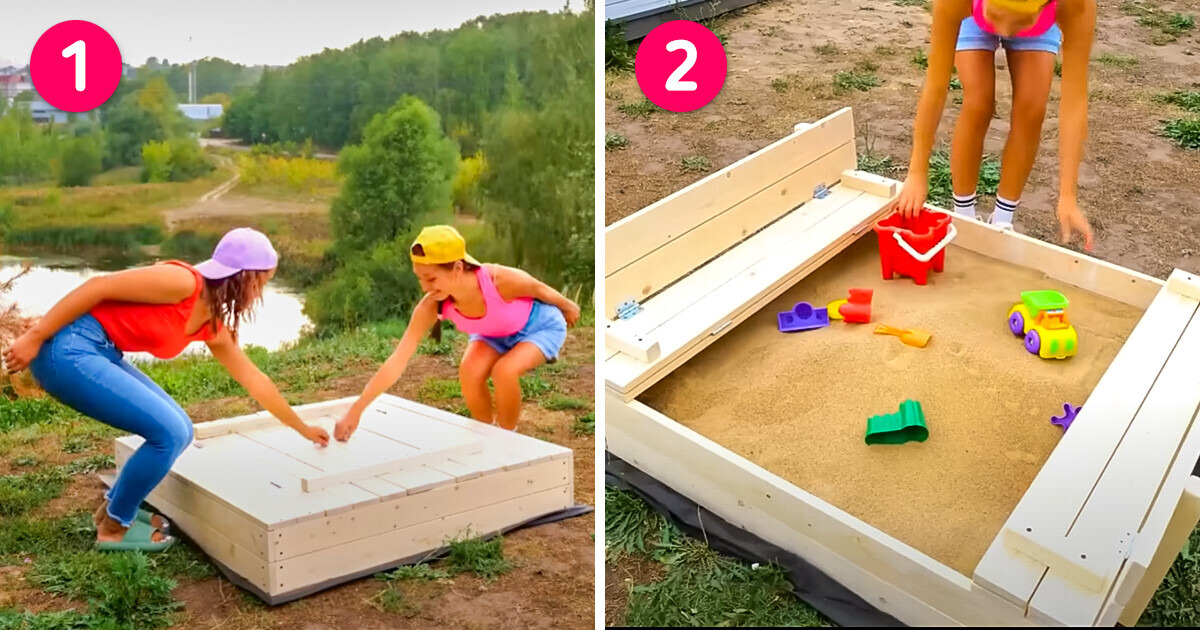
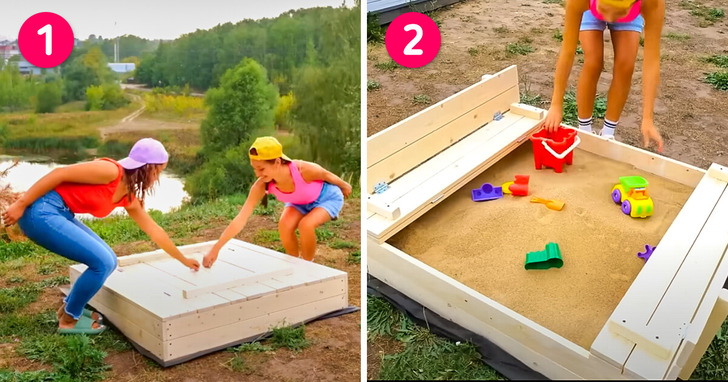
Welcome to our guide on creating a fantastic wooden sandbox for children with versatile hinged doors that transform into convenient side seats. In this tutorial, we’ll walk you through the steps to craft an engaging play space that sparks kids’ creativity and offers hours of outdoor fun.
Materials needed
- Wooden planks or boards
- Wooden slats
- Hinges
- Screws and screwdriver
- Door handles
- Sand
- Paint or sealant (optional)
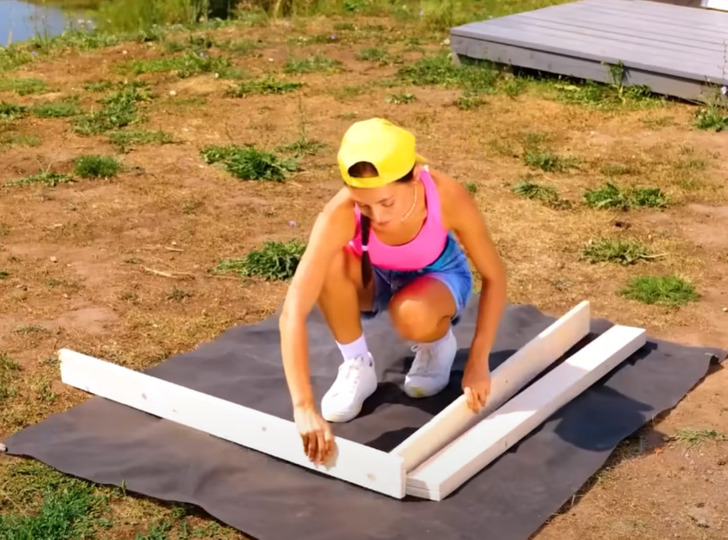
1. Construct a square frame using the wooden planks
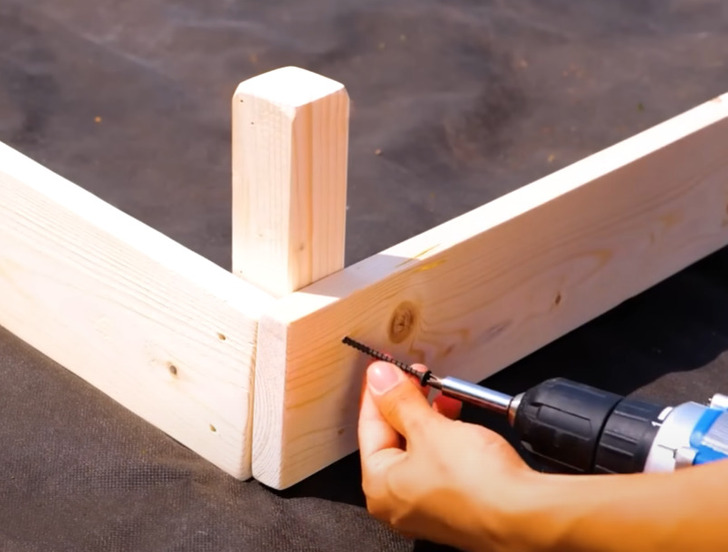
2. Use screws to secure the corners and make sure the frame is sturdy and level
3. Add a second line of wooden planks and use screws to secure them
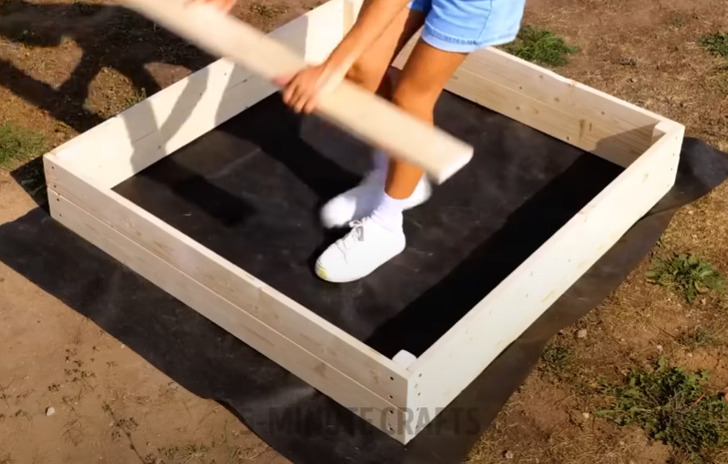
4. To each side, screw two wooden boards, so that they are fixed to the main structure
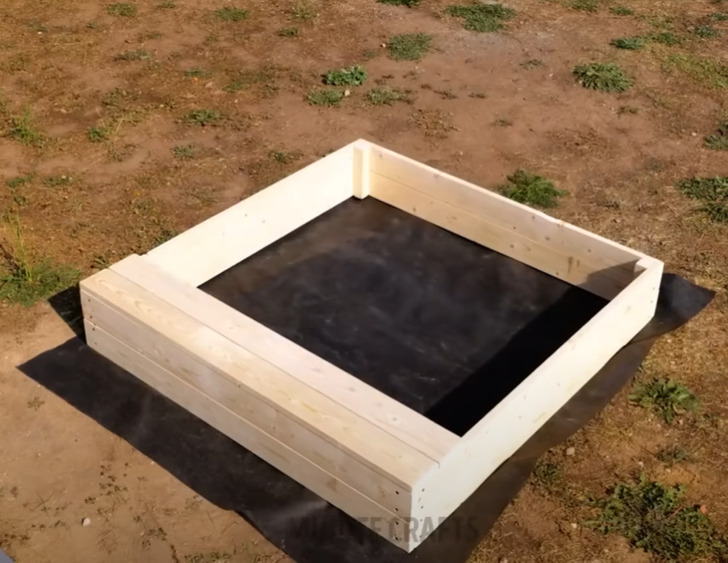
5. To create the top cover, we will use four more groups of boards fastened together two by two
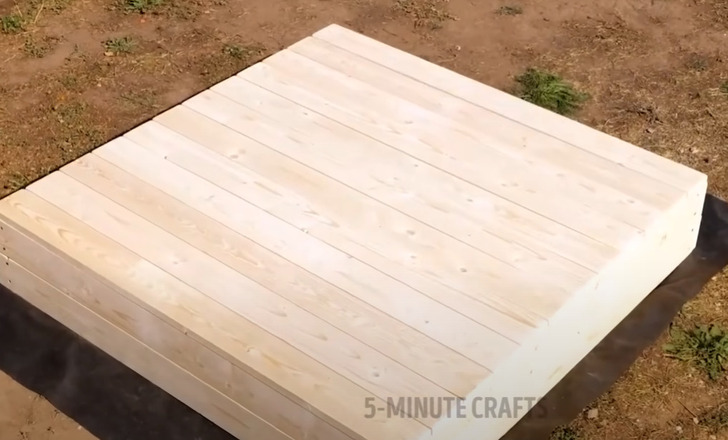
6. Use wooden slats to hold the boards together in pairs, and hinges to hold the pairs of boards together
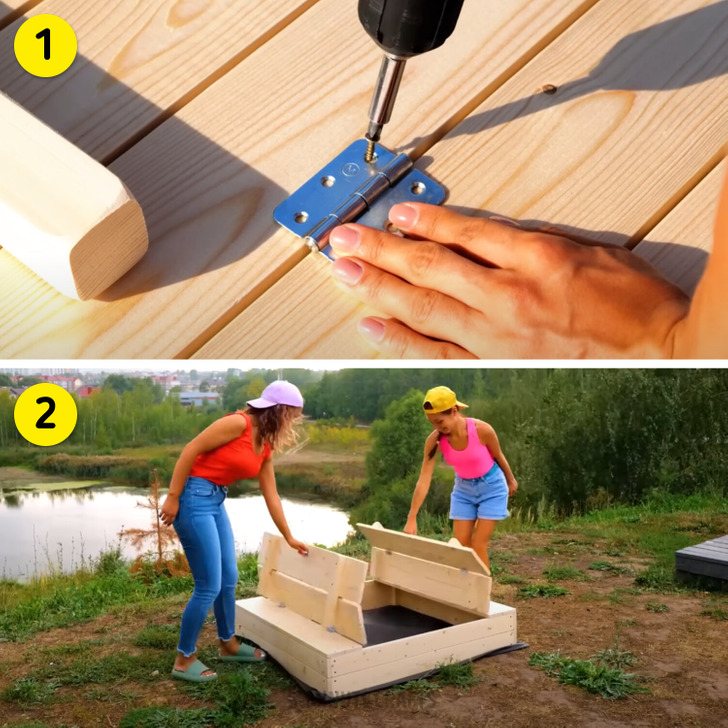
7. Put door handles on each door to open them more easily
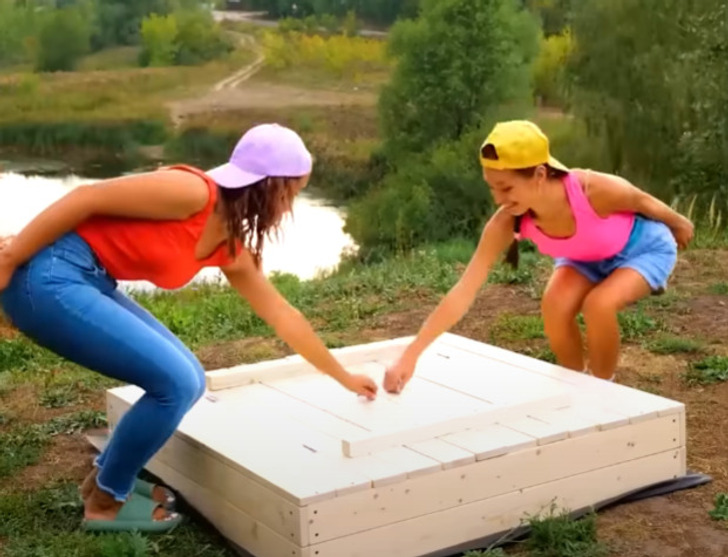
8. The wooden slat of the first pair of lumber on each side of the door must be long enough to reach the floor when opening and folding the door
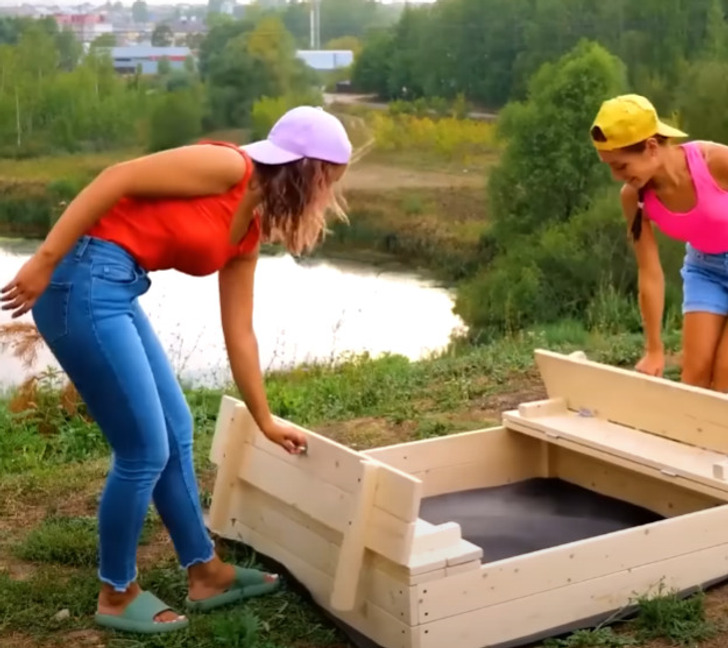
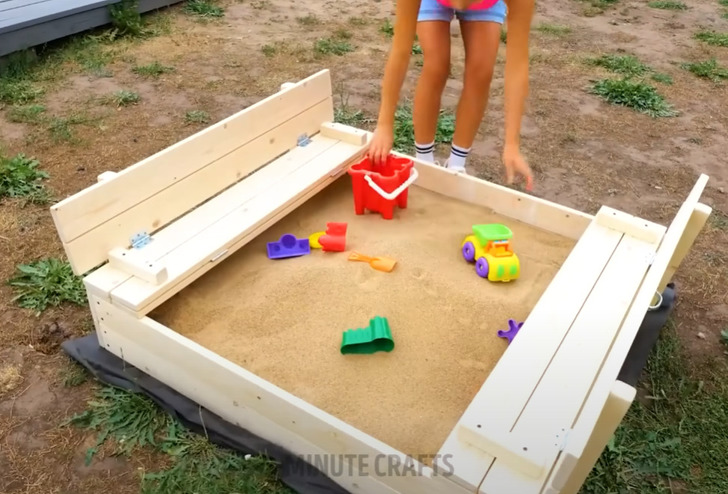
9. Once finished, fill with sand and sand toys
Check out more backyard DIYs for your kids
Share This Article