How to Make a Kite: 5 Steps With Pictures
Flying a kite is a fun activity for any age. It’s quite easy to build and requires very few materials. There’s nothing quite like flying a kite outdoors on a sunny, breezy day. What’s even better? Flying a kite you made yourself.
Today, we will show you 5 simple steps to put your crafty side into practice and make a beautiful kite.
What you’ll need to make a kite:
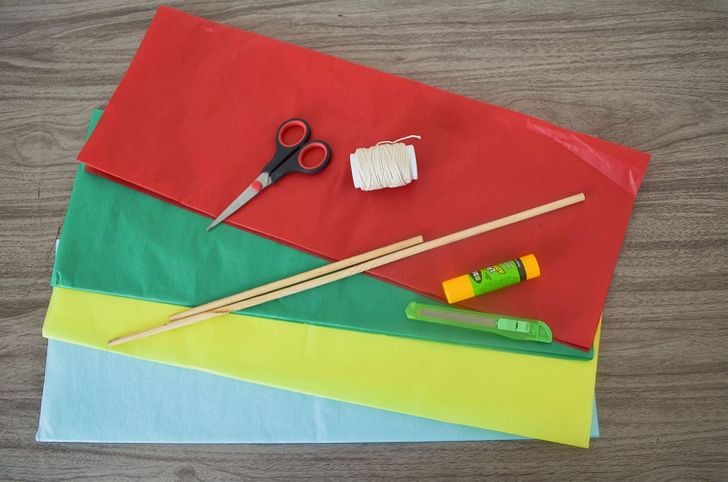
- 1 thin, 8-inch (20 cm) wooden stick
- 1 thin, 4-inch (10 cm) wooden stick
- A spool of thin, strong thread
- 1 sheet of Chinese paper or plastic wrap
- A glue stick
- A cutter or scissors
Step 1
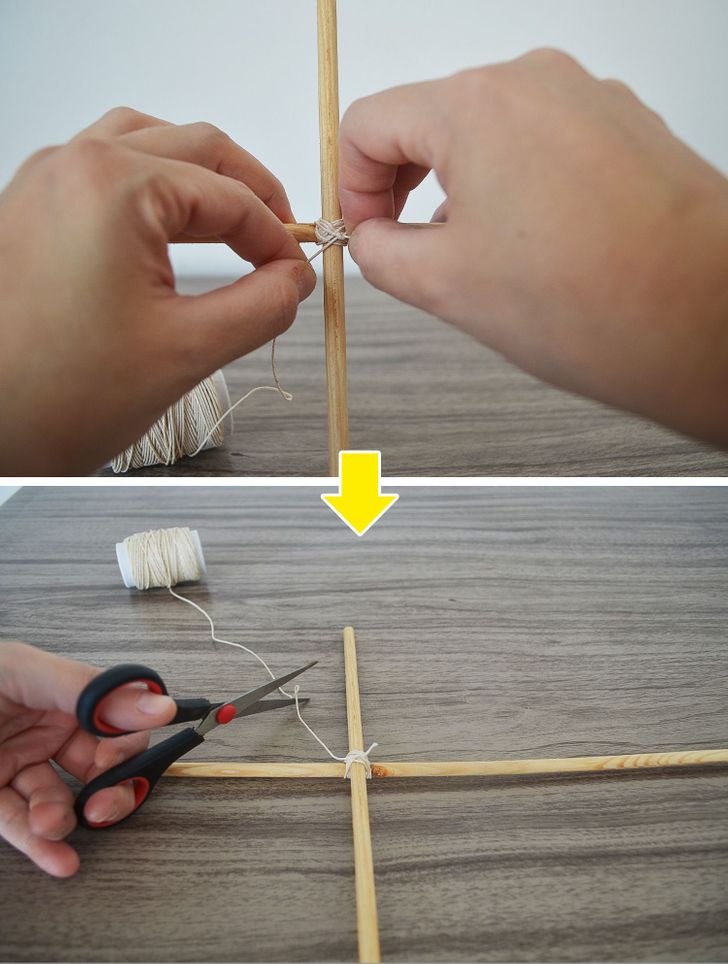
The first step to make your kite is to lay the 2 sticks over each other to form a cross.
Take the spool of thread and give it several turns in the center until the sticks are securely fastened, then tie a knot and cut the thread just like in the example.
Step 2
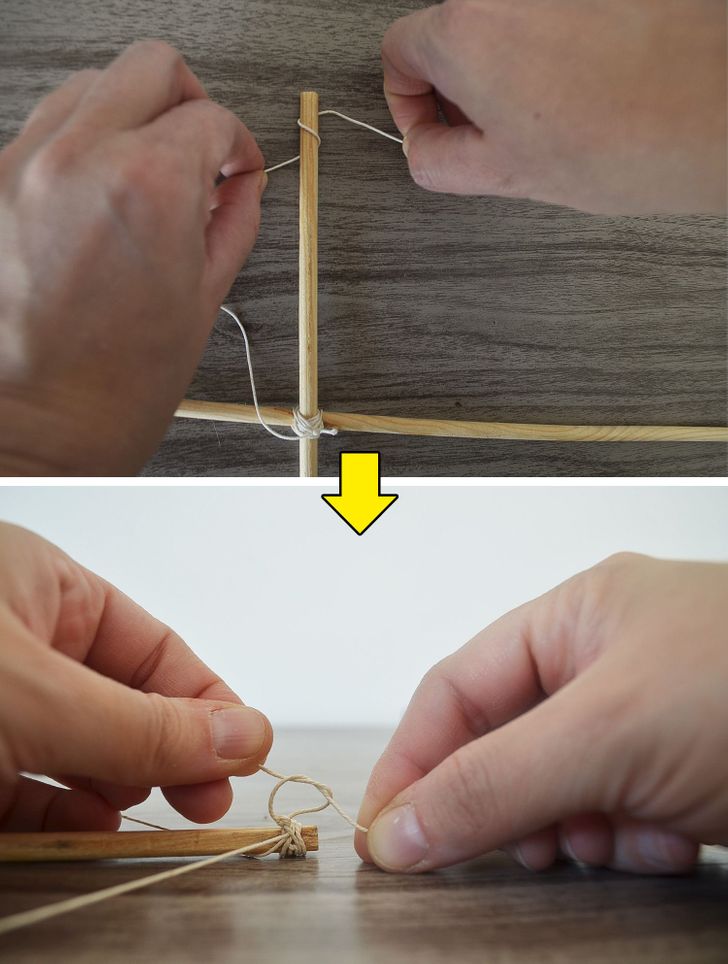
-
Tie each end of the structure with thread so that a diamond structure remains.
Step 3
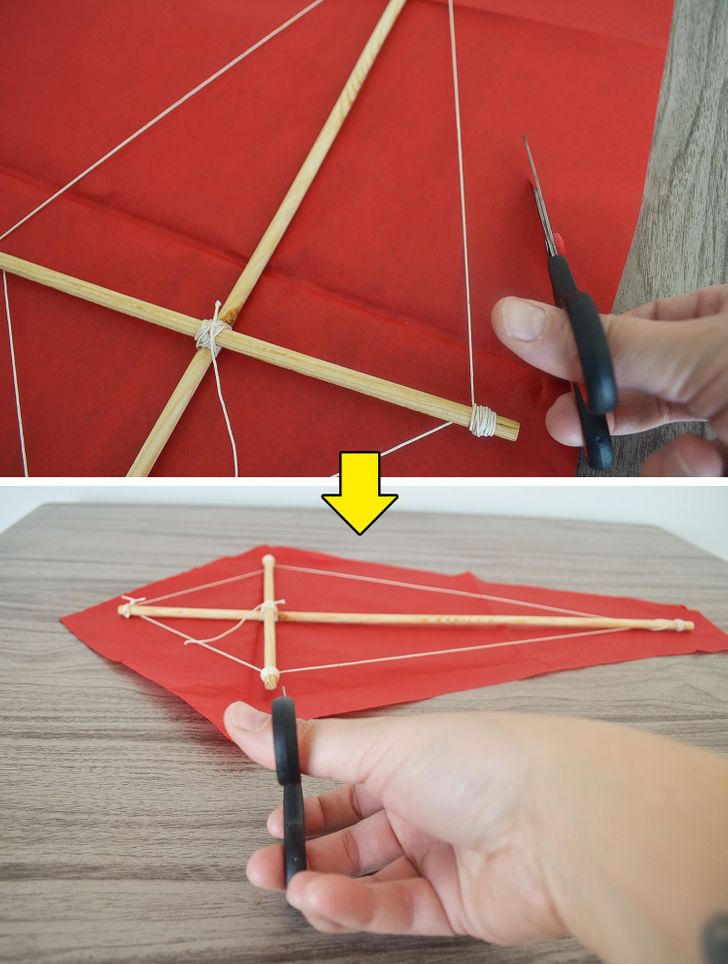
- Open the sheet of Chinese paper and place the diamond structure on it.
- Leave some space of a little bit more than 1 inch (3 cm) from the edge of the paper to the structure, then trim the corners so that you can fold it.
Step 4
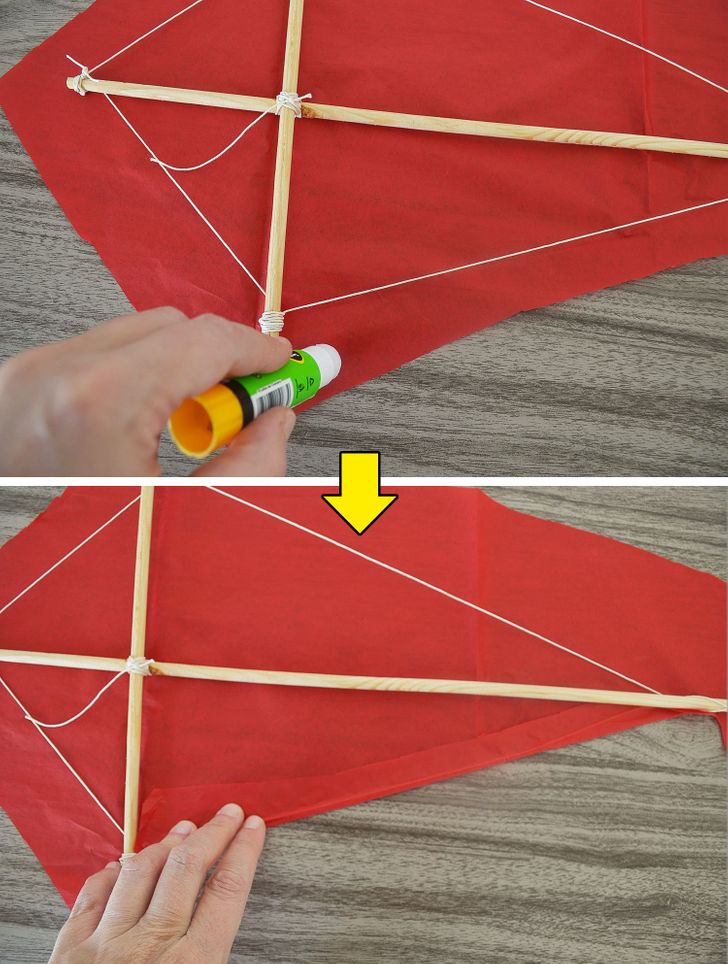
-
Run your glue stick along 1 inch beyond each end of the diamond structure and fold the paper toward the thread, making sure it’s well-covered.
Step 5
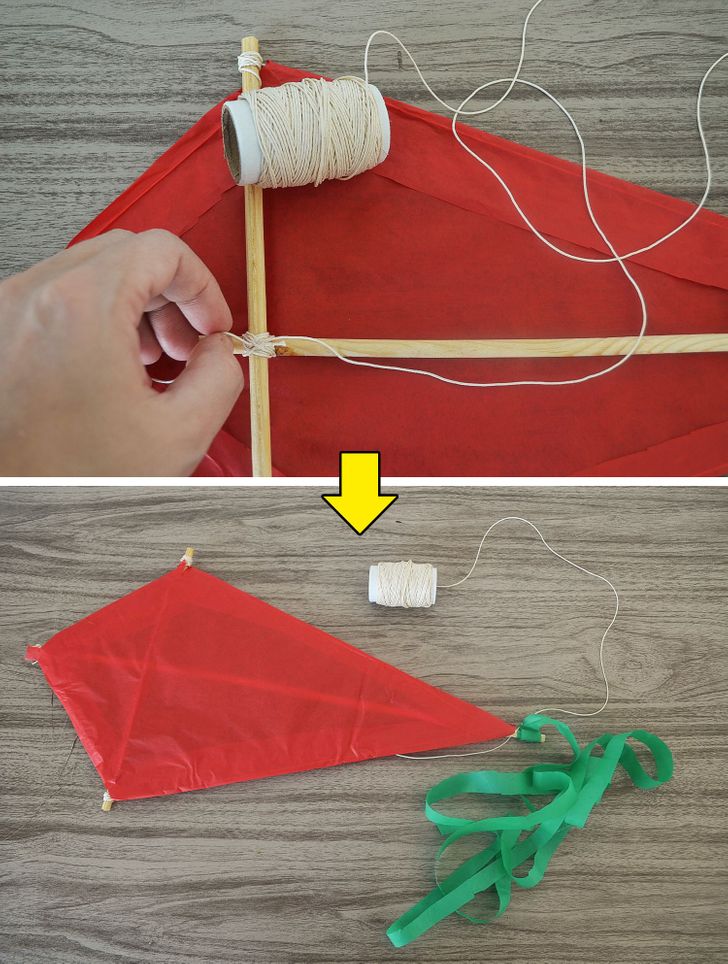
Tie the thread spool from the center well, as this will be what makes your kite rise in the air.
You can make a tail of fabric or, with the same Chinese paper. Cut out strips that are at least 5 times longer than the size of the kite so that it can fly in a stable way.
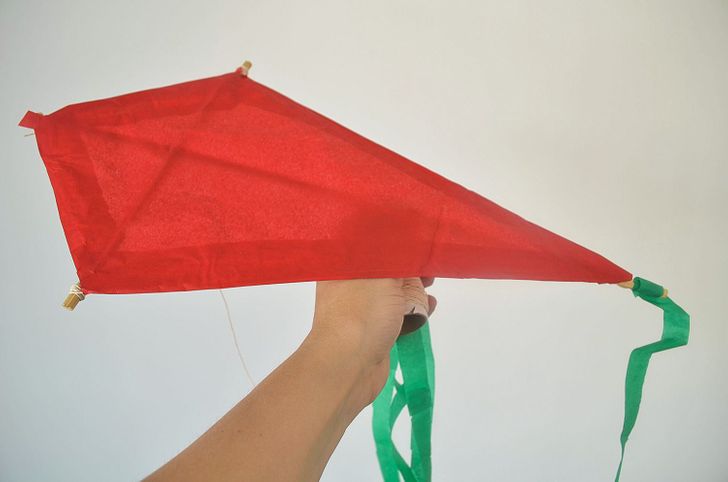
Useful tips for flying a kite
- Choose an open area that is free of houses, power lines, and trees, like the beach or the park. Always fly your kite in a place where it won’t become a hazard.
- Never fly your kite while it’s raining or lightning. Make sure that the wind is right for the type of kite you have. Most types of kites shouldn’t be flown in wind that goes above 20 mph.
- If your kite gets trapped in a power line, leave the string on the ground and contact the local power company to assist you. Do not attempt to get the kite down yourself.
- Never try using wire as your kite’s flying line.
- Put on gloves before flying large kites, as these can be dangerous, and you should be extra careful with them.
- Make sure to have a release system, as large kites can drag you from one place to another.
- Protect your hands by keeping the line from running through your hands or fingers at a high speed.
- Use the right flying line. If it’s too heavy, it may pull your kite down. If it’s too light, it may snap and your kite will fly away.
- Never use fishing line (mono-filament) as it’s very difficult to spot and can be hazardous.
- Keep in mind that if the kite tail is too long or heavy, your kite may not fly. You can replace or trim part of it to solve this problem.
Bonus: 10 nice pictures of kites shared by Reddit users
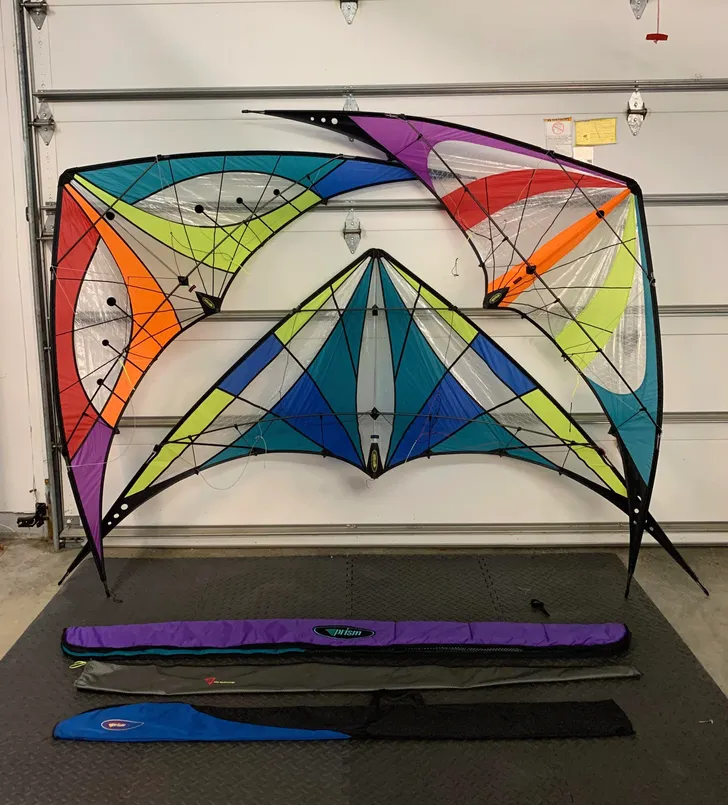
1. “3 of my favorite Prism kites! Can you tell I like colors?” © etikmsirp / Reddit
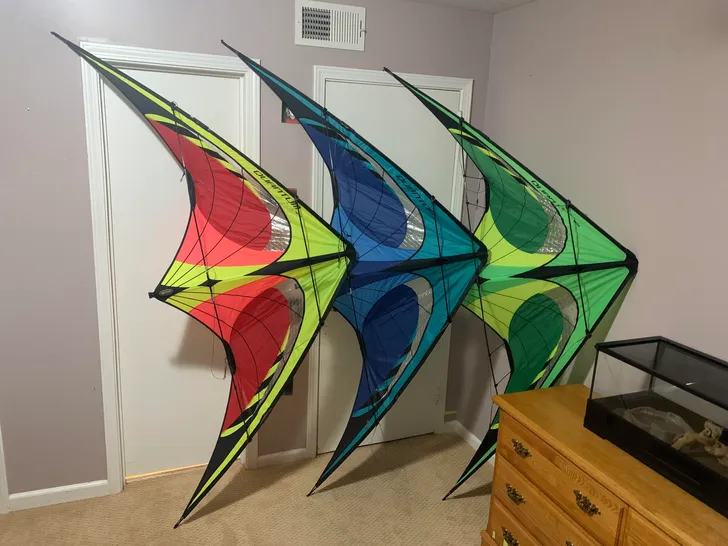
2. “I got them all.” © oxbow2077 / Reddit
3. “Beautiful, breezy evening on the boardwalk in Ocean City, Maryland.” © amber_maigon / Reddit
4. “I was cleaning out my parents’ basement and found my grandfather’s old stunt kite collection. This is only half of them, most are Peter Powell with a Skynasaur and Hawq Labs(?) or 2 thrown in there. All are from the ’70s and ’80s. I figured I’d share my cool find!” © gnal667 / Reddit
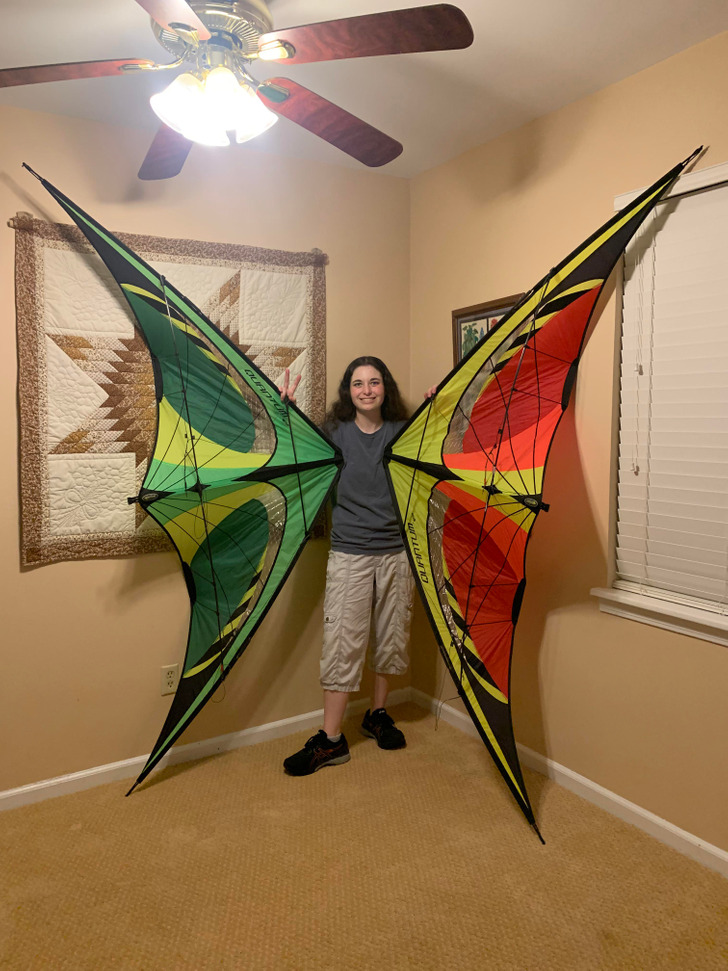
5. “I just got my second Quantum because I love my first so much. The angle certainly adds to it, but these are impressive kites to stand next to. I’m 5’6” tall." © oxbow2077 / Reddit
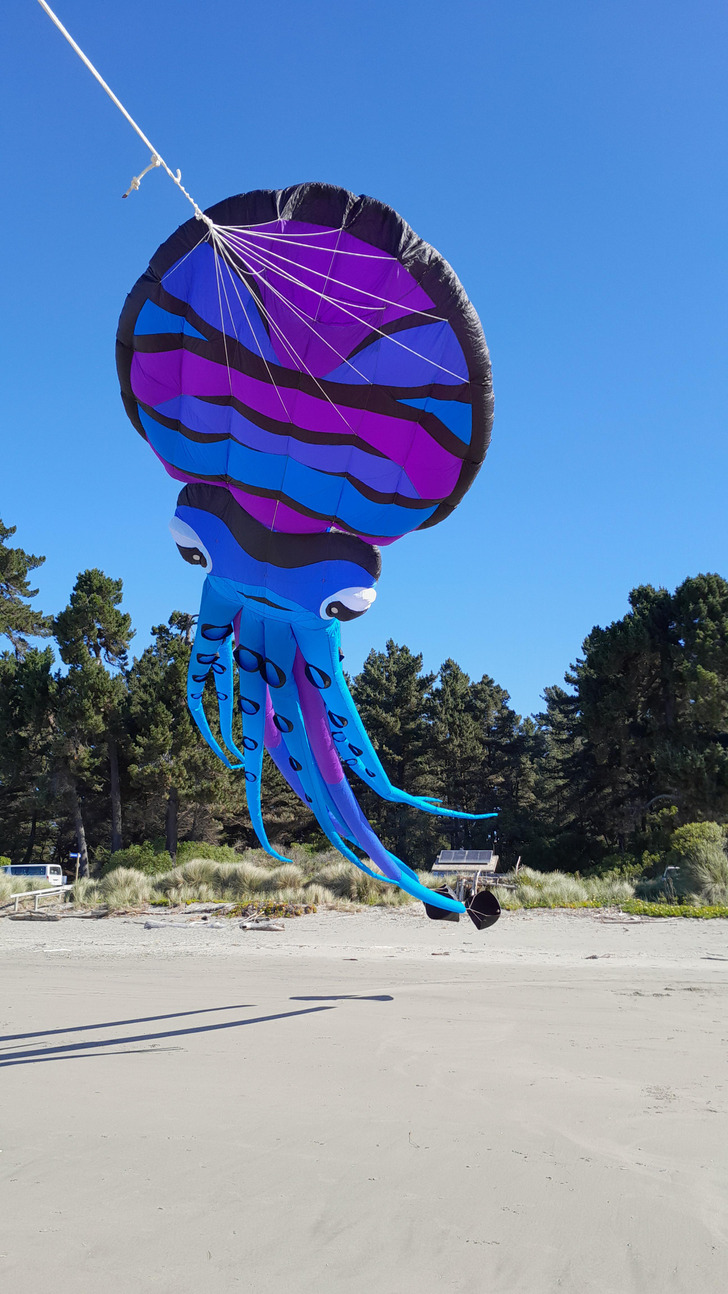
6. “Airing out my cuttlefish at the beach yesterday.” © NZ_ewok / Reddit
7. “It’s been too long. Vintage kites!” © Practicality_Issue / Reddit
8. “I picked up my first kite in years and had a ball! I’m hooked, now I need more kites!” © chevymalibu***cake / Reddit
9. “I haven’t built a fighter kite in 15 or more years. I can’t wait to gift this to my dad — always my favorite sparring partner.” © Geeoff18 / Reddit
10. “Kitefest, Long Beach Island, N.J.” © livinitreal / Reddit
Do you enjoy flying kites? What’s the best spot to fly a kite in your city? Tell us in the comments!
