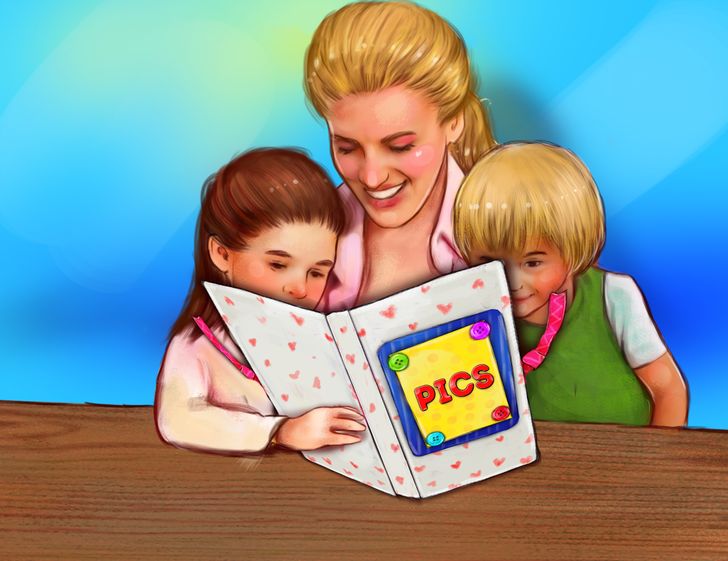
How to Make a Photo Album at Home
Making crafts with children is an ideal option for spending free time with the family. It helps to test their skills while they entertain themselves. In addition, it’s a process that has many physical and emotional benefits that, in the future, will play an important role in the lives of little ones. The best way to learn is to have fun.
5-Minute Crafts tells you, step by step, how to make a waterfall photo album so they can use their free time in an educational and creative way.
What you’ll need:
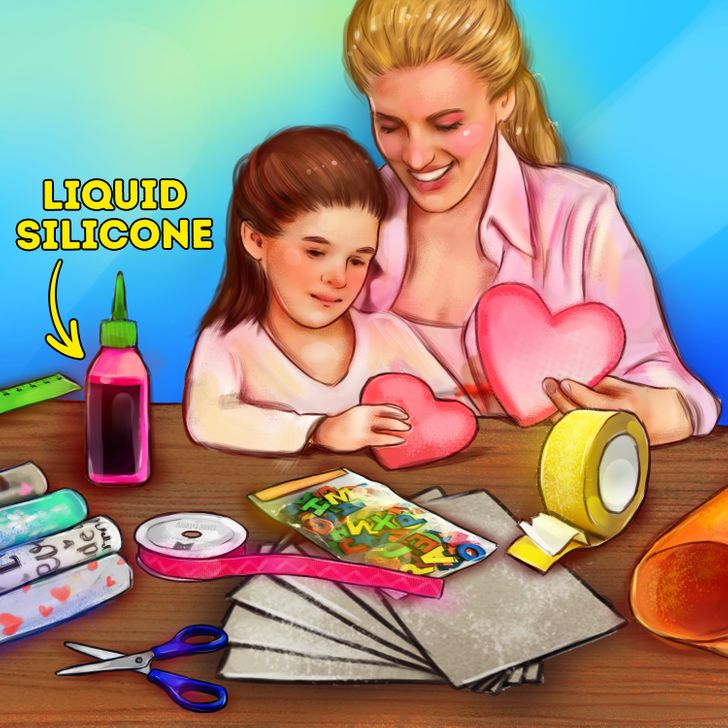
- Wrapping paper decorated with different themes and colors
- Paperboard
- Cardboard
- Eva rubber alphabet
- Double-sided adhesive tape or liquid silicone
- Decorative fabric ribbon
- Scissors
- A ruler
Instructions:
Step 1.
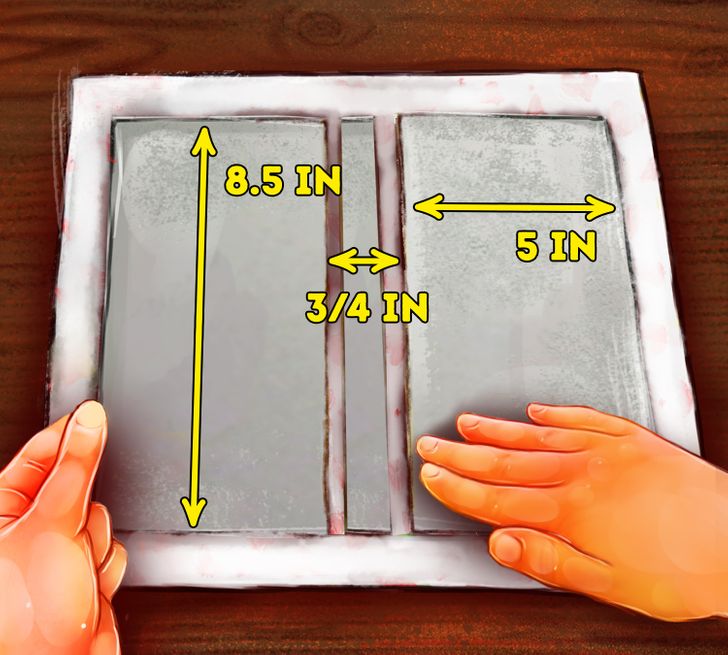
To create the structure of the album, make the following cuts:
1. 2 pieces of cardboard measuring 5 in x 8.5 in
2. 1 piece of cardboard measuring 3/4 in x 8.5 in
3. 1 piece of decorated paper measuring 10.5 in x 12 in
Place the cardboard pieces on the decorated paper as shown in the picture. Leave some space of about 3 mm between the pieces and glue the cardboard with double-sided tape.
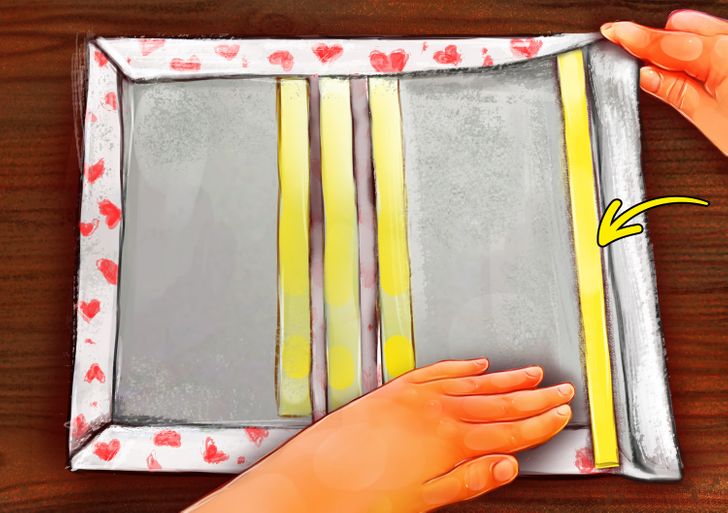
Step 2. Place the tape over the cardboard as shown in the picture and glue the edges of the decorated paper wrapping over the edges of the cardboard. You can also use liquid silicone.
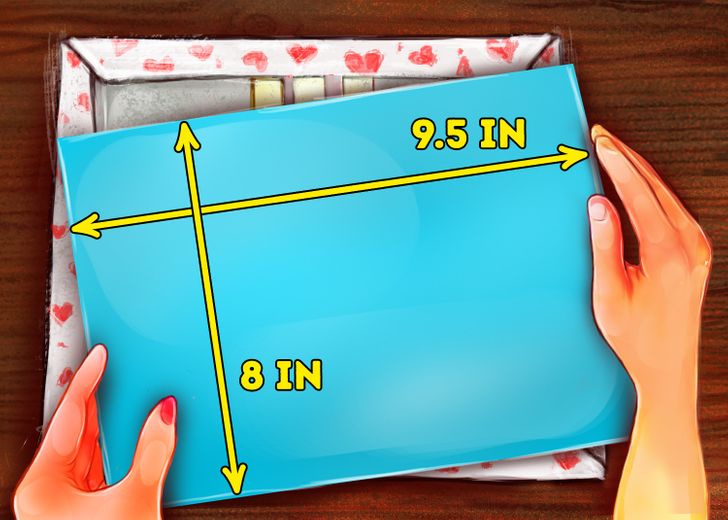
Step 3. Cut a piece of cardboard measuring 9.5×8 in and glue it to the inside of the future album, using double-sided tape or liquid silicone.
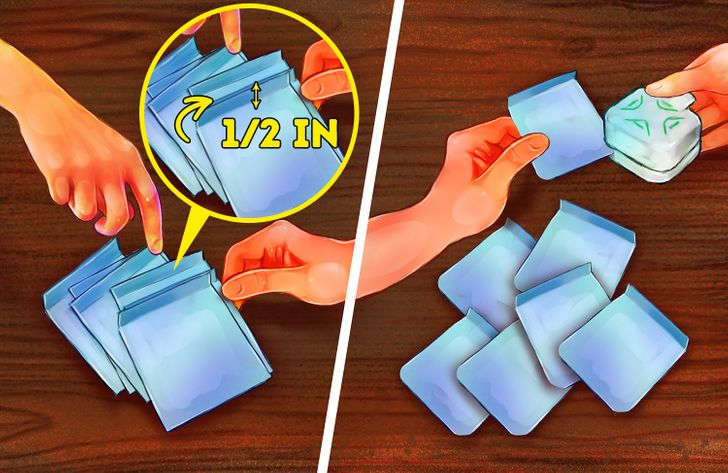
Step 4. For this step, cut the following:
1. 7 pieces of 4×4.5 in cardstock
2. 14 pieces of 3.5×4 in decorated paper
3. 14 pieces of decorated paper measuring 3.5 in x 3.5 in
Fold 1/2 in from the edges of the cardboard cutouts to the size of 4 in x 4 in (as shown in the example). Then round the bottom corners.
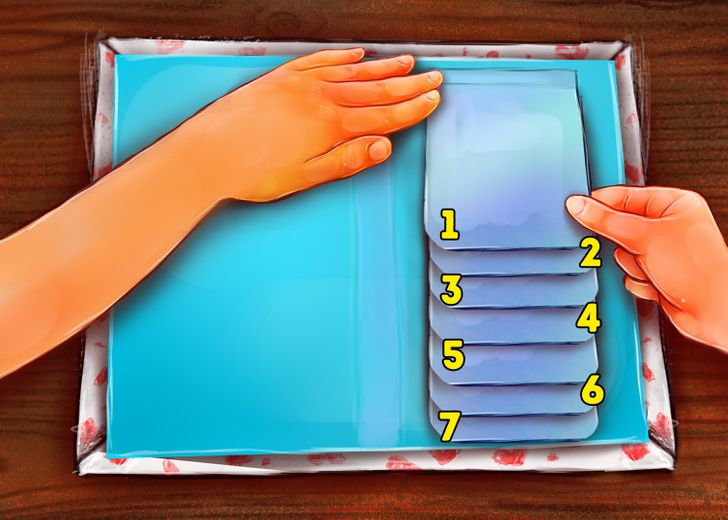
Step 5. On the side of the right part and in the center at the top, leave space of 1/2 in and glue the 7 pieces previously cut with the 1/2 in folded down. Do one after the other in the form of a cascade.
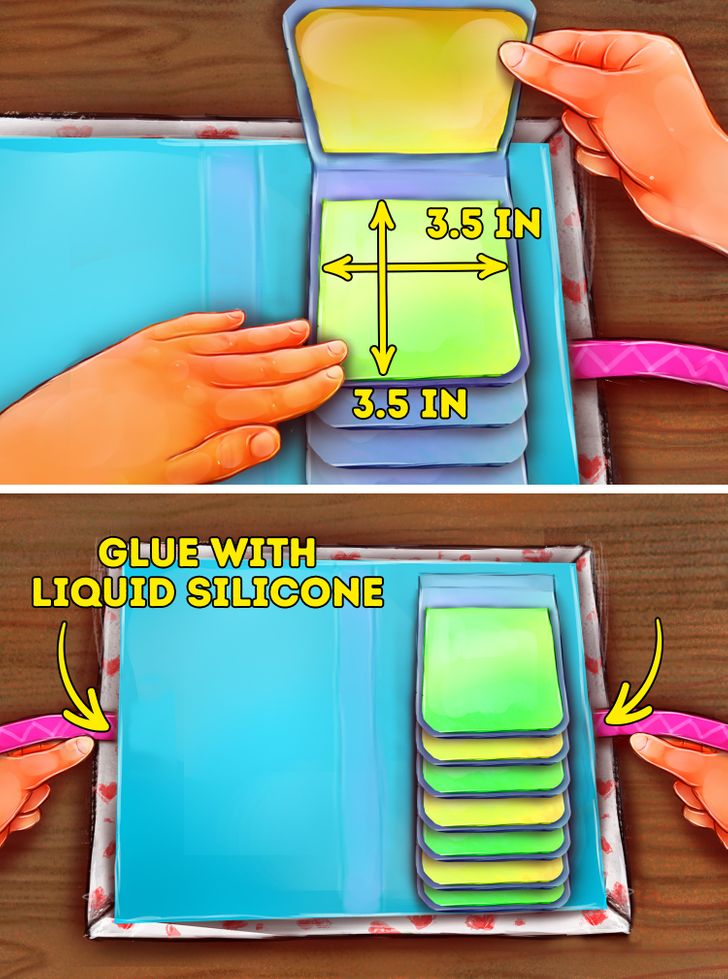
Step 6. Using the decorated paper, decorate the pieces of the waterfall. If you want the album to have a bow closure, glue 2 pieces of decorative fabric ribbon on each side, near the edges, using liquid silicone.
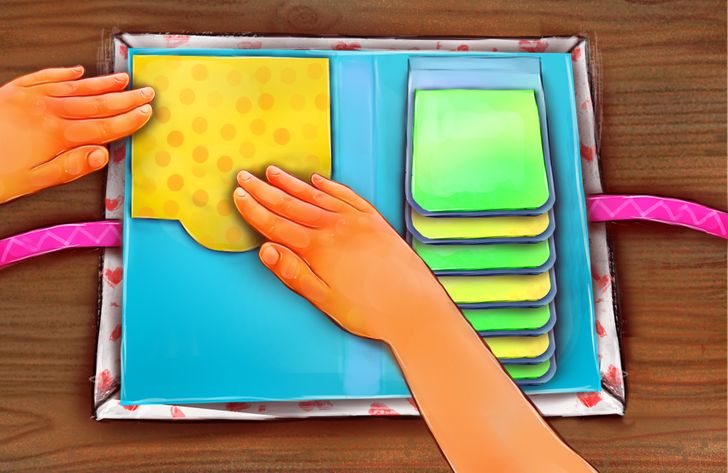
Step 7. To decorate the left side of the album, cut a square of decorated paper at 11 cm x 11 cm and glue it 1.5 cm from the top edge. The level of this has to match the level of the beginning of the waterfall on the right side.
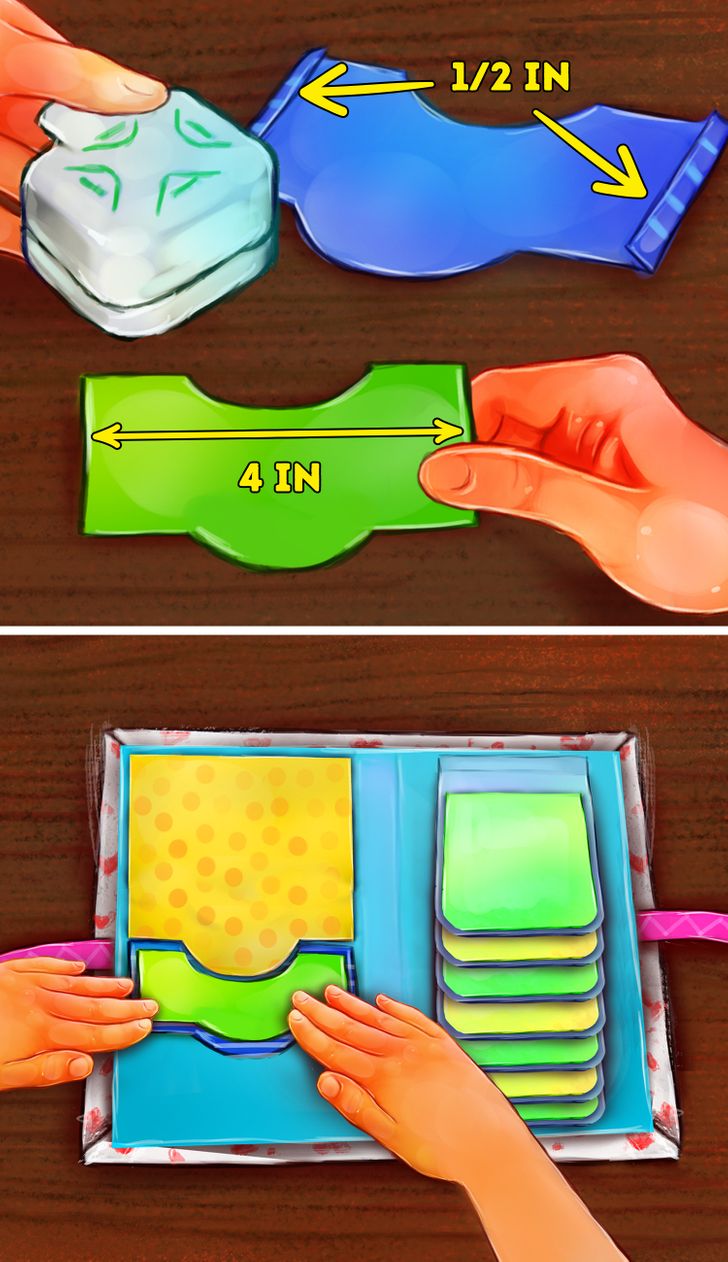
Step 8. Cut a piece of cardboard to the size of 13.5 cm x 6 cm and fold 1 cm on each side of the piece. As a result, you will get a piece of 11.5 cm x 6 cm. Then cut out a piece of decorated paper, measuring 11 cm x 5.5 cm.
Using the punching machine, make a half-circle cutout in each of the pieces obtained. Then glue the cardboard pocket 9 cm away from the top edge of the decorated paper that we had placed in step 8. Then, on top of the cardboard pocket, glue the decorated paper. The lower part will remain open.
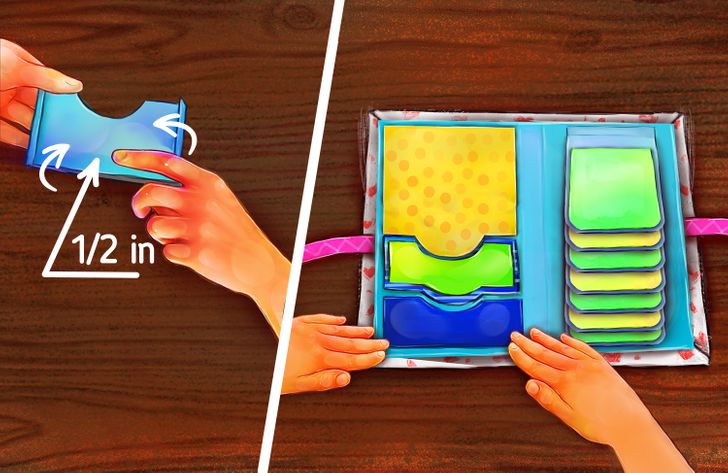
Step 9. To add the last pocket, make a cardboard cutout measuring 5 in x 3 in, and fold 1/2 in on the sides and bottom. Then prepare a piece of decorated paper measuring 4 in x 2 in. Proceed in the same way as in the previous step.
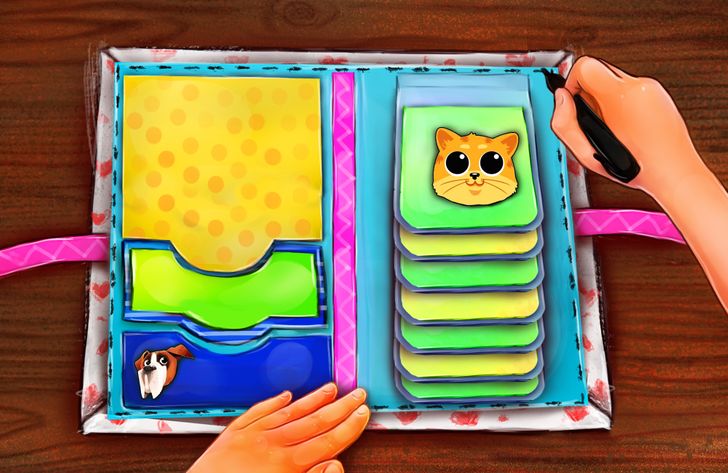
Step 10. To make additional decorations, you can use stickers with images of your choice. You can also add fake stitching on the edges using a hole punch. Another option is to add a fabric ribbon in the center of the album.
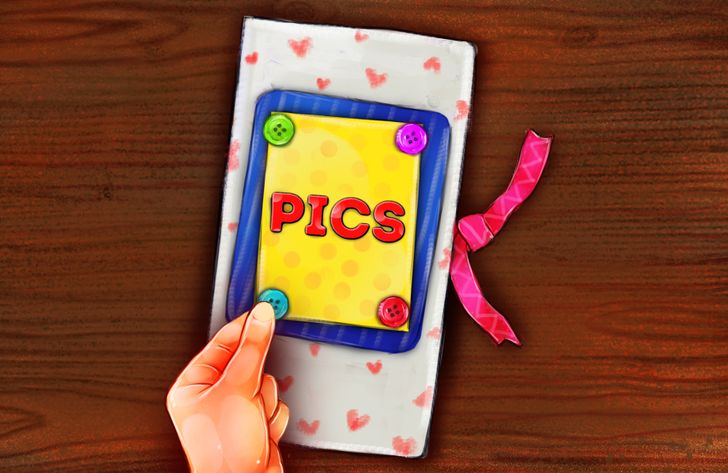
Step 11. To decorate the outside of the album, use a greeting card or make your own using cardboard in a contrasting color. As a detail, it’s a good idea to add some buttons by gluing them with liquid silicone. A name or phrase made with rubber alphabet letters can also look great.
