How to Make a Piggy Bank From Cardboard
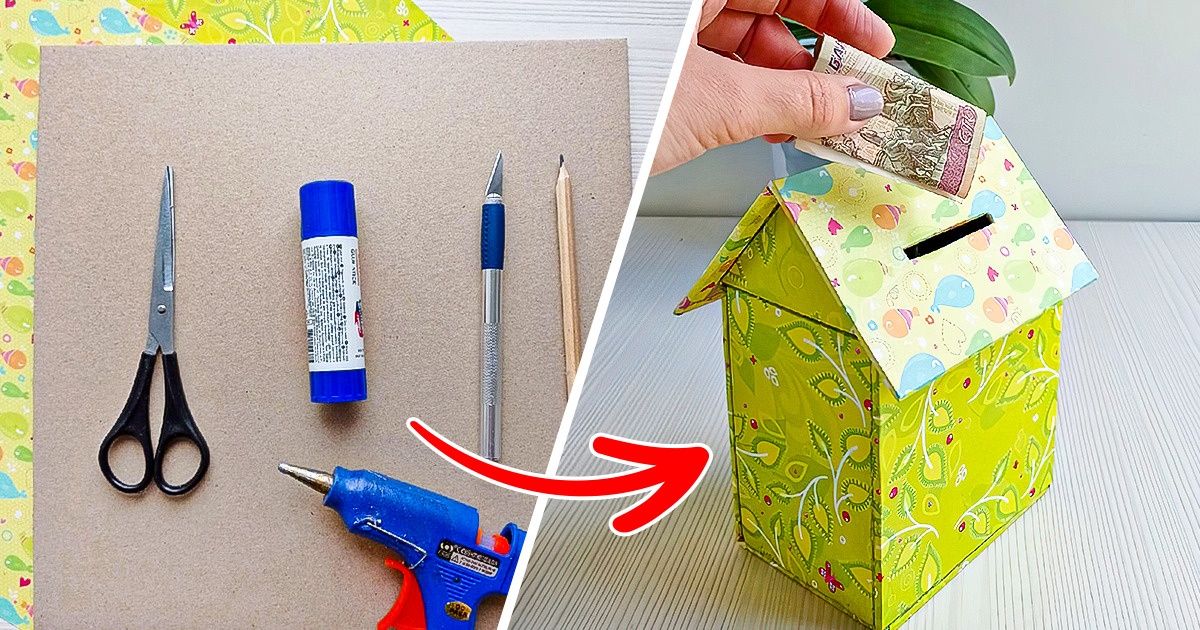
A simple thing like a piggy bank will not only help you learn how to save money, but it’ll also keep your house tidy. After all, coins will no longer ding in your pockets and collect dust on your shelves.
5-Minute Crafts would like to help you make a simple piggy bank from cardboard. You can make this “house-shaped” piggy bank together with your child.
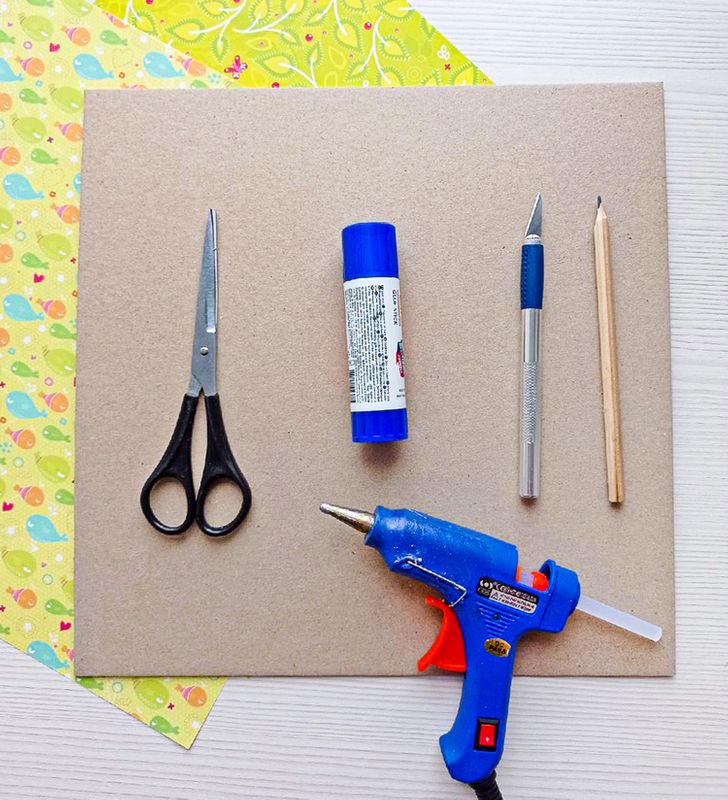
Gear:
- 2 sheets of thick cardboard
- 2 sheets of colored paper or thin paper for scrapbooking
- scissors
- a paper cutter
- a ruler
- a pencil
- a hot glue gun
- a glue stick
The working process
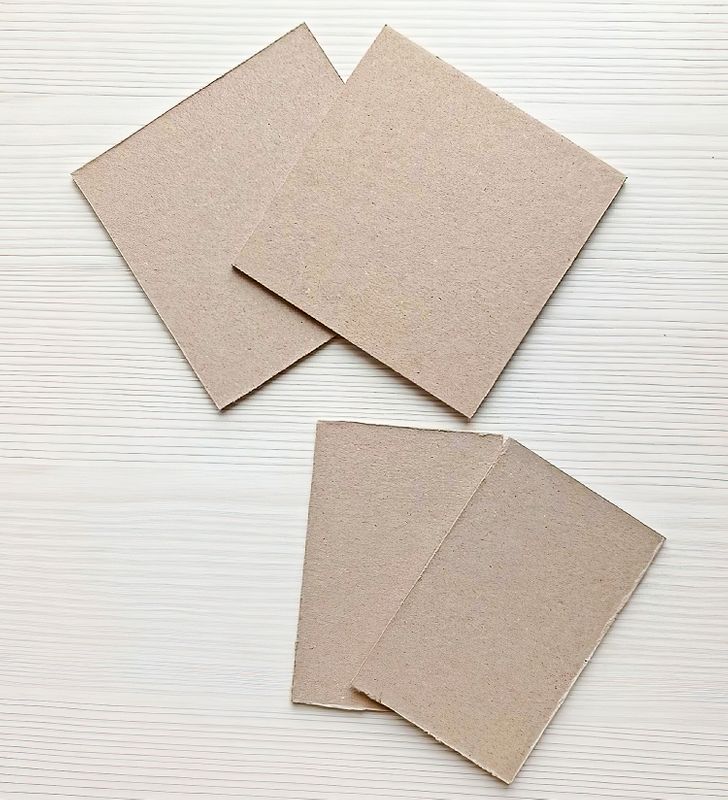
1. Cut out 2 7×11 cm rectangles and 2 11×11 cm squares from thick cardboard.
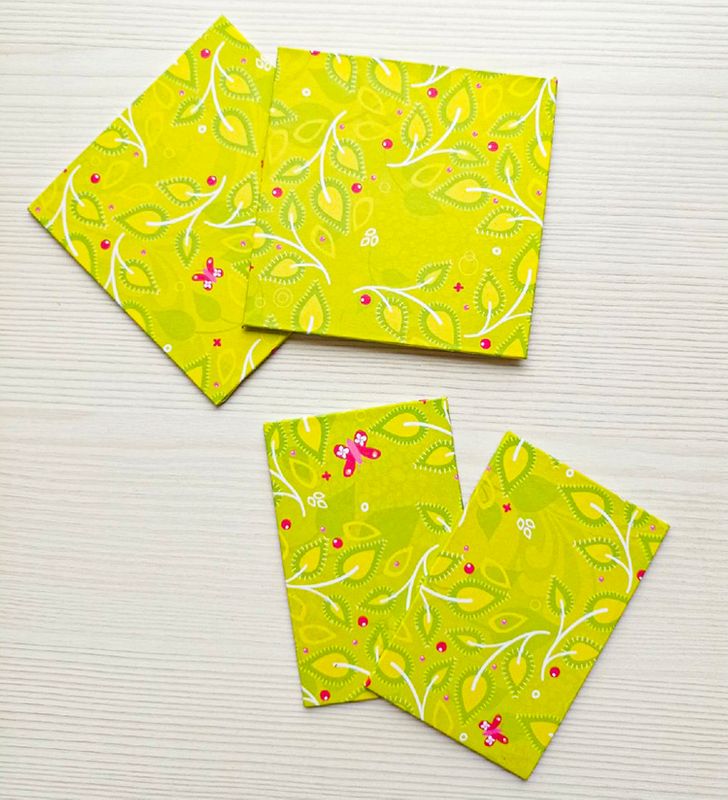
2. Cut out similar elements from paper, adding 1 cm to each side (you should end up with 2 paper rectangles 9×13 cm and 2 squares 13×13 cm).
3. Use the paper rectangles to cover the cardboard rectangles with a glue stick, folding over the remaining edges and gluing them to the back of the cardboard.
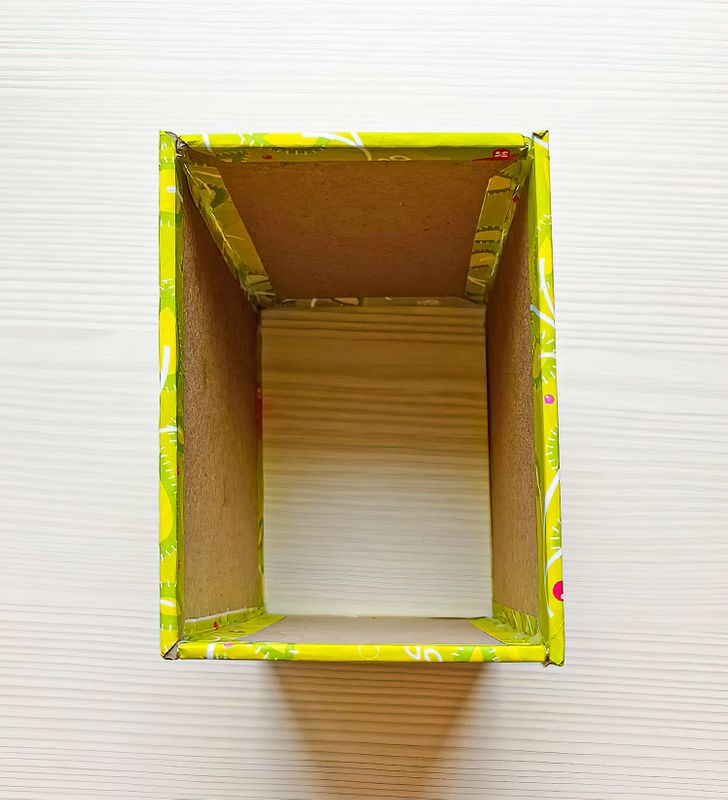
4. Glue the cardboard pieces together with the hot glue gun, alternating the narrow and wide sides.
5. Prepare the bottom of the money box. For this, you should cut out an 11×7.5 cm rectangle from cardboard and cover it with paper (similar to steps 2 and 3).
6. Glue the bottom to the piece using the hot glue gun.
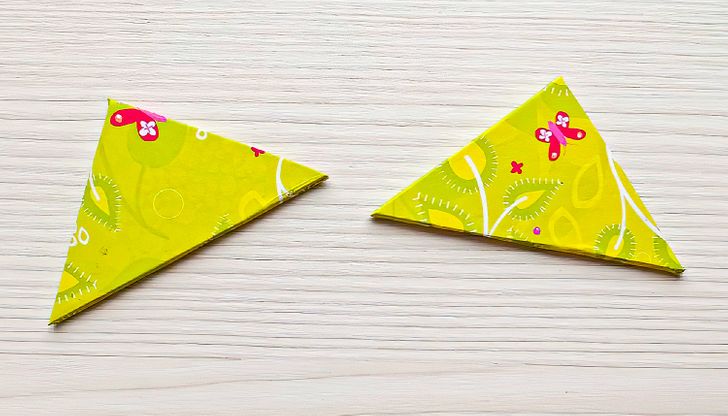
7. Cut out 2 triangles from cardboard with a 7.5 cm base and 5.5 cm sides. Cover them with paper.
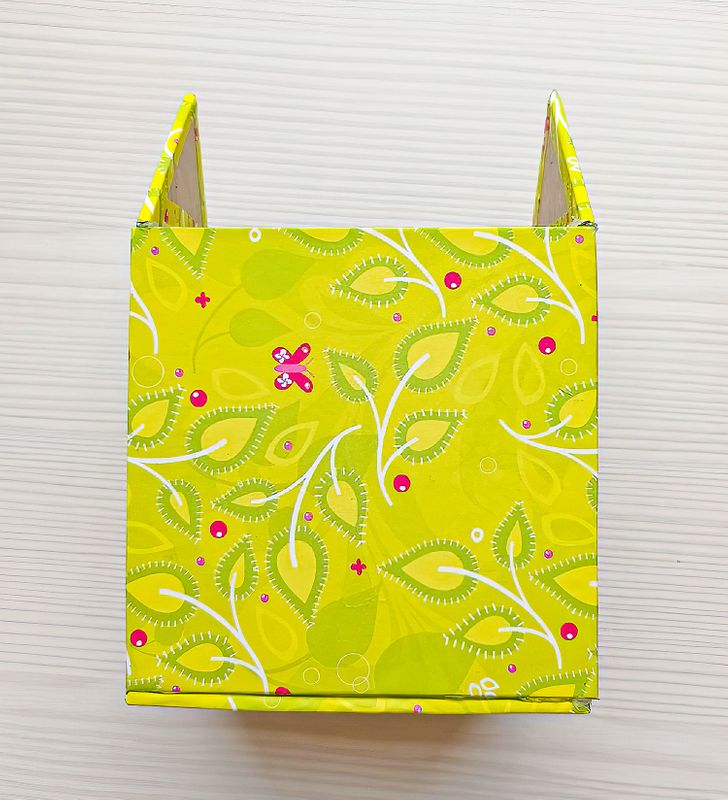
8. Glue the triangles to the cardboard box, aligning their bases to the short sides of the box.
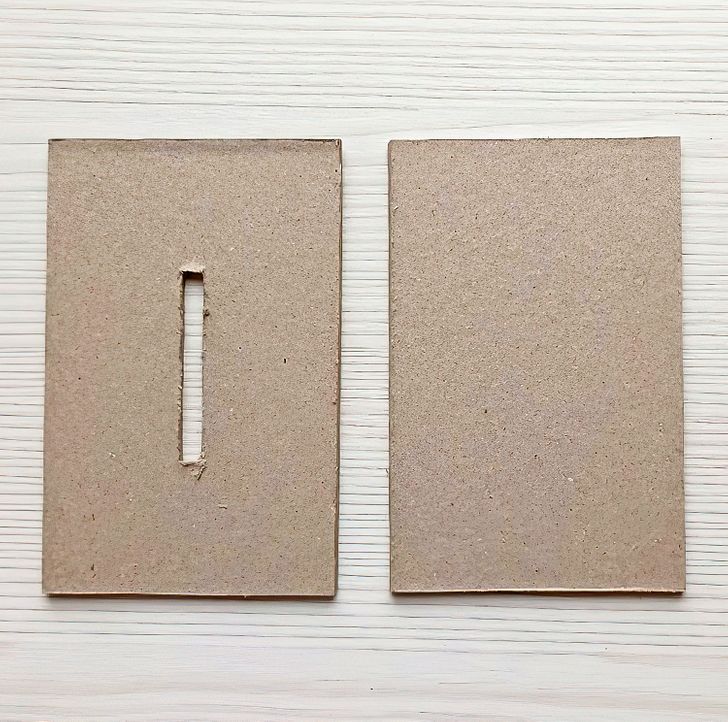
9. Cut out 2 rectangles with sides that are 8 and 12 cm from the cardboard. Make a 5×0.5 cm slot in the center of one of them.
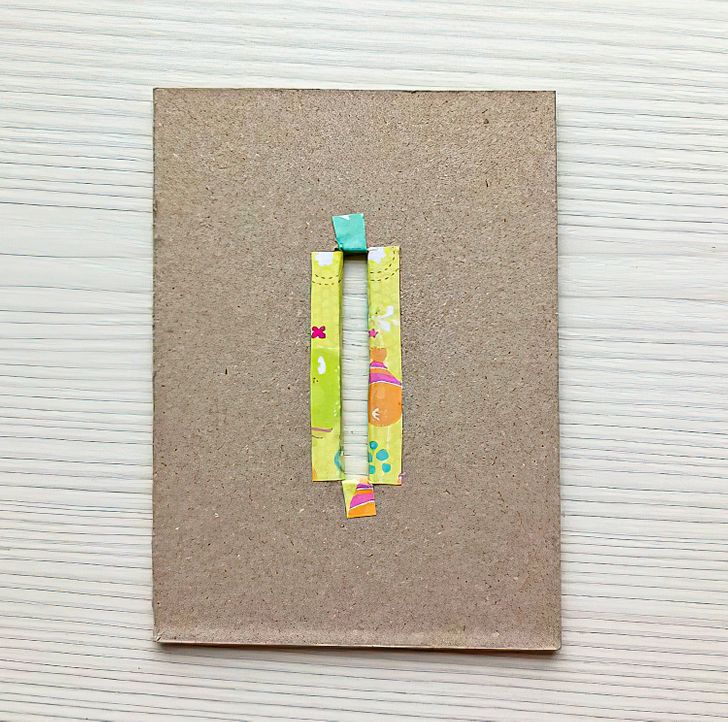
10. Cut 2 small strips of paper about 5.5×2 cm. Cut 5 mm pieces from them and glue them to the shorter sides of the slot, covering it on both surfaces, as shown in the photo above.
11. Glue the rest of the strips to the longer sides of the slot in the same way.
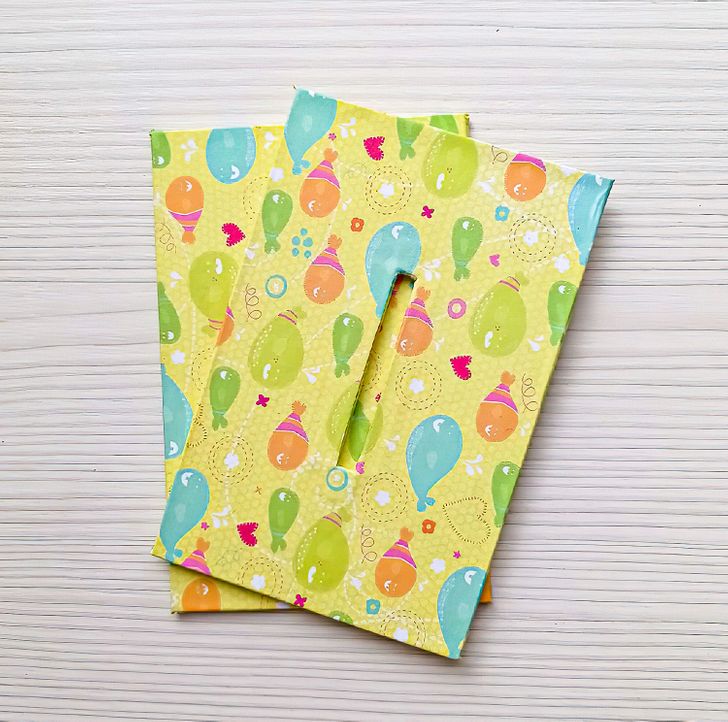
12. Cut out rectangles from paper to fit the cardboard rectangles from step 9, making them 1 cm wider on each side.
13. Cover the cardboard with them. Cut a slot in the same place it appears on the cardboard, with a paper cutter.
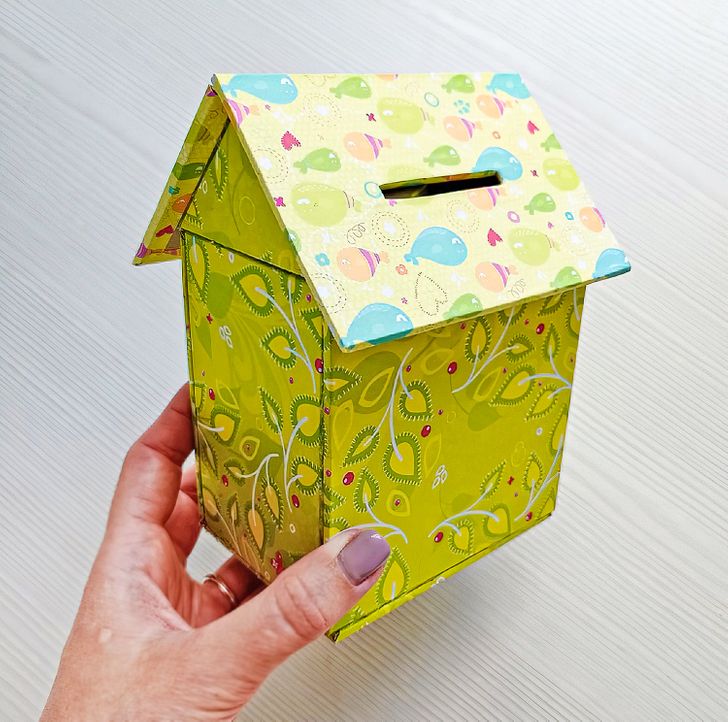
14. Glue each of the rectangles to the top of the base to form the roof of the house. You can do this with the hot glue gun.
Important: When working with a hot glue gun, remember to firmly press each piece against the other for at least a few seconds. It takes time for the glue to harden and set well.