How to Make a Pot Holder
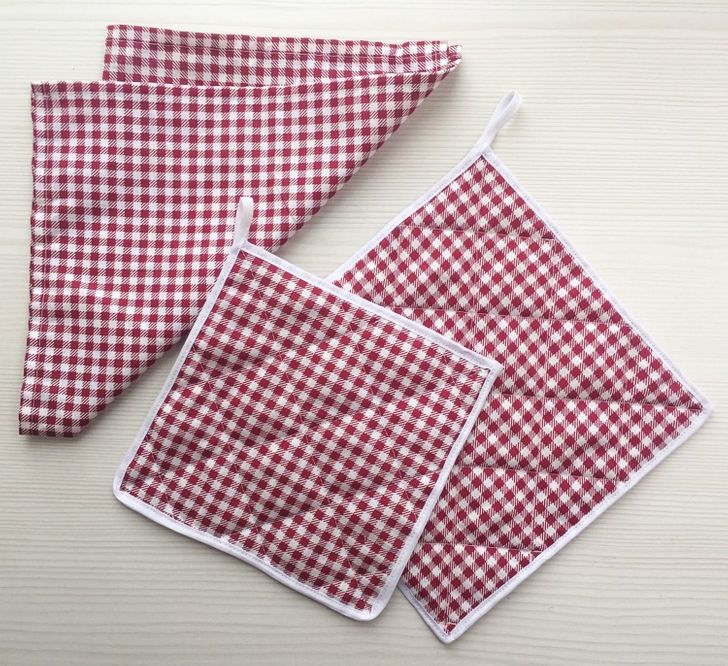
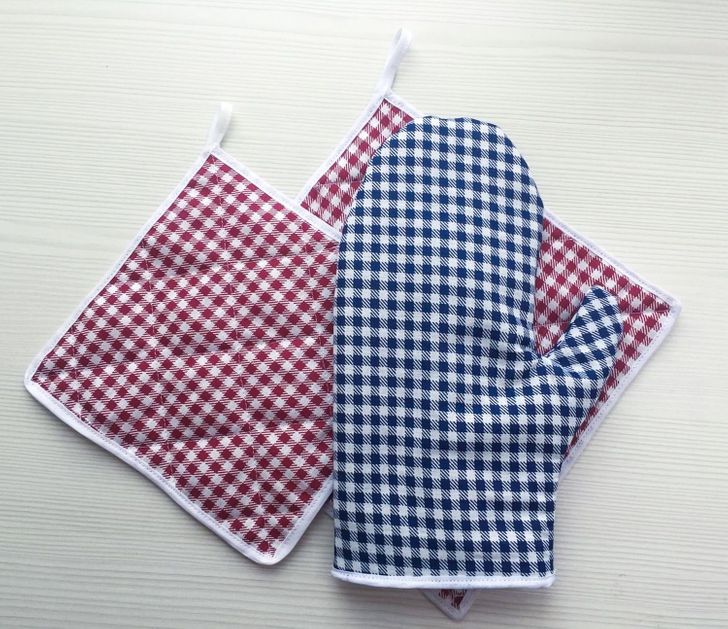
A pot holder is an irreplaceable item in the kitchen. Not only will it protect your hands from hot dishes, but it also proves to be a great addition to any home’s interior.
5-Minute Crafts has prepared 2 sets of step-by-step instructions on how to make pot holders.
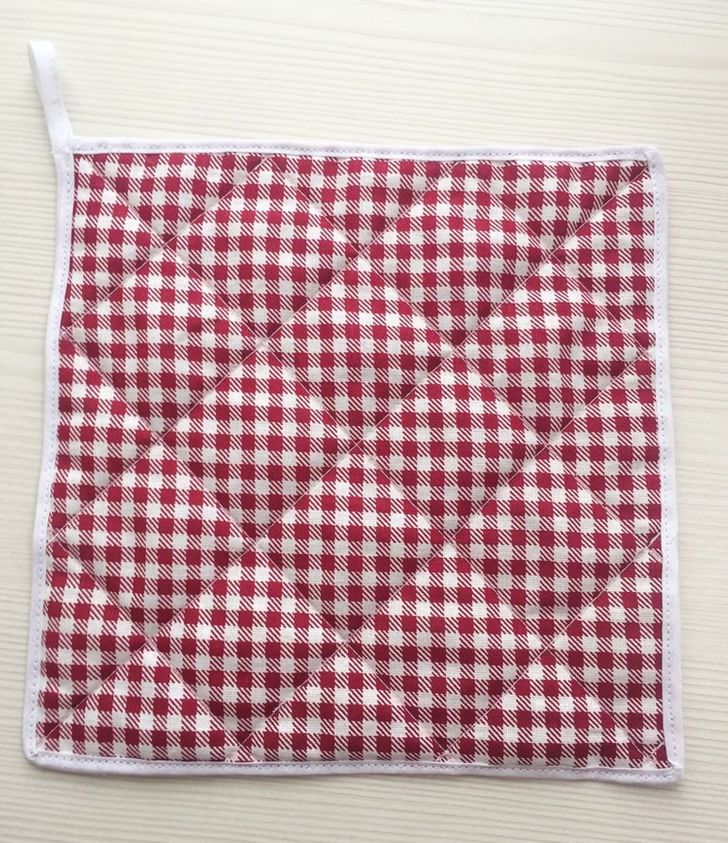
A pot holder with edging
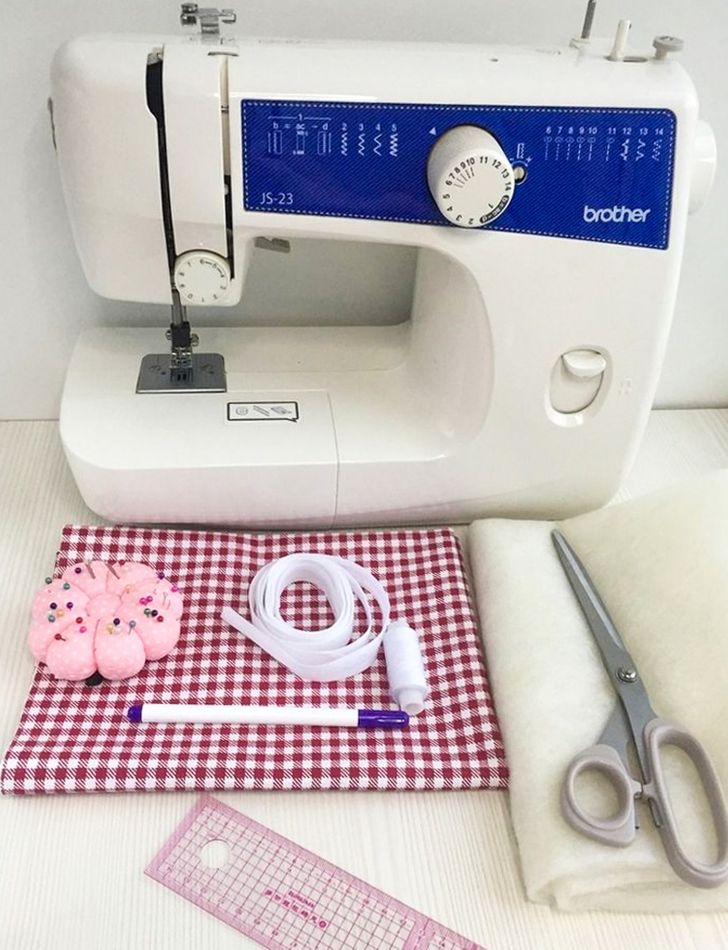
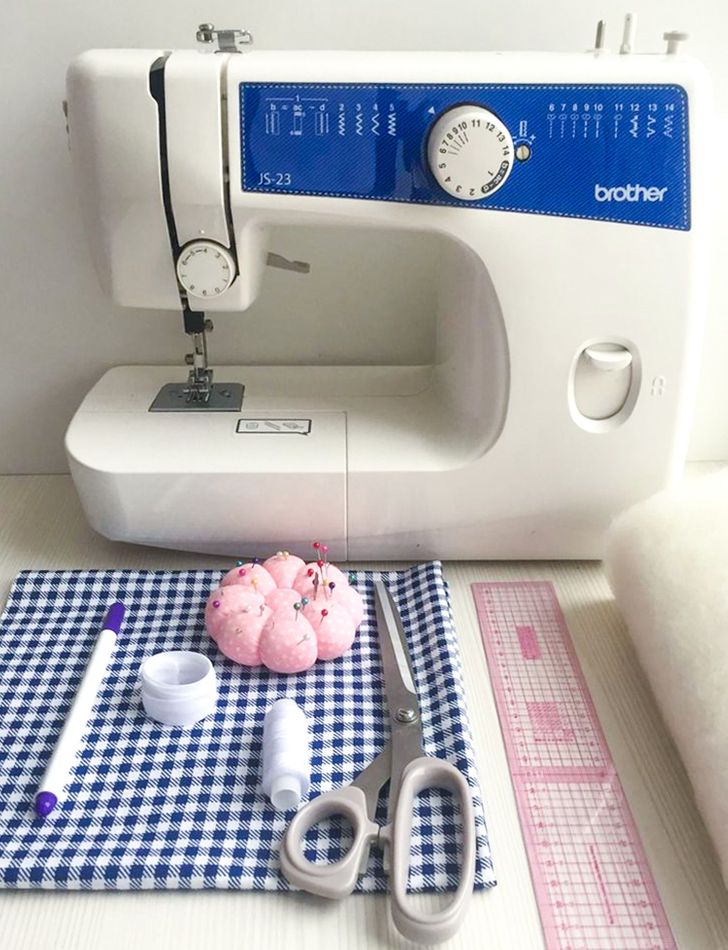
You’ll need:
- Cotton fabric in 1 or 2 colors
- Cotton bias tape
- Sintepon
- Thread in the same color as the fabric
- Tailor chalk, a fabric marker, or a small soap remnant
- Tailor pins
- A ruler
- A sewing machine
- Scissors
What to do:
1. Thoroughly press the fabric with an iron that has a steam function before making the cut. Not only will it help you to smoothen the fabric, but it will also help you to avoid any fabric shrinkage on the finished item.
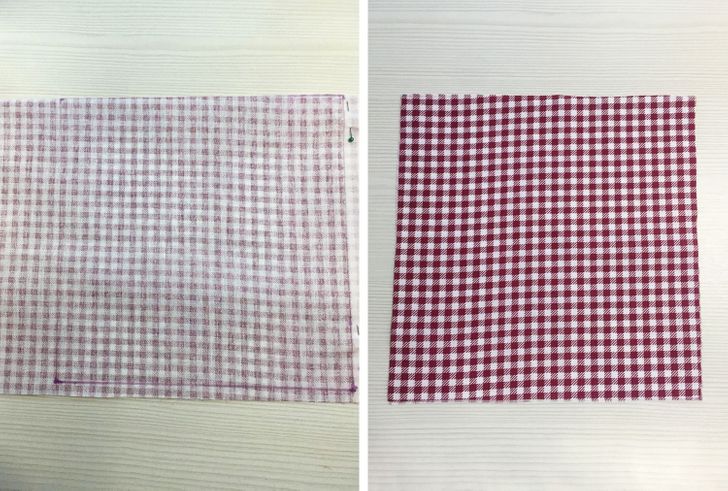
2. Fold the fabric in 2, secure it with pins, and outline the contours of the future pot holder. For making our pot holder, we drew a square with its sides equal to 10 inches each.
3. Carefully cut the base of the pot holder along the border. You should now have 2 fabric squares.
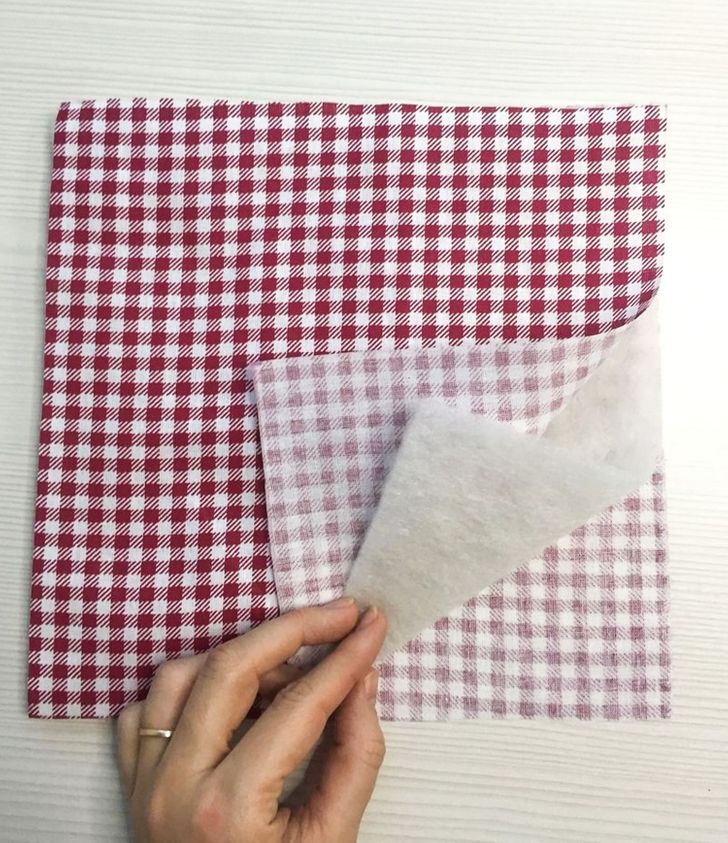
4. Measure and cut out a layer in the same size as the fabric squares from the sintepon filler.
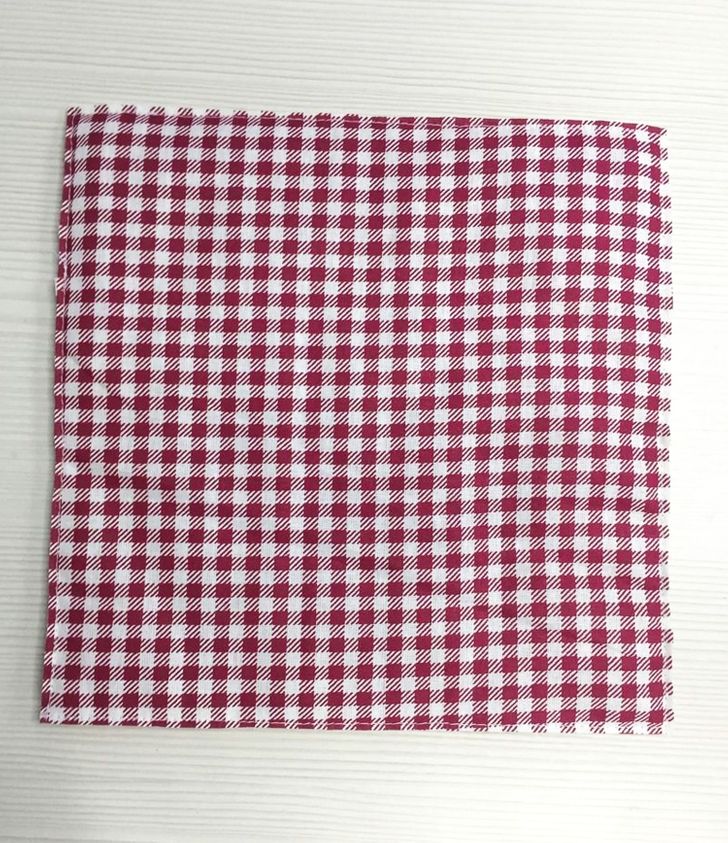
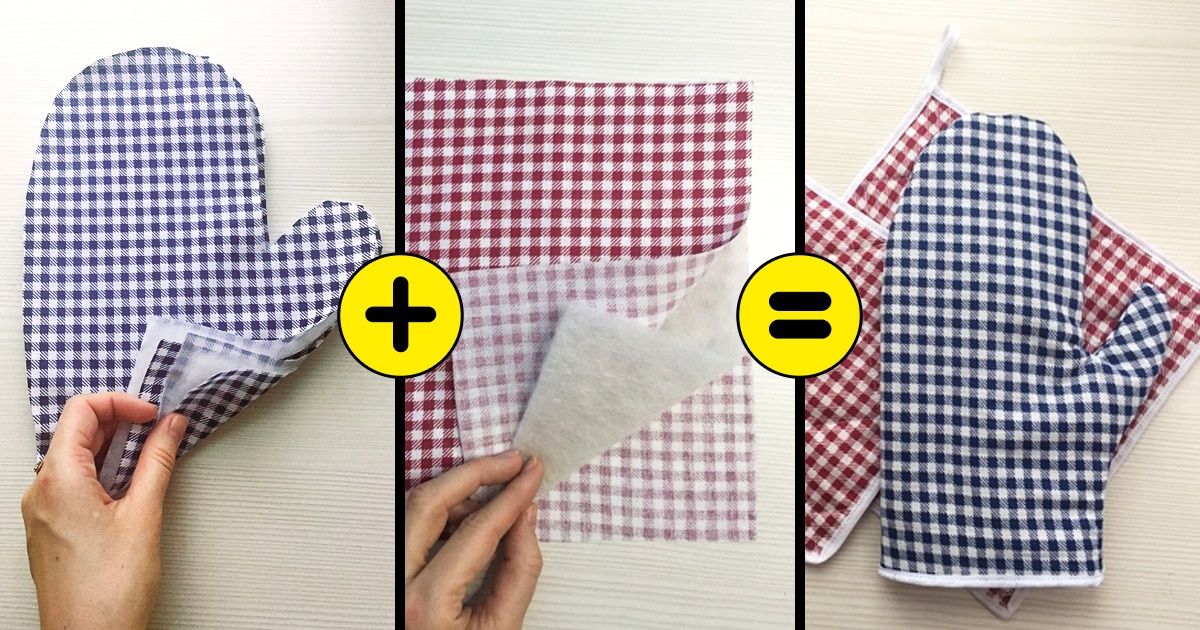
5. Place the layer between the squares and align the edges.
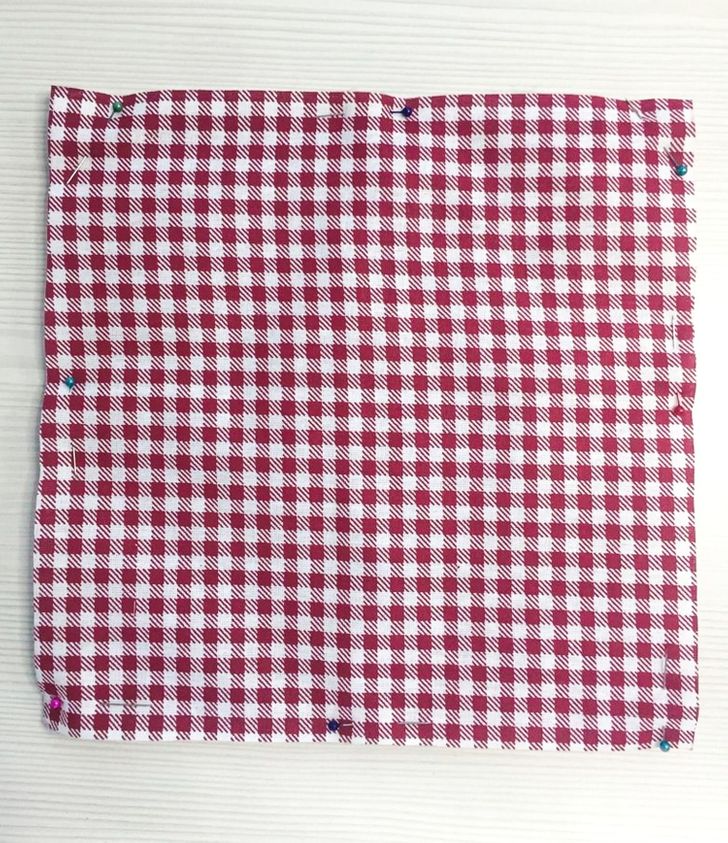
6. Carefully pin the edges of the pot holder or secure it with thread around the perimeter.
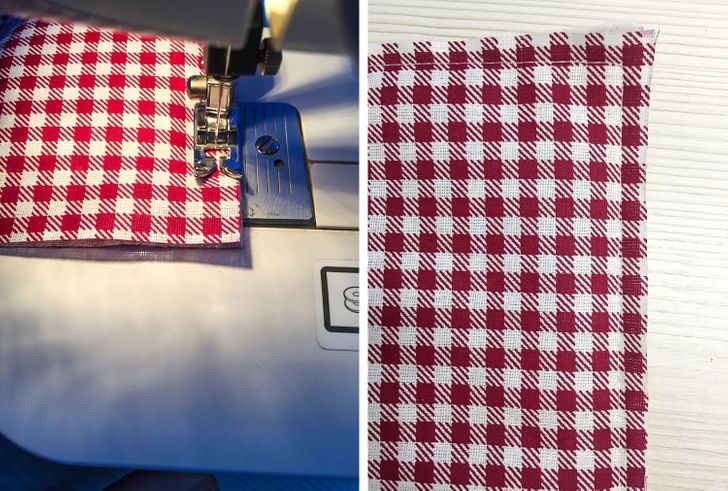
7. Get your sewing machine ready and sew the details by making stitches 5 mm to 7 mm from the edge.
8. Trim the edges with scissors and cut off any excess material, leaving out 2 mm to 3 mm of fabric after stitching.
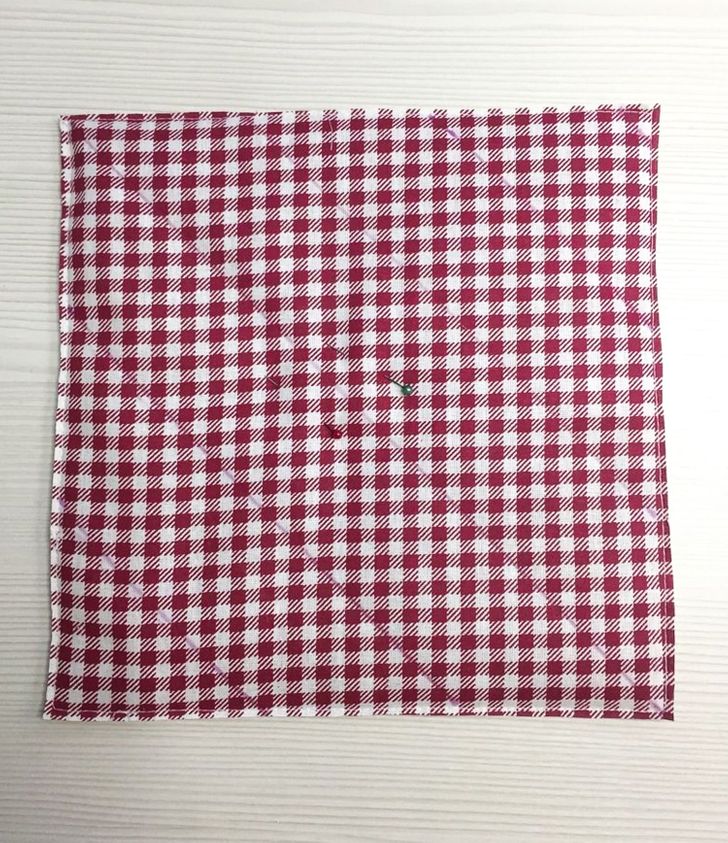
9. Draw several diagonal lines on the pot holder with the help of a washable marker or tailor chalk. Start from the center in order to get straight lines: draw a line connecting 2 opposite corners. Then move back a few inches, up or down, and draw a line parallel to the center diagonal. Then, again, move back and draw one more line. In the end, you’ll get straight lines all over the pot holder.
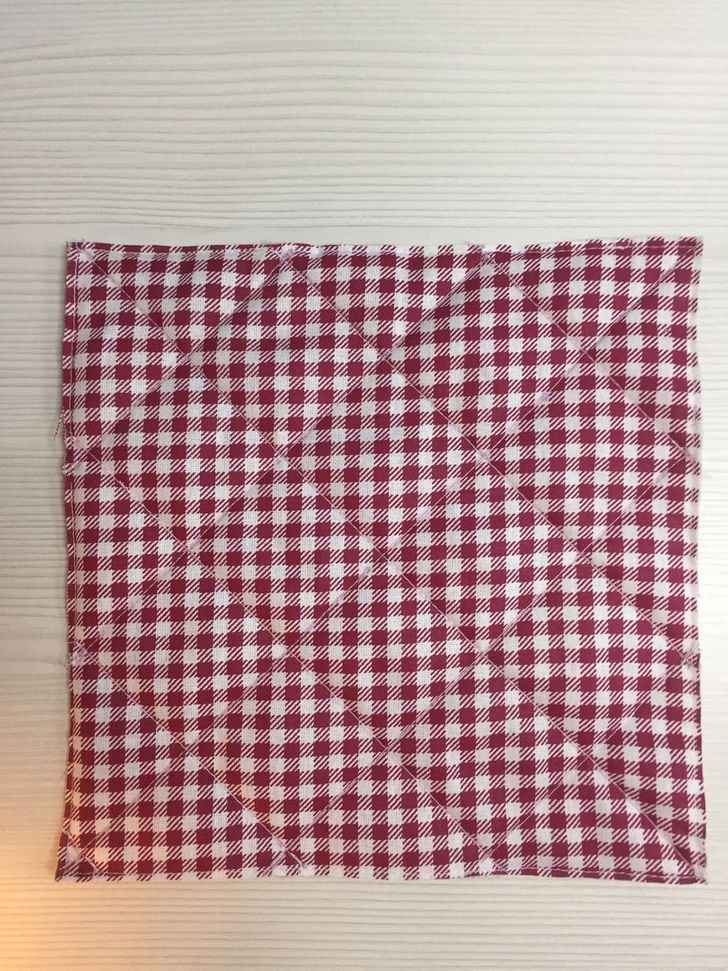
10. Stitch the lines with a sewing machine.
11. Draw lines of the opposite diagonal and stitch them too. Remove any excess thread.
12. Take some cotton bias tape and place it on the edge of the pot holder so that it overlaps the front and the back sides of the item by several millimeters. Stitch the tape along the perimeter of the pot holder by hand. Don’t cut off the rest of the tape completely — leave several inches for making a loop.
Life hack: If you find it difficult to work with the bias tape, you can fold it in half and iron the fold. It will make it easier to place it along the edge of the pot holder.
13. Now stitch the tape with the sewing machine 1 mm to 2 mm from the edge. Make sure to stitch the end of the tape left for the loop.
14. Make a loop from the stitched end of the tape with your hands and stitch its end to the pot holder with the help of the sewing machine.
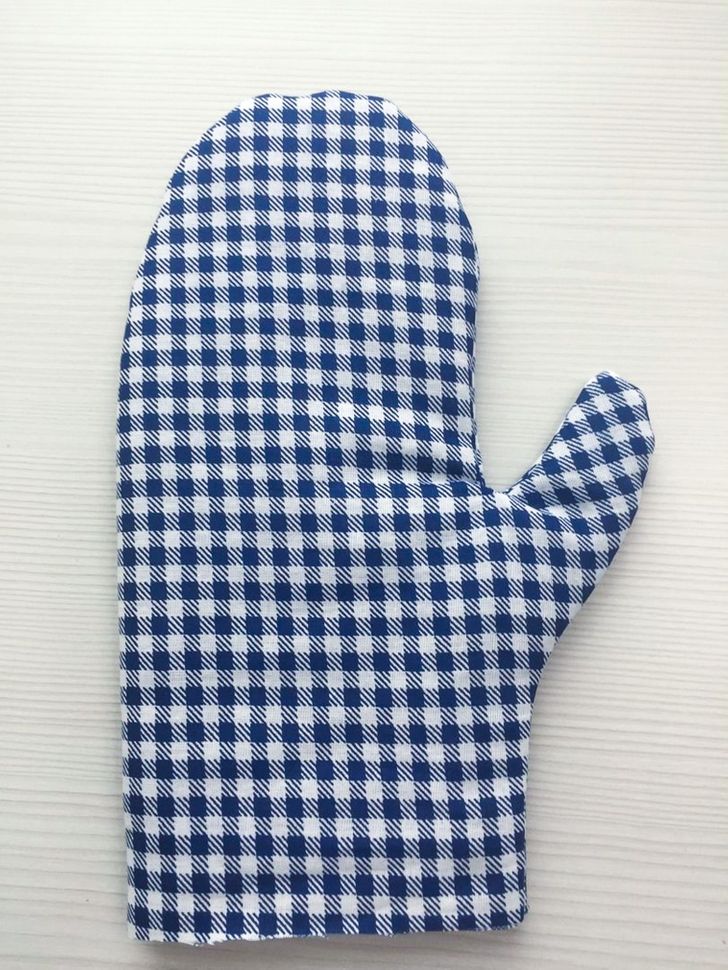
Oven mitts
You’ll need:
-
Cotton fabric in 1 or 2 colors
-
Cotton bias tape
-
Sintepon filler
-
Thread in the same color as the fabric
-
Tailor chalk, a fabric marker, or a small soap remnant
-
Tailor pins
-
A ruler
-
A sewing machine
-
Scissors
What to do:
1. Thoroughly press the fabric with an iron that has a steam function before making the cut.
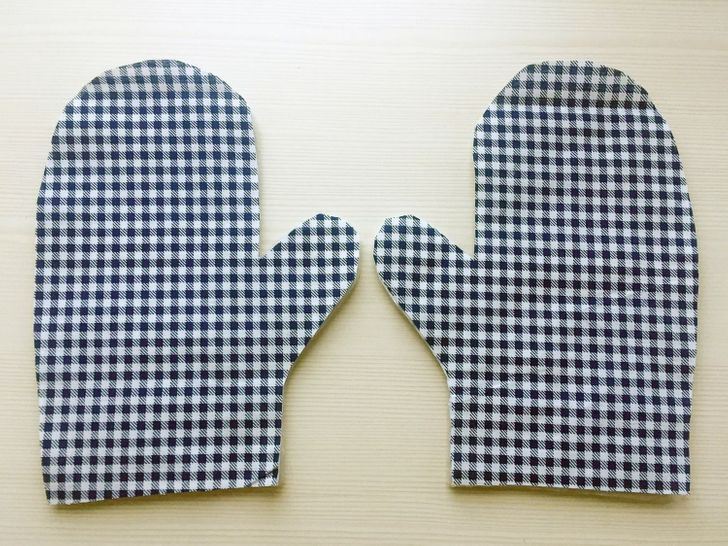
2. Fold the fabric in half and place it in front of you. Leave a few inches from the edge and place your left palm on the canvas. Use the chalk to trace its borders.
3. In order to understand the size of your future pot holder, add 1.5 inches to 2.5 inches to the drawn contour of your hand. Make the line more round, then cut out the glove that you get.
4. Attach the pattern to the fabric, circle it around, and cut out another piece. Remember that the fabric should be folded in half. As a result, you should have 4 fabric mitts.
5. Draw around the fabric pattern on the sintepon filler twice. Cut out the layer along the lines.
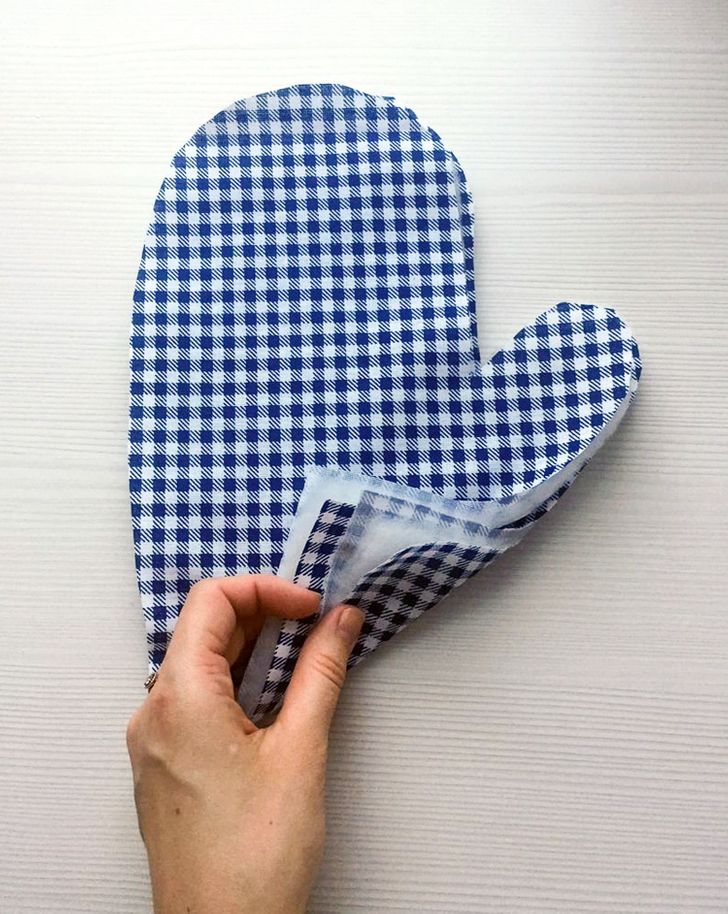
6. Place each sintepon layer between the fabric layers and then join them together. Make sure that in each glove, the fabric layers touch the sintepon layers on the inner sides.
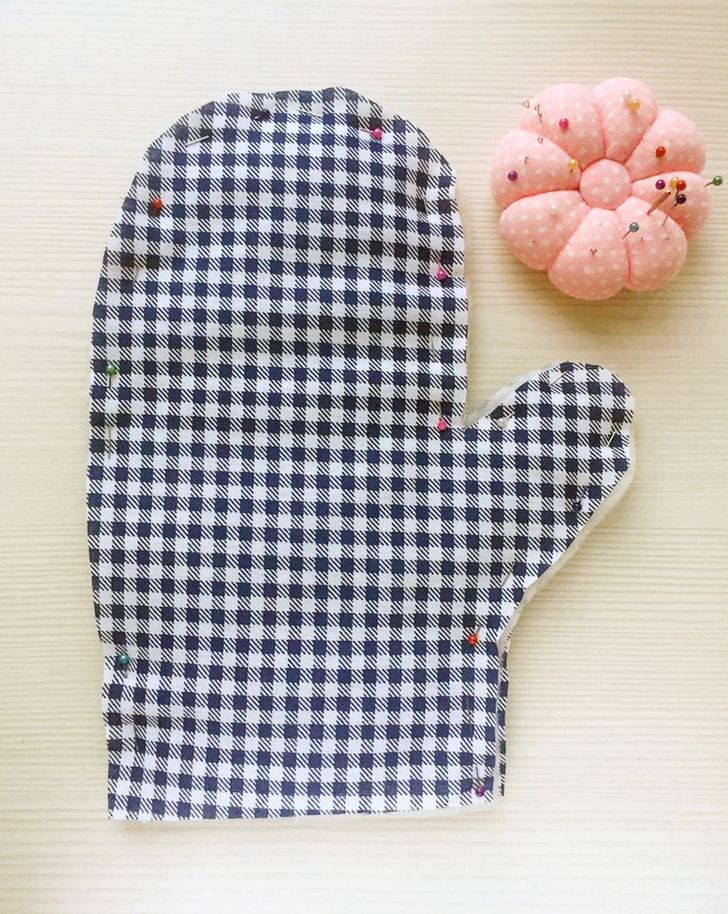
7. Align the edges of the mitt and secure them with pins.
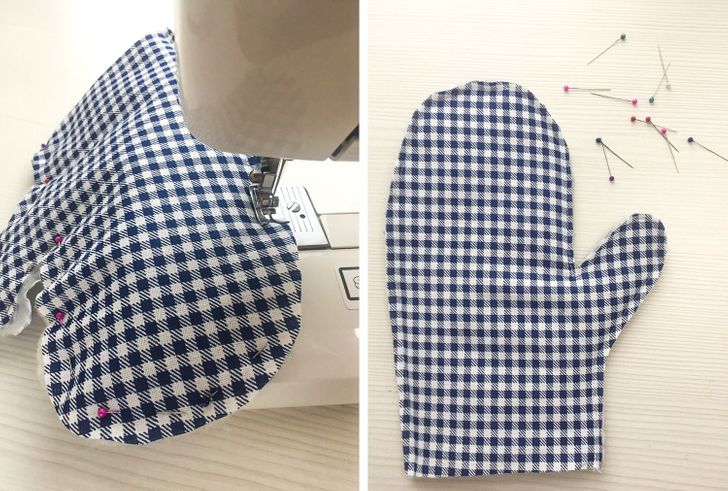
8. Make a stitch at a distance of 5 mm to 7 mm from the edge with the help of the sewing machine, removing the pins as you stitch.
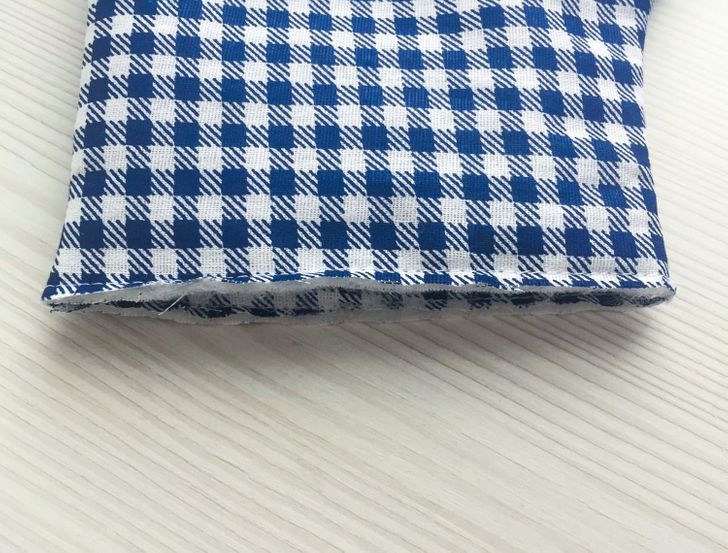
An important note: Keep in mind that you’ll need to stitch the oven mitt on 3 sides. It’s important to keep the place where you’ll insert your hand unstitched.
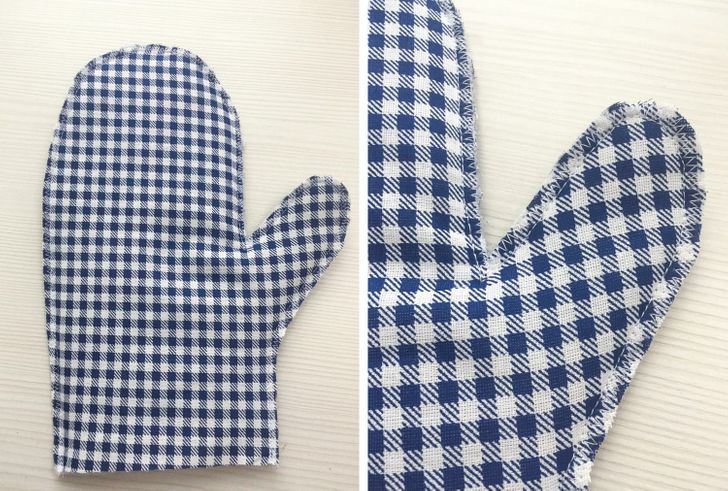
9. To make the seam more durable and avoid fabric fraying, you can overlock the edges of the oven mitt or make zigzag stitches next to the straight stitches.
10. Carefully trim the edges of the fabric and turn the oven mitt inside out.
11. Stitch the bottom edge of the mitt, leaving 5 mm at its base. Keep in mind that you don’t need to stitch the top and bottom parts of the mitt together.
12. Remove the excess thread and attach the bias tape to the mitt. It’s better to start doing it near one of the stitches.
13. Machine stitch the tape 1 mm to 2 mm from its edge. If necessary, form a loop out of the tape and sew it to the mitt.
