How to Make a Scarf
A scarf is one of the simplest things you can make, that even a beginner can do. You will end up with an original handmade accessory, as well as master basic knitting skills, thanks to which you will be able to create something more difficult from a hat and socks to a cardigan or dress.
At 5-Minute Crafts, we would like to show you 2 simple methods of making a warm and original scarf, even if you’ve never knitted before.
How to make a snood (a tubular scarf) in 30 minutes
You’ll need:
-
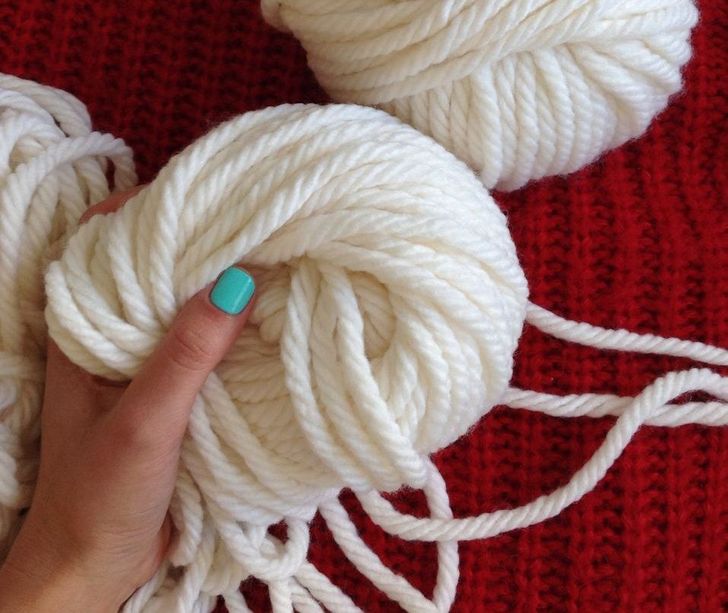
2 skeins of wool yarn in a medium thickness
You’ll need 7 to 9 ounces of yarn or 2 skeins to make a snood. You can use a thicker yarn if you want your scarf to be more voluminous. Arm knitting is a pretty easy and quick way to create an unusual item and to figure out the process of knitting. Afterward, it will be easier for you to work with knitting needles and a crochet hook.
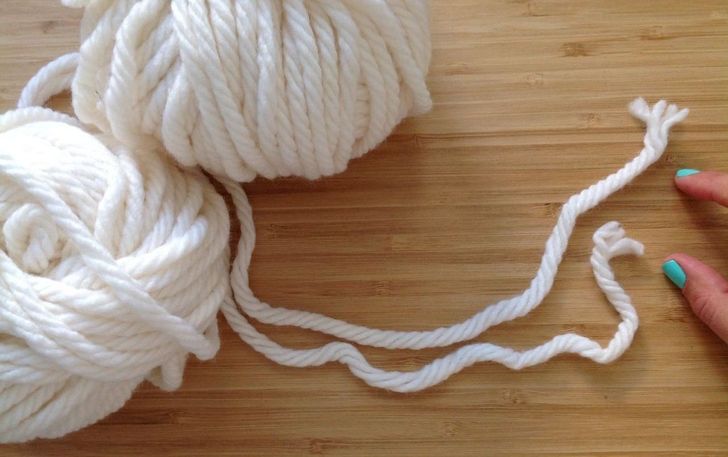
Step 1. Take the ends of the yarn of both skeins and unwind approximately 3 feet each. Keep the skeins to your left and the ends of the yarn to your right.
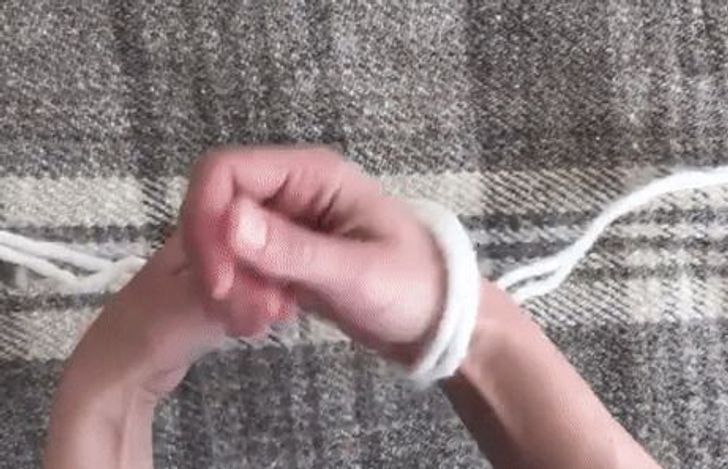
Step 2. Now wind the threads around your arm and tie a loop like in the photo above. Tighten the knot under the loop.
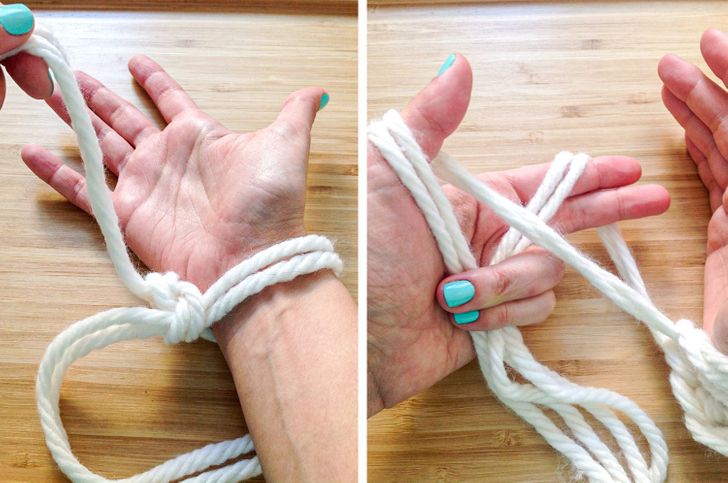
Step 3. Put the loop on your right hand. Please see the photo above, the left hand is holding the yarn that is pulled from the skeins — these are working threads. And the loose ends go down.
Now bend your left fingers as shown in the photo. Wrap the ends around the thumb of your left hand and lower them down to your wrist, holding them with your ring finger and little finger. Wrap the working threads around the index and middle fingers, and then place them under your ring finger and little finger too.
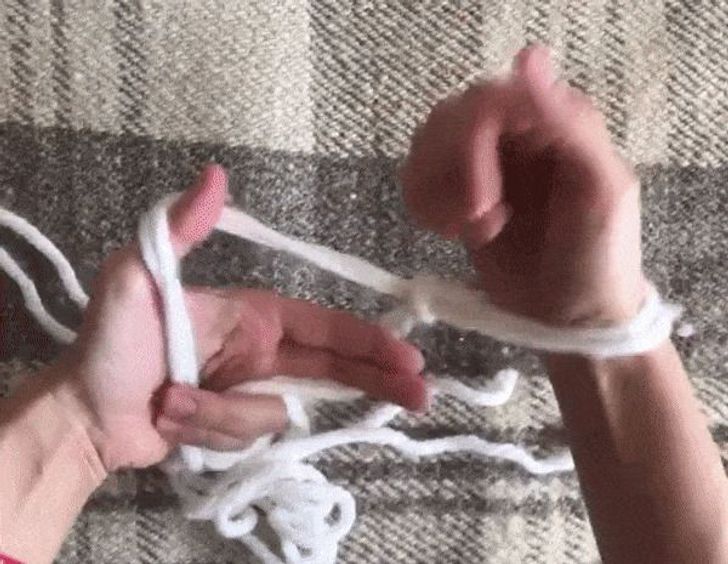
Step 4. Now repeat the movement, like in the photo above: the right hand should move under the threads wrapped around the thumb, grab the yarn that is wrapped around the index finger on the left side, pull it in the direction of your body, and put it on your wrist.
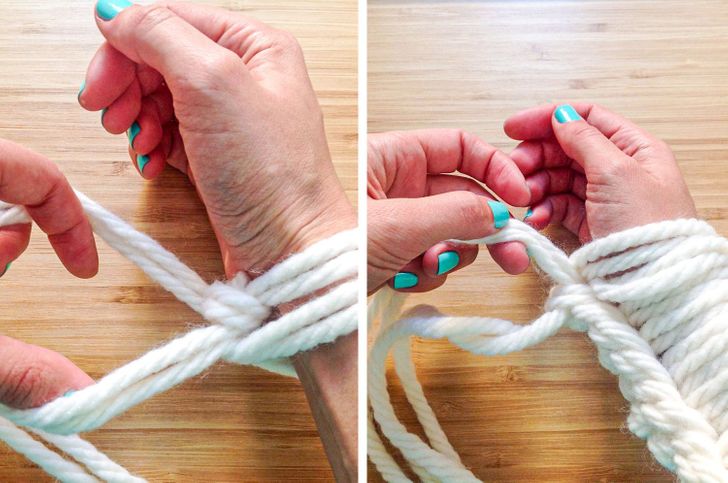
Step 5. This way you’ll get a second loop on your right hand. Make 11 more loops in the same way. Check and see if the size of the scarf suits you — the width of the future scarf depends on the number of loops. If you wish, you can reduce or increase their number of loops. This largely depends on how voluminous the yarn is.
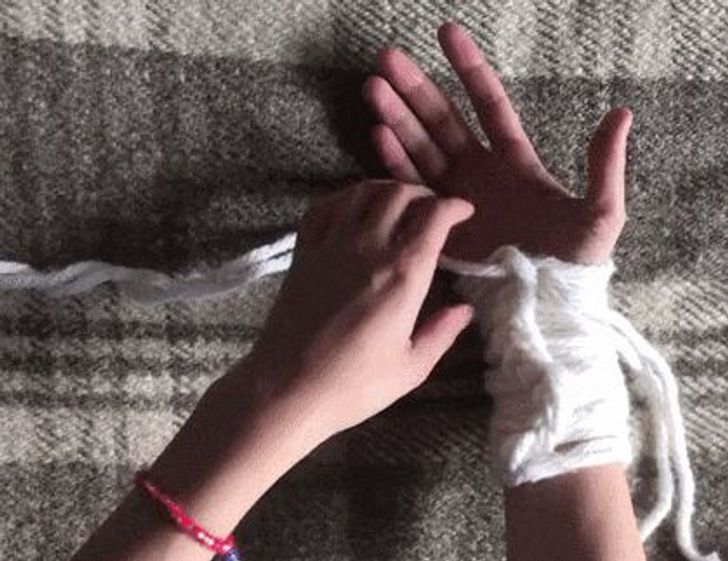
Step 6. Now take the working threads with your right hand, and with your left hand grab the uppermost loop on your right hand and take it off. At the same time, the right hand shouldn’t let go of the working threads. As a result, you’ll get another loop — you should pass your left hand through it.
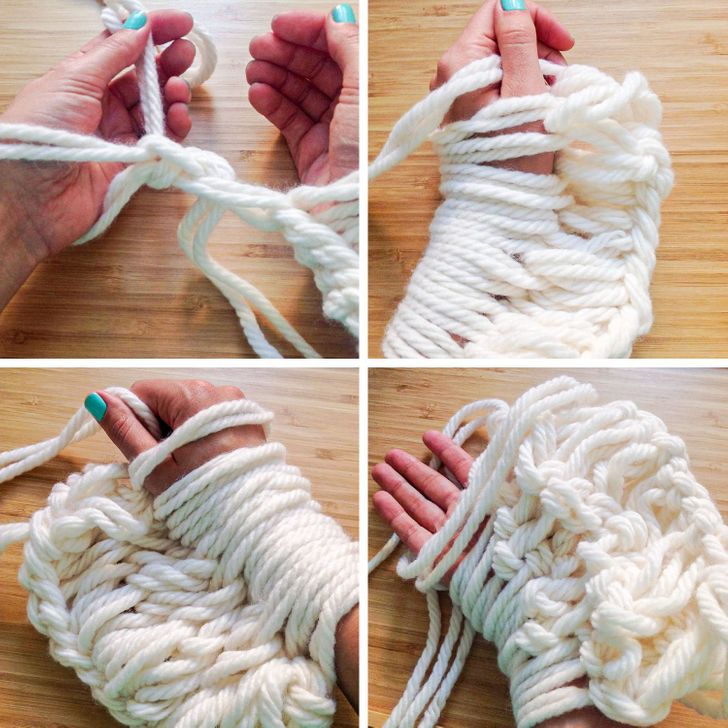
If you’ve done everything right, you’ll get a loop on your left hand, while the loop from your right hand will happen to be between your hands. Repeat this step with all of the other loops until the base of the scarf ends up on your left hand.
Repeat the process again by transferring the loops from your left hand to your right hand and adding a new row. Repeat your actions until there are slightly more than 3 feet of the yarn left. You can stop earlier whenever you’re happy with the length of the scarf.
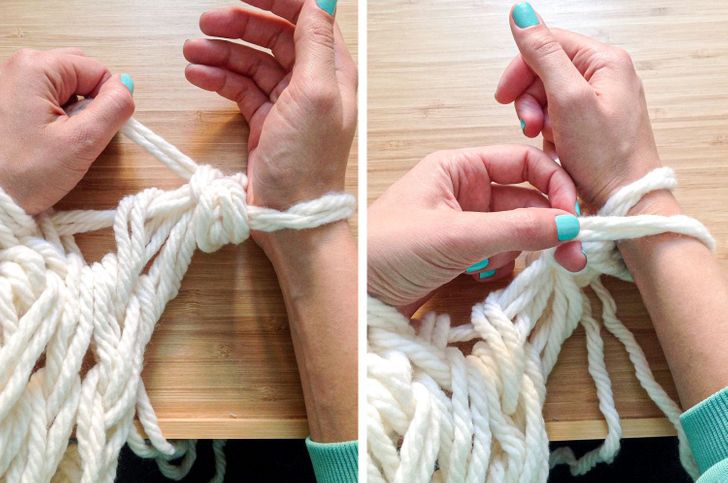
Step 7. Let’s make the last row of loops. Start like you did earlier: transfer 2 loops to your free hand, one after another. Then lift the first of them (the one that is farther from the wrist) above the second one and take it off your hand.
This way, you’ll have one loop on your free hand. Now transfer the loop from the other hand again, in the usual way, so that you have 2 loops again, and repeat the process: lift the loop that is farther from the wrist and take it off from the hand. This way, you’ll close the loops.
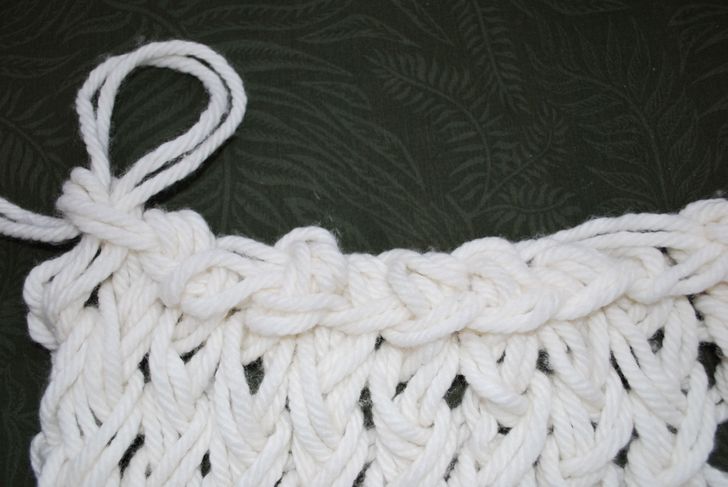
Step 8. As a result, you’ll get a braid with a loop at the edge of the scarf. Pull the ends of the threads through the protruding loop to pull it up and tie it.
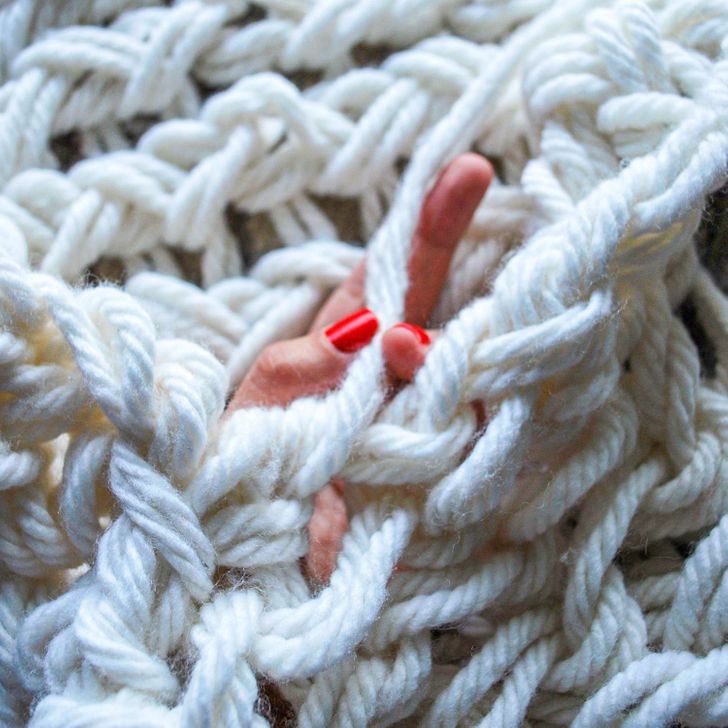
Step 9. Tie the 2 sides of the scarf together in place of the braids. Use the exposed parts of the threads to tie the edges. Done!
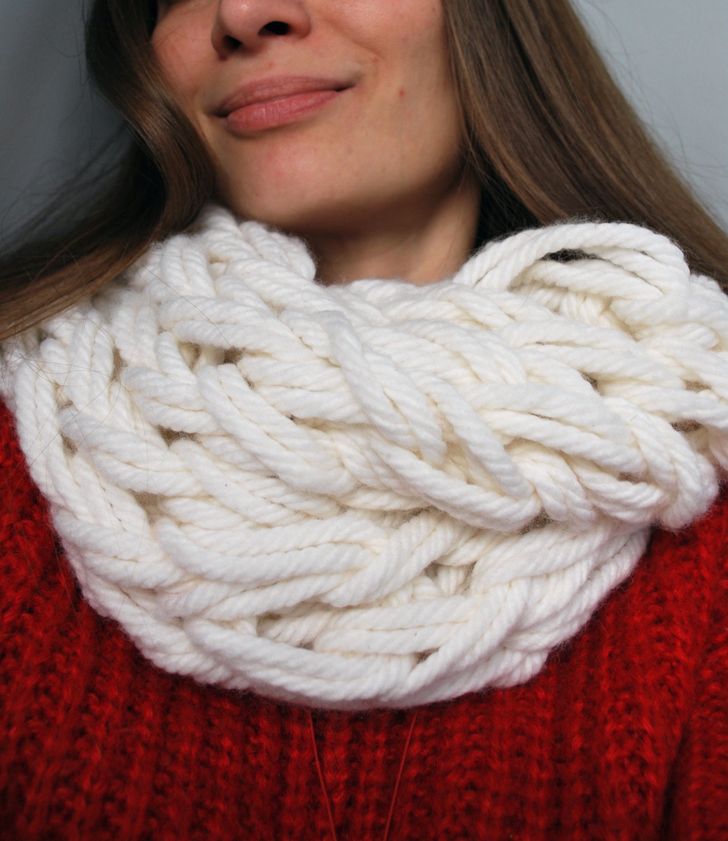
You can also sew the ends of the scarf with a needle and a thread, or not tie the ends of the scarf together at all. In this case, you will end up with a regular long scarf.
Tip: If you find arm knitting entertaining, try to make a cute headband with your fingers, or make another scarf using a regular cardboard box.
How to make a simple scarf with knitting needles
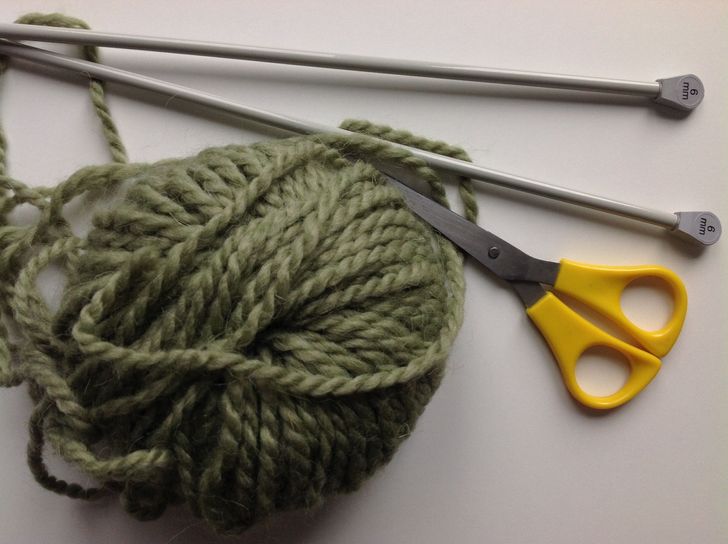
You’ll need:
-
wool yarn
-
2 knitting needles
-
scissors
If you want to calculate the necessary amount of yarn depending on the desired length and width of the scarf, use this Knitting Calculator.
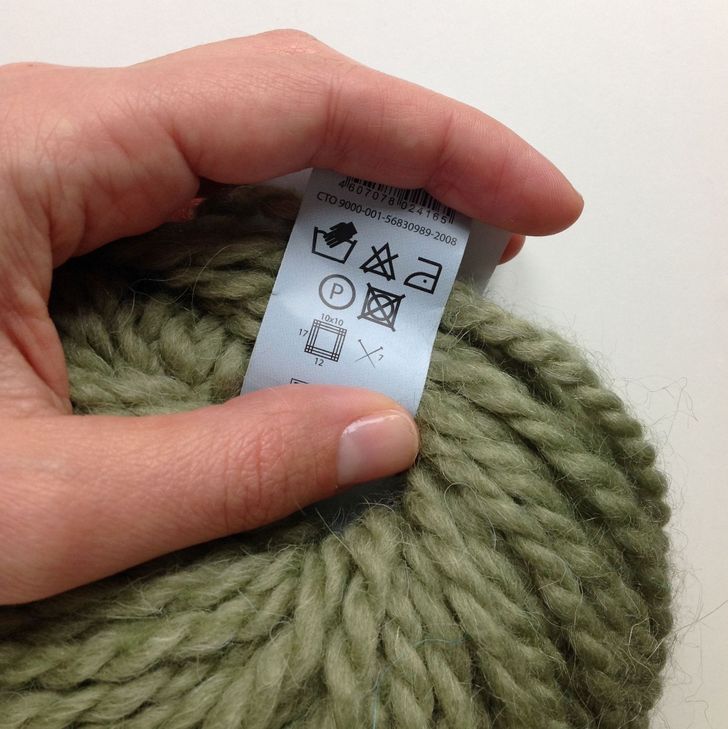
It’s more convenient to use the knitting needle size recommended by the yarn manufacturer. These instructions can be found on the label of the skein. For example, in the photo above, the manufacturer recommends using needle #7. The number corresponds to the diameter of the needle. The thicker the yarn is, the bigger in diameter the needle should be.
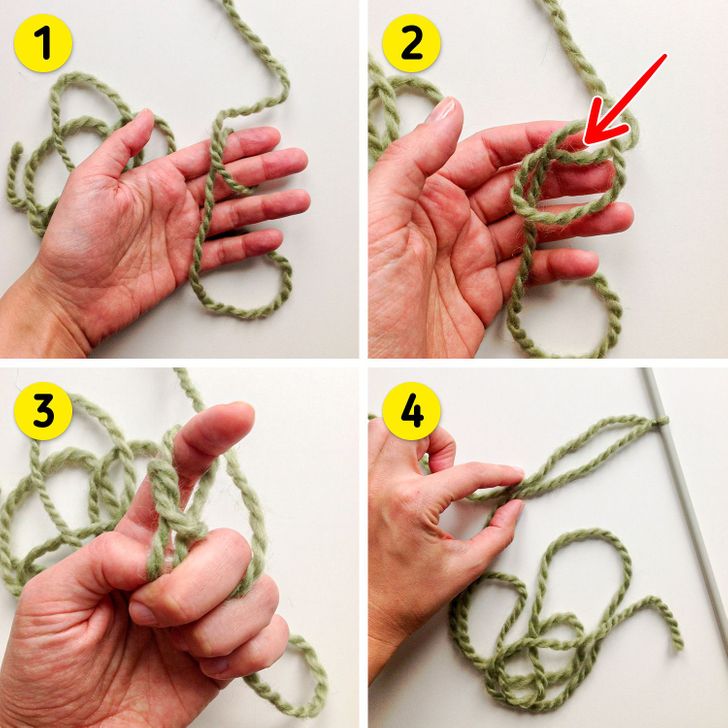
Step 1. Unwind a small amount of yarn from the skein and make the first loop: wrap the yarn around your index and middle fingers. Take the resulting ring off from your fingers. It should resemble a pretzel in shape. Take the thread at the location indicated with the red arrow in the photo above and pull it toward yourself. As a result, the pretzel will tighten and you’ll get a loop. Pass the knitting needle through it, and tighten the knot.
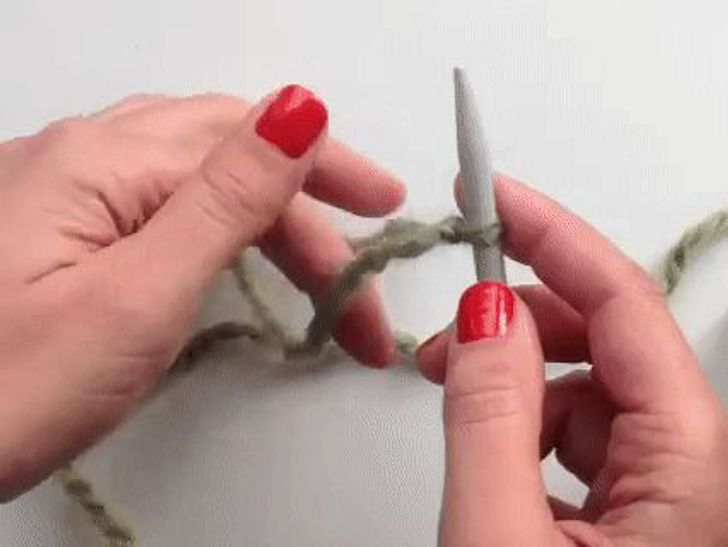
Step 2. Add other loops to the first one, by making them as shown in the photo above, twisting it around the needle. Make sure there is no space between the loops. Take note that the end of the yarn should be on your thumb and the working thread should be on your index finger.
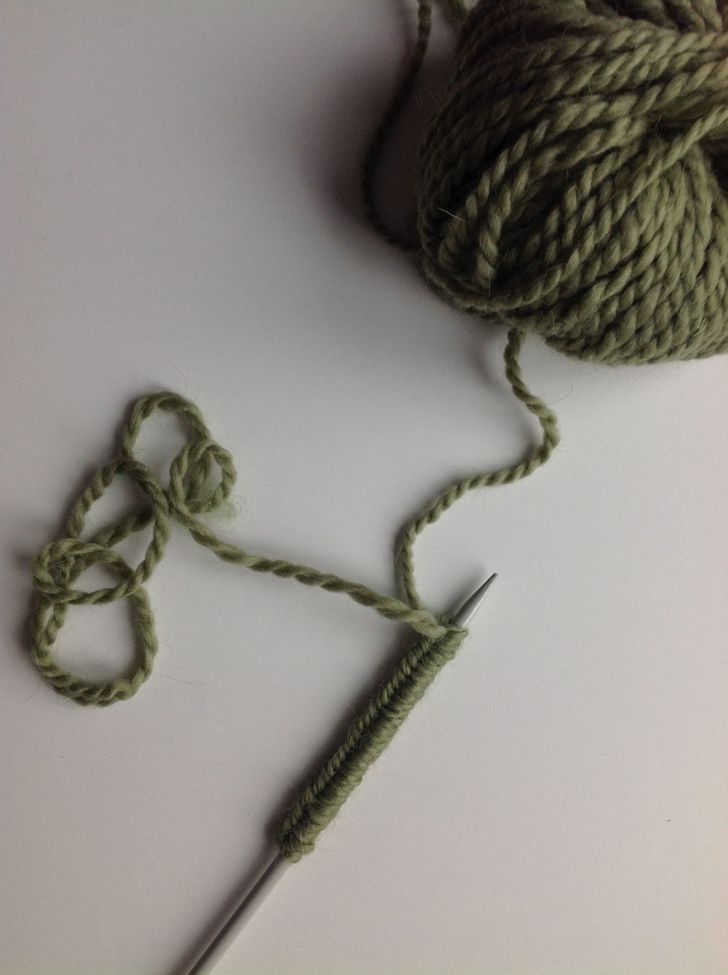
Gather the loops close to each other on the knitting needle, this way you’ll see the width of your future scarf.
Tip: The possible width of the item will depend on the length of the needle. Use circular knitting needles whose ends are connected with fishing line if you want to knit a very wide scarf with a lot of loops.
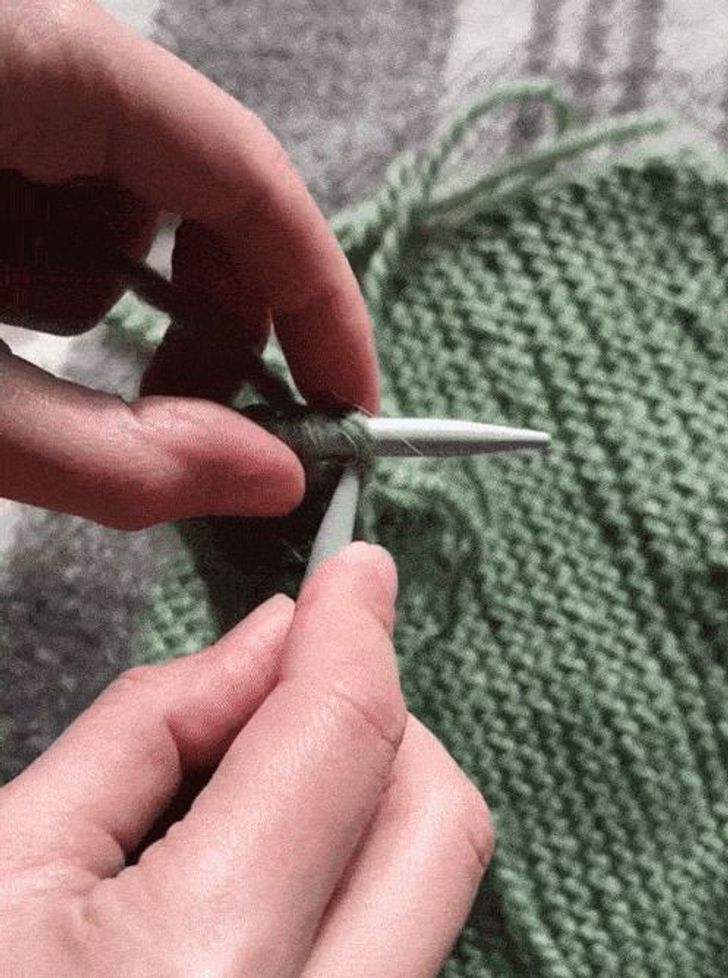
Step 3. Now you need to transfer the loops to the other knitting needle by adding a new row. Do it as it’s shown in the photo above: the free needle should go under the last loop on the second needle. After that you have to wrap it with a working thread, put on a new loop, and then pull the free knitting needle with a new loop from under the second knitting needle, toward yourself.
This way, you take off a loop from one knitting needle and put a new one on the other needle at the same time. This is how the scarf grows in length.
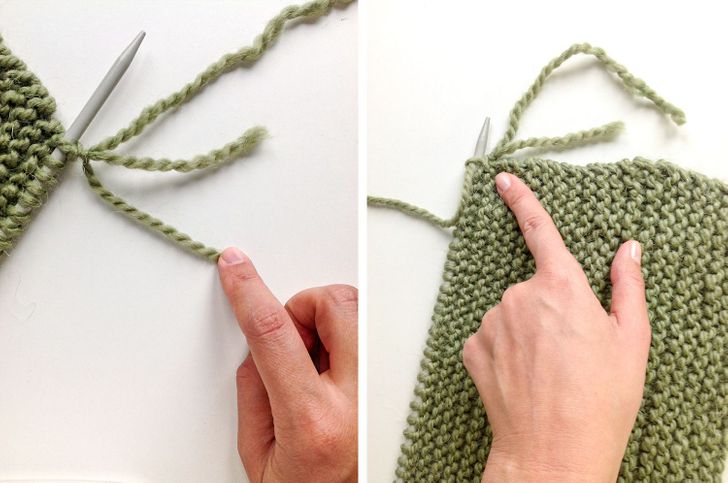
Step 4. Repeat these steps, adding new rows of loops, until the yarn comes to an end. The new thread is best tied up when you reach one of the edges of the scarf. Pay attention to the photo above: on the left, you can see that all the loops are collected on the needle and that the finger points at the working thread to which the end of the new yarn is tied. On the right, the new yarn is already in use, and the piece of the old yarn remains at the edge along with the end of the new yarn.
Tip: You can use yarn in different colors to create a colorful scarf.
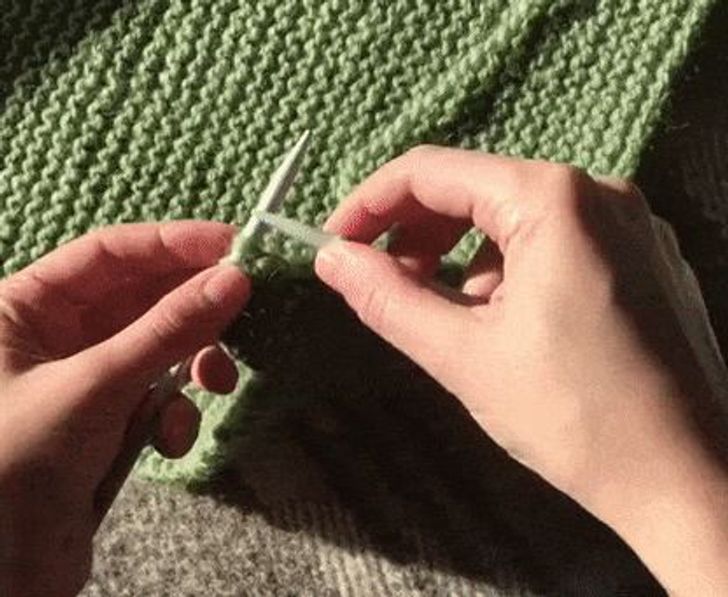
Step 5. In order to make the last row, transfer 2 loops to the empty needle. Now remove the first one and tighten it up, making sure there is as little space between them as possible, as shown in the photo above. Repeat your actions with the other loops until you reach the edge of the scarf. This way, you’ll close the loops. Pull the thread through the last resulting loop and tighten it up. The scarf is ready!
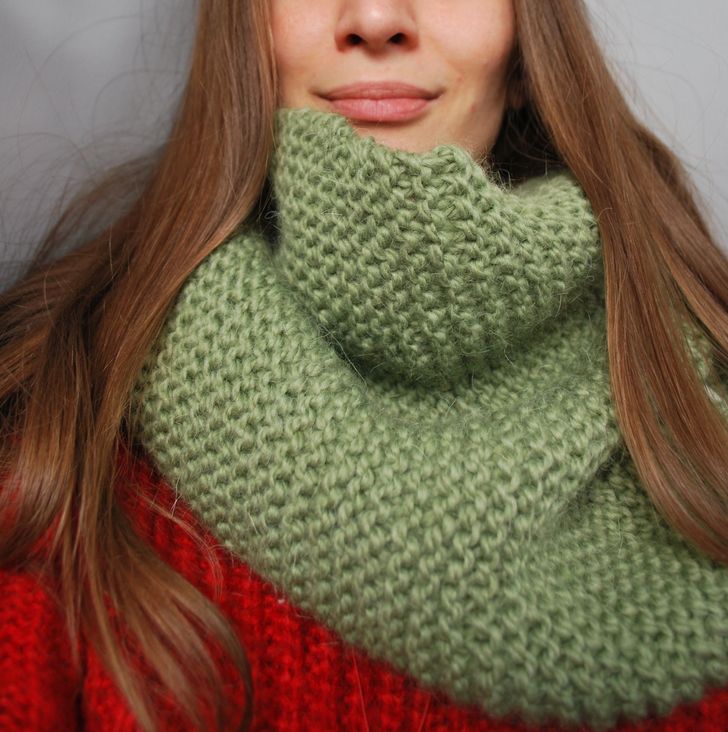
If you wish, you can decorate the scarf with tassels or fringe by tying additional yarn to the edges of the scarf.
