How to Make a Shadow Theater to Create Magical Adventure Stories for Kids
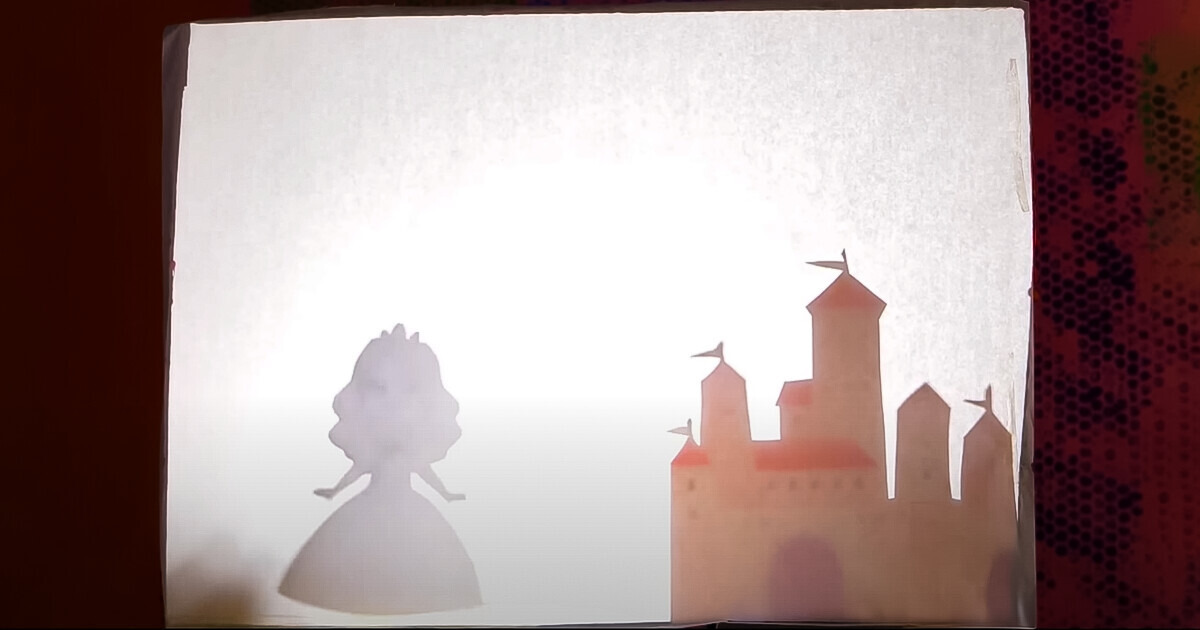
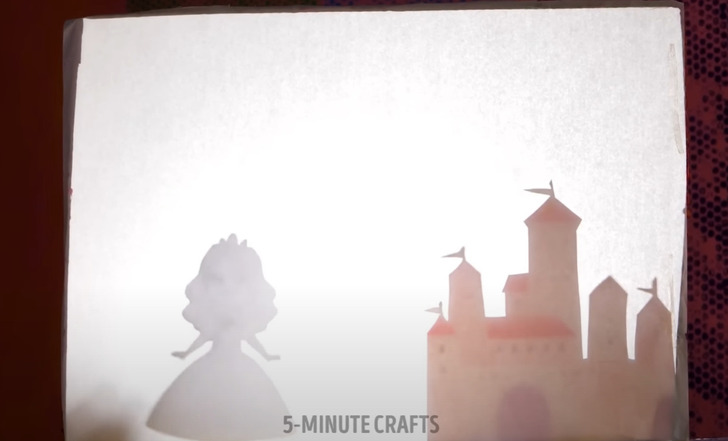
Welcome to the enchanting world of shadow theater, where creativity and imagination come to life. In this guide, we will show you how to craft your very own shadow theater to create wonderful stories. Whether you want to transport them to far-off lands, introduce them to fantastical characters, or simply spark their imagination, this DIY project will provide endless storytelling possibilities to embark on captivating tales with your little ones.
Materials Needed
- Cardboard box
- Baking parchment paper
- Light source
- Card stock
- Scissors
- Hot glue and tape
- Pencil or marker
- Chopsticks or skewer sticks
1. Begin by selecting a cardboard box, removing any flaps from one side, and cutting out a rectangular area in the back, leaving a border of a few centimeters
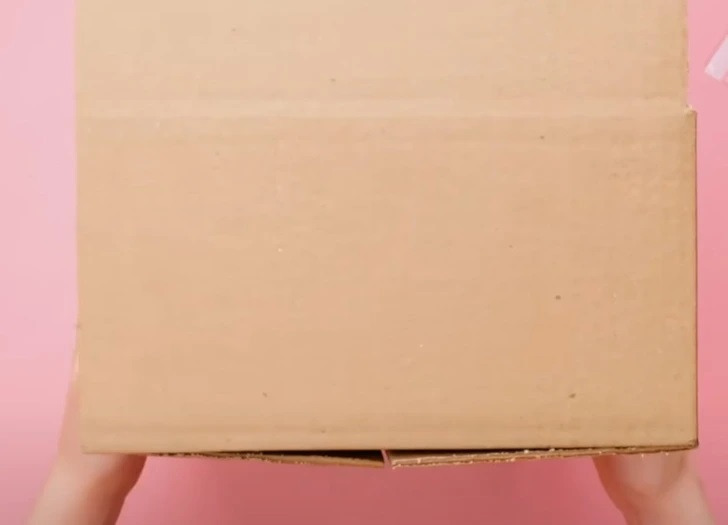
2. Take a piece of translucent baking parchment and cover the open area of the box with it
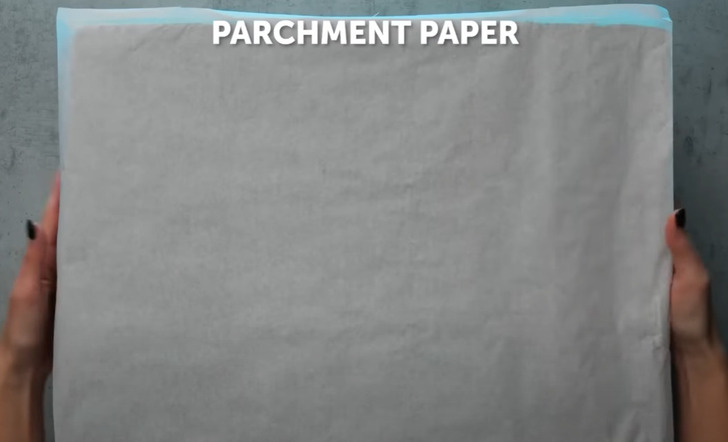
3. Apply glue to the side edges of the box and attach the parchment paper, making sure it is stretched and well-adhered
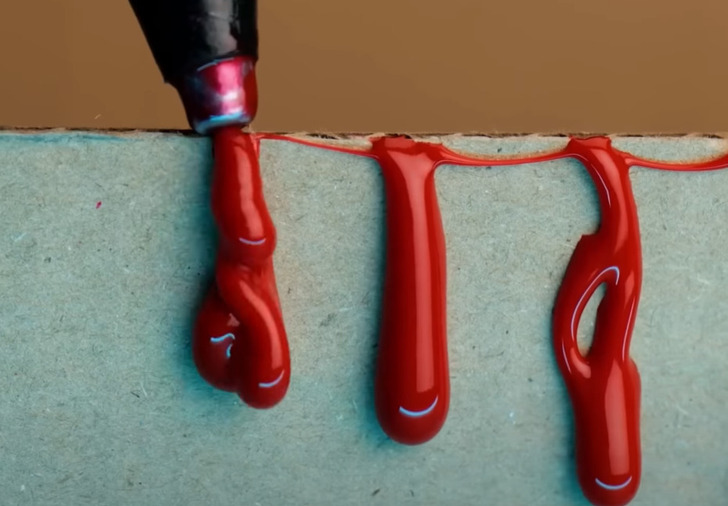
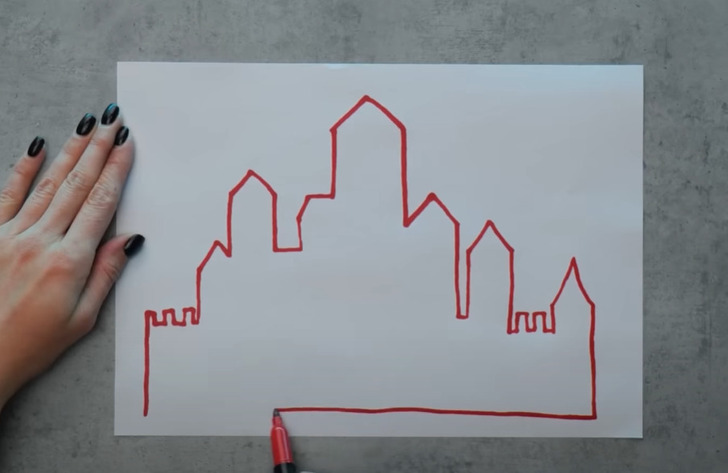
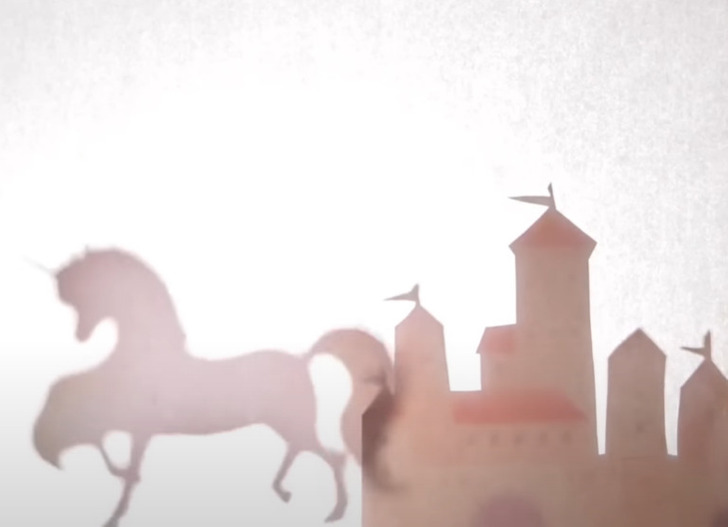
4. Create your shadow figures on card stock, these can be characters, animals, or any shapes you like, just keep in mind that the silhouettes will be projected onto the screen, so designs should be simple and easily recognizable
5. Position your light source behind the box, shining towards the parchment paper screen, and experiment with the distance and angle to achieve the desired shadow effect
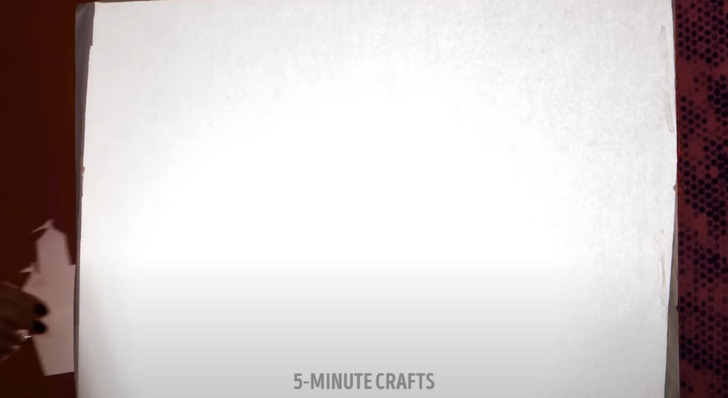
6. Use adhesive tape to attach the static backgrounds required for your story
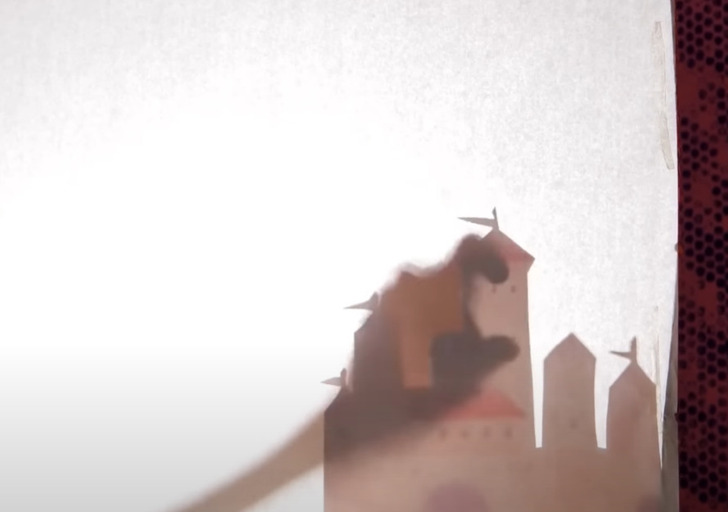
7. To create movable characters, draw their silhouettes on card stock, cut them out, and then affix them to a wooden skewer or chopstick for easier manipulation
Check out more amazing and funny kids’ room crafts
Share This Article