How to Make a Solar Panel Bag in 3 Steps
Solar energy is one of the most environmentally sustainable, efficient, free, and clean ways to generate electrical energy. When you are out in the wild exploring the world as a backpacker or traveler and want to charge your smartphone, power bank, or tablet, it really comes in handy to have some energy in your bag.
5-Minute Crafts will show you how to make a simple solar panel bag at home with just a few tools.
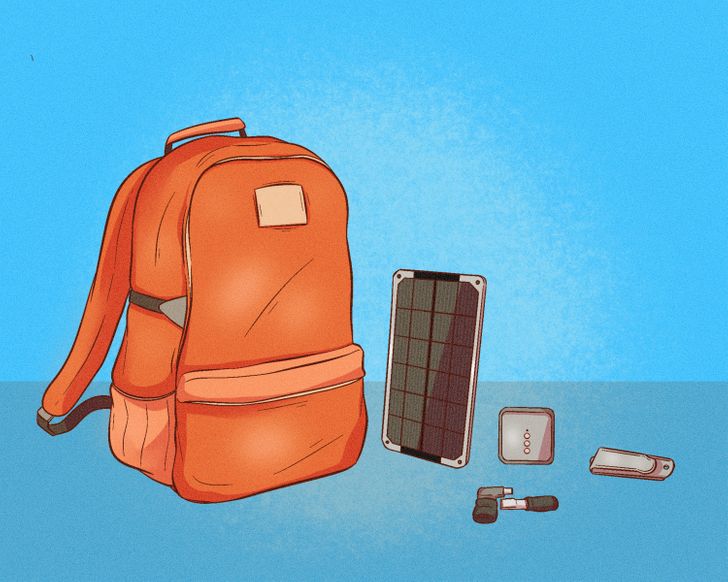
Gather the necessary materials.

- A backpack
- A 3.5-watt mini solar panel
- An F3511 micro-USB adapter
- A battery clip (optional)
- A V25 battery
How to do it:

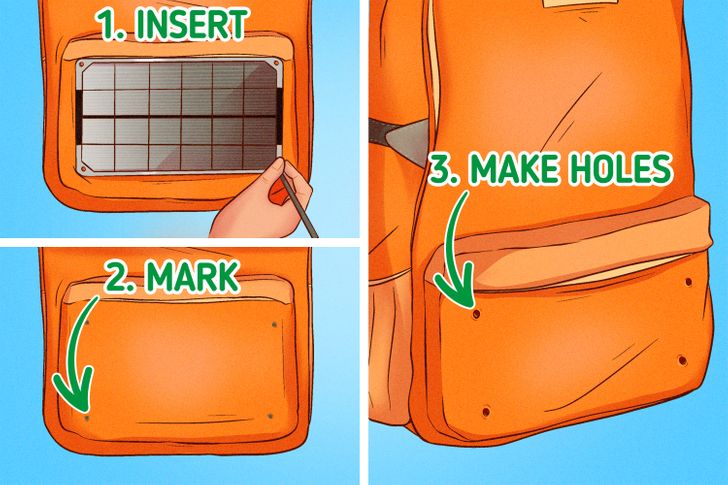
Step 1: Decide on where to insert the solar panel on your bag and mark off the 4 spots. Then diligently make 4 small holes at each point.

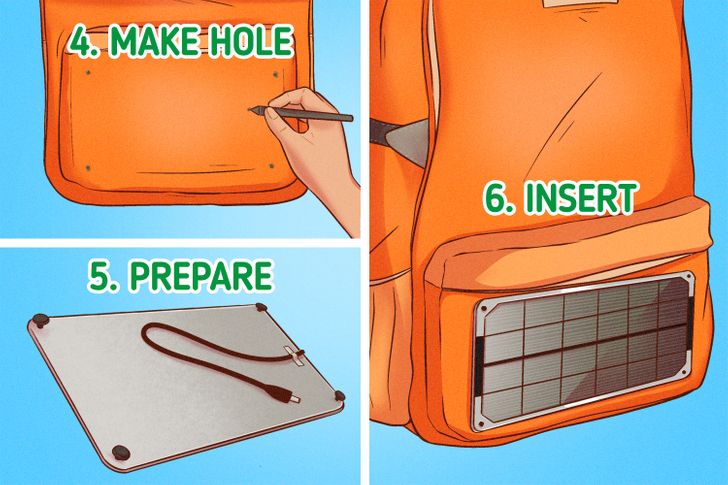
Step 2: At this point, you will need to make one more hole for the solar panel’s cable to go inside of the bag. Once you decide on where you would like to insert the panel’s cable and the battery, then you can place the solar panel on the bag. Using the screws and bolts at the back of the panel, you can carefully tighten it.

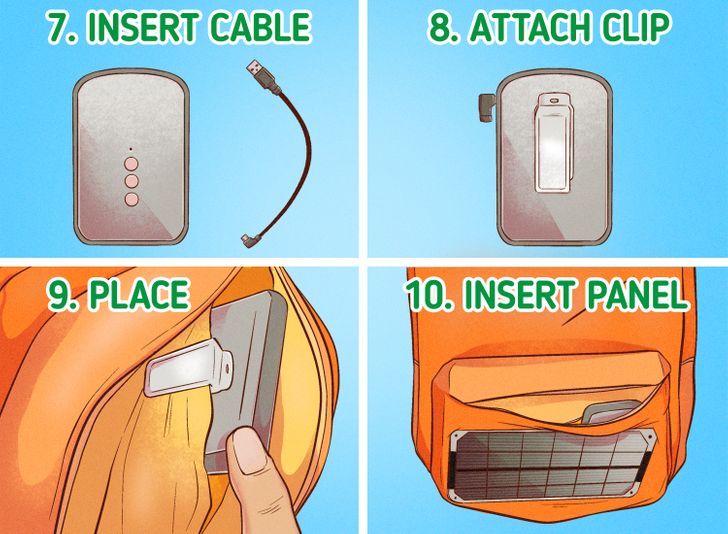
Step 3: Now it’s time to attach the mini-USB adapter to the battery, as well as the solar panel’s cable to the battery. Although it is optional, you can use a battery clip to attach the battery to one of the pockets inside your bag. Now your solar panel bag is ready.