How to Make a Trivet for Hot Dishes
Making a trivet for hot dishes is easier than you think. You just need materials that you probably have on hand, an action plan, and a little bit of time.
5-Minute Crafts prepared a few ideas for making a trivet for hot dishes.
A trivet made of felt
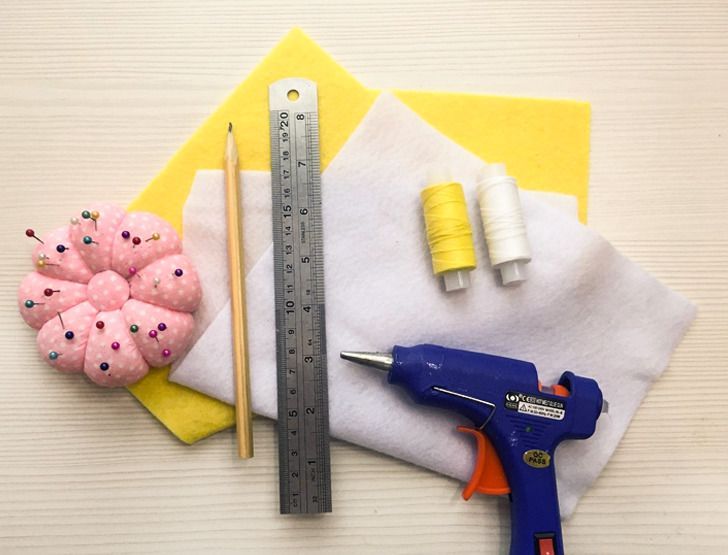
Gear:
- yellow or white felt (you’ll need approximately 1 sheet of felt in a white or yellow color)
- yellow and white threads to match the felt
- a needle
- a hot glue gun
- tailor’s chalk, a pencil, or a pen
- a ruler
- sewing pins
The process:
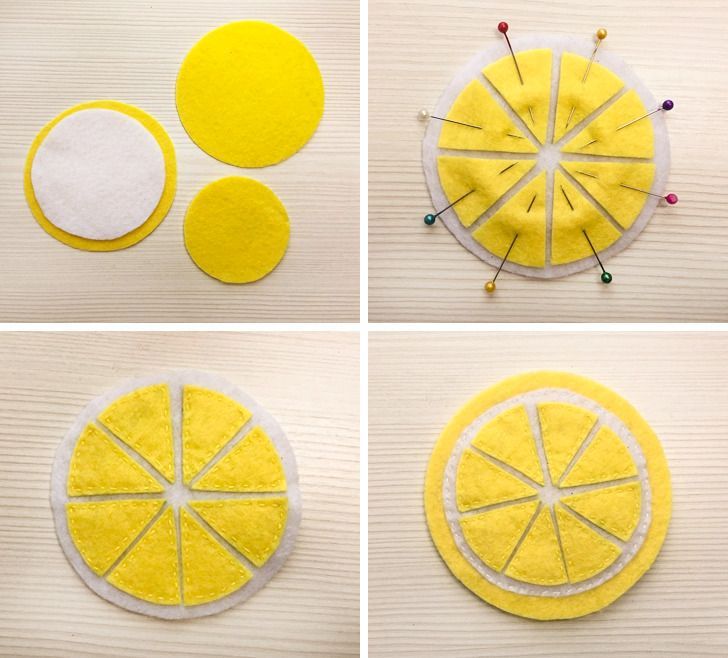
- Cut out 2 equal circles of yellow felt about 6 inches in diameter and 1 circle 5 inches in diameter. You’ll also need 1 circle of white felt that is 5.5 inches in diameter.
- Divide the smallest circle into 8 equal pieces with the help of the ruler and cut it along the lines.
- Place the parts of the yellow circle on the white one, piece-by-piece, and secure them with the pins.
- Sew the parts of the yellow circle to the white one with small stitches. Hide the knots in the back.
- Place the white circle on the big yellow circle and sew it along the edge. Try to make stitches small and equal-sized, and place them equal distance from each other.
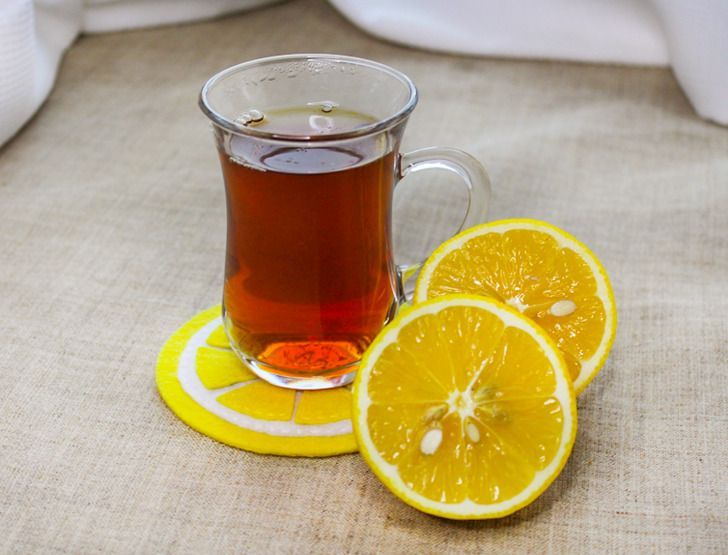
- Glue the 2 big yellow circles together with the help of the hot glue gun. The trivet is ready!
A trivet made of wine corks
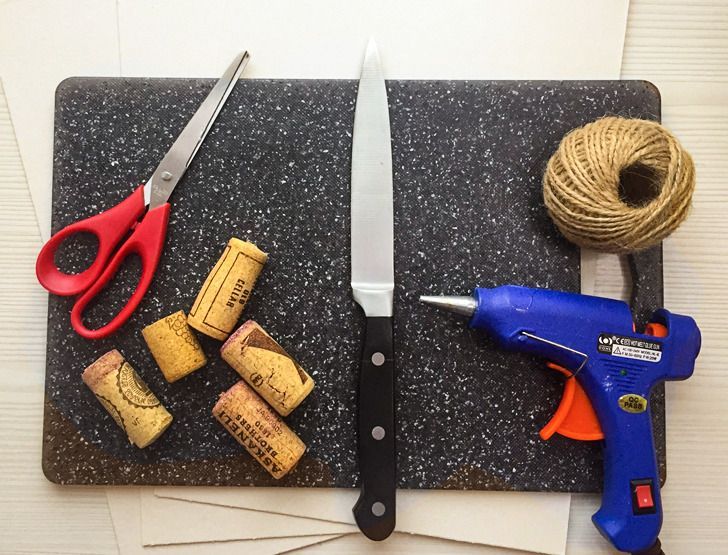
Gear:
- wine corks
- thick cardboard
- binder twine
- a hot glue gun
- a cutter
- a pencil
The process:
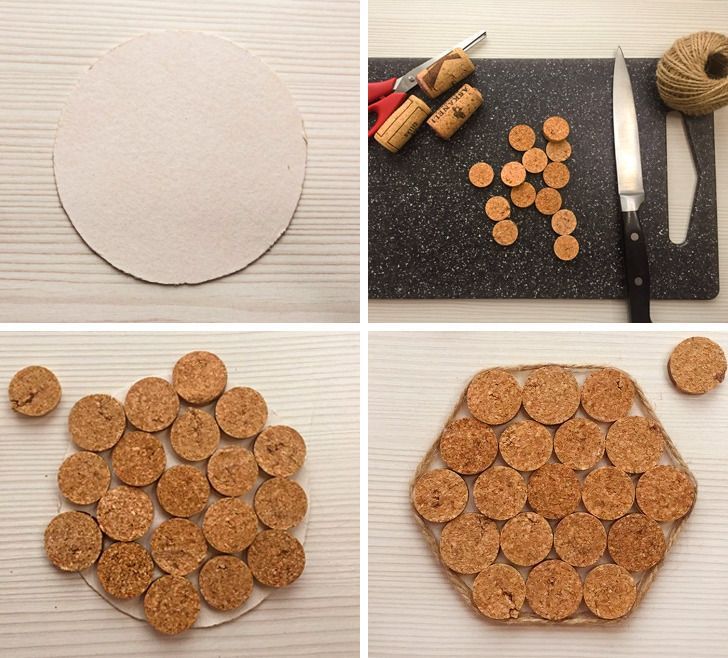
- Cut a circle about 8 inches in diameter out of thick cardboard. If you don’t have a compass, you can use a small saucer to make the circle perfect.
- Cut each wine cork into equal parts about 0.2 to 0.4 inches thick. Glue them to the cardboard base with the help of the hot glue gun. Start from the center placing them down and making some sort of a flower pattern with 6 petals. Mover further to the outer edge of the trivet filling the space with the cork parts.
- If the base is too visible from under the corks, cut it with scissors.
- Decorate the outer edge of the trivet with the binder twine. Use the hot glue gun to secure it.
A trivet made of chopsticks
Gear:
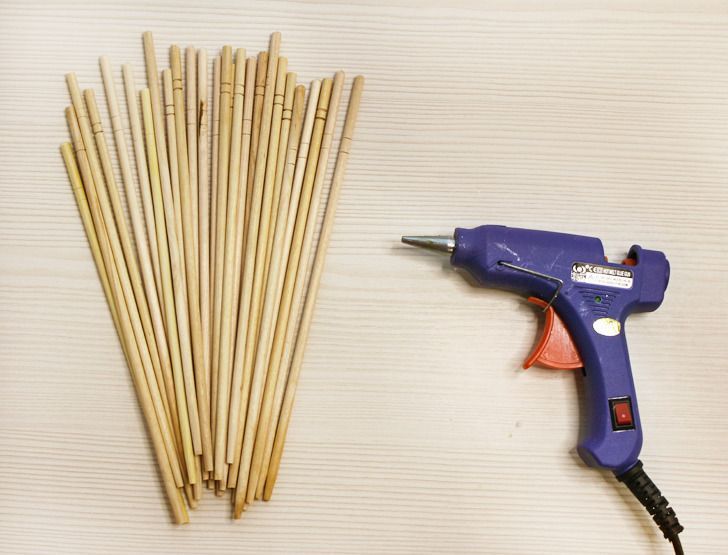
- chopsticks
- a hot glue gun
The process:
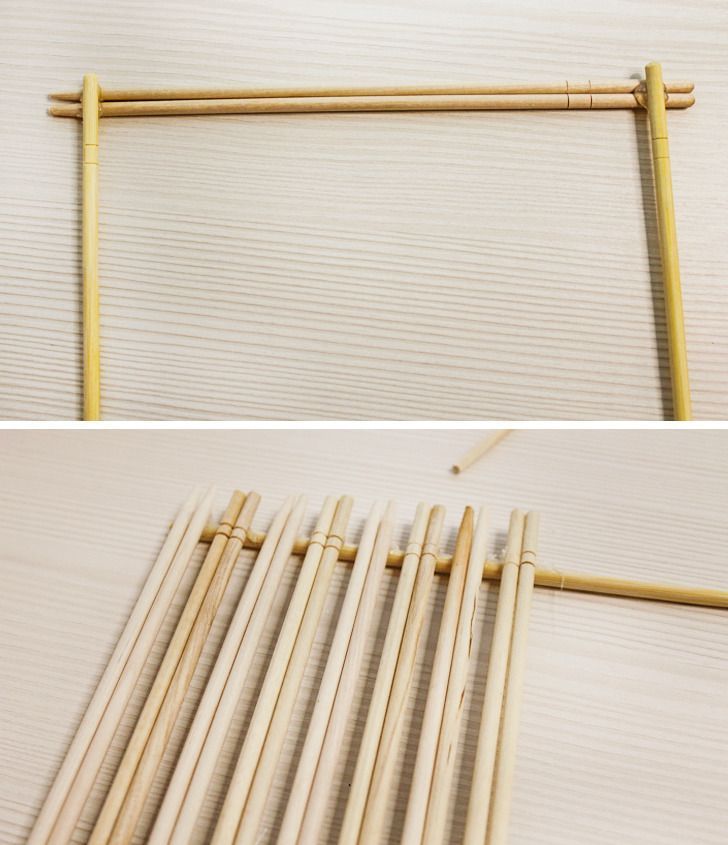
- Take 2 chopsticks and make the base of the future trivet. Place them at a distance of approximately 8 inches apart from each other.
- Start gluing pairs of sticks on top, making gaps of about 0.2 inches from each other.
Lifehack: To make sure the gaps are equal, use a chopstick. Just place it between the pairs when gluing them.
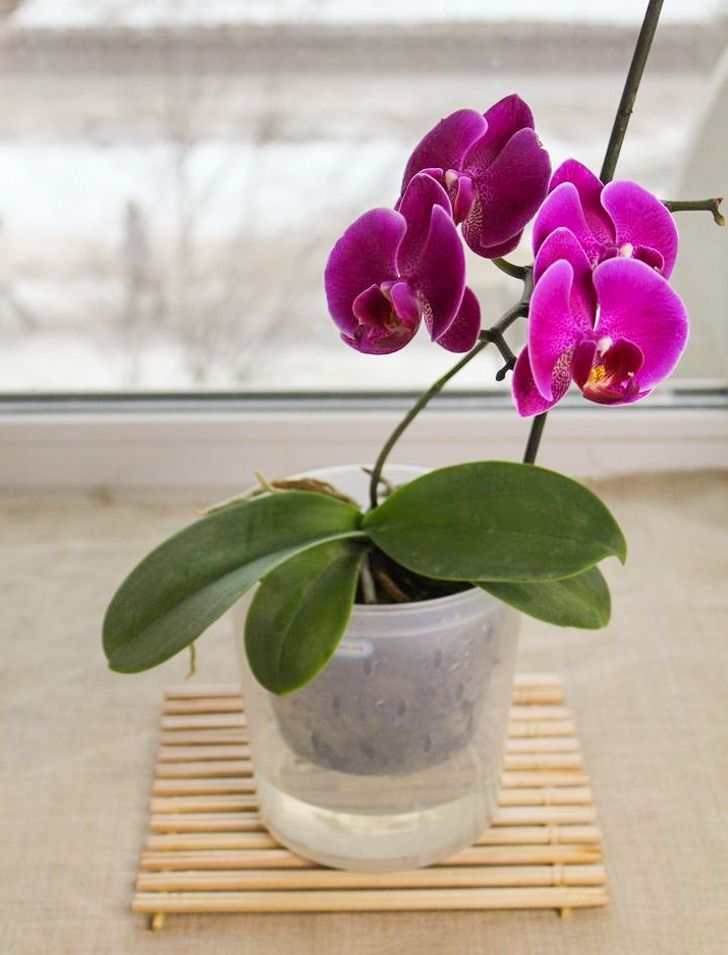
3. Continue to glue the sticks until you cover the base fully.
A trivet made of coffee beans, buttons, and pebbles
Gear:
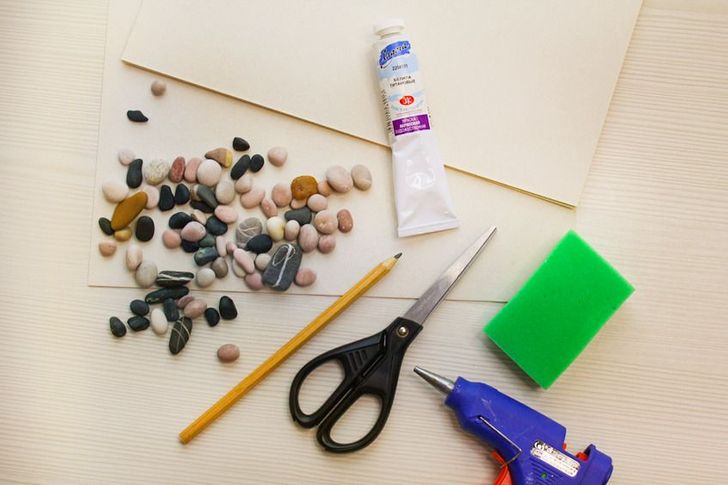
- thick cardboard
- a hot glue gun
- scissors
- a pencil
- flat pebbles, coffee beans, or buttons of the same height (to your choosing)
- white, brown, or black acrylic paint
The process:
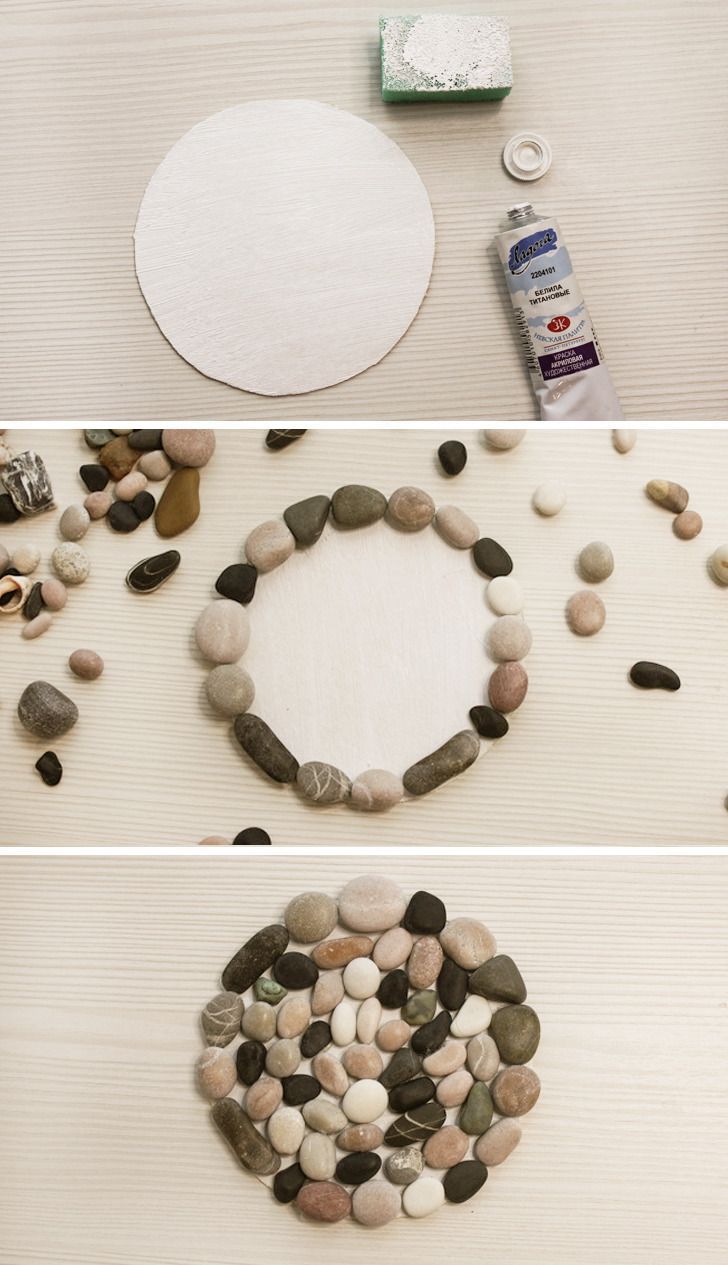
- Cut a circle approximately 8 inches in diameter out of cardboard. This will be the base.
- Cover one or both sides of the base with the acrylic paint, and let it dry.
- Start gluing the beans, buttons, or pebbles moving along the circle from the edge to the center.
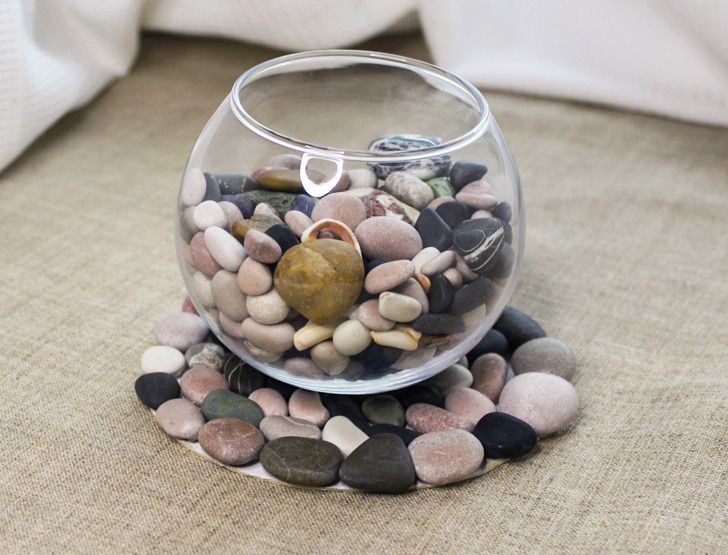
- Let the trivet dry.
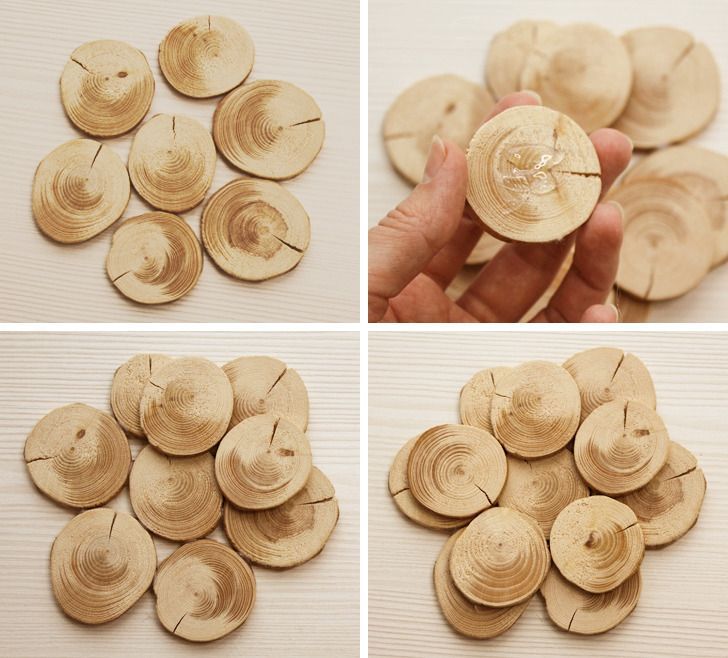
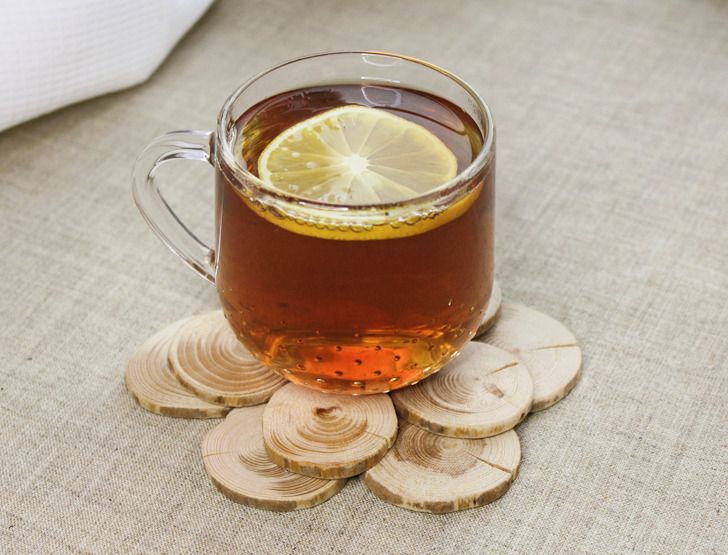
A trivet made of wooden discs
Gear:
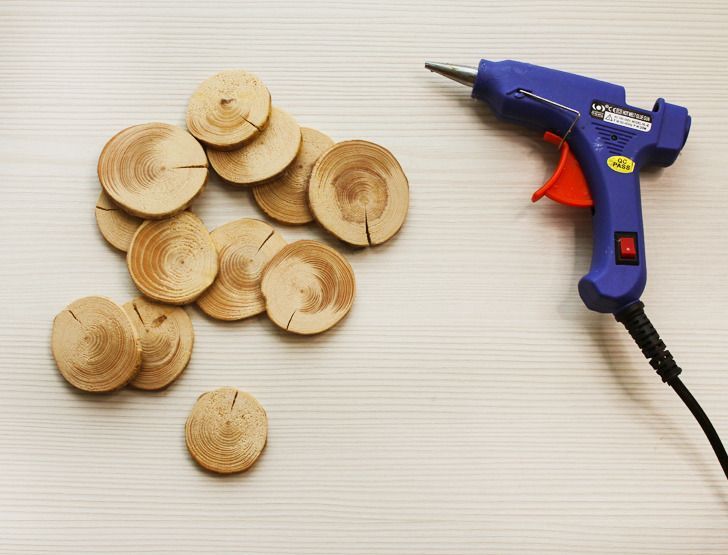
- 12 small wooden discs
- a hot glue gun
The process:
- Place the discs on the flat surface to make them look like a flower with 6 petals.
- Cover the sides of the discs with glue and glue them together.
- Put the second level of discs on top of the first one. Place the discs above the gaps of the first level, covering their backsides with glue.
- Let the glue dry.
Preview photo credit 5-Minute Crafts
Share This Article
