How to Make an Advent Calendar Yourself
The month before Christmas may seem like the longest one of the year — it’s so tiring having to wait around for the holidays. So, in order to make the wait a bit more tolerable, you can create an advent calendar and make every day way more fun.
5-Minute Crafts is going to tell you about 2 simple ways to create a Christmas advent calendar.
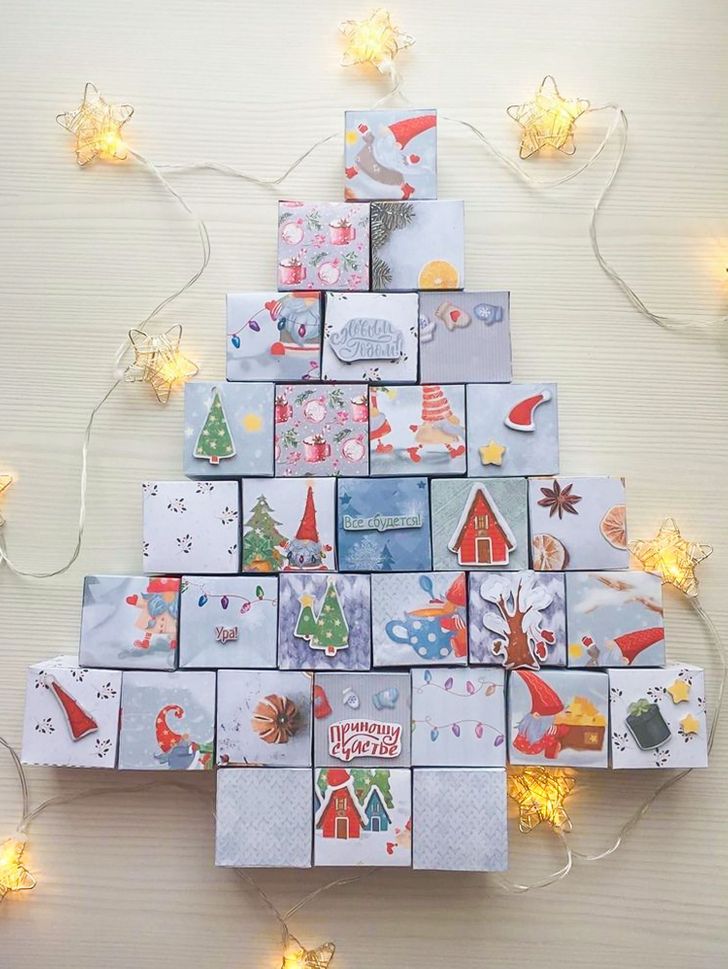
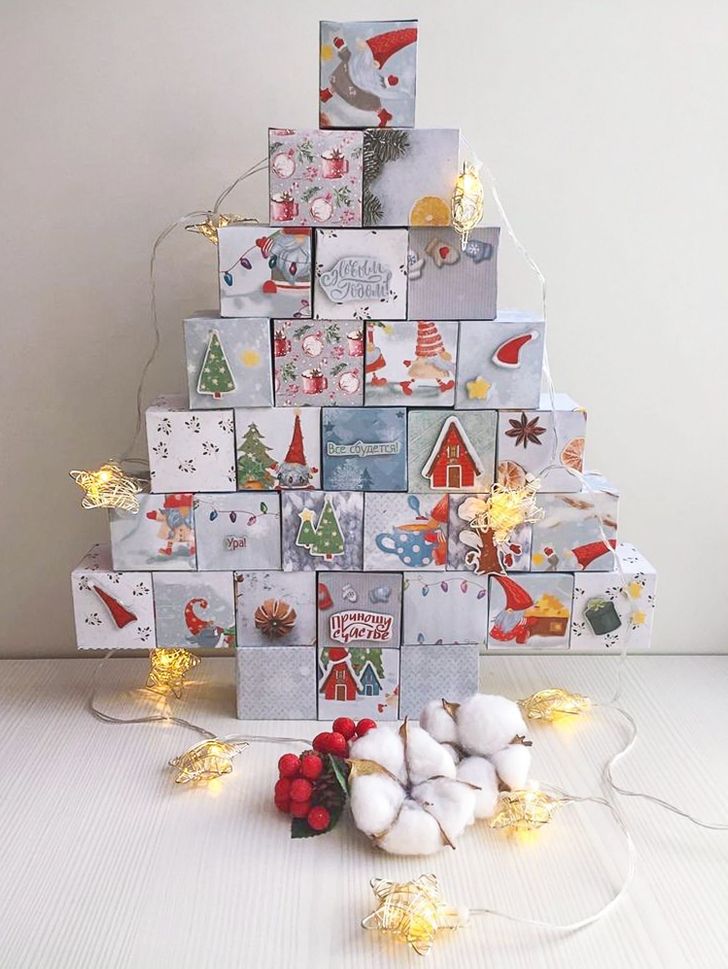
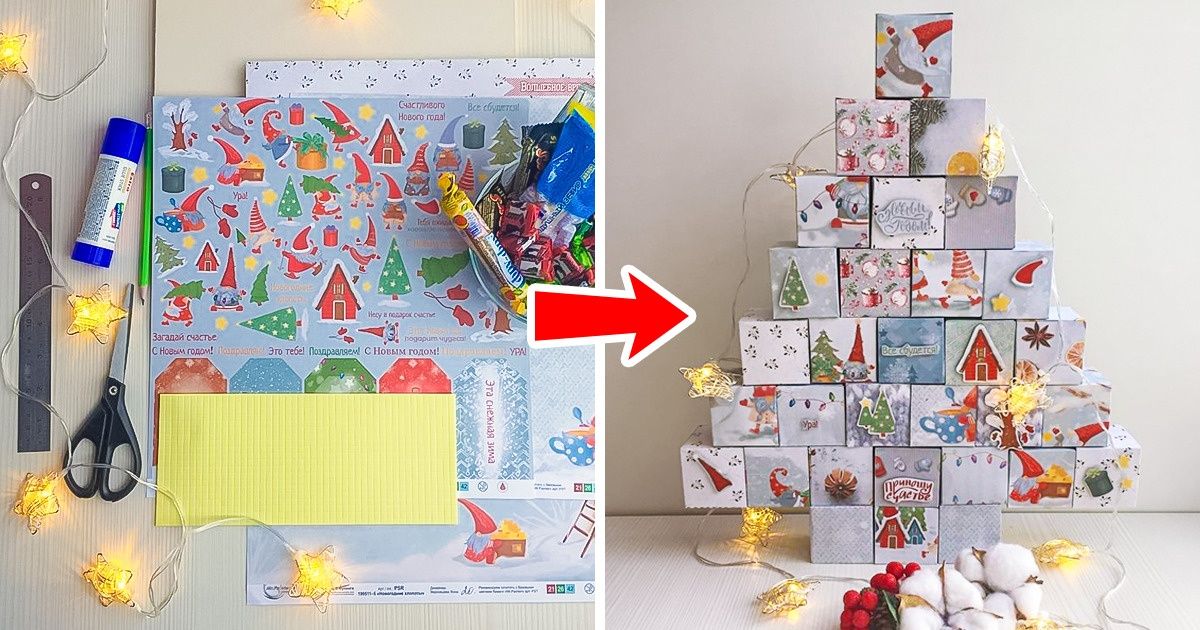
Christmas tree advent calendar
What you need:
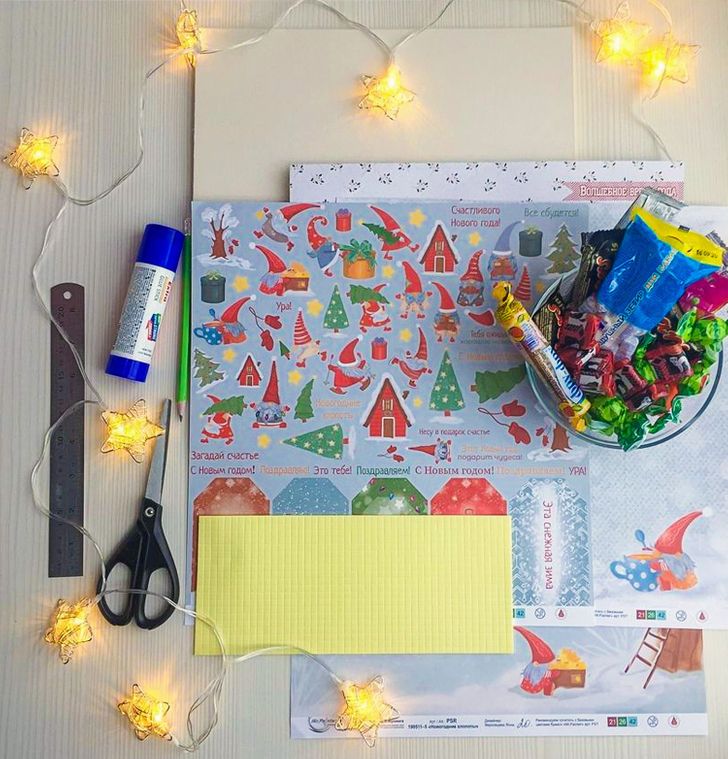
- Thick paper for scrapbooking or colored cardboard
- Thick cardboard
- A pencil
- A ruler
- Scissors
- A glue stick
- Double-sided tape
- Paper decor
- Candy and other things that you can stuff the calendar with
How to make it:
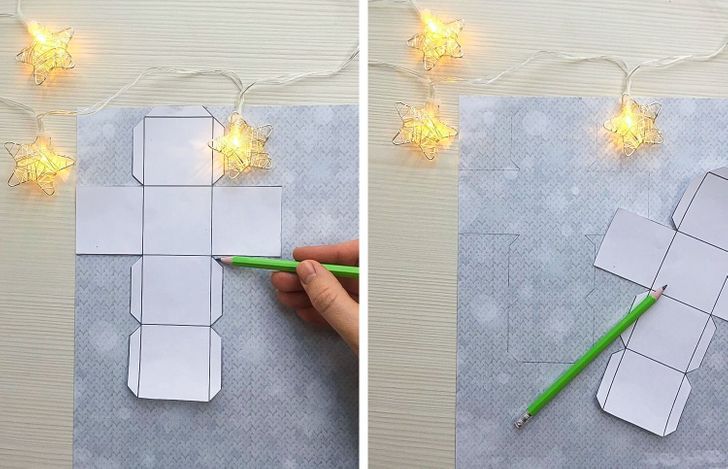
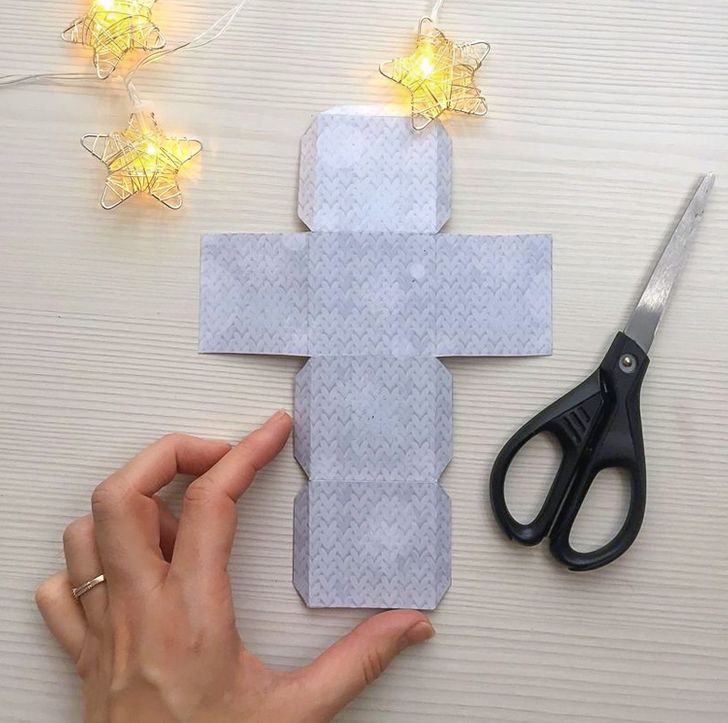
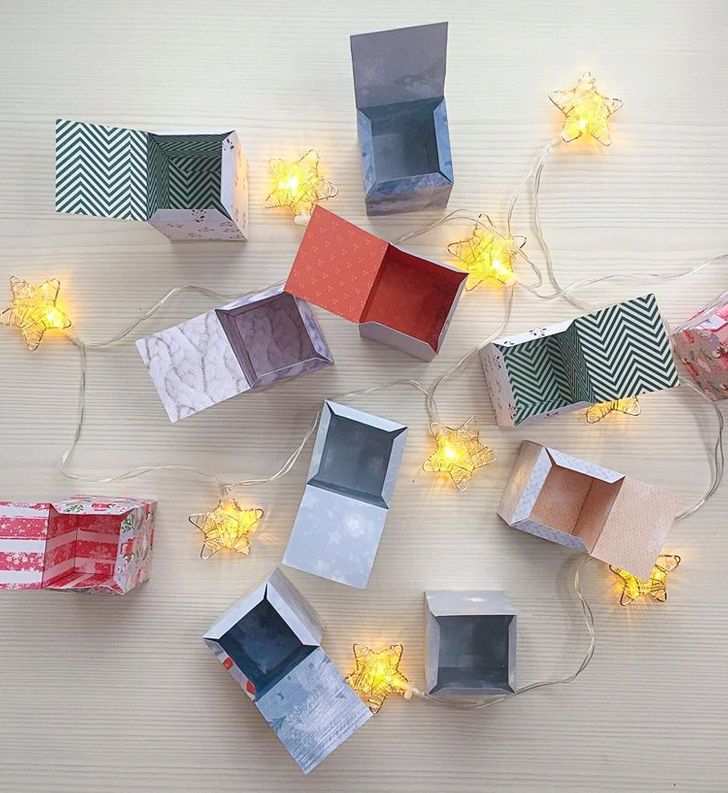
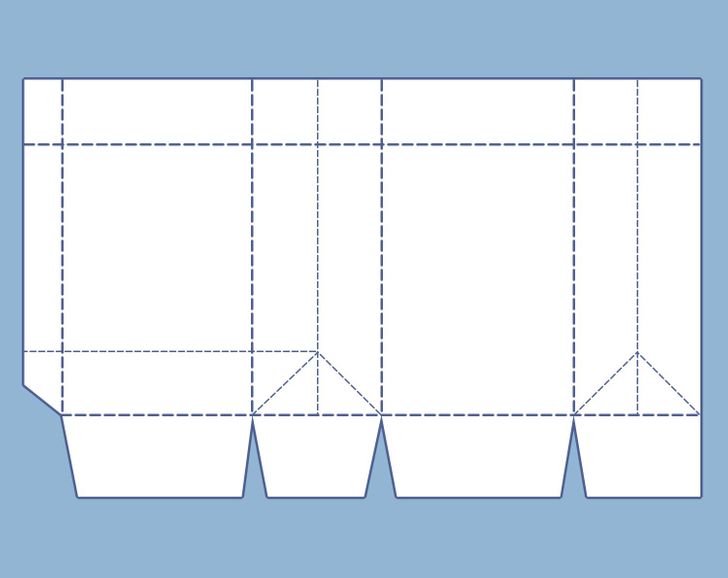
1. To make the boxes for the calendar, you’ll need a cube plan. You can draw it from our model or print it out.
2. Put the plan against some paper and outline it with a pencil.
3. Draw the fold lines with an old pen or the same pencil.
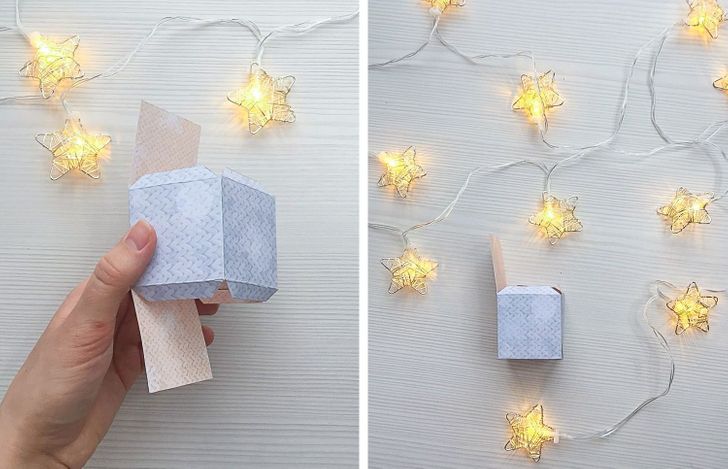
4. Using a glue stick, make a cube. One of the sides should remain open.
5. Repeat the other steps and make the necessary number of boxes (25 if you want it for Christmas and 31 if you want it for the New Year).
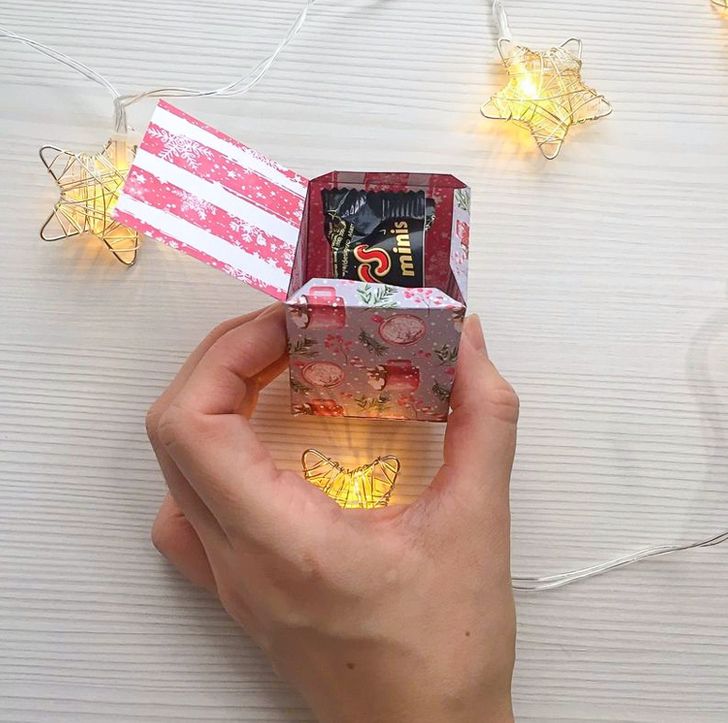
6. Put something nice into every box.
7. Using glue, close all the boxes.
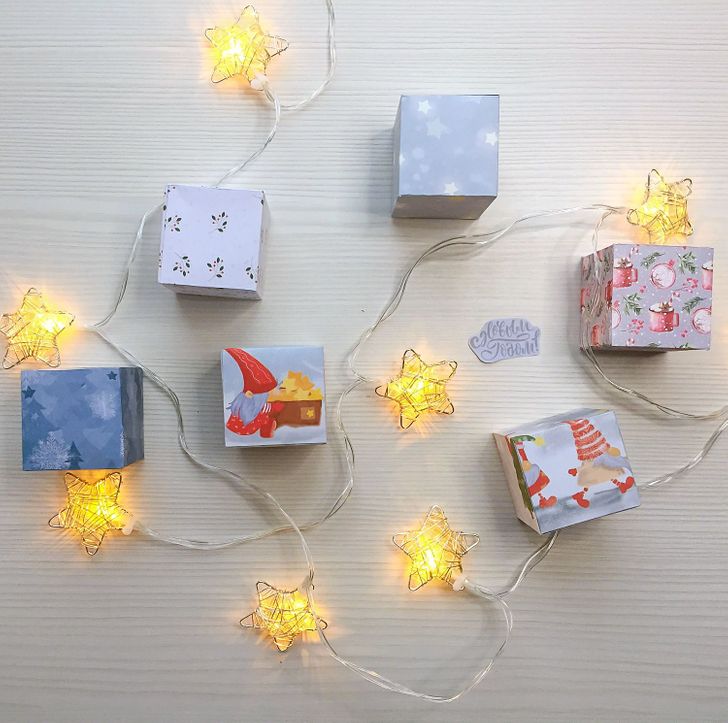
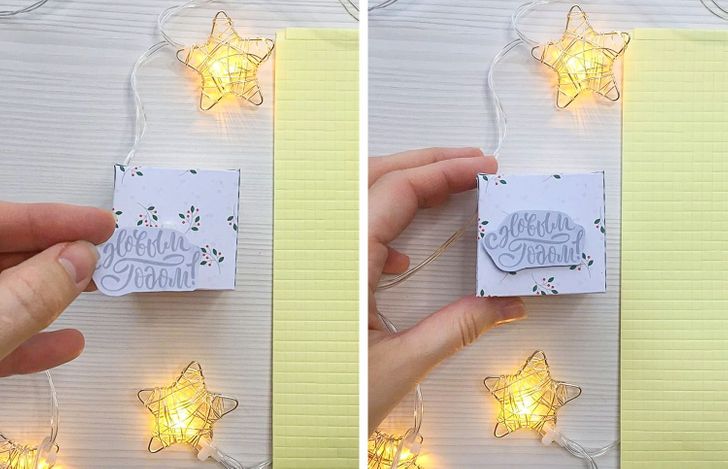
8. If you want, you can decorate some of the cubes. Use the double-sided tape to add some details to the cubes.
9. Put the cubes in the shape of a Christmas tree.
10. Glue the boxes onto a sheet of thick cardboard so the tree can be placed vertically.
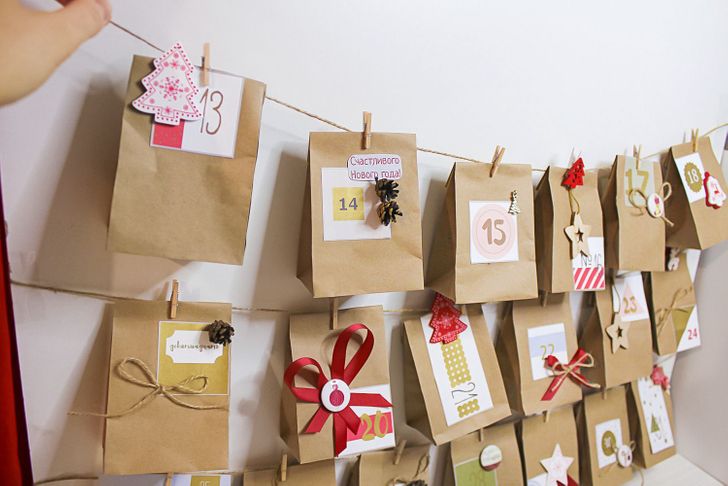
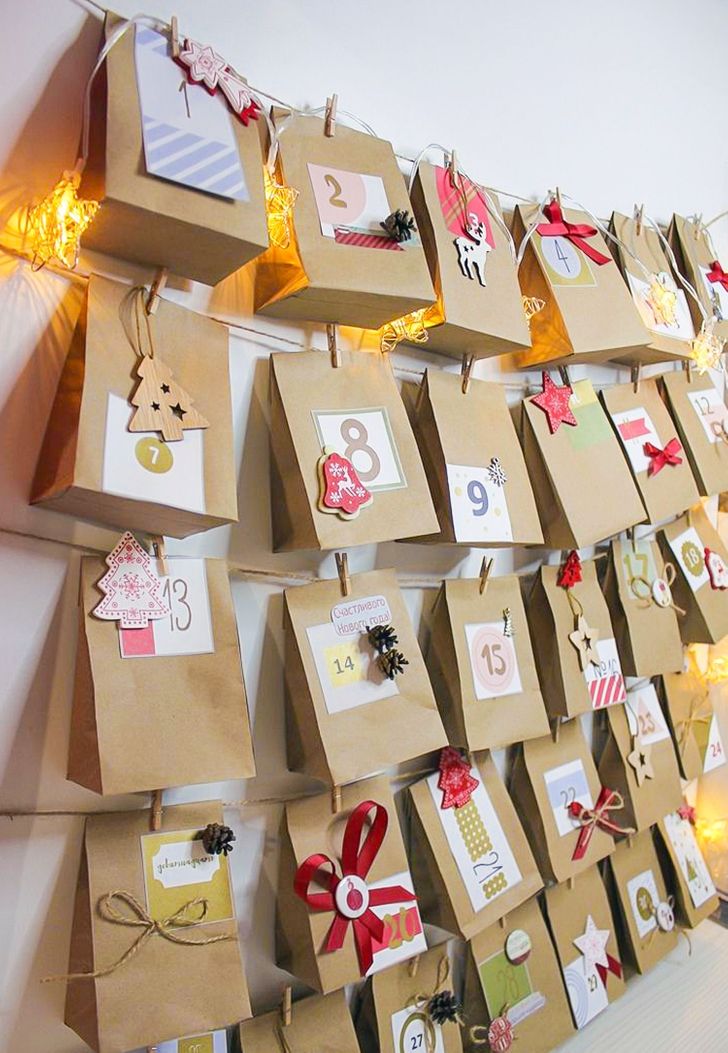
Hanging advent calendar
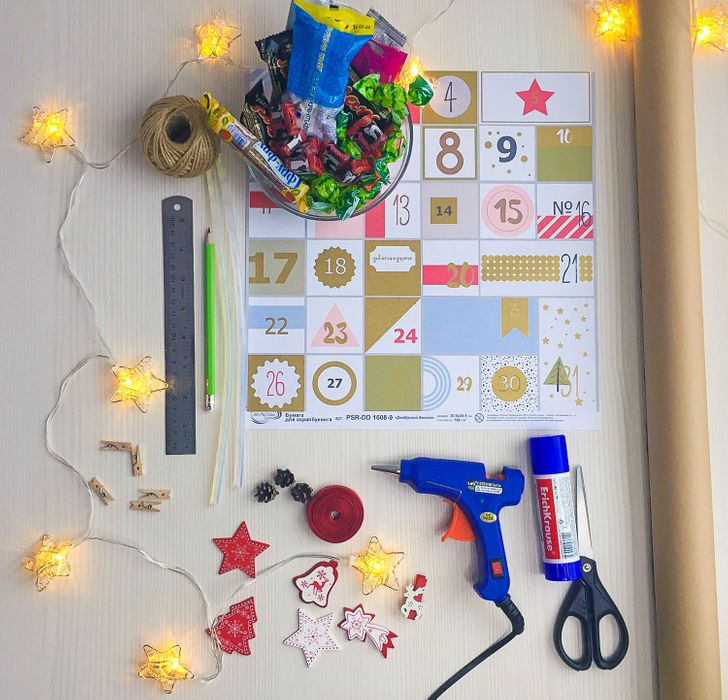
What you need:
- Craft paper
- A pencil
- A ruler
- Scissors
- A glue stick
- Twine
- A glue gun
- Ribbon
- Paper for scrapbooking with numbers
- Candy and other surprises for the calendar
- Decorations
How to make it:
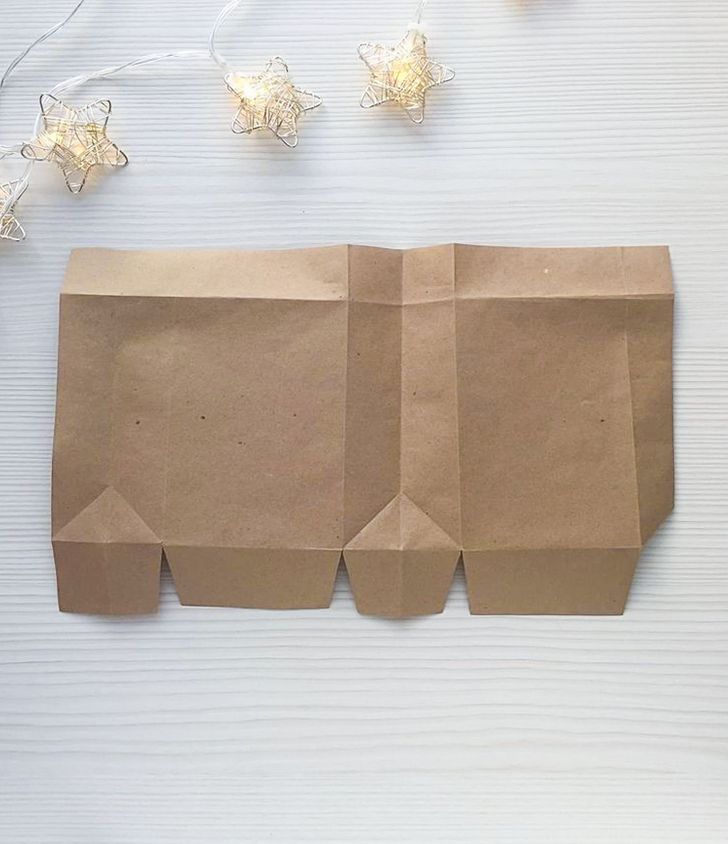
1. Print out the plan of the bag or draw it yourself.
Tip: If you cut the craft paper to work with an A4-format, you can use a printer to print the bags.
2. Make the folds on all the lines.
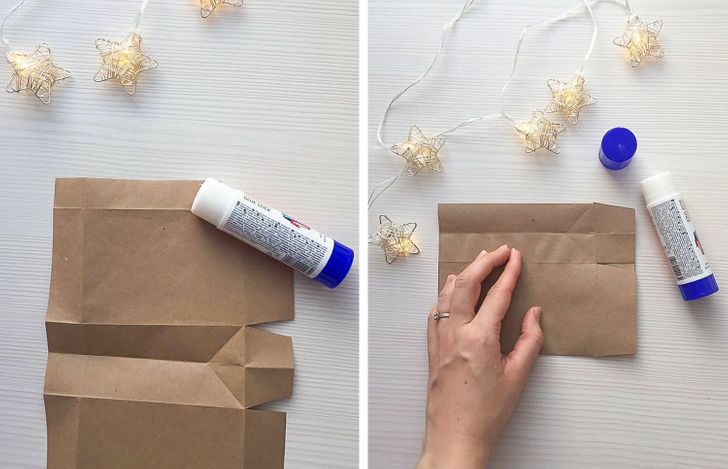
3. Put some glue on the side seam of the bag and stick it together.
4. Make the bottom of the bag. For this, use the glue on the sides of the bottom. Cover one of the longer sides with the glue only 1/3 of the way.
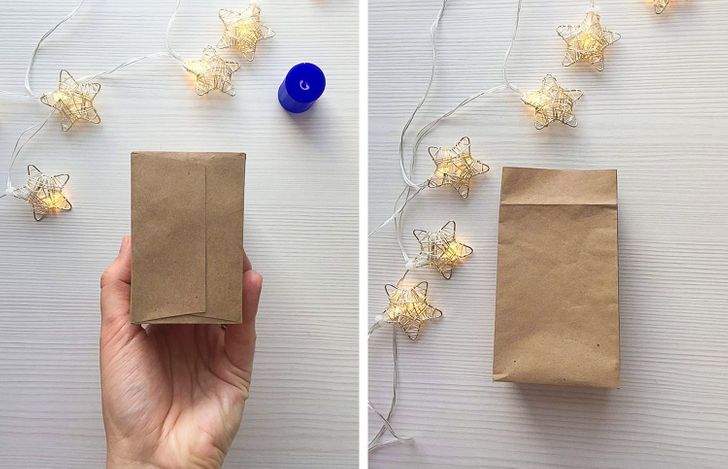
5. Fold the bottom so that the sides with the glue are inside and the part that has only 1/3 of the glue is outside.
6. Do the same with the other bags.
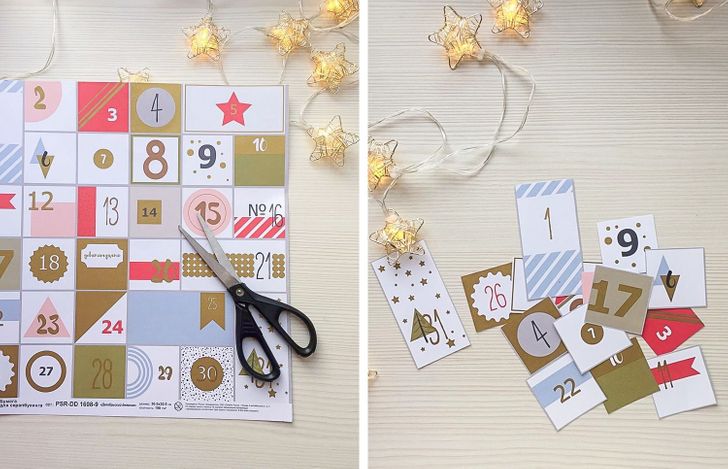
7. Prepare the decorations. Cut the paper with numbers on it.
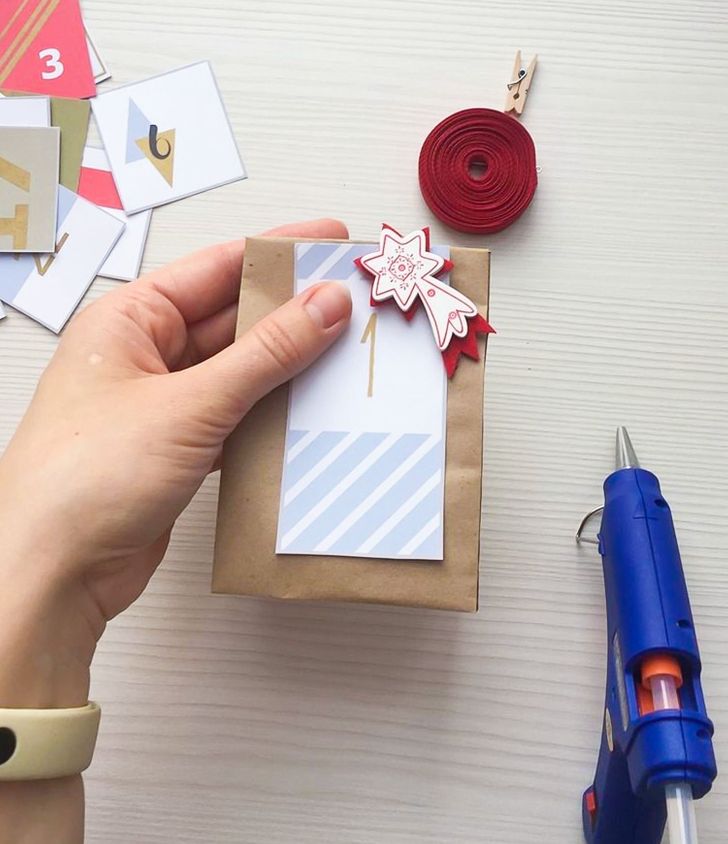
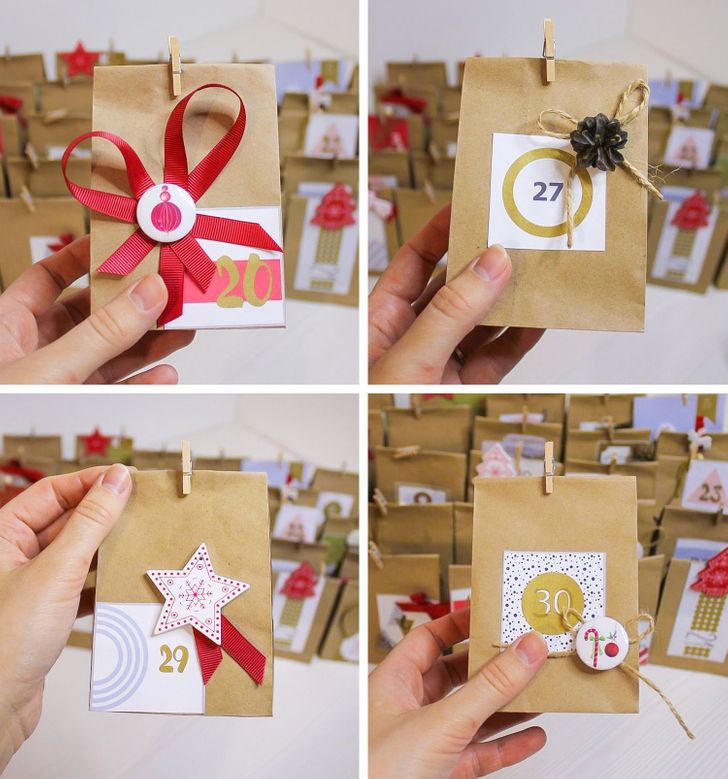
8. Using a glue stick, glue the numbers to the bags. Then add decorations to the bags using a glue gun.
9. Decorate all the bags.
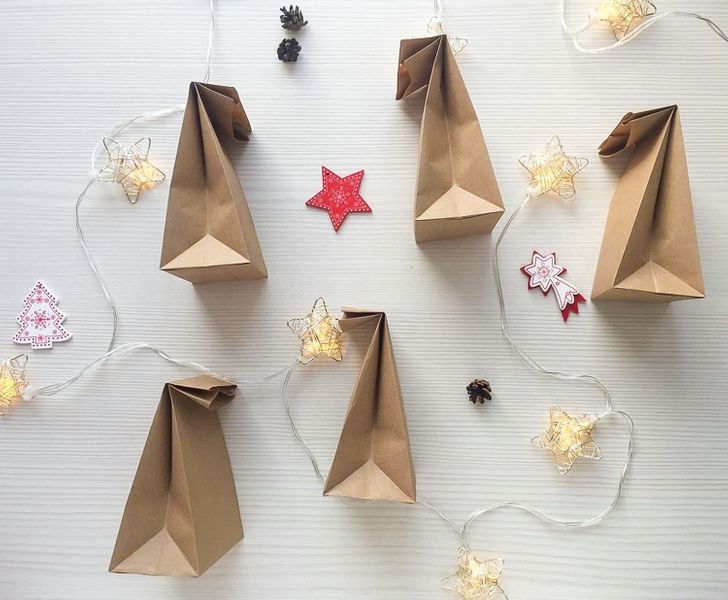
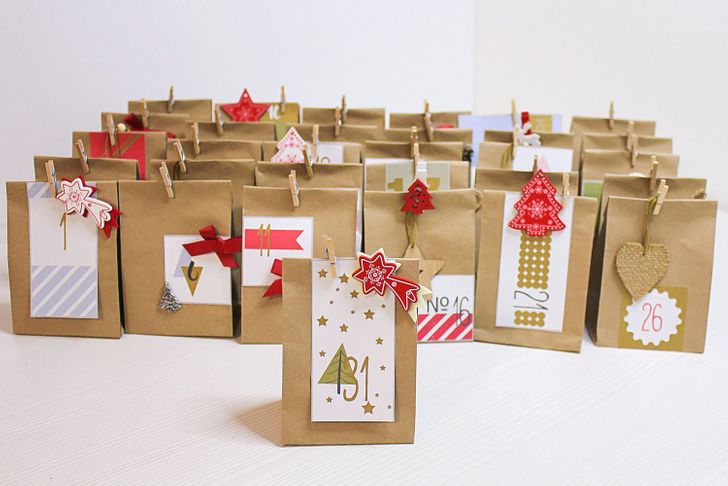
10. Place a small present in every bag. Close the tops with clothespins.
11. Take some twine, about 5 feet long, and attach the bags to it.
12. Put the bags on the wall or the door using tape.
