How to Make an Amazing Sculpture Using Only a 3D Pen
Unleash your imagination as we guide you through the process of crafting an original and personalized sculpture using only a 3D pen. We will guide you step by step, and you’ll discover how with an ordinary material and a simple tool, you will be able to create an amazing art decor piece.
Materials you will need
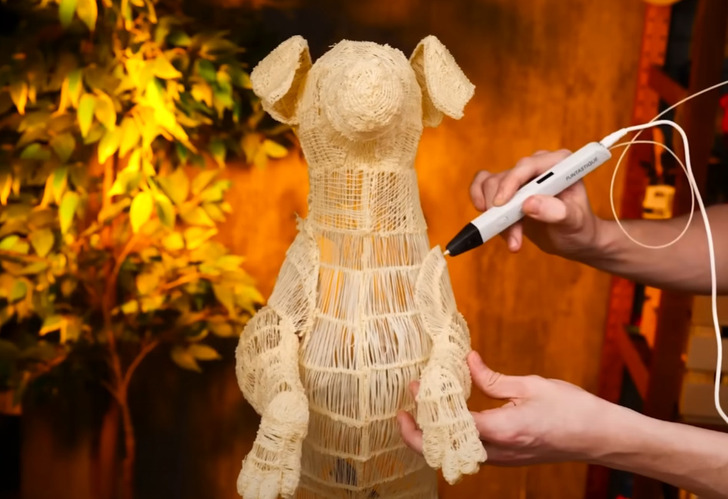
- 3D pen
- Photographs from various angles of what you want to sculpt
- Sandpaper
- Powerful hairdryer or hot air blower
- Soldering iron
- Colored paints
1. Choose what you want to sculpt, in our case, it will be a tribute to our furry friend who often accompanies us in many of our videos

2. Take photographs of what you want to sculpt from the front and from the side in the same position. This step will be much easier to do with immovable objects
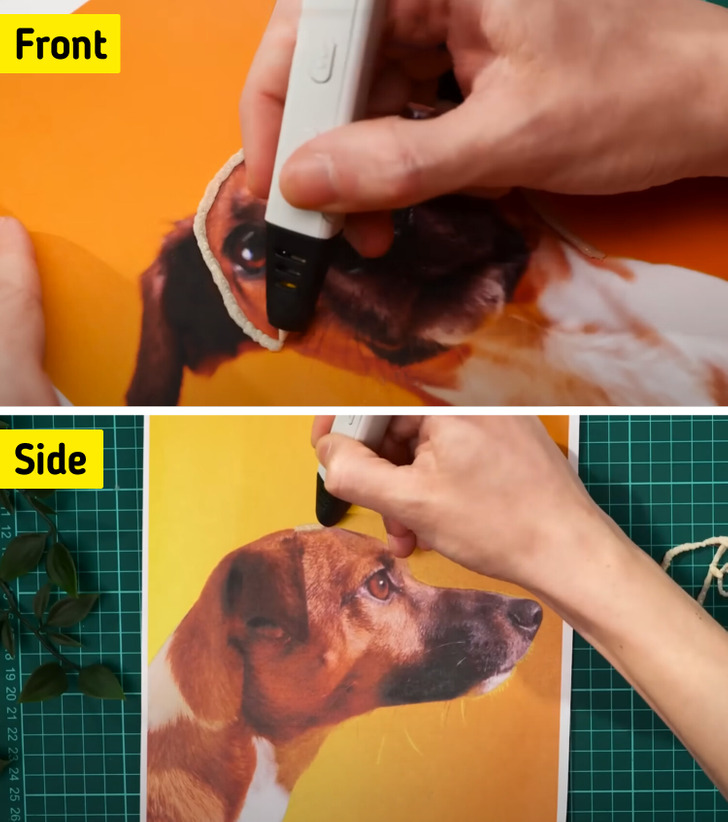
3. Separate the object or what you are going to sculpt into different pieces. In our case, they will be the head, body, and the four limbs separately
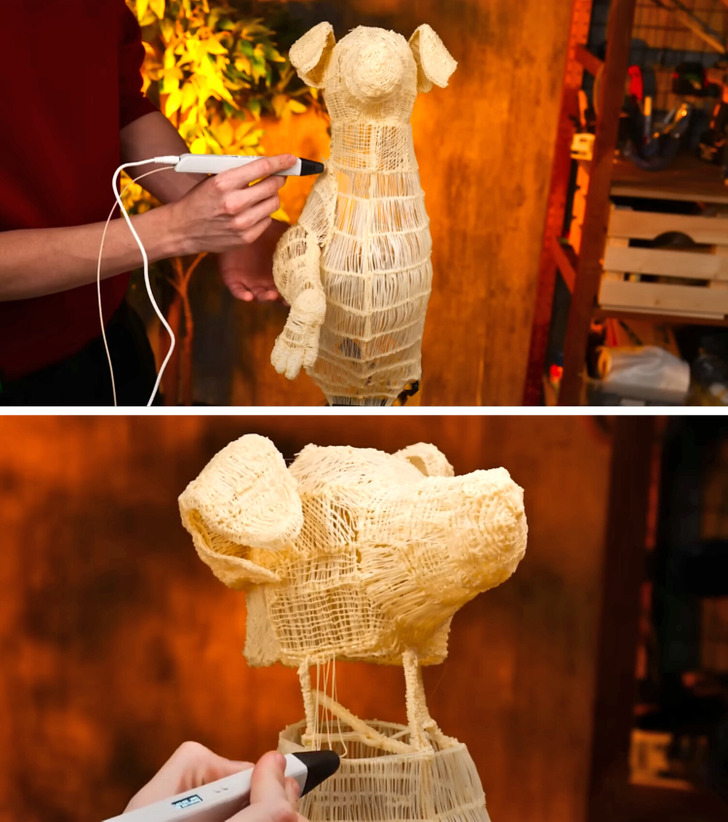
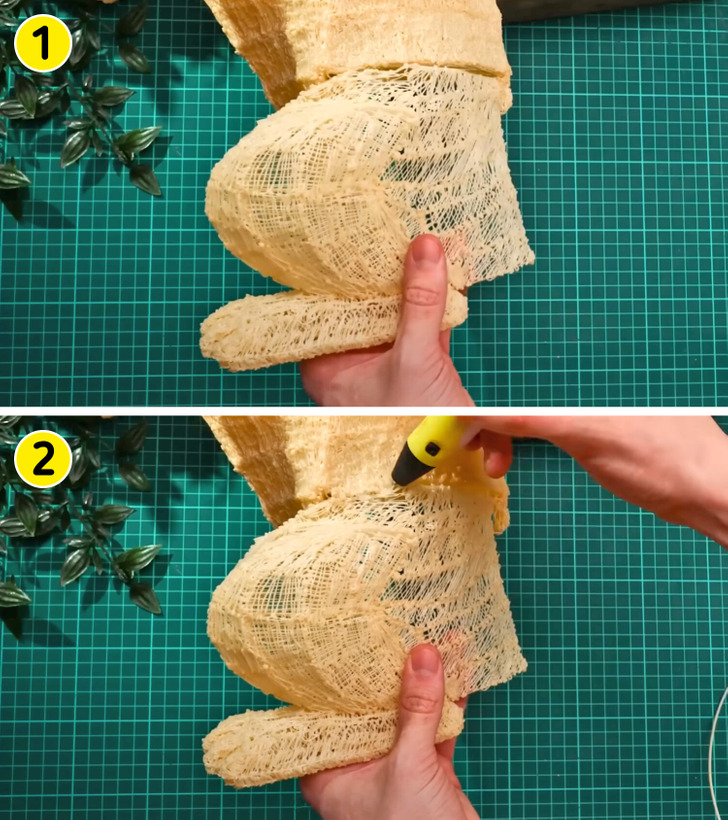
4. The technique to create each of the parts will always be the same: outline its shape with the 3D pen on the paper, first from the front, then from the side, and then create circular joints to connect one with another, creating the 3D effect

5. Once the basic 3D structure is created, you will fill it in by first drawing vertical lines and then horizontal lines, so that the lines intersect with each other
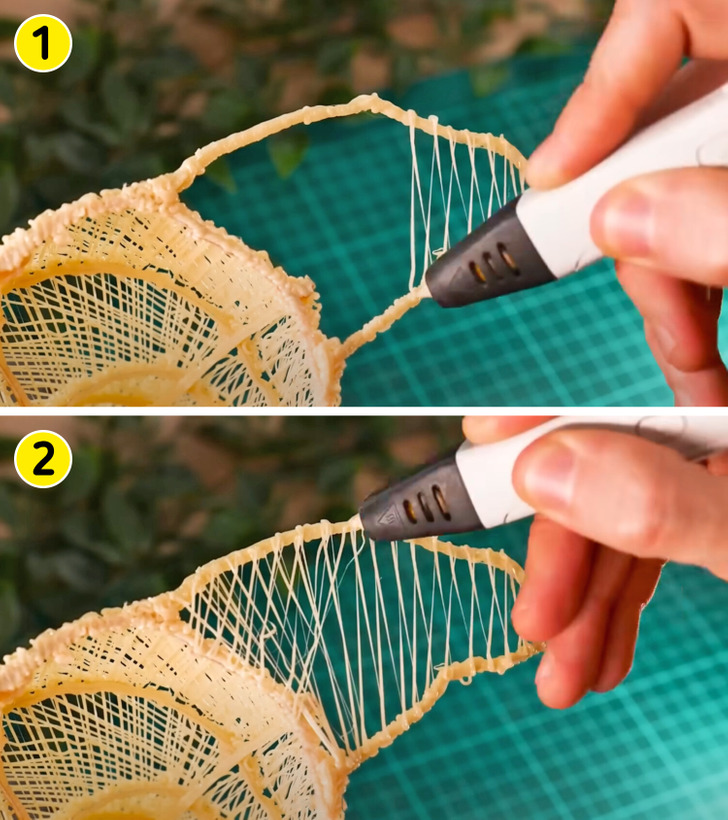
6. You won’t use glue to attach one piece to another; you’ll do it with the same 3D pen by drawing vertical lines at the joint between one piece and another
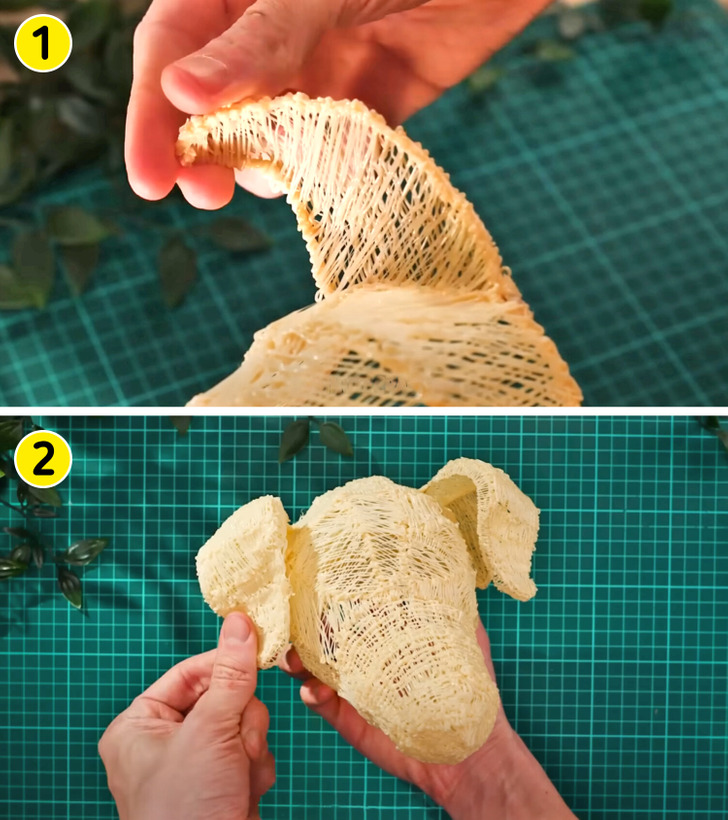
7. In case you need to bend any piece, you can do so by applying heat, either with a powerful hair dryer or a heat gun. As the plastic heats up, it will soften slightly, allowing you to bend it without much effort
8. Once you have all the pieces of your sculpture joined together as one piece, you’ll carefully sand it with a soft sandpaper to smooth its surface evenly

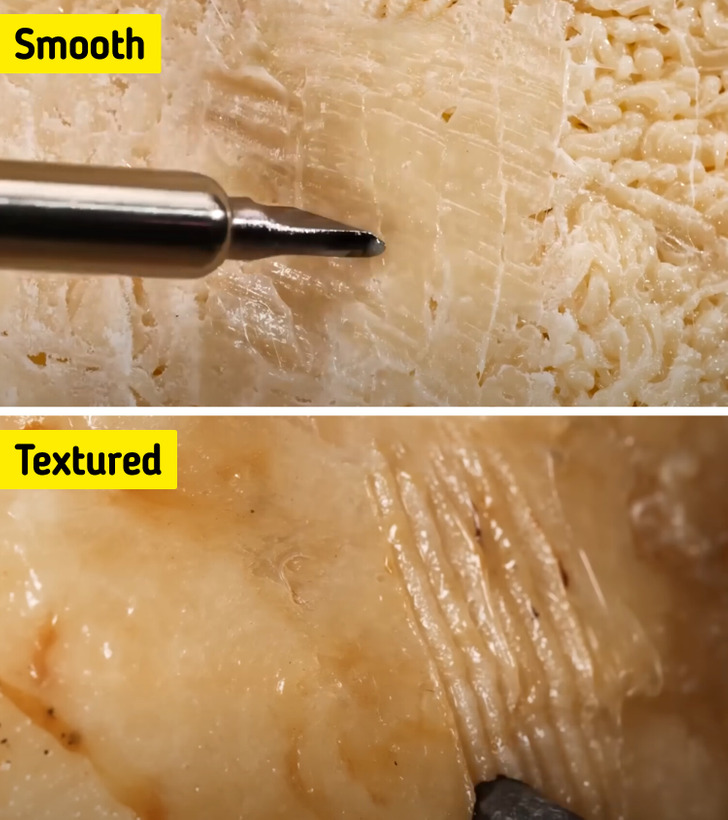
9. If you need to further smooth the surface or add texture, you can do so using a hot soldering iron. With its smooth tip, you can soften the surface, and with its various attachments, you can create textures
10. You need to make sure you’ve completed all the details, in our case, add the eyes, by creating holes with the soldering iron and attaching plastic eyes with the 3D pen, and create volume in certain areas, such as the snout.
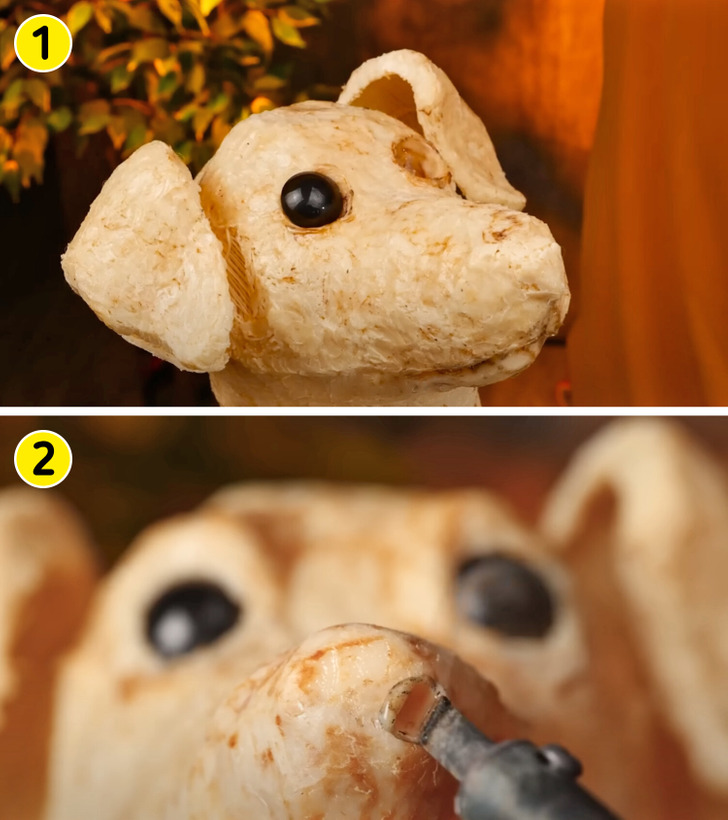
11. Our sculpture is ready to be painted. We’ll start with the base color, adding the other color details in layers, and saving the shading for the end

Check out our complete sculpture creation and explore more incredible 3D pen crafts and DIY projects
Share This Article