How to Make an Early Stimulation Busy Board for Curious Toddlers
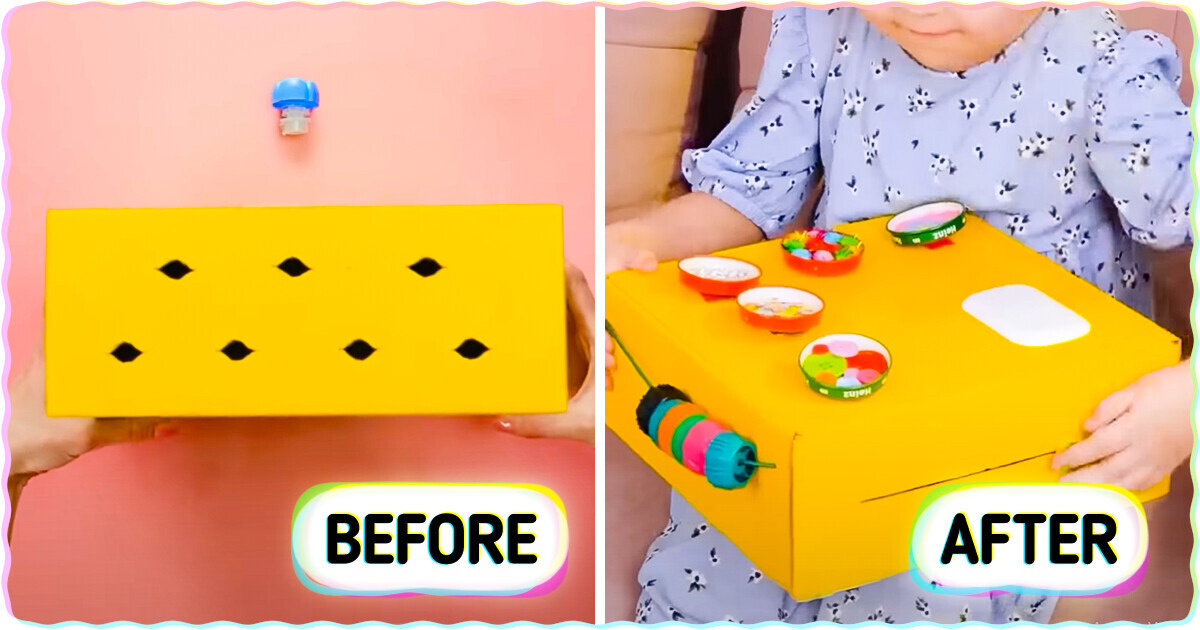
A busy box, also known as a busy board or activity board, is a hands-on educational toy designed to engage and entertain young children while promoting fine motor skills and cognitive development. These boxes typically consist of a wooden board or panel with various objects, gadgets, and sensory materials attached to it. Children can explore and interact with these elements, helping them learn through play.
Materials You’ll Need
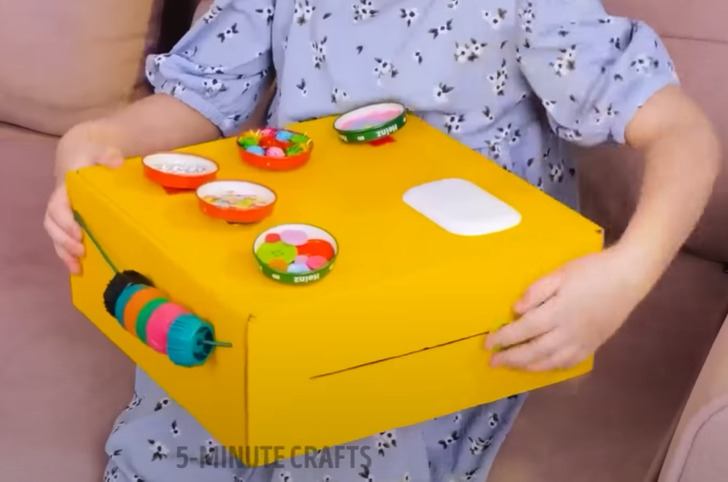
- Carton box (size of your choice)
- Various sensory materials (buttons, zippers, locks, mirrors, Velcro, beads, fabric scraps, textured materials, etc.)
- Screws, nails, and a drill
- Screwdriver or drill bits
- Paints and brushes (optional)
- Child-safe glue
1. Plan Your Design
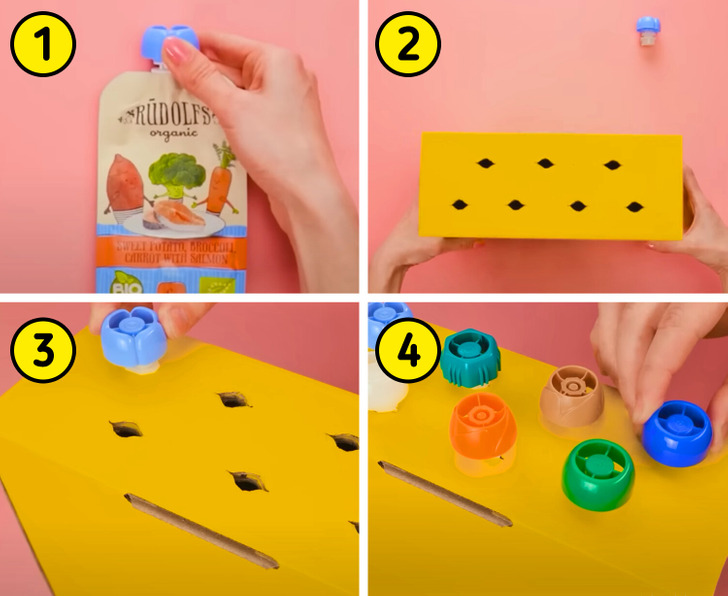
- Consider the age and interests of the child who will use the busy box. Decide on the size and layout of your board.
- Choose a variety of sensory materials that are safe and age-appropriate. You can use both recycled and new items.
2. Prepare the Box
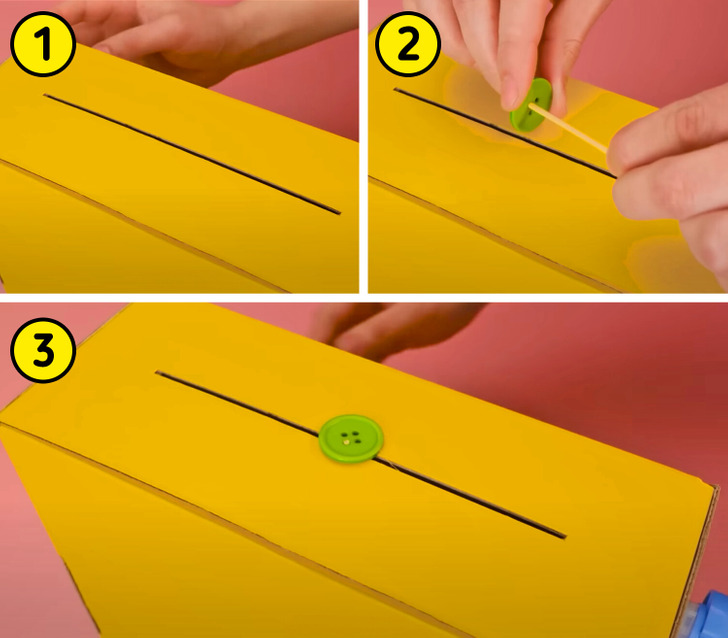
- Sand down any rough edges or sharp corners to ensure safety.
- If you want, paint the box with non-toxic paints and let it dry completely.
3. Attach Sensory Materials
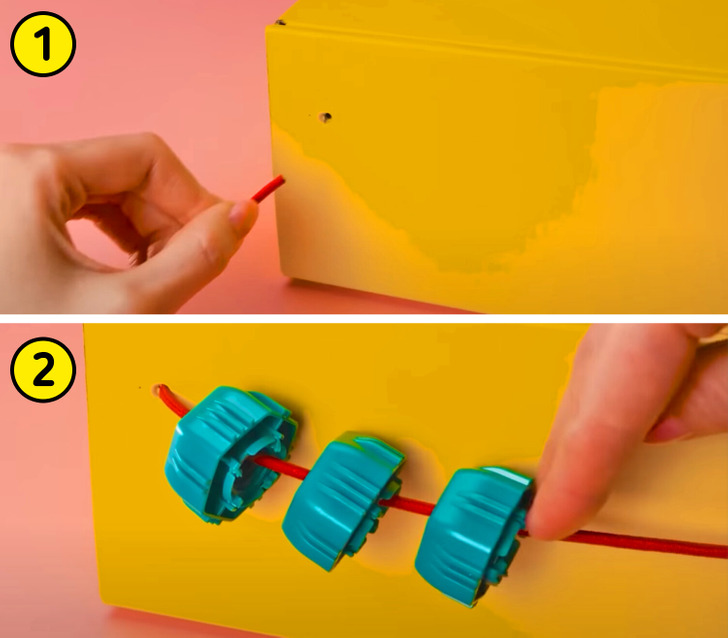
- Lay out your chosen sensory materials on the box to plan their placement.
- Use screws, nails, or glue to securely attach the sensory items to the board. Ensure that they are firmly fixed, and that there are no loose parts that could be a choking hazard.
- Examples of items to attach: buttons with buttonholes, zippers with fabric strips, small mirrors, pieces of Velcro, beads on strings, textured fabrics, and more.
4. Test and Adjust
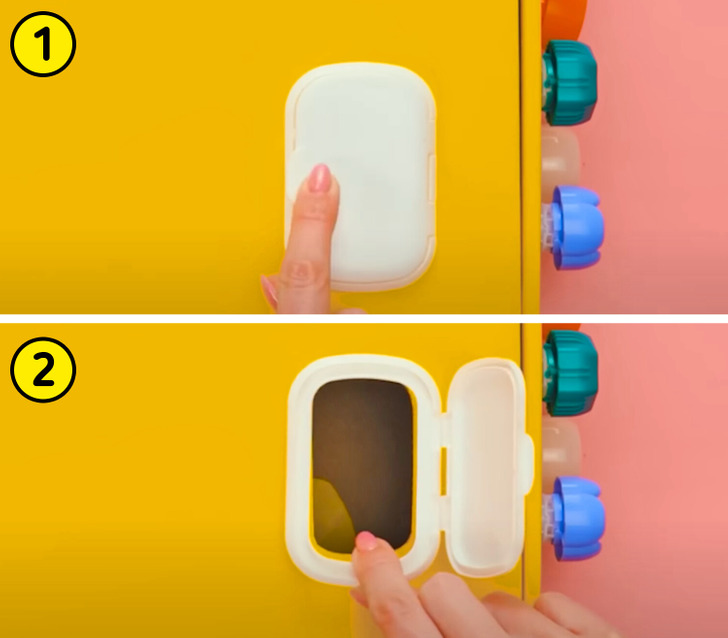
- Test each sensory item to make sure it functions correctly and is securely fastened. Make any necessary adjustments or repairs.
- Double-check that there are no sharp edges, exposed screws, or nails that could harm a child.
5. Personalize and Decorate (Optional)
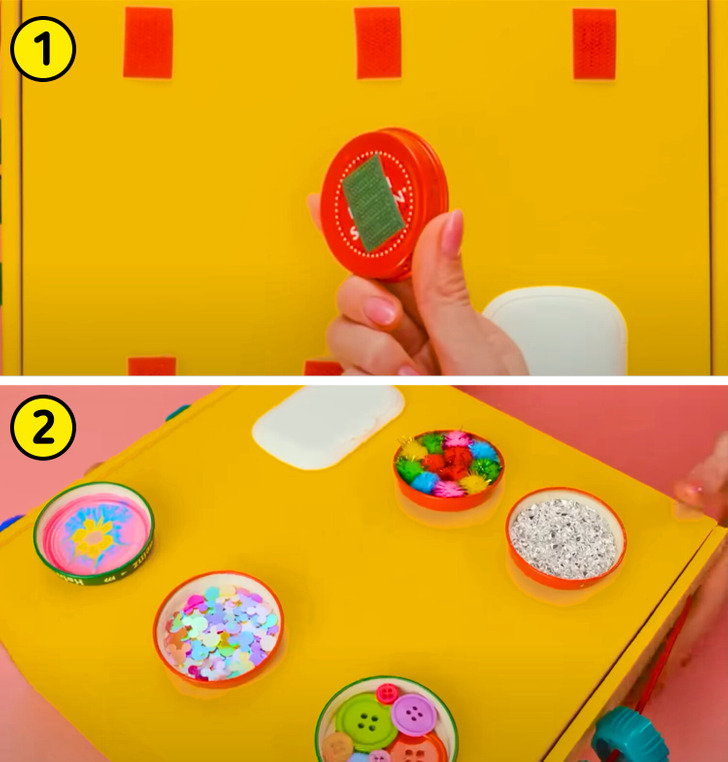
- You can paint or decorate the carton box to make it visually appealing, especially if you’re making it for a specific theme or occasion.
6. Final Inspection
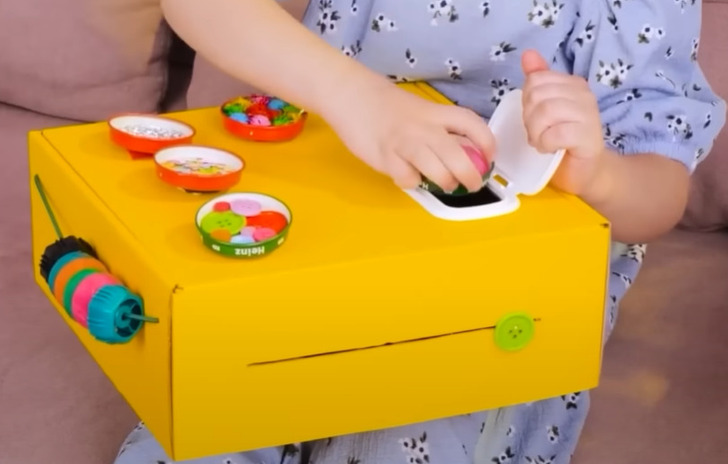
- Thoroughly inspect the busy box for safety and functionality. Ensure all items are securely attached.
- Always supervise children while they play with the busy box, especially if it contains small parts.
Check out more hacks and crafts for smart parents
Share This Article