How to Make an Easy but Attractive Photo Frame from Polymer Clay
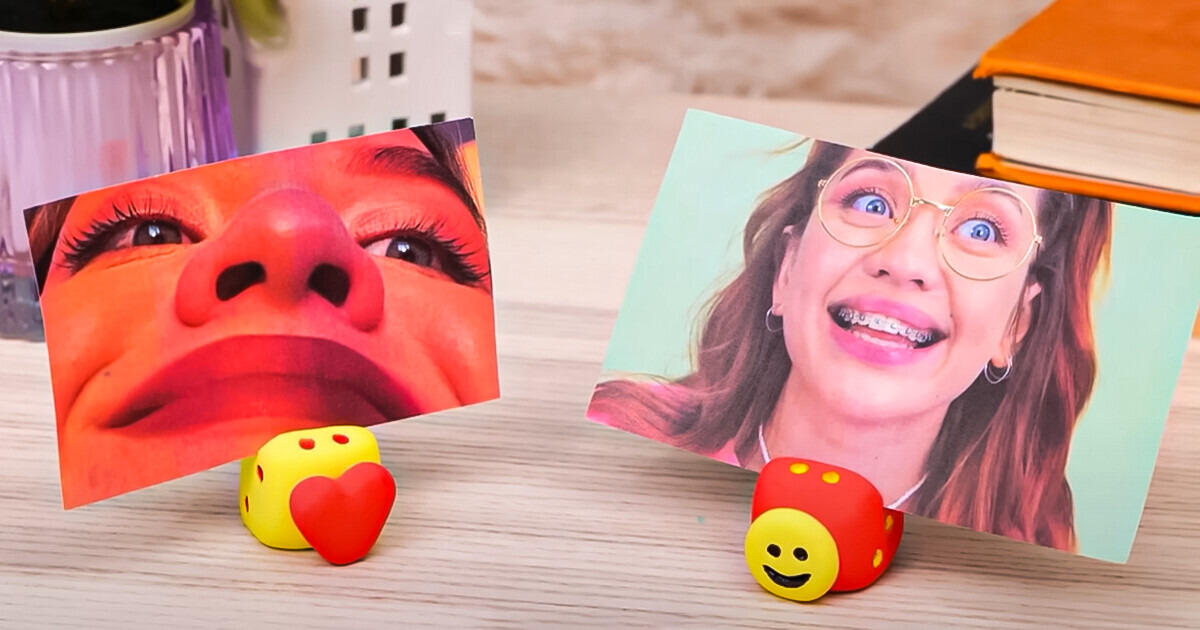
In this DIY project, we’ll guide you through the steps to create a stylish and functional square polymer clay photo holder. This unique photo holder not only showcases your favorite pictures but also adds a touch of creativity to your décor. Whether you’re making it as a gift or for your own use, it’s a fun and customizable project that allows you to display cherished memories in a distinctive way.
Materials you will need
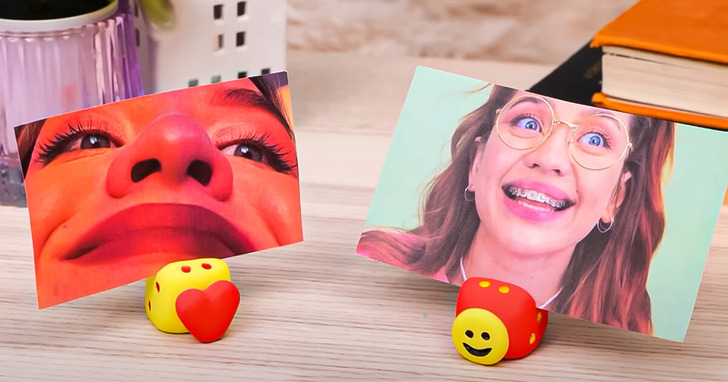
- Polymer clay
- Knife or cutter
- Printed photo of the desired size
- Acrylic paints
- Paintbrushes
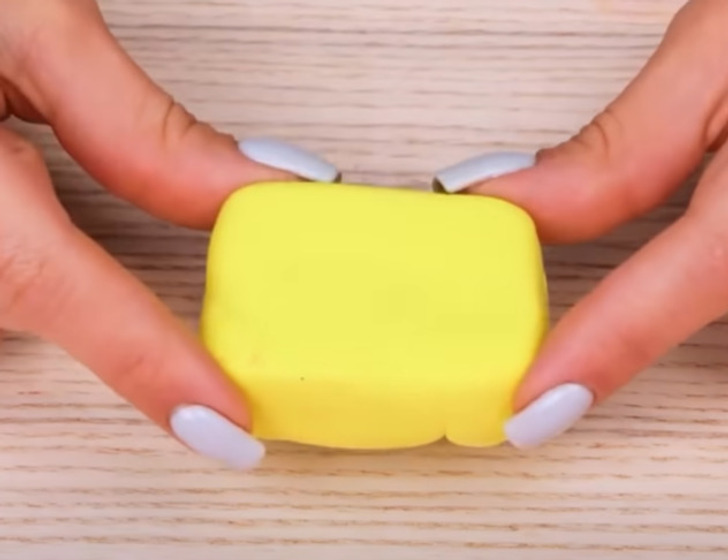
1. Start working with the polymer clay, kneading it to soften it and give it a square shape
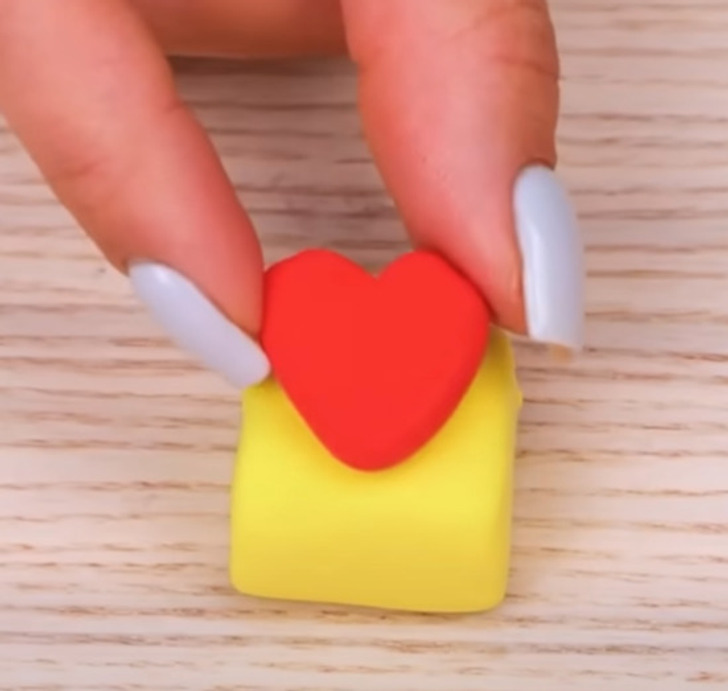
2. Add a heart, or whatever detail you want, modeled in a small piece of polymer clay
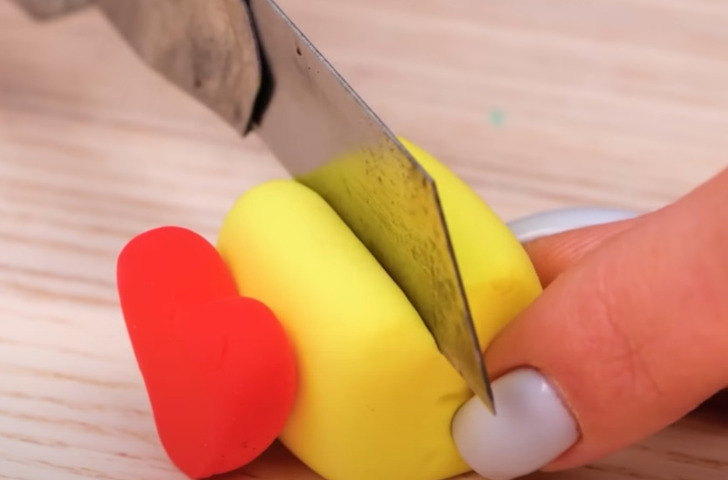
3. Use a knife or cutter to cut a thin slit across the top of the clay square from side to side
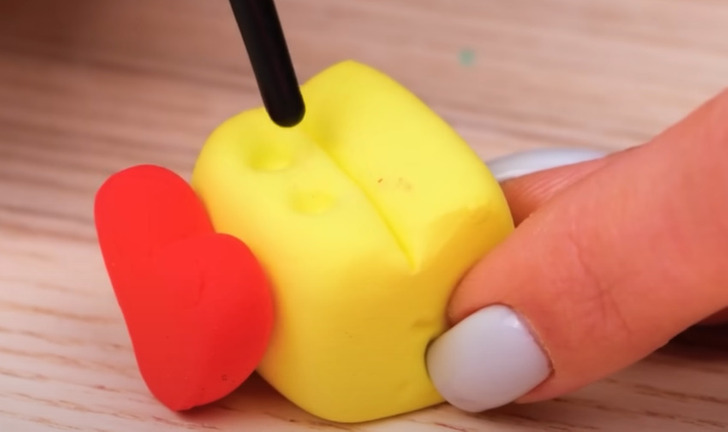
4. Using the back of a brush, mark some circles around the entire square
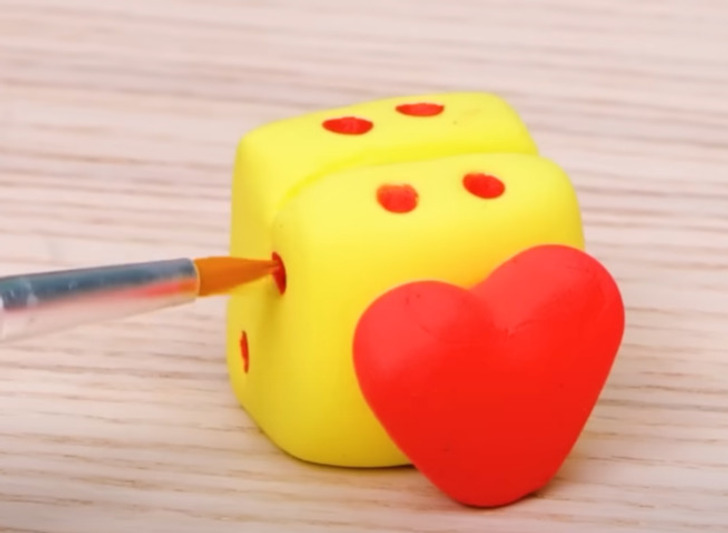
5. Color the inside of the circles you made earlier with a contrasting color
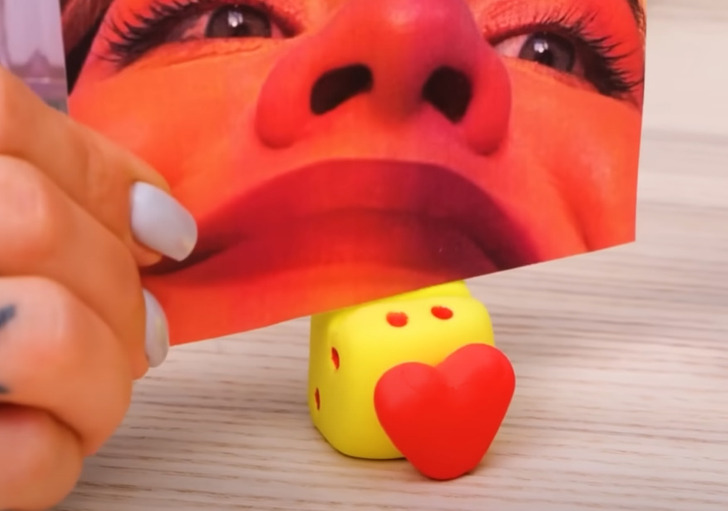
6. Let dry, and once dry Insert the photo into the slot you created at the top of the polymer clay photo holder
Check out more easy and beautiful DIY projects
Share This Article