How to Make an Led Light Ring at Home
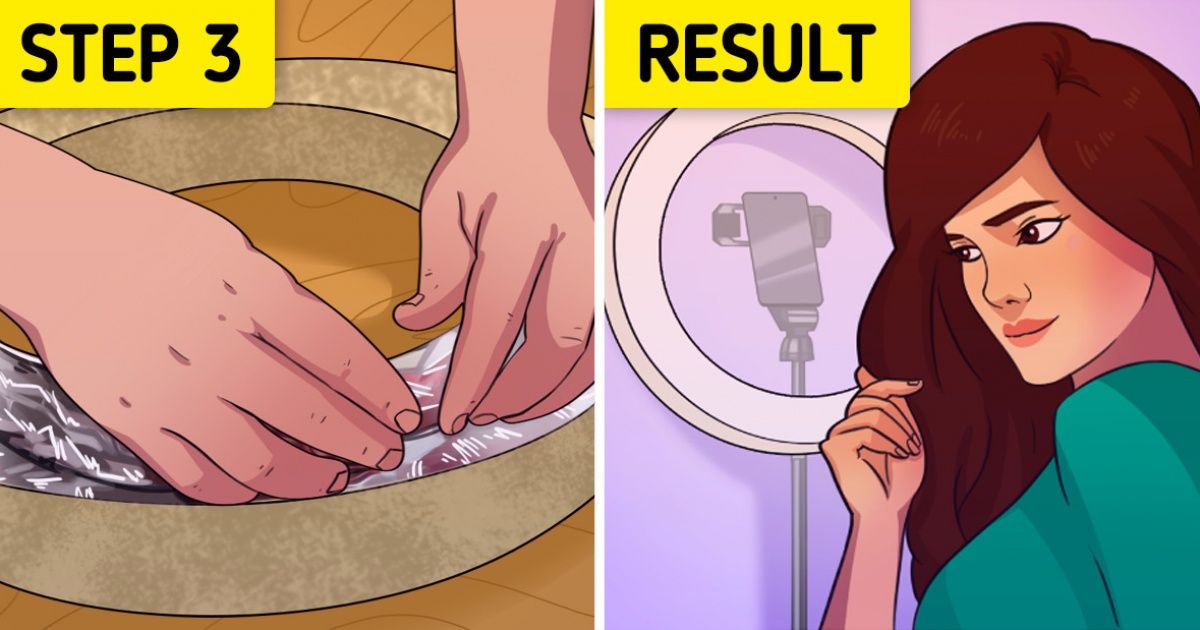
Light rings have become very popular, either to decorate spaces or to add extra lighting when taking photos and videos. Although it’s an electronic object, it’s possible to make one at home in a very simple way, using easily available elements and saving some money along the way.
5-Minute Crafts has prepared a tutorial so you can make your own.
What you’ll need
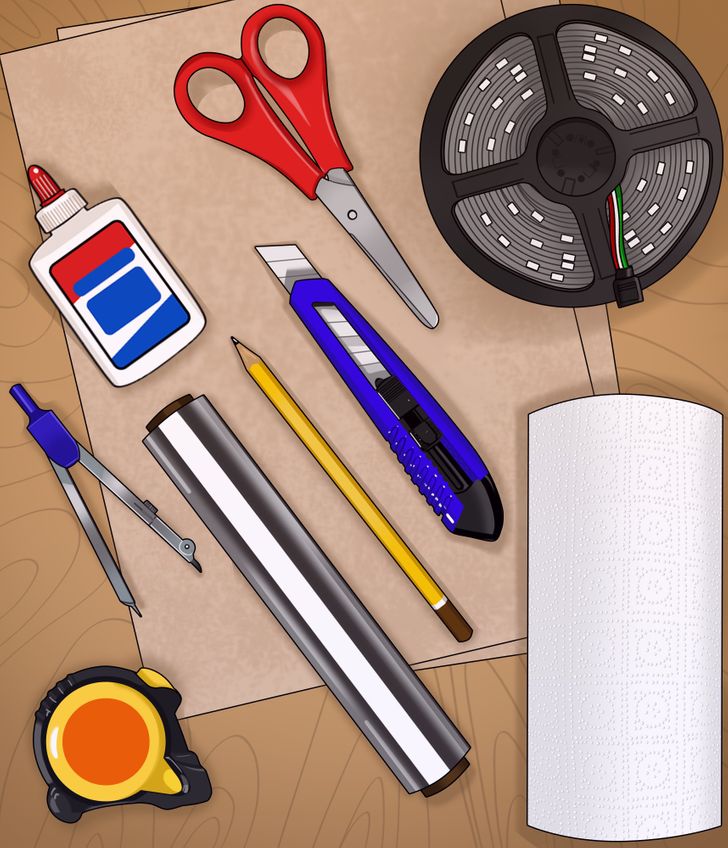
- Firm cardboard
- An LED light strip
- A compass
- Paper towels
- Aluminum foil
- Glue or silicone
- Measuring tape or a ruler
- A pencil
- A cutter
- Scissors
Step 1
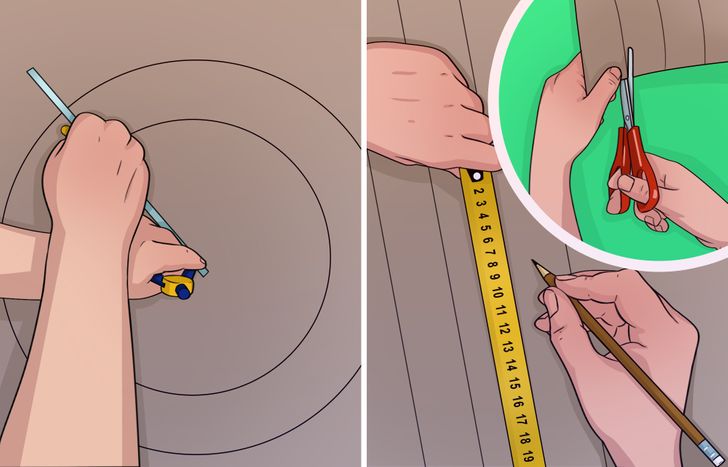
- In one corner of the cardboard, draw a circle of 16 inches in diameter using the compass. Then draw another 11-inch circle inside it.
- Next, draw four 2-inch-wide strips along the entire length of the cardboard square. Cut the pieces with scissors.
Step 2
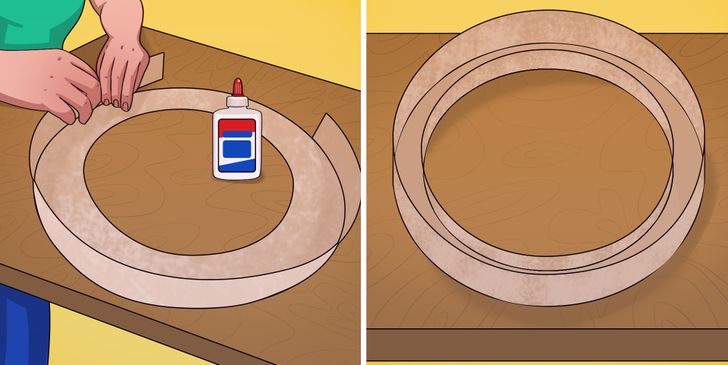
- Glue the cardboard strips all around the outer and inner circles. If necessary, add another strip to complete each ring and cut off the excess with scissors.
Step 3
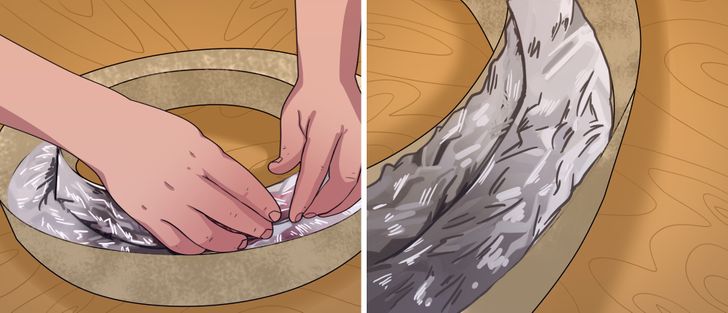
- With your hands, cut thick strips of aluminum foil, crumple them up, and glue them inside the circle — except for the outer side, as shown in the image.
Step 4
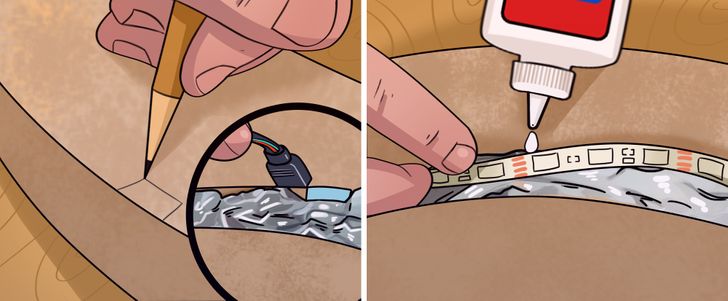
- Turn the ring over, and on its backside, make a small opening so that the wire and the plug of the LED lights can fit through.
- Then glue them on the inside, just on the part that doesn’t have aluminum foil.
Step 5
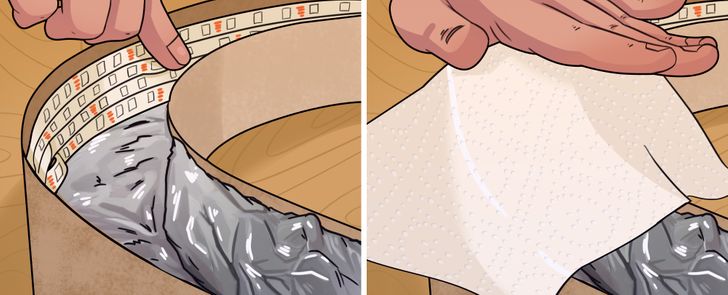
- Spread glue on both edges of the circles and adhere to the paper towels until the entire ring is completed. Then let it dry.
Step 6
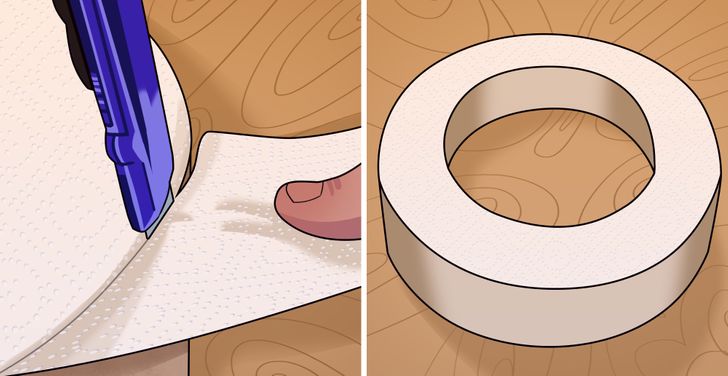
- Cut the excess paper from the edges with the help of a cutter. If you wish, paint your hoop in the color of your choice, being careful not to stain the part where the light will come out.
- Attach it to different surfaces using double-sided tape so that you can easily change its place.
Step 7 (optional)
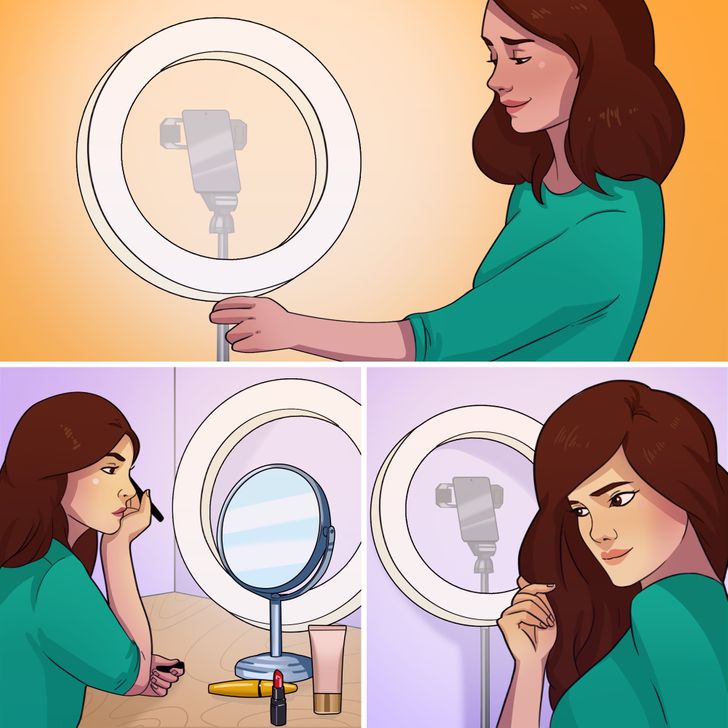
- To use your new light ring on a tripod, attach it to the center bar using some heavy-duty glue and leave the camera support right in the center.
Share This Article