How to Make Homemade Candles

Candles are perfect for brightening a room, adding some fragrance, and improving the ambiance overall. 5-Minute Crafts has covered all the steps so you can make your own candles at home.
What you’ll need
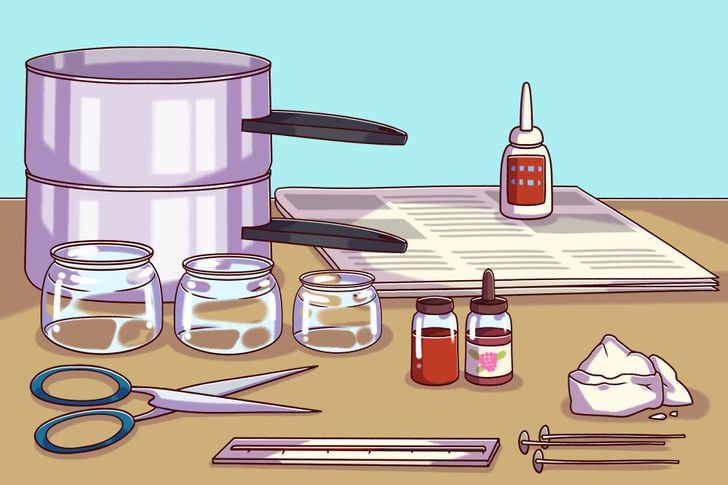
- Wax
- Pre-tabbed wicks
- Superglue
- Containers
- A fragrance and color
- Newspapers or paper towels
- Scissors
- A thermometer
- A double boiler (to melt the wax)
First: choosing your wax
These are some types of wax available at the market:
- Paraffin: This is the most popular type of wax and it’s the cheapest option.
- Soy wax: This is a completely natural type of wax that gives the option of having wax in flakes.
- Beeswax: This is one of the best types in the market. It’s available as beeswax sheets as well. This wax is 100% natural.
- Palm wax: This is an all-natural wax produced by palm oil. They allow you to create candles with unique textures, like those with crystallized and feathered patterns, for example.
How to make your homemade candles
1. Prepare the working area.
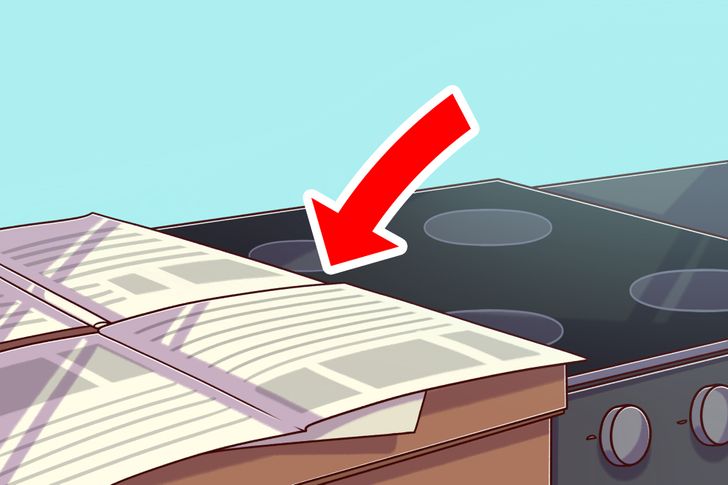
Place some newspapers or paper towels around your work area so that the table doesn’t get messy and it’s easy to clean up.
2. Melt the wax.
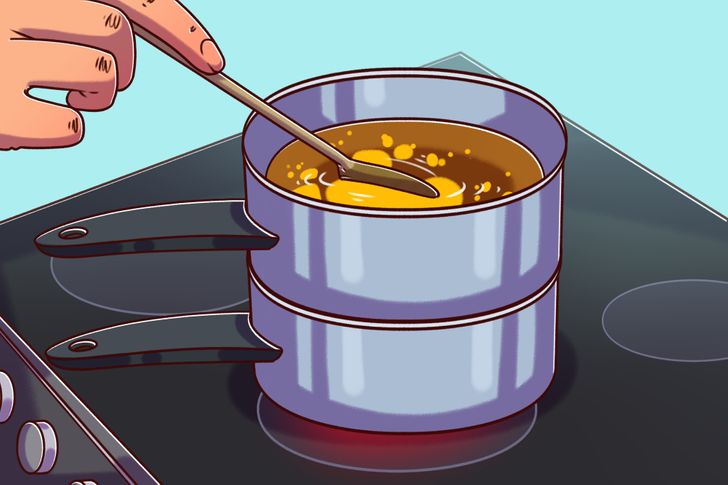
Pour some water into the bottom pan of your double boiler. Add 8 ounces of wax to the top pan and watch it melt. This step will take around 10-15 minutes.
Note: If you don’t have a double boiler, you can always place a small pot inside a bigger one.
3. Adhere the wick to the container.

Using superglue, adhere the wick to the glass container.
4. Add the fragrance and color.

Once the wax is melted, add the fragrance and color of your choice. Check in stores for candle fragrance oils and candle coloring. Around 30 grams of fragrance and color for every 450 grams of wax will do. Stir it for 30 seconds.
5. Let the melted wax cool down.

Let the wax cool down for a couple of minutes. Somewhere between 130 degrees to 140 degrees is the optimal temperature.
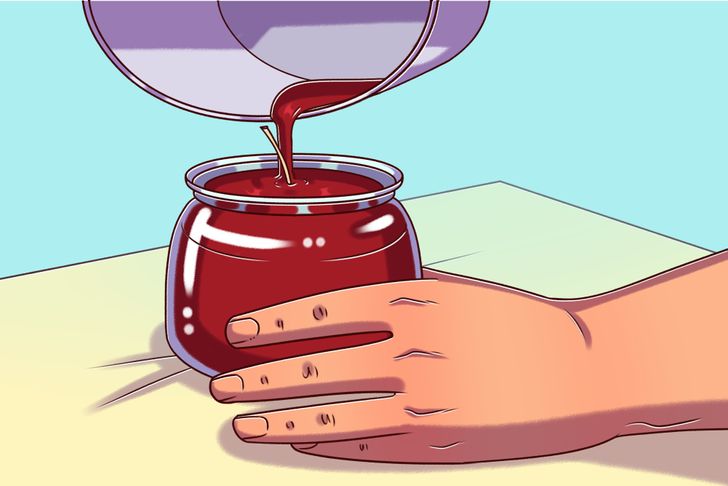
6. Pour it into the container.

Pour the melted wax into the glass container. Wrap the wick around a writing utensil so it stays in the middle. If the wick is not in the middle, the candle won’t burn properly.
Make sure to leave some wax inside the pot for later.
7. Leave the wick secured.

To be sure the wick stays in place while the wax hardens, leave the writing utensil on top of the container for some time.
8. Let it cool.

The candle needs to cool for at least a few hours. It will create a small sinkhole in the center and the wax will pull away from the edges.
9. Top it off.
Reheat some of the wax that was left in the pot and top off the candle so the hole disappears. Don’t add too much and make sure to only top off the parts that have holes in them or you’ll end up with more holes.
10. Trim the wick.

Trim about 1/4 inches of the wick so it burns correctly once you light the candle.
11. Clean everything.

Don’t forget to clean everything up using a paper towel so that if it hardens, you can trash it. Clean it while the wax is still in liquid form.
Final result
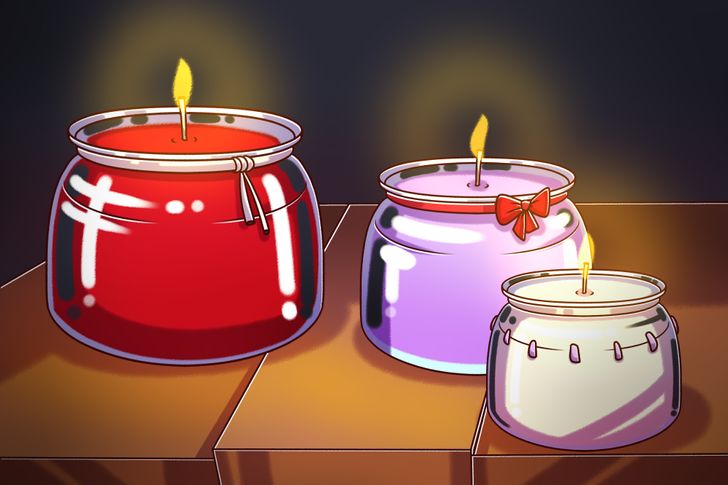
After waiting a few hours and seeing that the candle has fully hardened, you can enjoy your homemade creations.