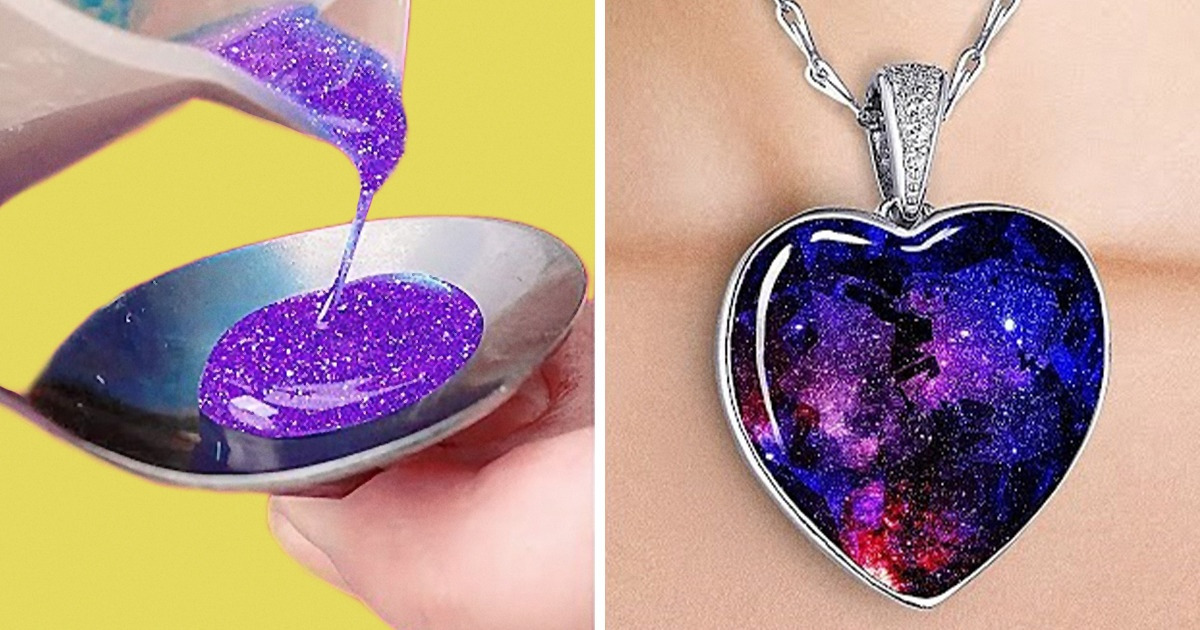
How to Make Jewelry From Epoxy Resin by Yourself
Epoxy resin is a popular material for creating jewelry, decorative items, souvenirs, and other handmade things. The standard set consists of 2 components: a base and a hardener. Before starting the work, they are mixed in a 1:1 ratio.
5-Minute Crafts collected 7 options for epoxy resin jewelry that even newbies will be able to create. And, to make it even easier for both beginners and those who are already familiar with epoxy resin crafts, we added a cool bonus at the end of the article.
What you’ll need:
-
A set of epoxy resin and hardener
-
Square form for earrings
-
Oval form for a pendants
-
Round form for bracelets
-
Dried flowers
-
2 pairs of fastenings for earrings
-
2 loops for earrings
-
Metal base for a pendant
-
Cord and loop for a pendant
-
Chain
-
Syringe without a needle
-
Glue
-
Glitter
-
2 seashells
-
2 artificial or natural pearls
-
Sandpaper or nail file
-
Blue and black dye
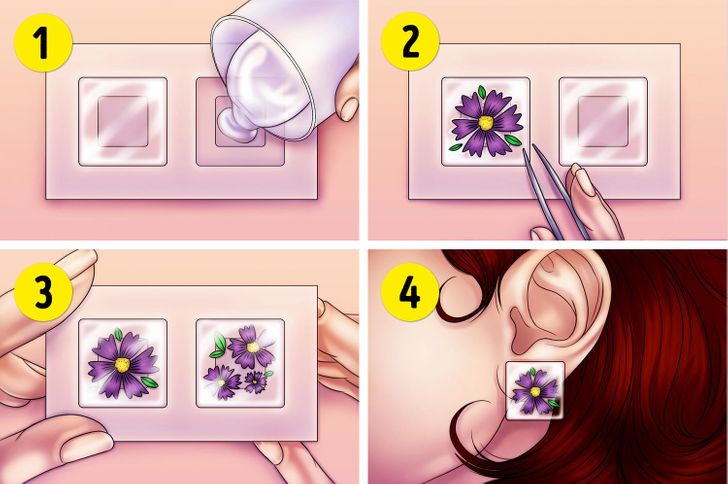
1. Earrings with dried flowers
-
Mix the epoxy resin with a hardener in a 1:1 ratio.
-
Take the square form for earrings and pour the mixture into it.
-
Put dried flowers into the resin.
-
Leave for 24 hours until the resin hardens.
-
Glue the fastenings for earrings to each back surface.
-
Polish the product with sandpaper or nail file to finish.
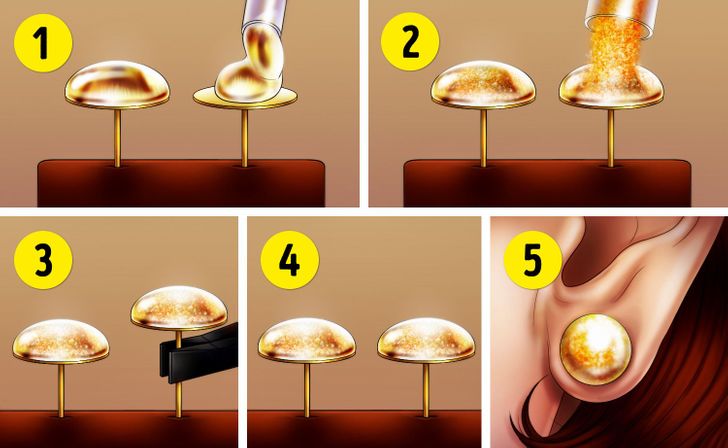
2. Glitter stud earrings
-
Mix epoxy resin with a hardener in a 1:1 ratio.
-
Take the earring fastenings and pour the epoxy resin mixture onto their flat surface.
-
Sprinkle with glitter.
-
Leave for 24 hours until the resin hardens.
-
Polish the product with sandpaper or nail file to finish.
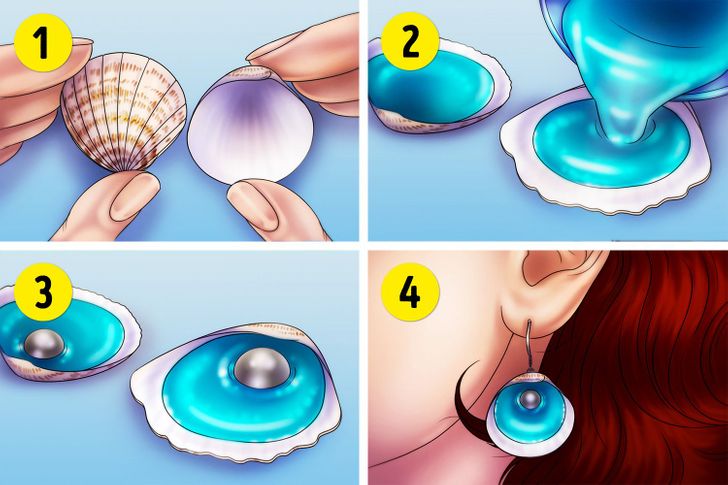
3. Earrings with a seashell and a pearl
-
Mix epoxy resin with a hardener in a 1:1 ratio.
-
Add blue dye to the mixture.
-
Take 2 seashells and pour the mixture into the shell’s inside.
-
Place a pearl in the middle of each seashell.
-
Leave for 24 hours until the resin hardens.
-
Attach a loop to each earring.
4. Pendant with dried flowers
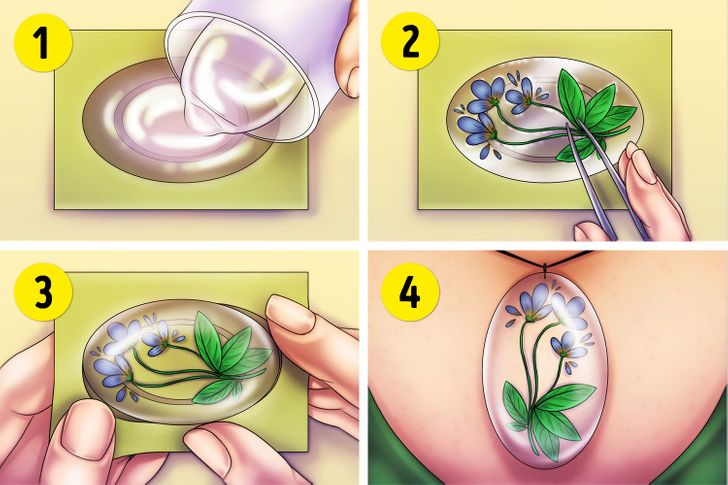
-
Mix epoxy resin with a hardener in a 1:1 ratio.
-
Take the oval form for the pendant and pour the mixture into it.
-
Place dried flowers into the resin.
-
Leave for 24 hours until the resin hardens.
-
Attach a loop to the pendant and thread a cord through it.
-
Polish the product with sandpaper or nail file to finish.
5. Pendant with glitter
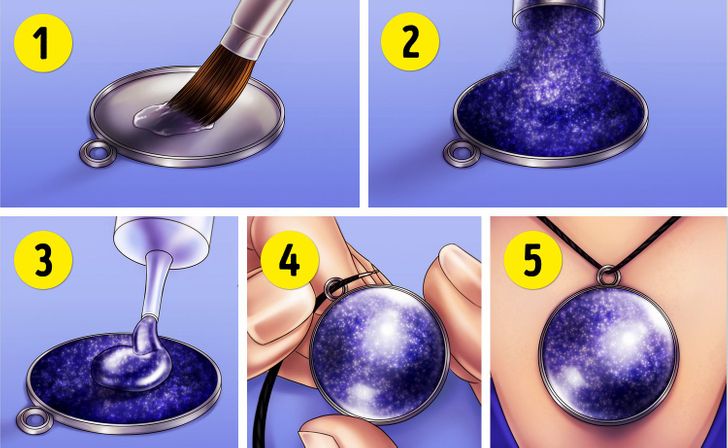
-
Mix epoxy resin with a hardener in a 1:1 ratio.
-
Take the base for the pendant and apply glue to its inner surface.
-
Sprinkle glitter abundantly over the glue layer.
-
Pour the resin mixture onto the glitter.
-
Leave for 24 hours until the resin hardens.
-
Polish the product with sandpaper or nail file to finish.
-
Thread the chain through the loop on the pendant.
6. Bracelet with dried flowers
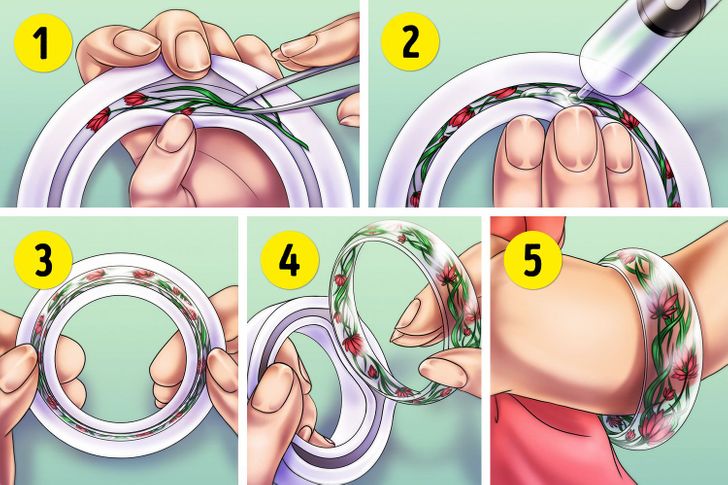
-
Mix epoxy resin with a hardener in a 1:1 ratio.
-
Take the form for a bracelet and place dried flowers inside.
-
Pour the resin mixture into the form with the help of the syringe.
-
Leave for 24 hours until the resin hardens.
-
Take the bracelet out of the form.
7. Bracelet with glitter
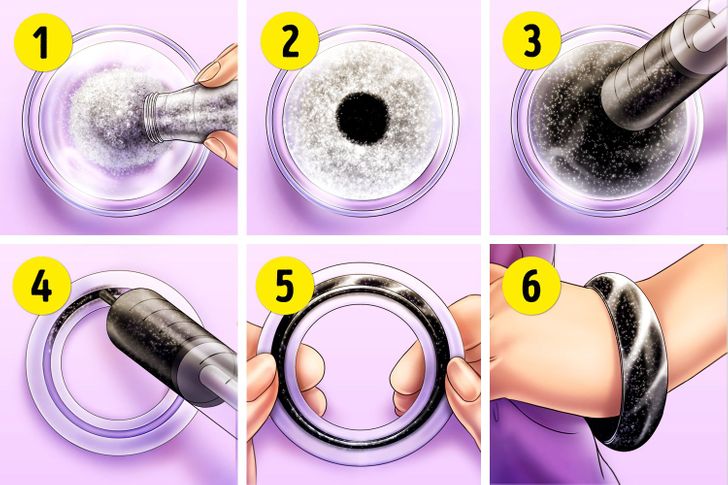
-
Mix epoxy resin with a hardener in a 1:1 ratio.
-
Add glitter and black dye and then mix them.
-
Take the form for bracelets and pour the resin mixture into it with the help of the syringe.
-
Leave for 24 hours until the resin hardens.
-
Take the bracelet out of the form.
Safety precautions when working with epoxy resin
-
Work using protective gloves and a mask.
-
Cover your work surface with paper or plastic wrap.
-
Air out the area thoroughly after you finish working.
-
Wash off the resin immediately with clean water and soap if it comes into contact with your skin.
Bonus: an epoxy resin kit designed exclusively by 5-Minute Crafts
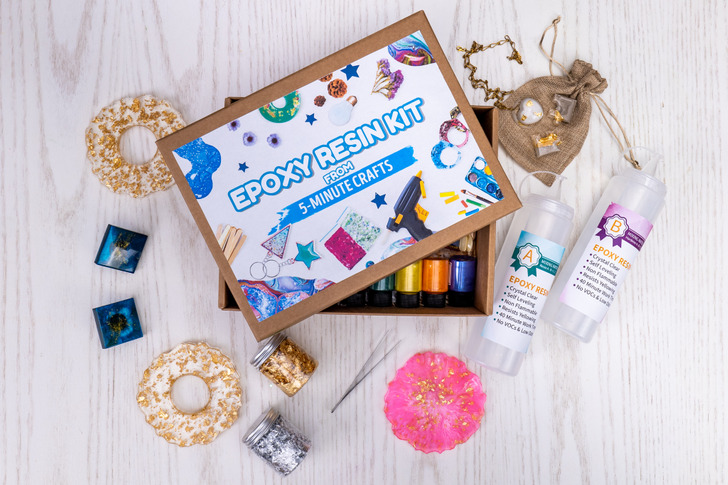
We created this cool hobby box specially for beginners and everyone who wants to make jewelry and other epoxy crafts, according to their unique taste. The box can be used by all ages, starting from 8 years old, and it comes with simple step-by-step illustrated instructions.
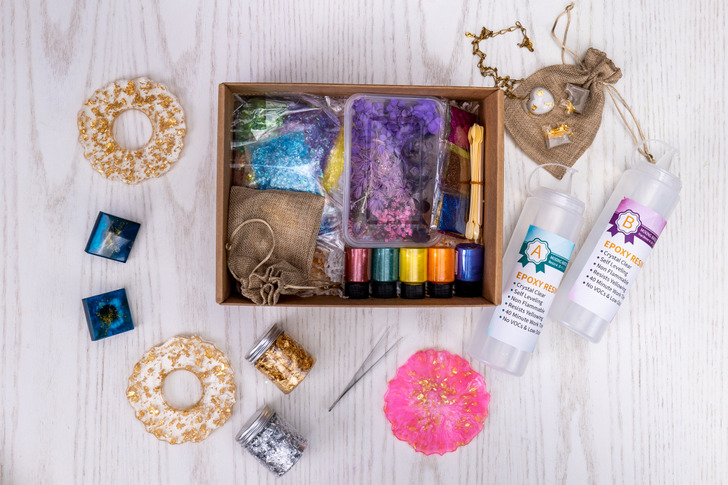
Here’s what you’ll find inside the Hobby Box:
- 2 bottles of epoxy resin (resin and hardener)
- 2 bottles of foil flakes (gold and silver)
- Dried pink flowers
- 4 bottles of mica powder to color the resin (red, yellow, green, and blue)
- 6 fine glitters
- 4 bags of colorful mylar flakes
- Tweezers
- 3 plastic spoons
- Gunny bags
- 3 wooden stir sticks
- 2 silicone molds with multiple shapes
- Chains and clasps for epoxy jewelry making
- You have the unique opportunity to get the first Hobby Box in 5-Minute Crafts history with a 50% discount.
- As a pre-order bonus, you will receive a letter from the 5-Minute Crafts team telling you how we came up with the idea for the Hobby Box product line and how we designed it.
- Also, you will receive a special digital bonus — a behind-the-scenes peek at how we film our ads.
🎁 Buy the 5-Minute Crafts Hobby Box here now.
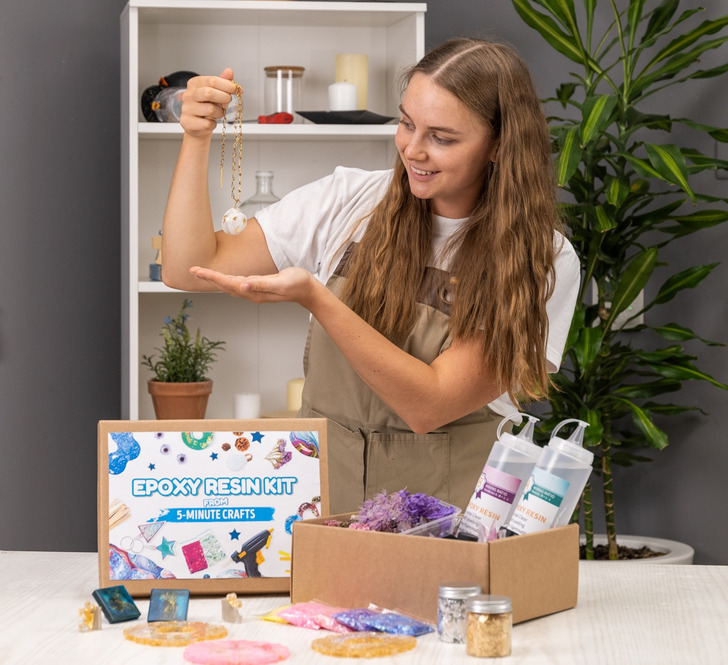
Dimensions and delivery
- 1.3 lb (0.6 kg)
- 9.1″ x 9.1″ x 2.6″ (23 cm x 23 cm x 6.5 cm)
- We deliver across the USA and EU, pre-order with delivery before Christmas.