How to Make Party Hats (Templates Included)
Birthdays are an exciting day for many kids. To make this day truly unforgettable, parents might want to go the extra mile and prepare interesting costumes and decorations for their little ones. There are party hats and crowns available in stores, but if you create your own, they can be truly unique. Also, it’s a good opportunity to involve your kids and participate in a fun activity together. 5-Minute Crafts has prepared a guide on how to make these fun hats. In addition to this, we also included free templates that you can download.
1. Birthday crown
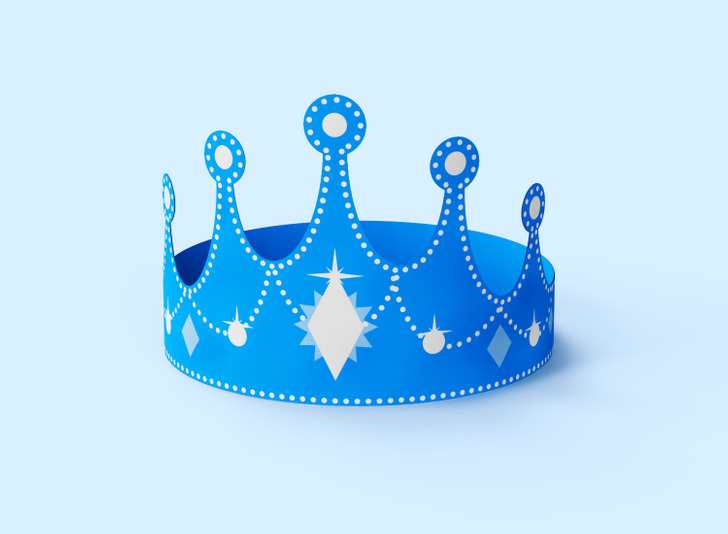
You will need:
- A crown template
- Thick paper in any color you like
- Scissors
- Glue
- Pencil (optional)

How to make it:
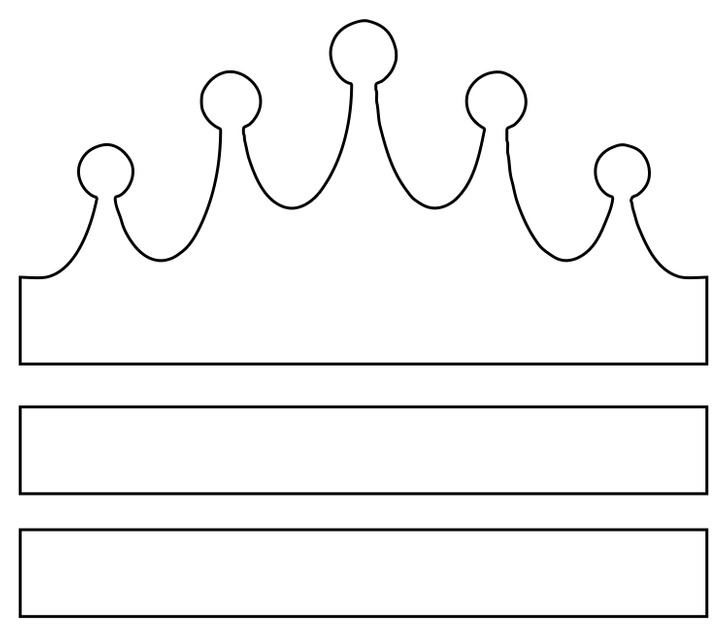
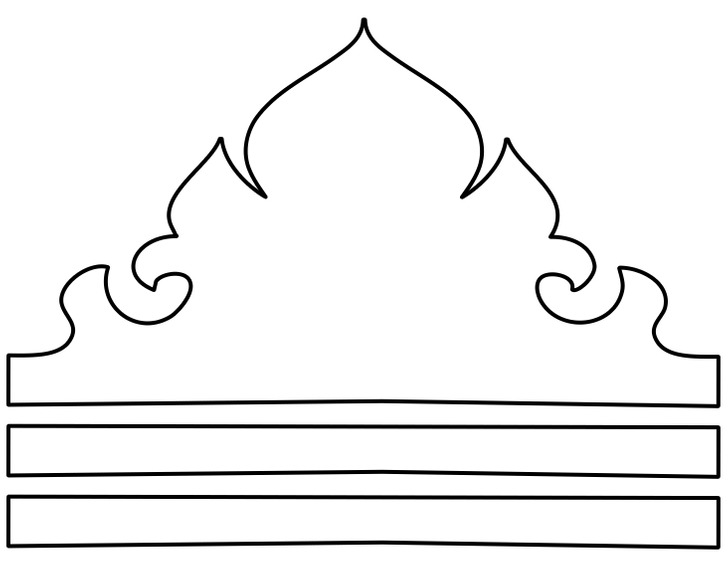
1. Print out the template. If you don’t have a printer, you can trace the crown shape onto the paper.
2. Using scissors, cut out the pieces of the template. The template consists of the 3 main pieces — the main crown piece that will be placed in front and 2 straight bands that will meet at the back of the head.
2. Measure the size of your child’s head. Using glue, attach the straight bands to both sides of the main crown piece. Use scissors to adjust them so that the crown fits onto your child’s head.
3. If you want, you can also decorate the crown with rhinestones or glitter.
4. Connect the straight pieces at the back and glue them together.
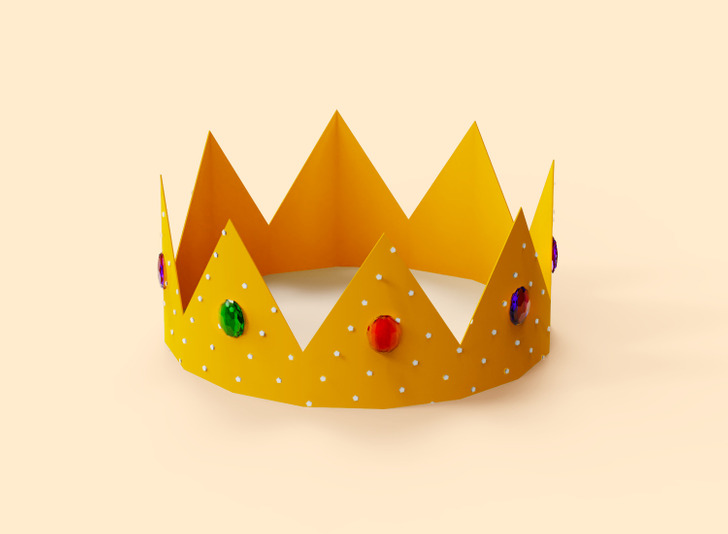
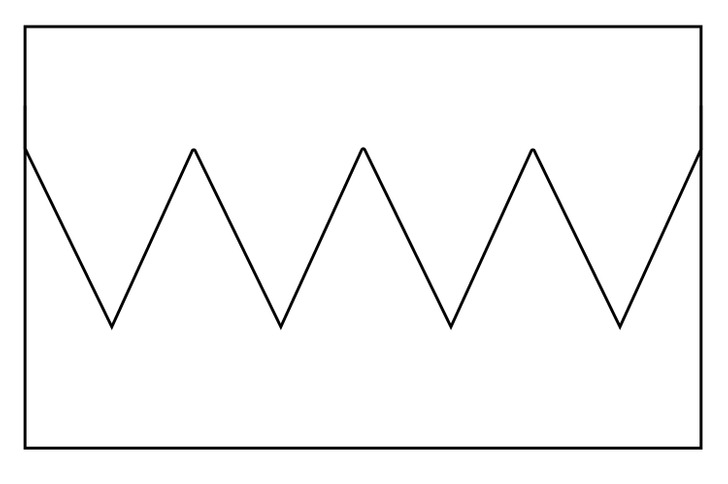
Here is one more idea for a birthday crown you can make! It has a repeating pattern that goes all the way around the crown. Similar to the first one, adjust the pieces to your child’s head size and glue them together.
2. Cone hat

You will need:
- Thick paper (you can choose either white paper and decorate it yourself or go with a paper that already has a pattern)
- Scissors
- Glue
- An elastic string
- A pom-pom or ribbons, stickers, rhinestones, and any decorations that you like (optional)
How to make it:
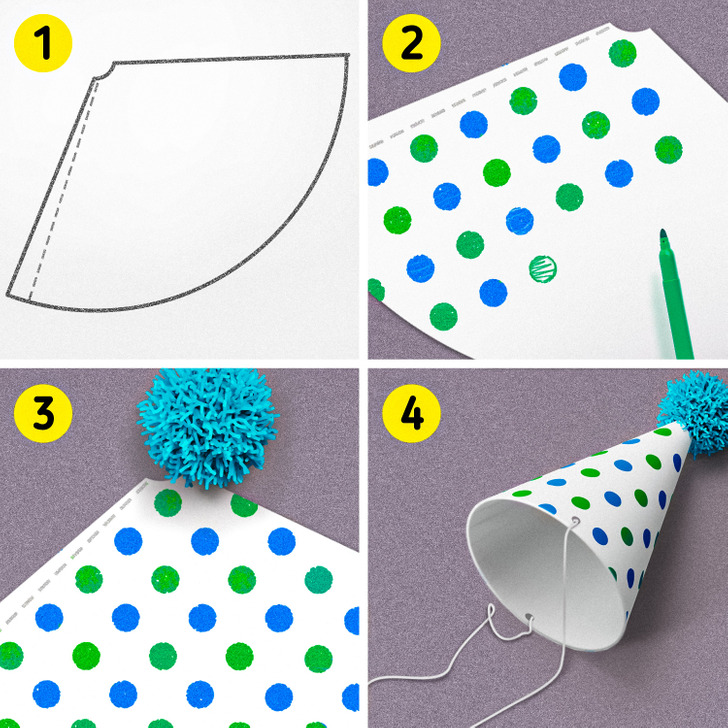
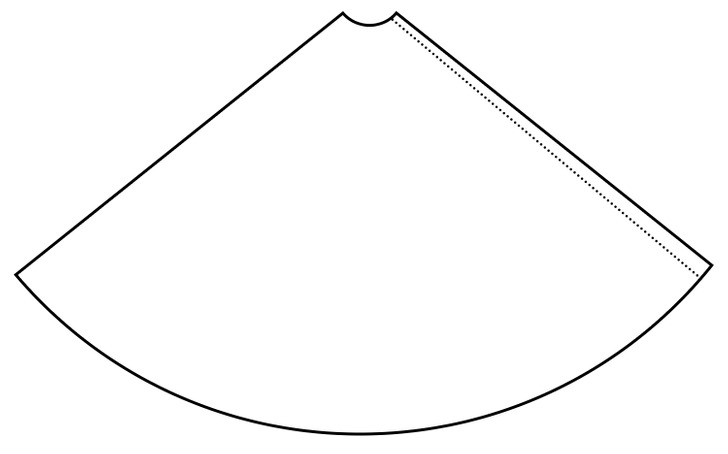
1. Print out the template. If you don’t have a printer, you can trace the crown shape onto paper.
2. Decorate the template the way you like it — add drawings, polka dots, stickers, fun images, or rhinestones.
3. Using glue, assemble the cone hat. On top of the hat, add a pom-pom or a ribbon.
4. Near the base of the hat, pinch 2 holes and add an elastic string around the holes.
3. Butterfly headband
You will need:
- Thick paper (you can choose either white paper and decorate it by yourself or go with a paper that already has a pattern)
- Colored pencils or markers
- Scissors
- Glue
- An elastic string
- Rhinestones, and any decorations that you like (optional)
How to make it:
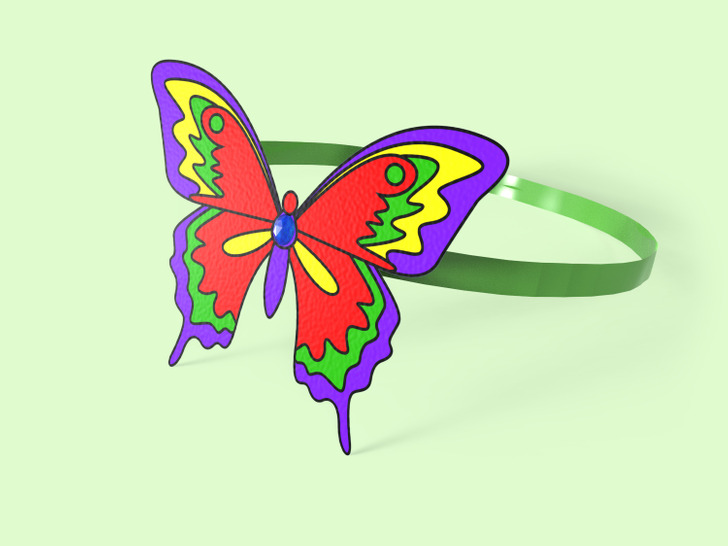
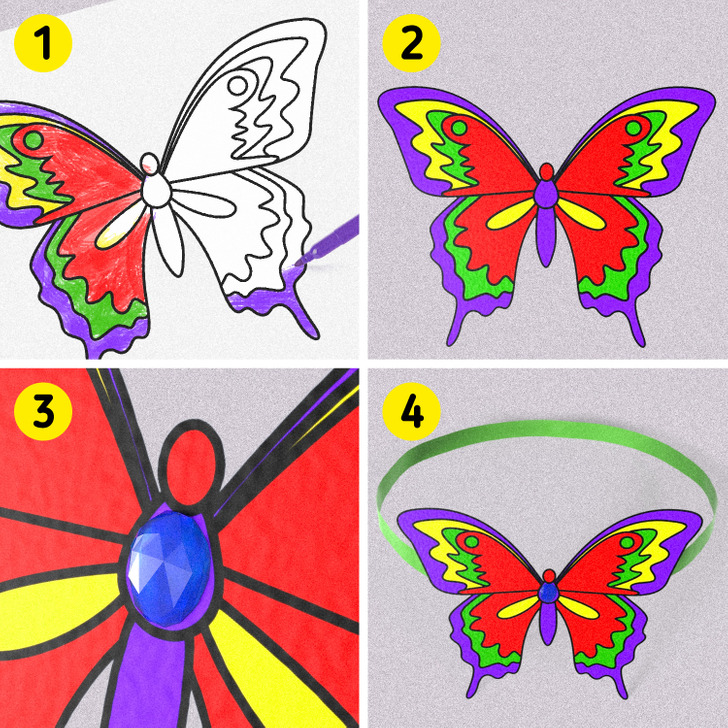
1. Print out the template. If you don’t have a printer, you can trace the butterfly shape onto paper. Color the template the way you like it.
2. Cut out the butterfly.
3. Add rhinestones and other decorations to it (optional).
4. Cut out a 1/2-inch wide strip of paper. It needs to be long enough to go around the head. Using glue, attach the ends of the strip together. Glue the butterfly to it.
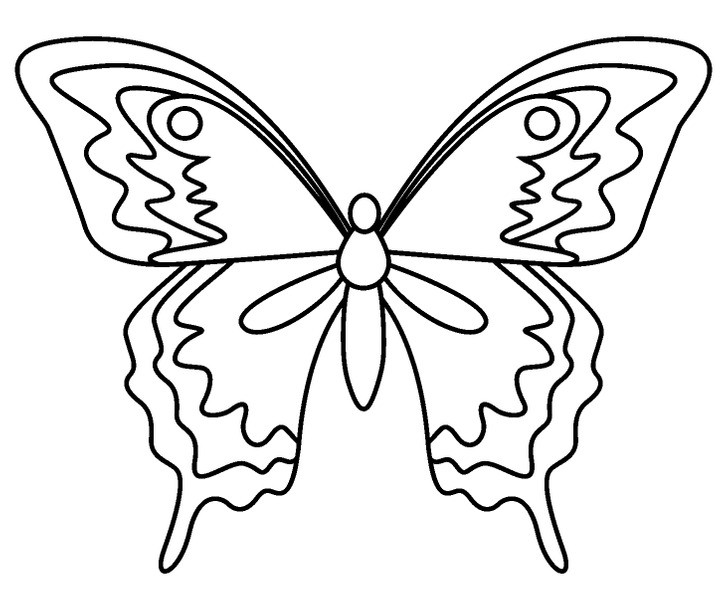
4. Princess crown from craft foam
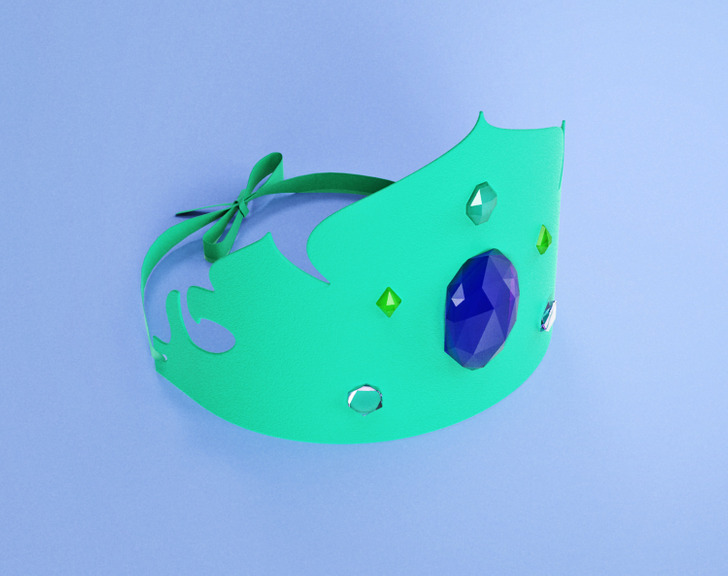
You will need:
- Craft foam
- Paper
- Rubber band or fabric ribbon
- Scissors
- Glue
- Rhinestones, and any decorations that you like (optional)
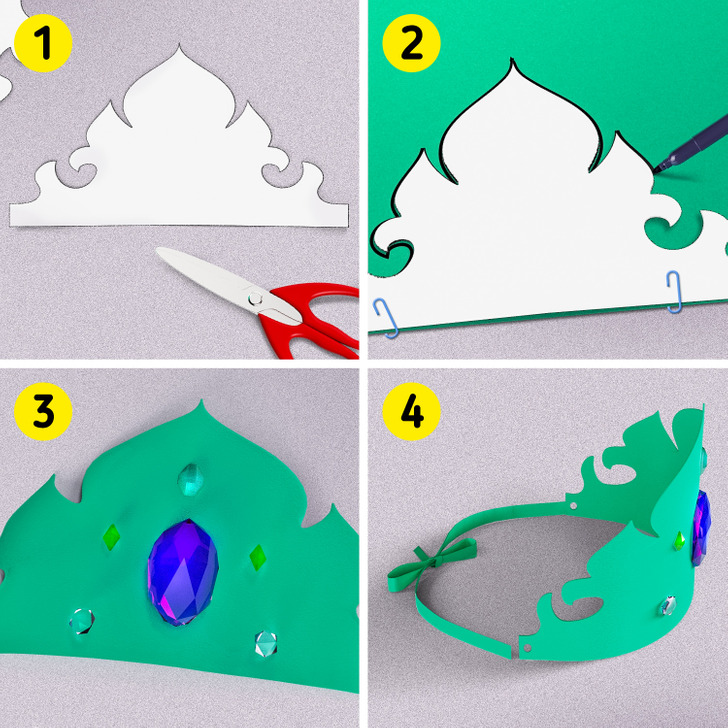
How to make it:
1. Print out the template. If you don’t have a printer, you can trace the crown shape onto paper. Cut it out.
2. Place the template on top of the craft foam sheet. You can secure it from moving around by using paper clips. Cut the shape out using scissors.
3. Add rhinestones and other decorations to it (optional).
4. At the end of the crown, add holes and attach a rubber band or a fabric ribbon to it.
5. Jester hat
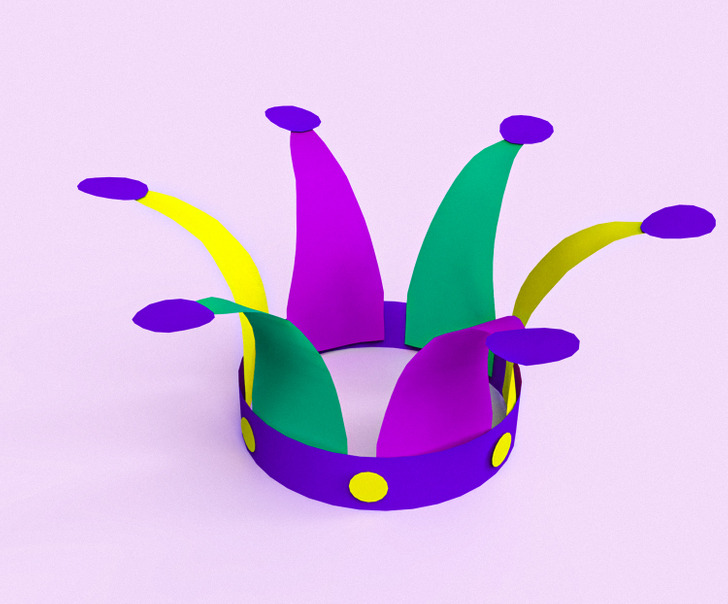
You will need:
- Thick paper of various colors
- Scissors
- Glue
- Pencil
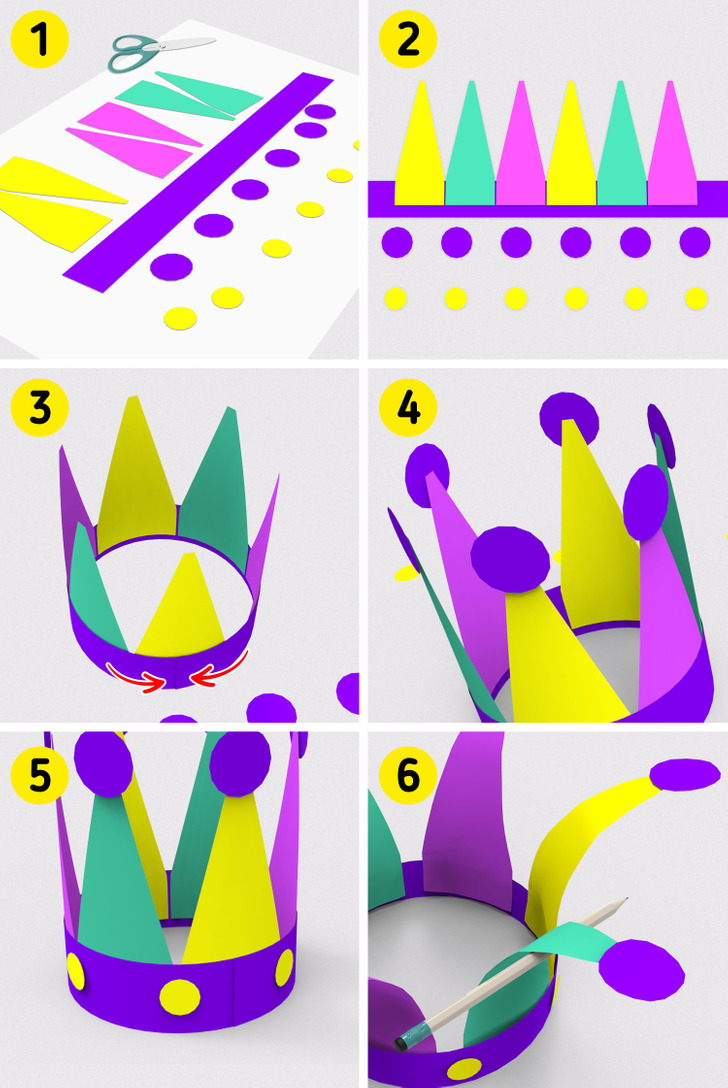
How to make it:
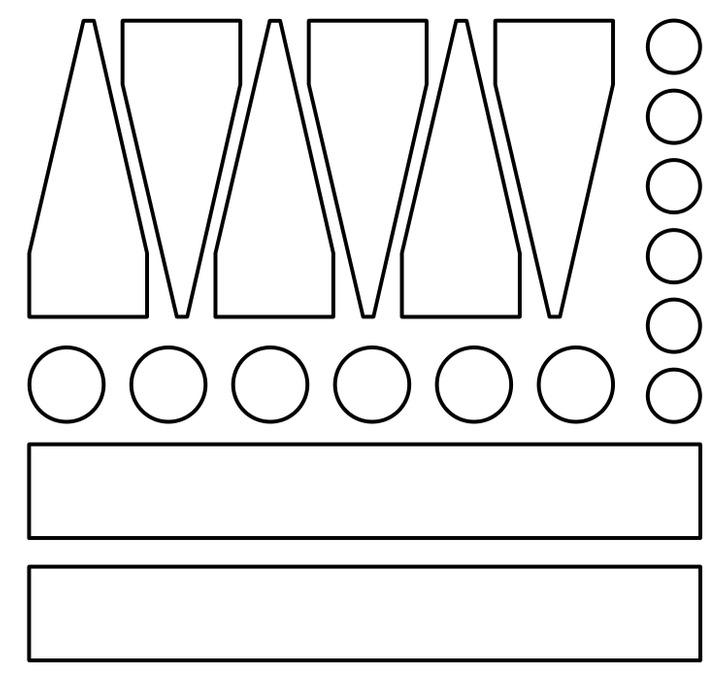
1. Print out the template pieces on sheets of different colors. If you don’t have a printer, you can trace the crown shape onto the paper. Cut the pieces out — you should get 2 straight bands, 6 triangles, and 12 circles.
2. Glue the straight bands together to get one long piece that will go around your head. Measure your head size and trim the long band to fit. Then take the piece and use glue to stick the triangle pieces to it.
3. Glue the ends of the band together.
4. Glue the circle to the ends of one of the triangles. Glue another circle at the back of the first one, so that the triangle tip is in between them.
5. Decorate the band with the rest of the circles.
6. Take a pencil and place it against the base of the triangle. Hold the pencil with your thumb and place your index finger on the pencil from behind the paper. Start moving the pencil up the top of the triangle to create a curl.
6. Wizard’s hat
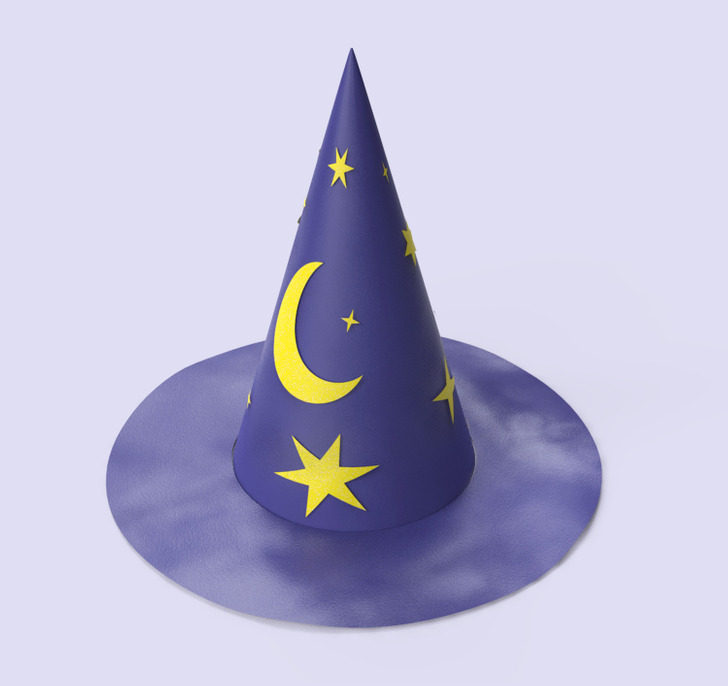
You will need:
- Thick purple paper (or blue) around 24″ x 36″
- Yellow paper
- Scissors
- Glue
- Pencil
- Ruler
- Compass
How to make it:
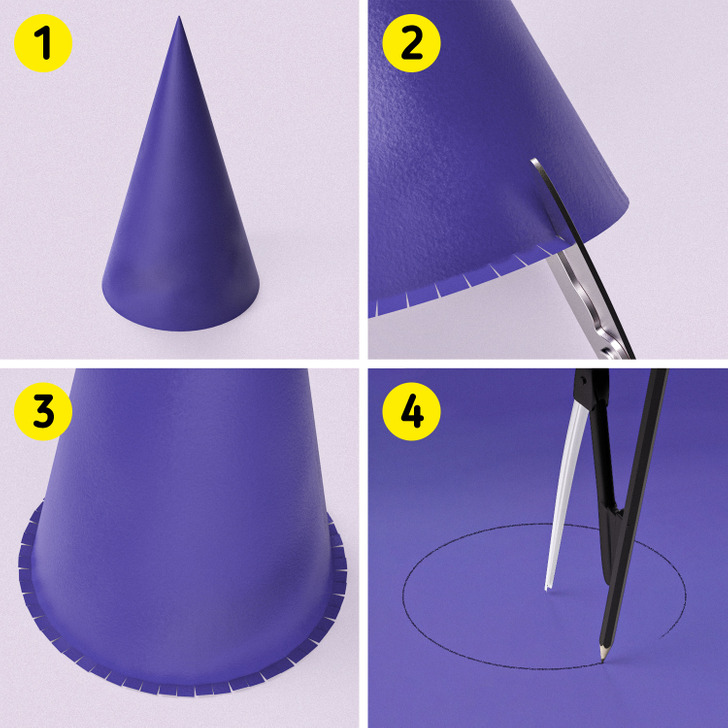
1. To make a cone hat, draw a half-circle on a piece of paper using a compass. The radius should be around 11 inches (28 cm). Cut it out and bring the 2 ends of the half-circle together to create a cone. Glue the edges or staple them at the base.
2. Using scissors, start cutting a small fringe at the base of the cone. The fringe should be approximately 1 inch (2-2.5 cm) apart from each other.
3. Fold the fringe out. Turn the cone over and using a ruler, measure the diameter of the cone.
4. Using a compass, draw a circle that has the same diameter as the base of the cone.
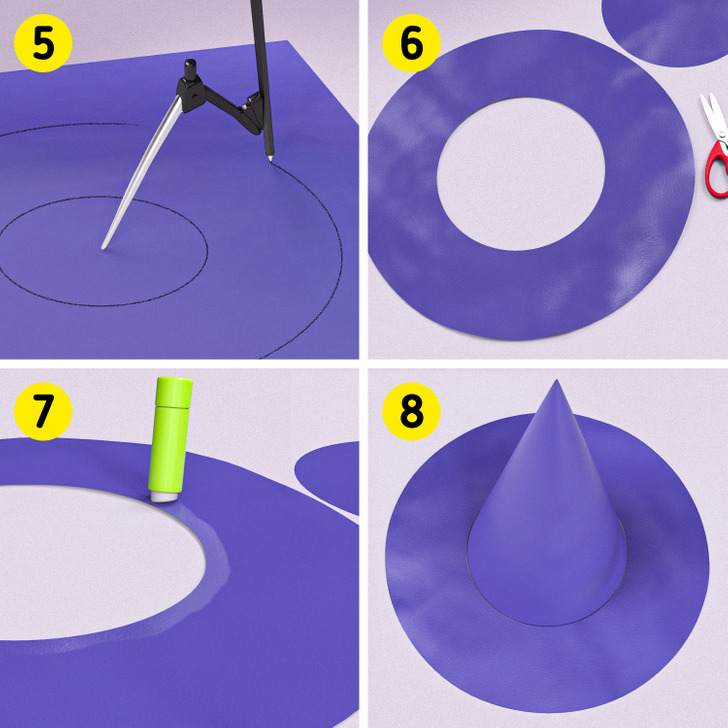
5. Again, using a compass, draw a bigger circle around the smaller one to define a brim.
6. Cut the big circle out. Then, cut the smaller circle out to create the hat’s brim.
7. Apply glue around the hole of the brim.
8. Insert the cone from the bottom of the brim and glue the parts together. Cut out some half-moons and stars from a sheet of yellow paper and decorate the hat.