How to Make Your Own Notebook: 3 Ways
When the school year ends, you may be left with half-used notebooks that still have plenty of blank sheets left to write on. To avoid confusion or chaos in your notes when the new year starts, you might choose to not use these perfectly fine notebooks anymore and we all know what a shame that is.
That’s why 5-Minute Crafts wants to show you how to use those leftover sheets to make a new notebook. And the best thing is that you can customize them to make it much nicer than a regular notebook. Keep in mind that while method 1 requires that you know how to sew, method 2 and 3 don’t.
Method 1: Use any paper left from other notebooks
What you’ll need:
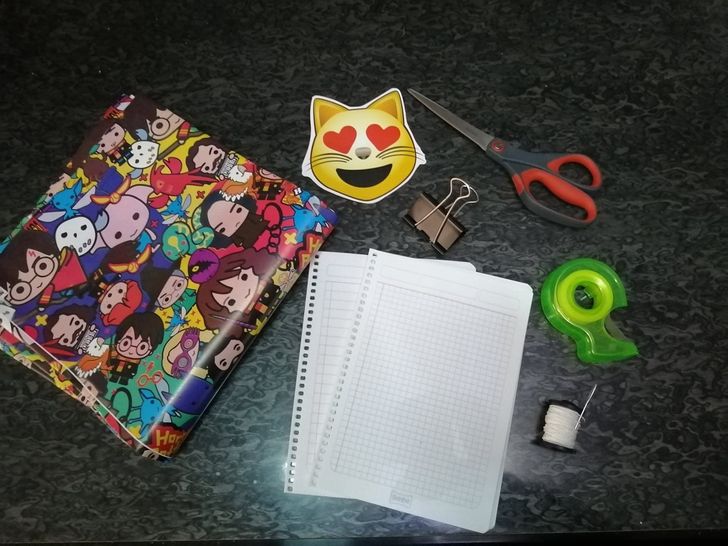
- Perforated notebook sheets
- A needle
- Hemp thread, ribbon, or yarn
- Scissors
- A paper clip
- Adhesive tape (optional)
- Lining paper (optional)
- Stickers and other decorations you like (optional)
Step 1: Remove the spiral
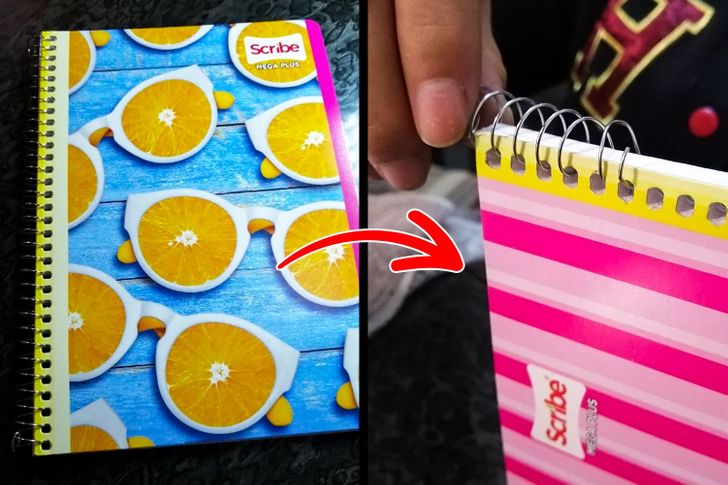
Using pliers or just your hands, unfold the wire of the spiral that keeps your notebook together. To make this easier, you can give unfold the ends. This way, you can twist it out and completely remove it.
Step 2: Collect all the clean sheets
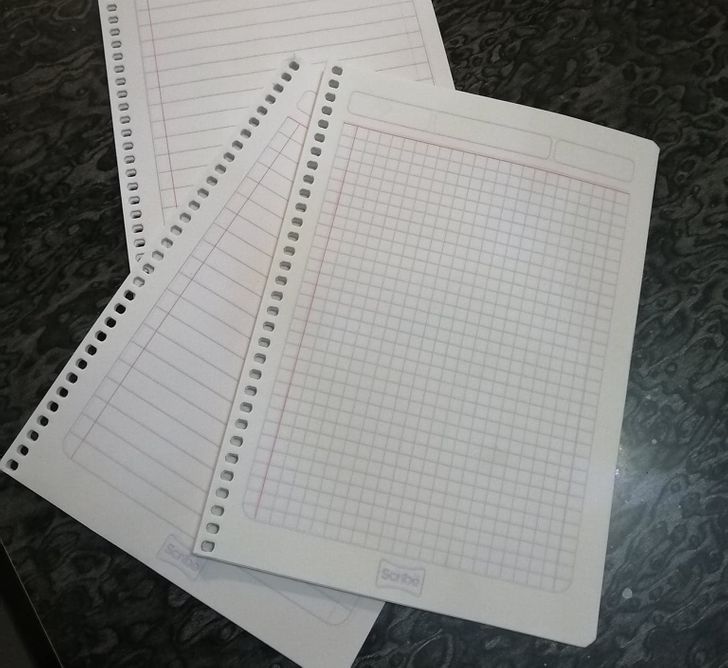
Check all the old notebooks you have (remember they should all be the same size), and after removing the spiral, put together all of the pages that are still blank.
Step 3: Insert a thread into the needle and tie a knot
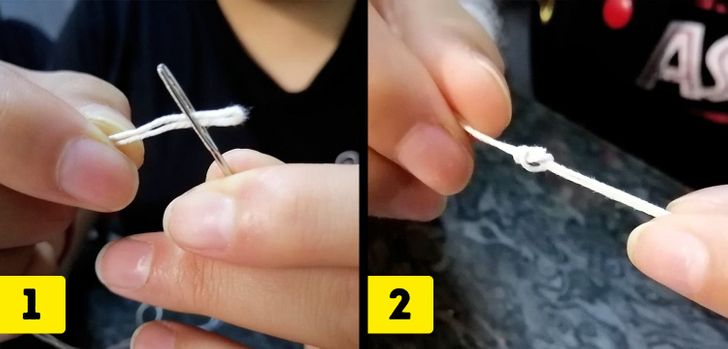
- You can also use yarn or a very thin ribbon. If you choose yarn, but it is not very thick, use double yarn to strengthen it, otherwise, it might break.
- Make a knot at the end of the thread that hangs over the needle.
Step 4: Hold the sheets together and start sewing
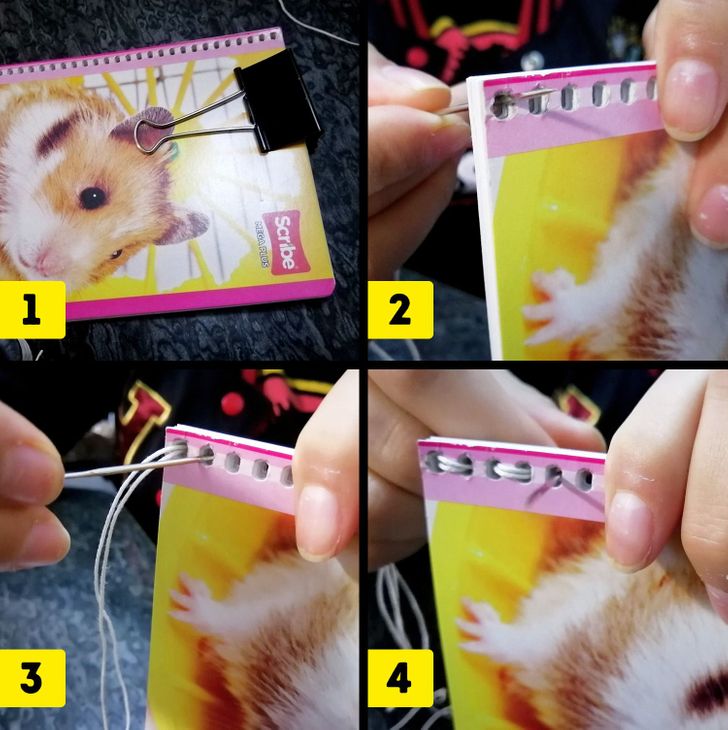
- To make things easier, hold the sheets together with a binder clip.
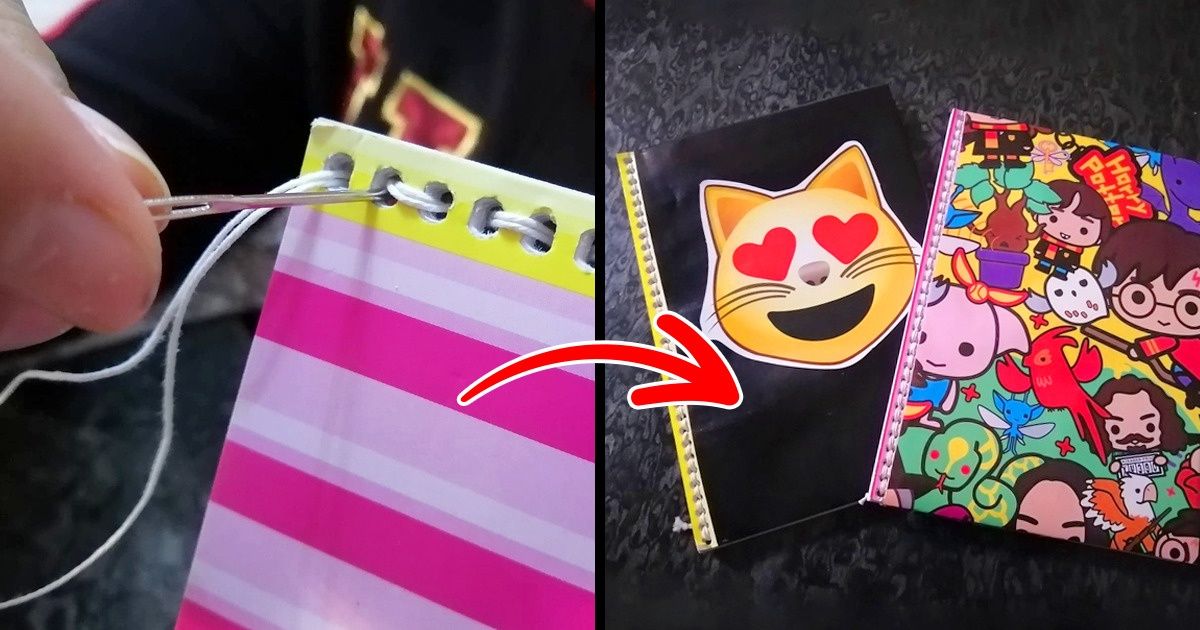
- Insert the needle into one of the first holes.
- When the needle comes out on the other side, pull it out, and insert it into the next hole.
- Repeat until you reach the end of the notebook.
Step 5: Repeat the process
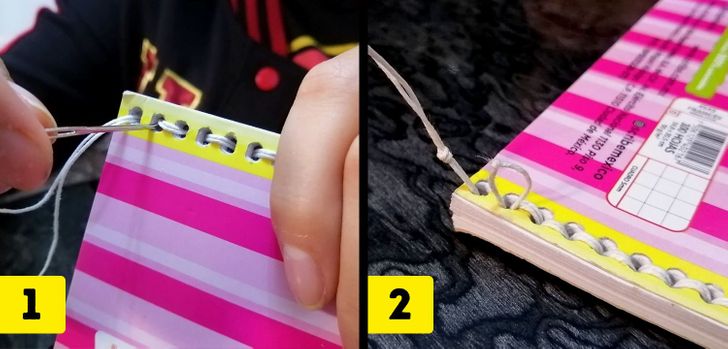
- When you reach the last hole, insert the needle into the hole next to it.
- Go all the way back using the same technique from the previous step until you reach the first hole you started sewing on.
Step 6: Tie a knot to secure
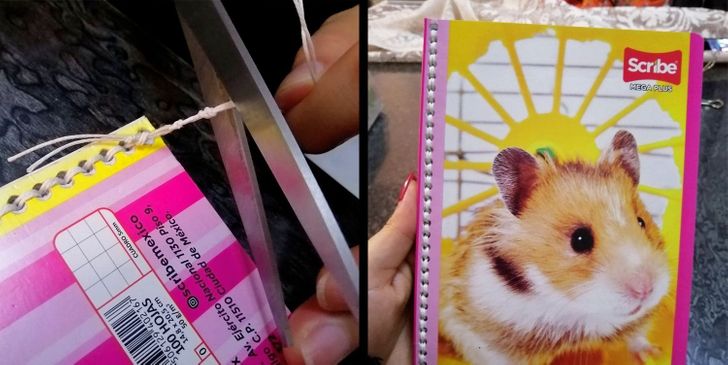
To make sure the paper doesn’t fall off, tie a knot at the end of the thread. Use scissors to cut the excess thread.
Step 7: Line the notebook with any cover you’d like.
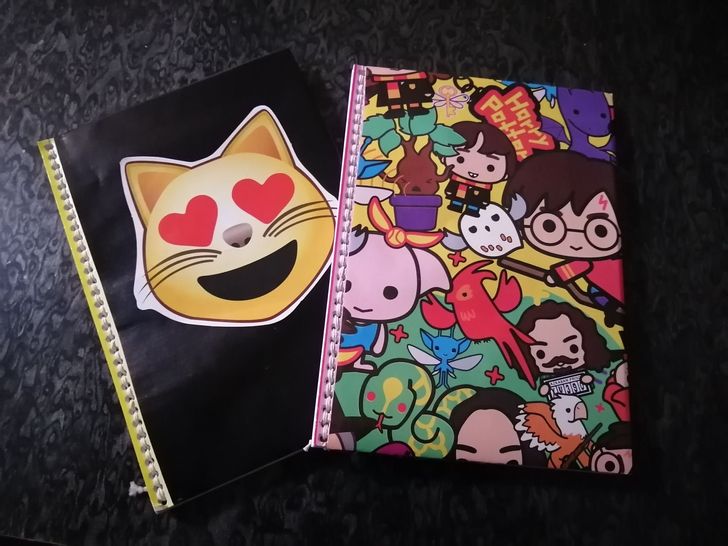
You can use printed paper with your favorite characters on it, drawings, newspaper, pictures, or any other material you like to cover your notebook.
Method 2: Yarn knots
What you’ll need
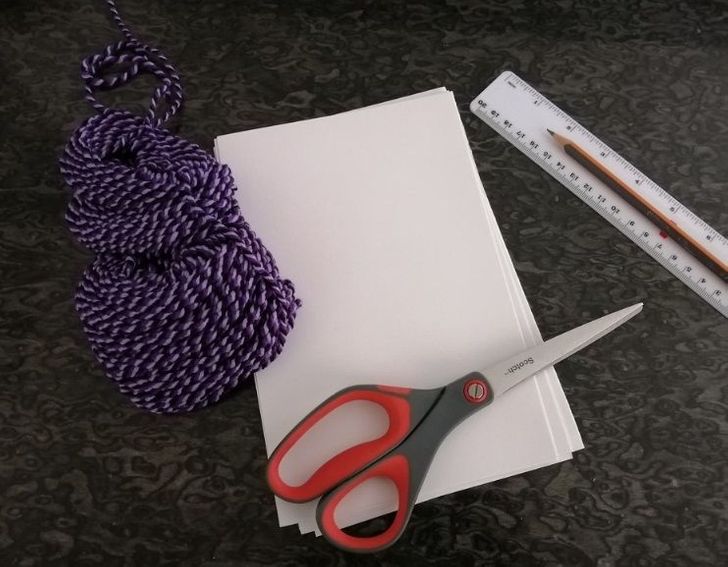
- Recycled notebook paper, white or colored
- Yarn
- Scissors
- Hole punch
- Pencil
- Ruler
Step 1: Punch holes in the sheets
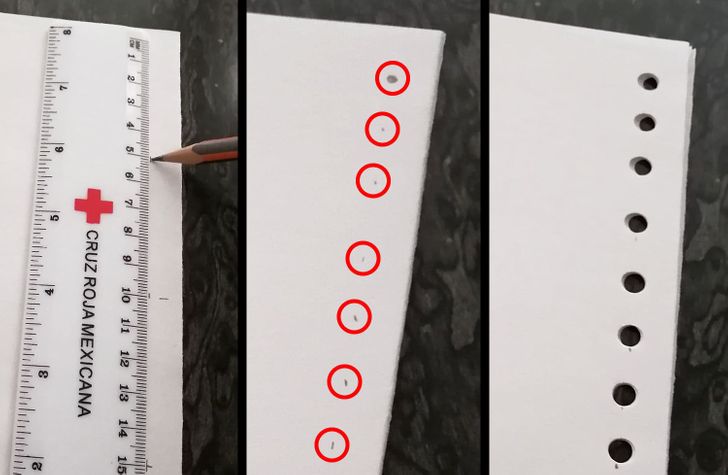
Use a ruler to mark the places where you want to make the holes. These will depend on how many knots you want to make. You can mark them every 1/2 an inch, and leave a little bit less than 1/2 an inch as a margin between the holes and the border of the sheets.
Step 2: Cut out sections of yarn
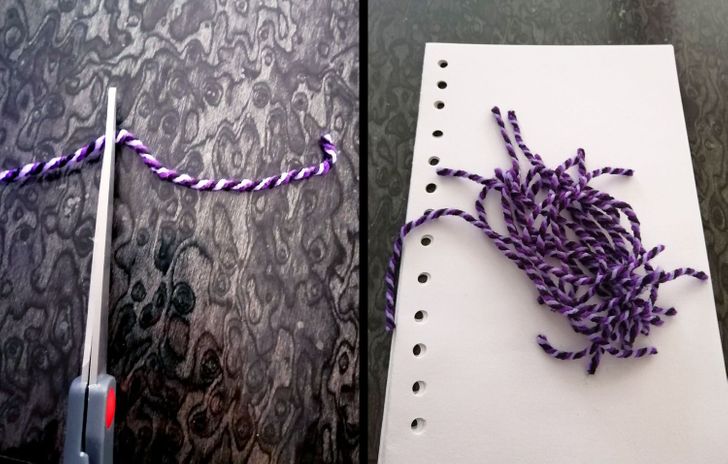
The sections you cut don’t have to be the same size if you don’t want them to be. However, if you don’t want them to look uneven, you might want to cut sections that are about 4 inches in length. You have to cut one for each hole, and you can combine the colors of the yarn to your liking.
Step 3: Make knots in each hole
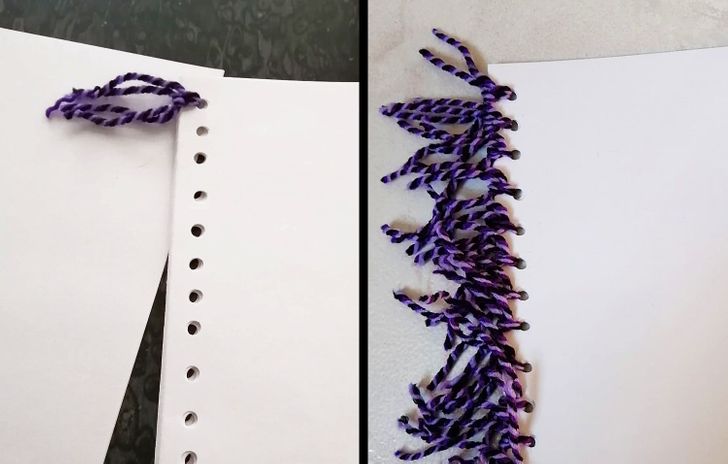
Method 3: Bind using a ribbon
What you’ll need
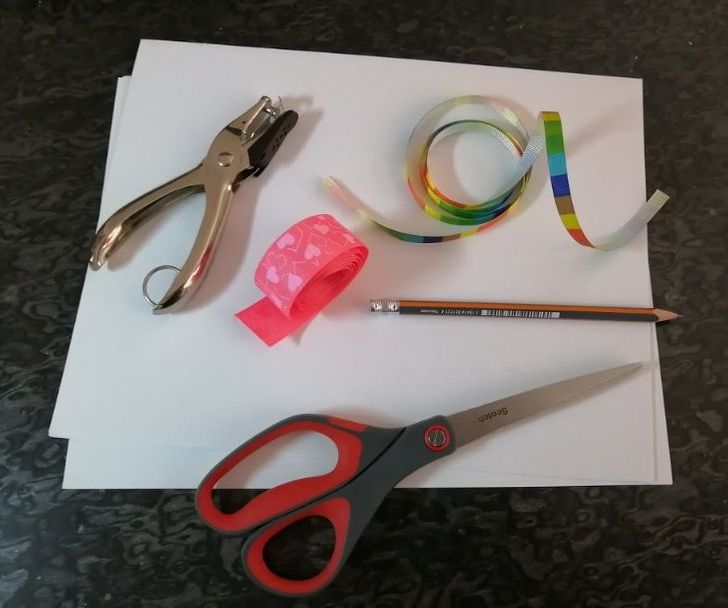
- Recycled notebook paper, white or colored
- Scissors
- Ribbon
- Hole punch
- Pencil
- Ruler
Step 1: Punch holes in the sheets
If you’re not into sewing, and you don’t want to spend too much time making a notebook, this method might the option you are looking for.
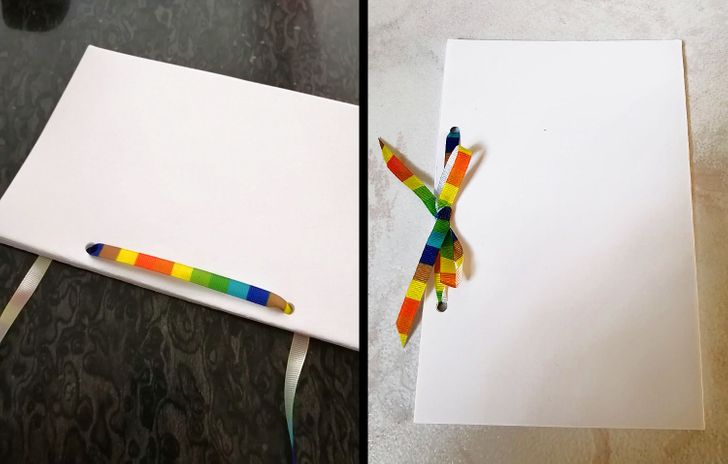
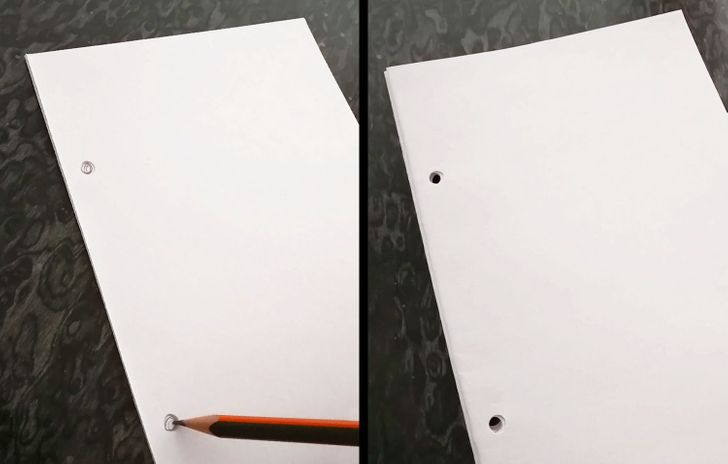
- Start by marking the places where you want to punch holes in the sheets. There can only be 2 or 3 holes, depending on their size. Mark them with a pencil. Take into account that you should leave about 1/2 an inch as a margin. Holes can be separated by 4 or 5 inches, depending on how many holes you want to make.
Step 2: Insert the ribbon into the holes
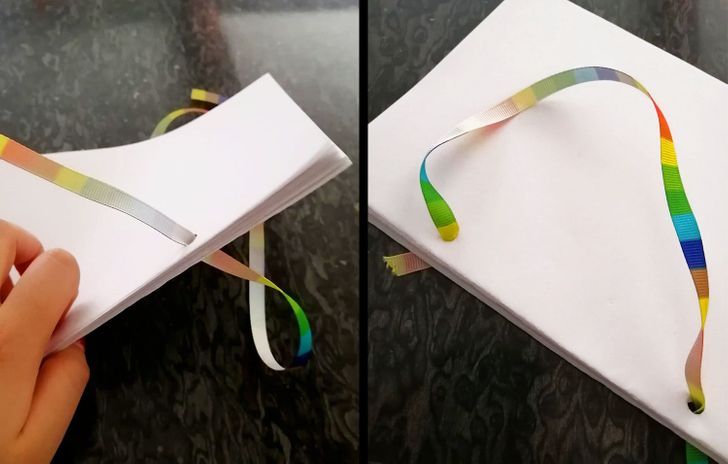
Step 3: Make a nice bow
