How to Paint a Stunning Sunset and Add Warmth to Any Corner of Your Home
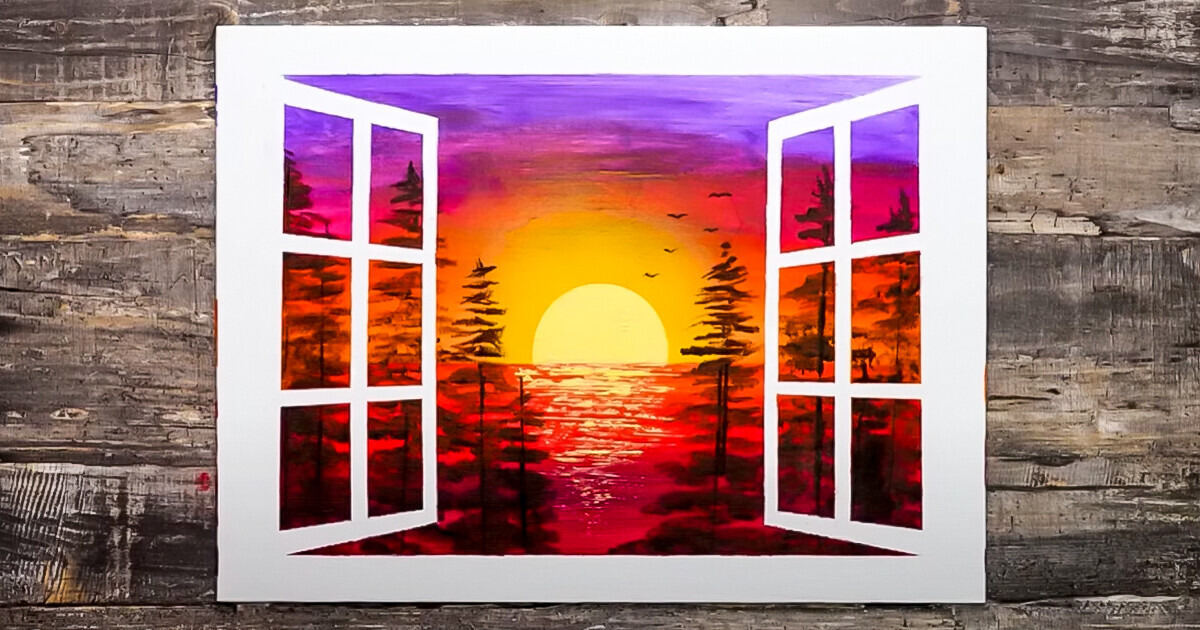
We’ll guide you through the process of painting a stunning sunrise canvas, perfect for adding a touch of elegance to your living space. Whether you’re an experienced artist or just starting your creative journey, these step-by-step instructions will help you craft a beautiful masterpiece. Get ready to adorn your home with a captivating sunset painting that will brighten any room.
Materials needed
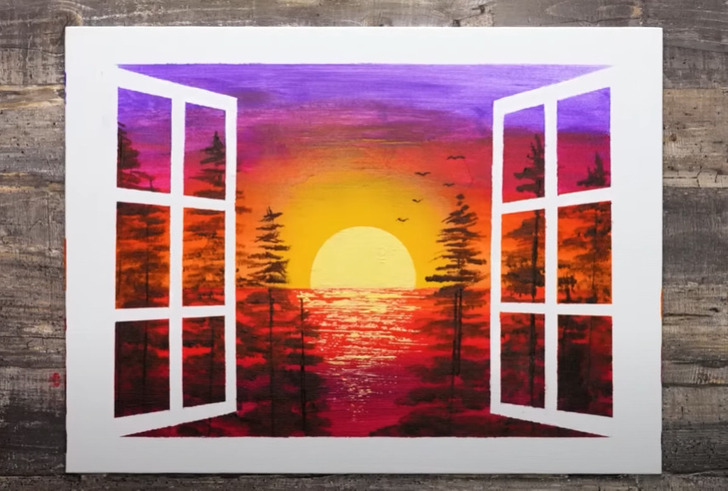
- Canvas
- Paints
- Thick and thin painter’s tape
- Paint spatula
- Regular brush and flat brush
- Regular paper and sticker paper
- Yellow spray paint.
1. Outline a couple of centimeter-wide stripes around the entire edge of the canvas using the thick painter’s tape
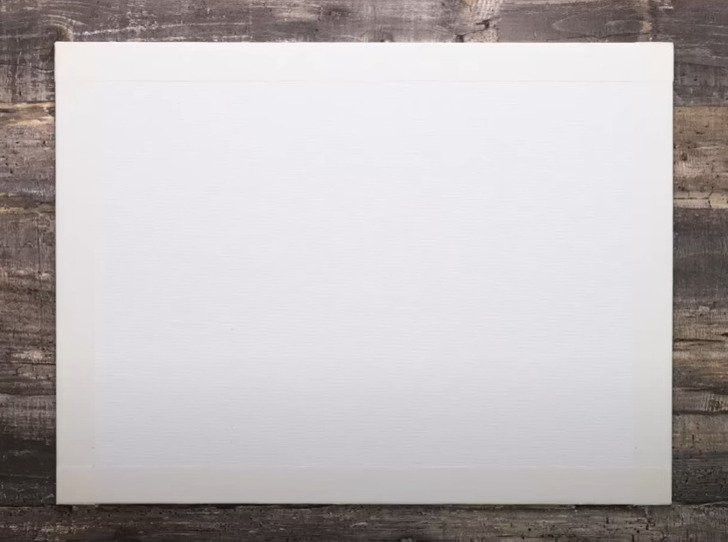
2. Using the thin painter’s tape, create two windows on both sides of the canvas that slightly overlap with the edge outlines
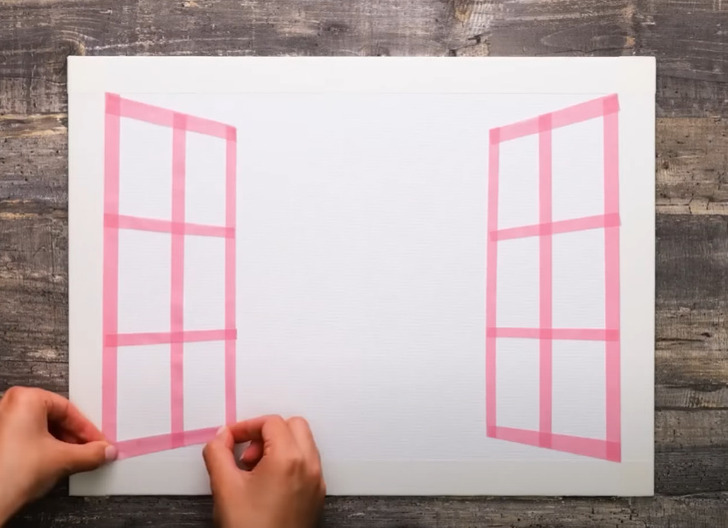
3. Apply paints with the colors of the sunrise from the top of the canvas to the center, placing the darker colors at the top and the lighter ones at the bottom
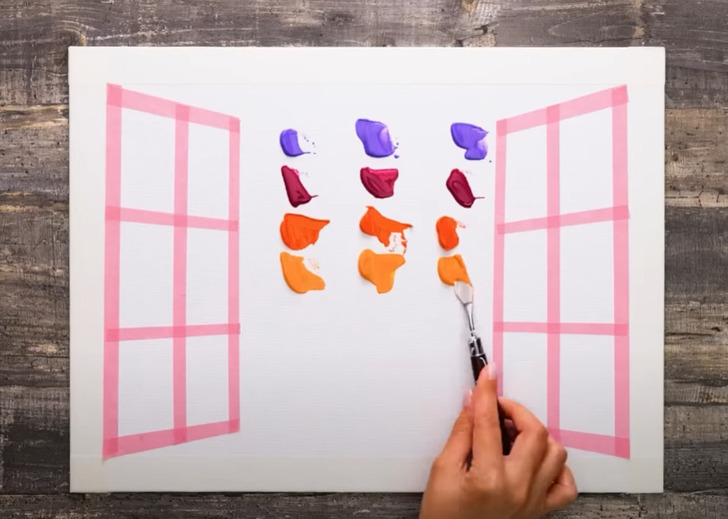
4. Using long horizontal strokes with a brush or flat brush, spread the paint across the entire canvas
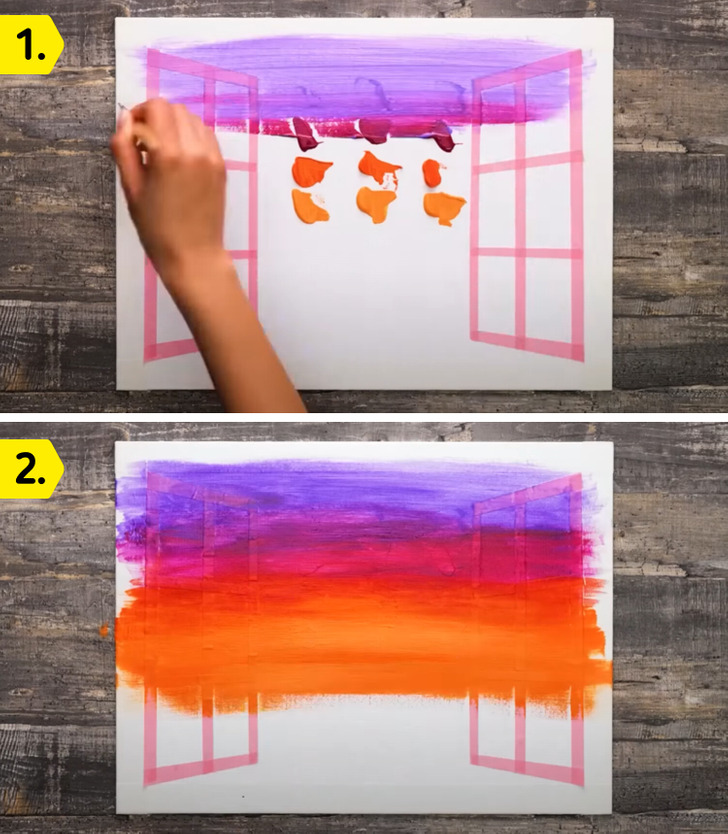
5. Cut a circle in the sticker paper and place it right in the center of the canvas
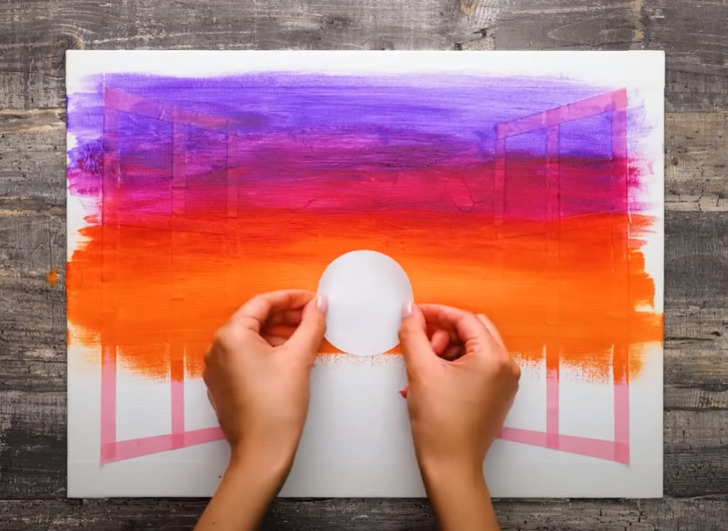
6. Position a regular paper horizontally at the bottom of the sticker paper circle
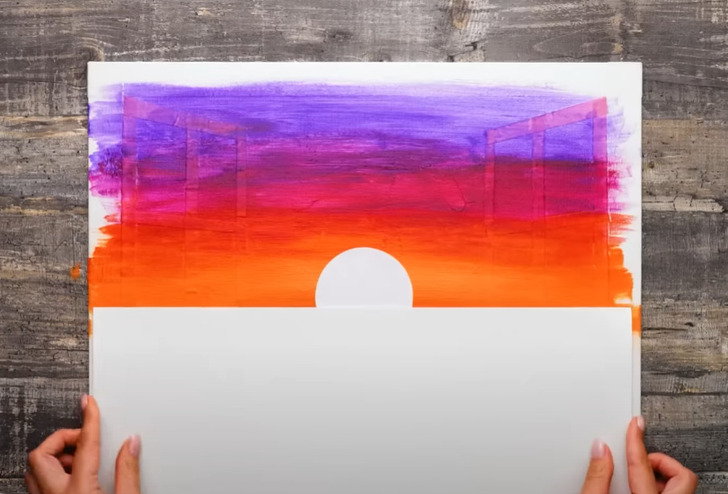
7. Spray paint the sticker paper circle with yellow spray paint, aiming for most of the color to be on the sticker while lightly shading the surrounding area
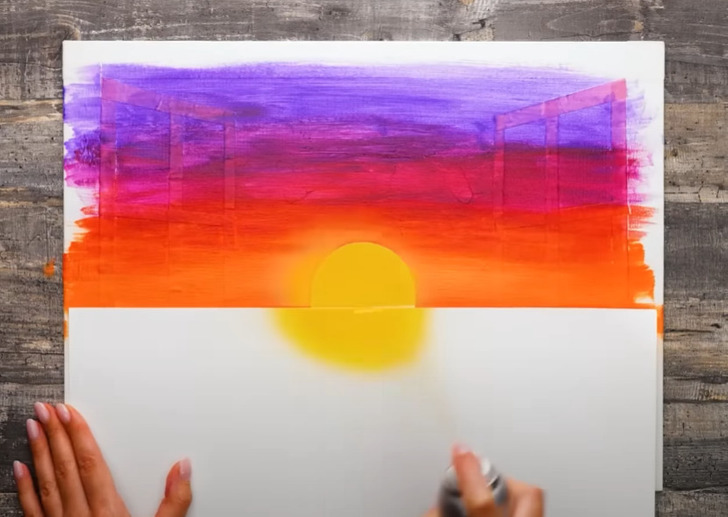
8. Remove the regular paper you placed at the bottom and peel off the sticker paper circle
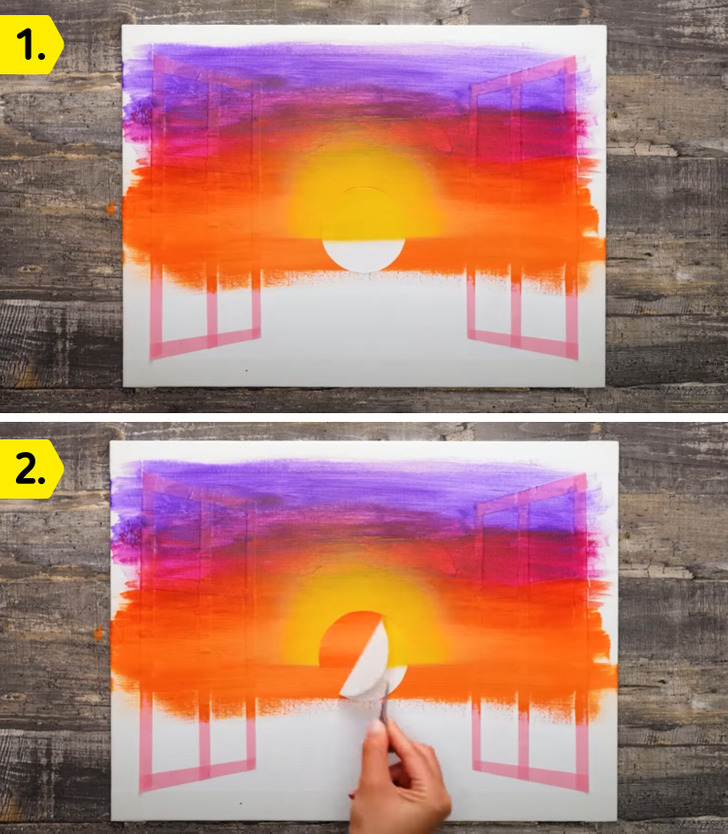
9. Paint the area inside the sticker paper circle with yellow, bringing the sun to life in a beautiful, vibrant hue
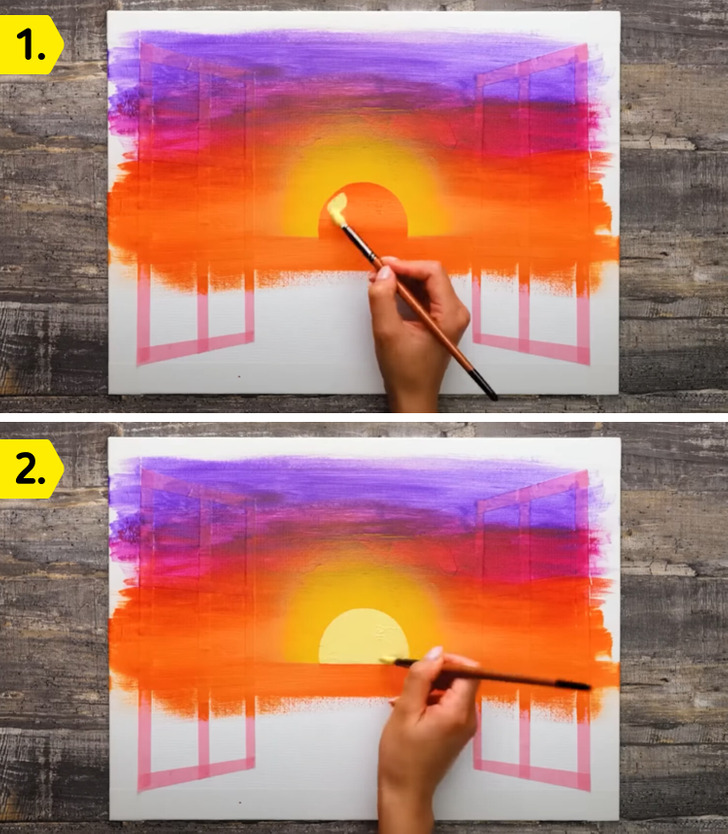
10. Allow it to dry, and once dry, place a horizontal strip of painter’s tape across the bottom of the sun, spanning the entire canvas
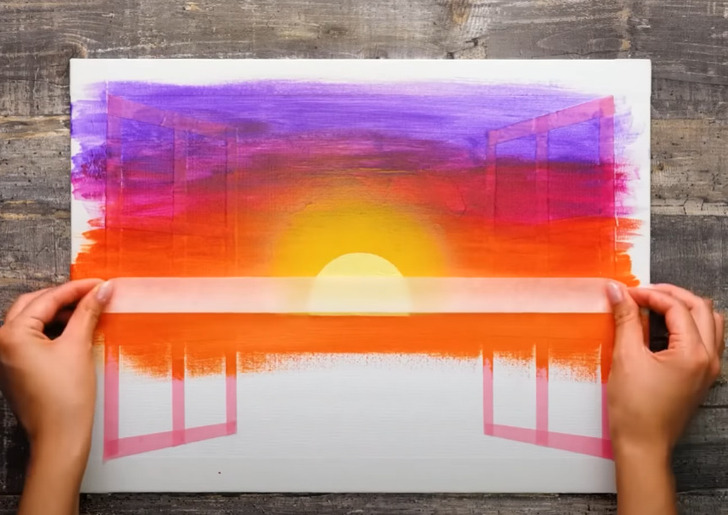
11. Using the same colors you used earlier, paint the bottom part of the canvas, but this time apply the colors in reverse, starting with the lighter ones in the center and gradually transitioning to the darker ones at the bottom
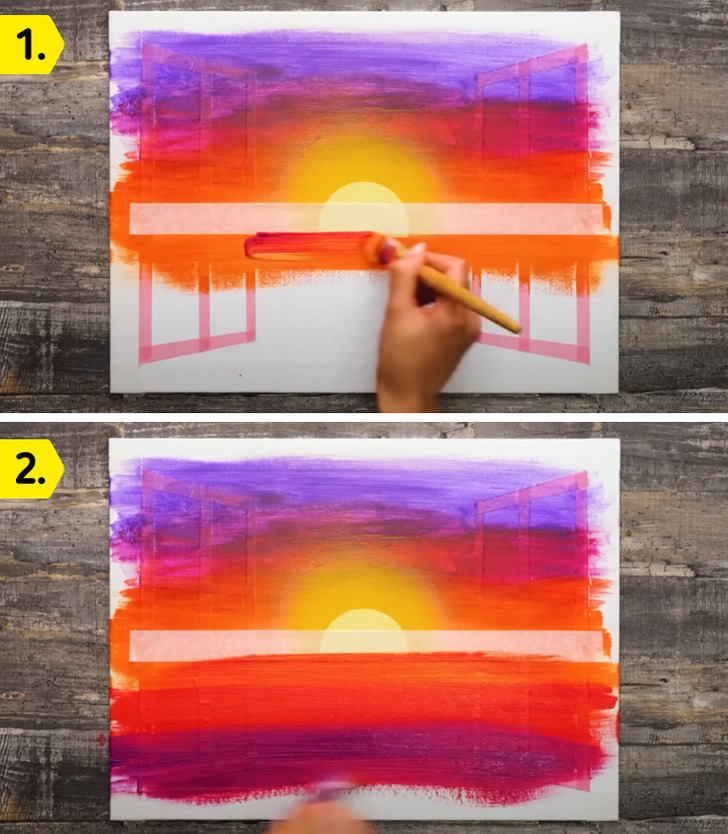
12. Remove the painter’s tape that defined the horizon line
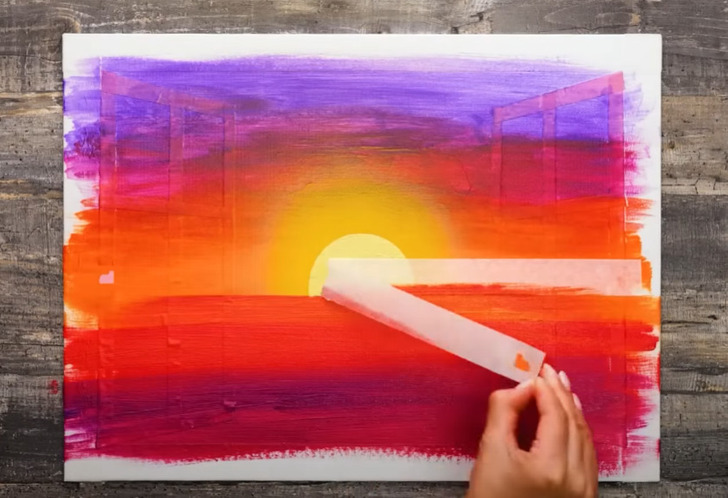
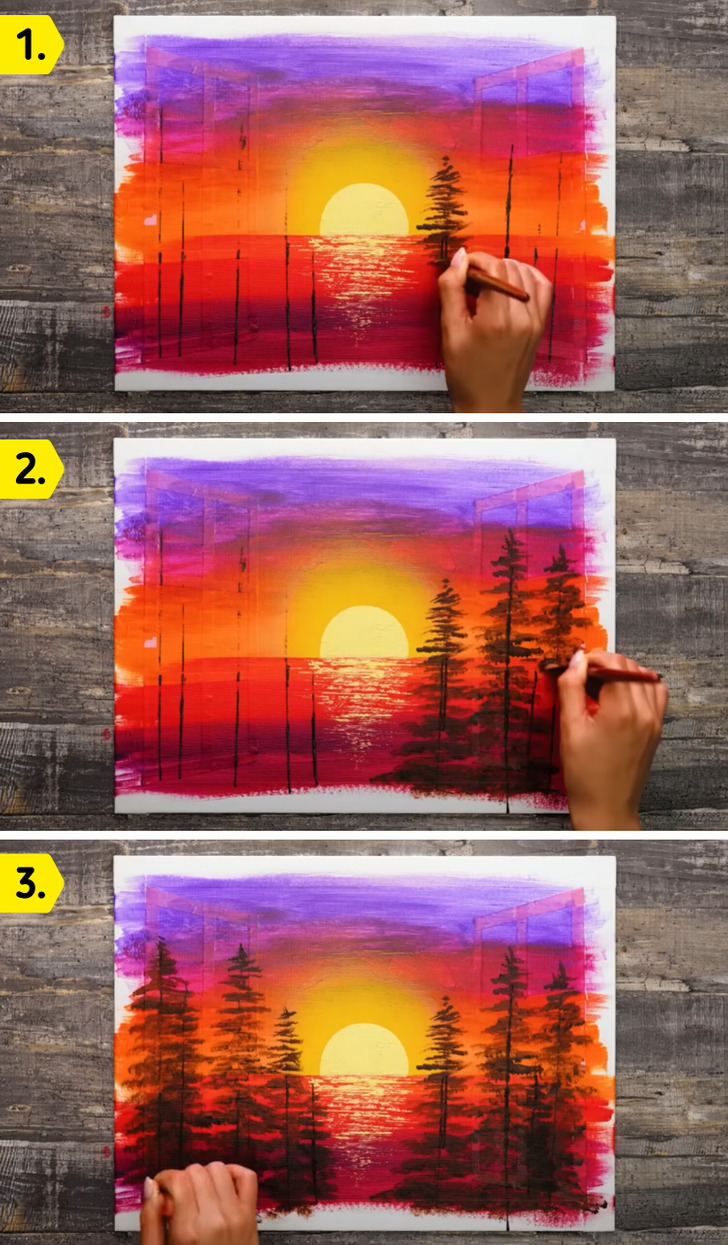
13. Dip the side edge of a spatula into paint and press it against the canvas to create straight lines just below the sun, forming an inverted triangle
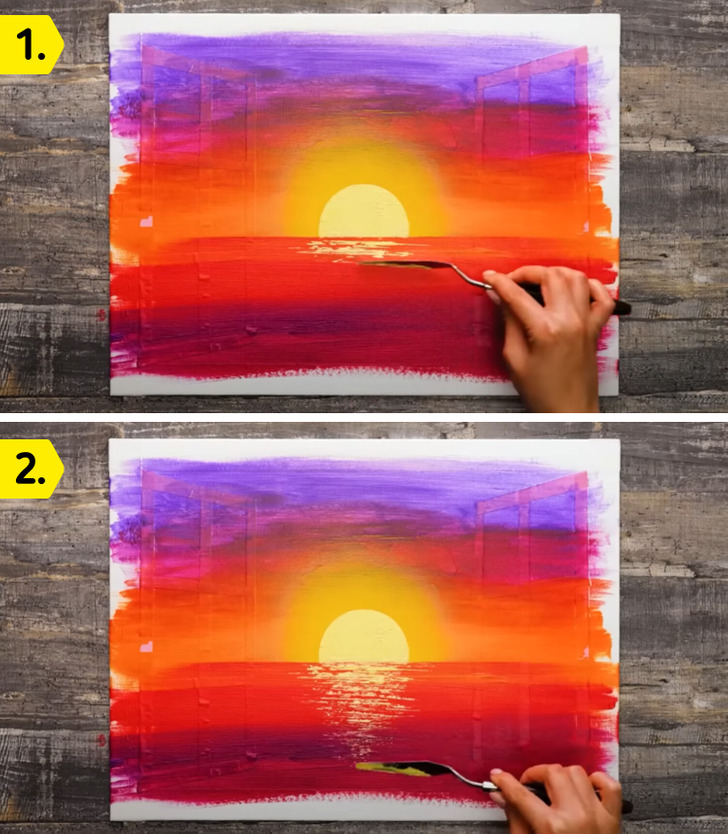
14. Using the same technique, design the tree trunks by dipping the side of the spatula into paint and applying it to the canvas where you want to place a tree
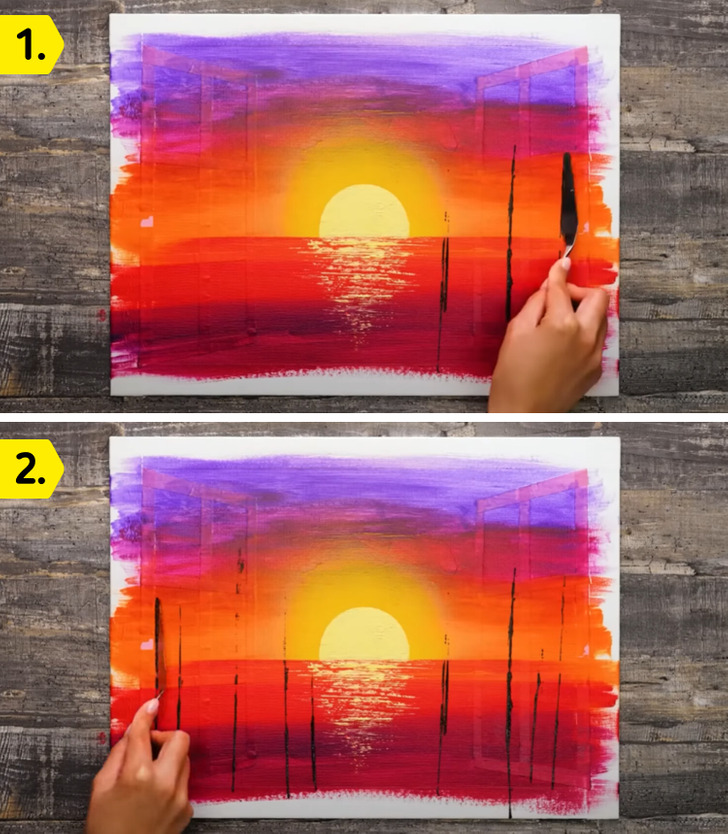
15. For the pine foliage, use a flat brush by dipping its tip into paint and applying individual touches to the canvas. Instead of strokes, think of it as stamping — press and lift
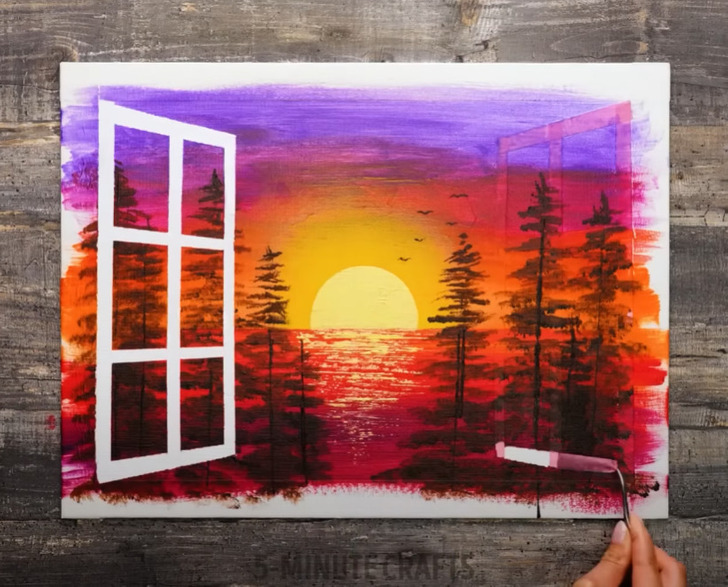
16. Remove the painter’s tape that defined the window shapes
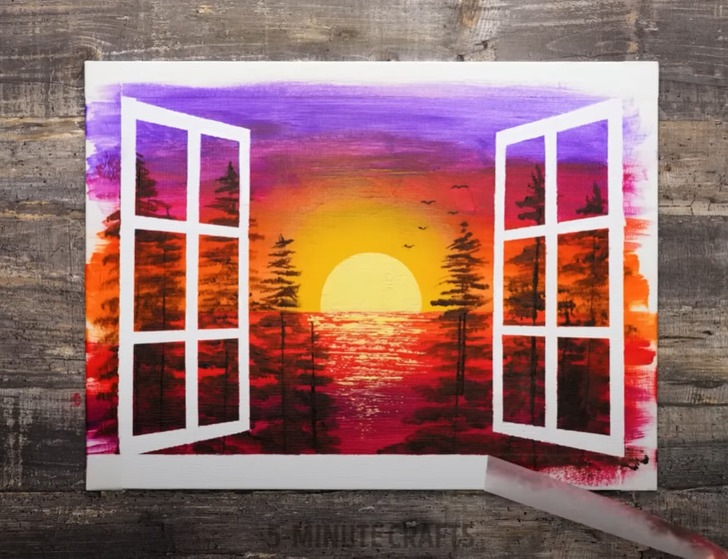
17. Remove the painter’s tape that outlined the outer edges of the canvas
Check out more amazing painting ideas and drawing hacks
Share This Article