How to Paint With Oil Paints: a Quick Guide
Oil painting is often preferred by artists and amateurs for its versatility. Compared to watercolors and acrylics, which dry very quickly, oil paints give us the possibility of being able to manipulate the work and make corrections on the canvas even after several days thanks to its slow drying process.
5-Minute Crafts teaches you all the steps you need to follow to be able to use oil paints in the right way and start to familiarize yourself with the world of painting.
Step 1. Gather the necessary materials
1. Paint
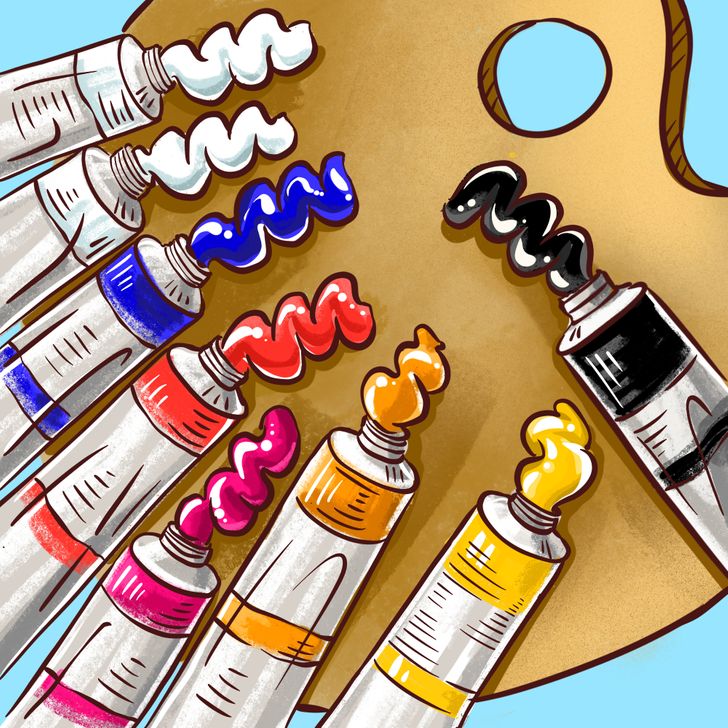
Your very first step is to make sure you always have the following colors. You’ll be painting by combining them, which means you will be able to get any shade on the color wheel: cadmium yellow, yellow ochre, cadmium red, alizarin red, ultramarine blue, titanium white, and Mars black.
Here are a few tips that we also found to be important:
- Ensure that the paints are oil paints.
- Even if you are just starting out and even if you only plan to paint as a hobby, choose good quality products. For example, a single brushstroke from a good quality oil paint could get you the same result as 3 strokes of a mediocre one, with the added benefit that it will be less likely to crack once it dries.
- Similarly, avoid buying student sets or any of the products that come in a package that already includes a set of paintbrushes. These are usually the lowest quality, as they come for free with what is usually cheap paint.
- Always make sure to buy enough white paint. This paint typically runs out before you’ve even noticed and before all the other colors because you will use it to mix or give different shades to the paints.
2. Paintbrushes
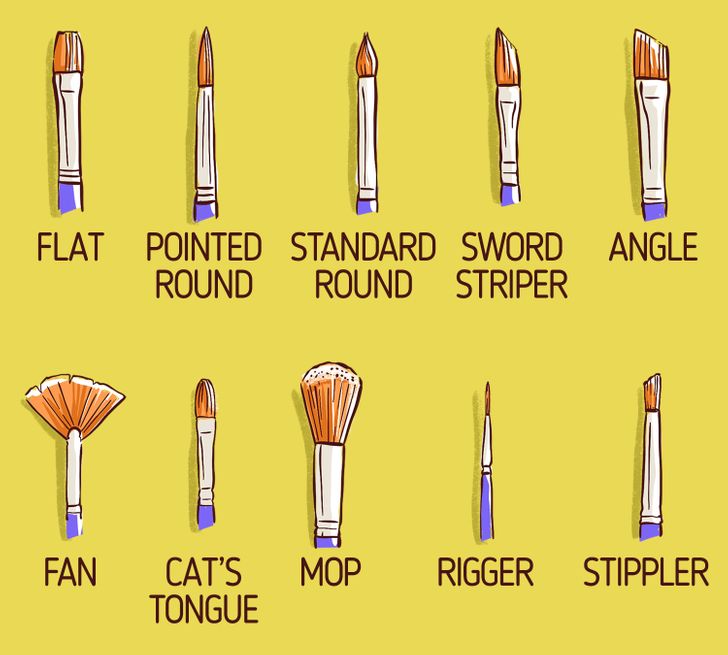
Since having good quality paintbrushes is of the utmost importance, you’re going to want to test them. A simple method to do that is to run the bristles over the back of your hand several times. With each swipe, the bristles should return to their original shape. If you see that this doesn’t happen, or if you find that the brush hairs are easily dislodged, it’s better to choose a different product.
In any case, it’s always good to have a small, varied sample of paintbrushes. Try 3 different sizes (one small, one medium, and one large) and 2 different shapes: one flat and one round. It is also a good idea to get synthetic and natural hair, so you can try different strokes and textures and see which one fits you best in terms of style.
When choosing, keep in mind that oil brushes, regardless of their shape, will all have long handles, so you may have to get used to that.
3. Palette, solvents, spatulas, and canvases
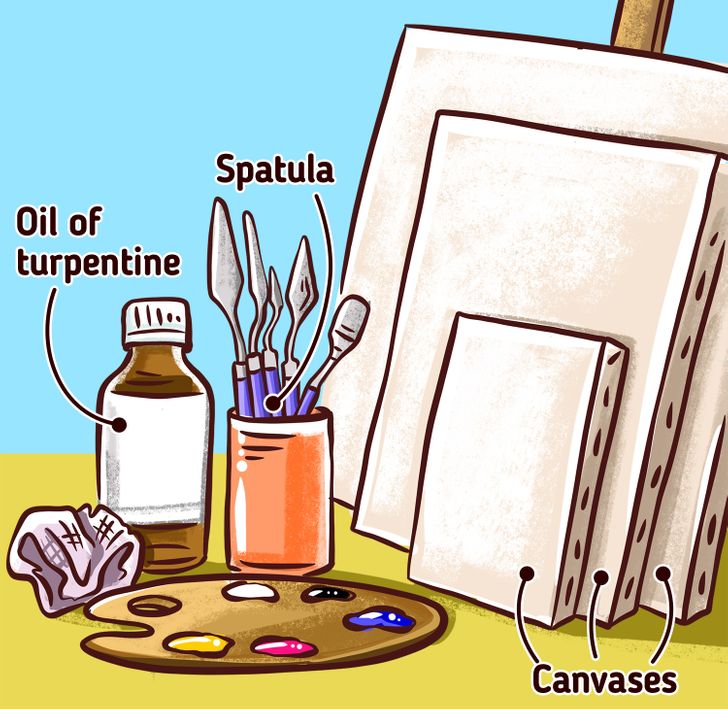
- The palette and steel spatulas are the main tools you’ll be using to mix paint and create new shades and colors, so there are a few things you should take into account when buying them. For the palette, keep 3 things in mind: it should be large, easy to clean, and light-colored.
- Spatulas, on the other hand, are not only used to mix the colors but also to clean the palette and even to make corrections to the painting once it is finished. So basically, you will use the sharp edge to correct and the round tip to pick up and mix the colors.
- As you’ve probably noticed already, oil paint is very thick. That’s why when you press it out of the tube, you need to dilute it before starting to paint. Unlike tempera, acrylics, and watercolors, oil paints cannot be diluted by just adding water since it’s made with oil. In this case, you’ll have to use special oils and solvents. In terms of oils acting as solvents, one very good option is turpentine essence.
- You can use canvas, sheets, wooden boards, or even paper. The important thing is to make sure that the surface you choose is prepared for oil painting.
4. An easel, rags, and paper towels along with glass jars, an apron, and cardboard boxes
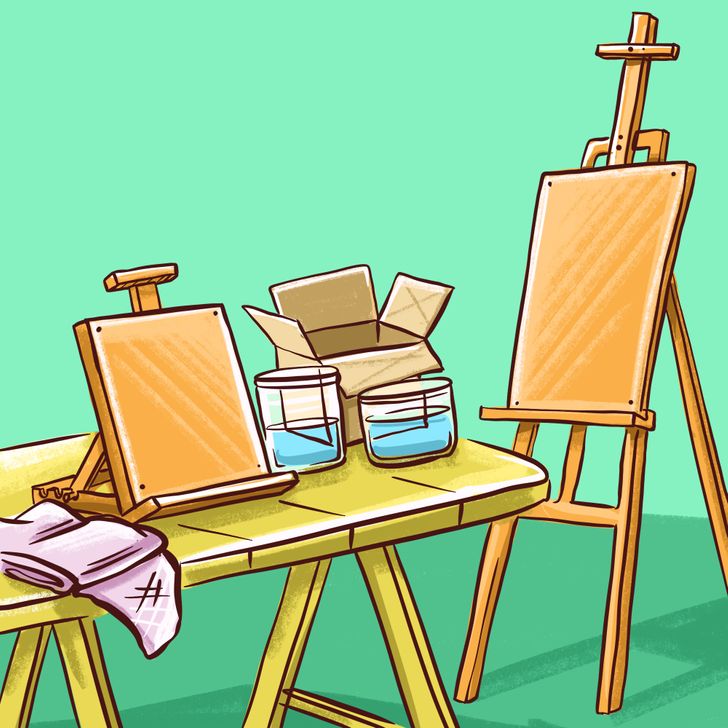
Finally, think about getting jars to put water and paintbrushes in. Don’t forget rags, tissues, or paper towels, and an apron — all of these will, in some way, help you to avoid stains. Use the cardboard box for storage. As you can see, all these things are materials that you will also need.
As for the easel, you can choose to use a stand or a table model, this will depend on what is more comfortable for you.
Step 2. Prepare the area where you’ll be working.
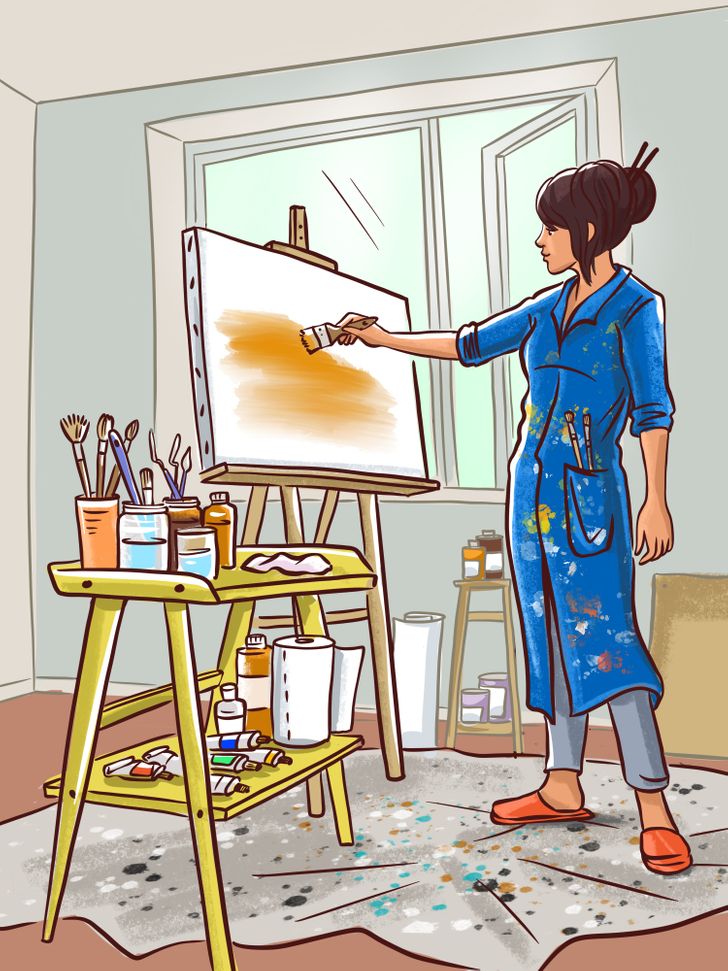
When choosing your workplace, follow these simple tips to get the best location to paint:
- Look for a large and, if possible, secluded space.
- Use rags to cover the floor and prevent paint spills from ruining it, especially if the floor is made of wood or any other natural material.
- Choose a well-ventilated area, it will be ideal if it is close to a window where you have a lot of light coming in. Due to the ingredients it’s made of, oil paint has a very strong odor, and it could be harmful if we inhale it in a very enclosed place for long periods of time. Besides, the window will also ensure that you have good lighting, and this will in turn determine whether or not the result of a particular painting is good.
- Do your best to avoid staining. This type of paint is very difficult to remove, you should wear old clothes or cover your shirt with an apron.
- Pick up your hair so that it does not fall into the paint, and remove any rings and bracelets you may be wearing.
Step 3. Start painting
1. Make a sketch
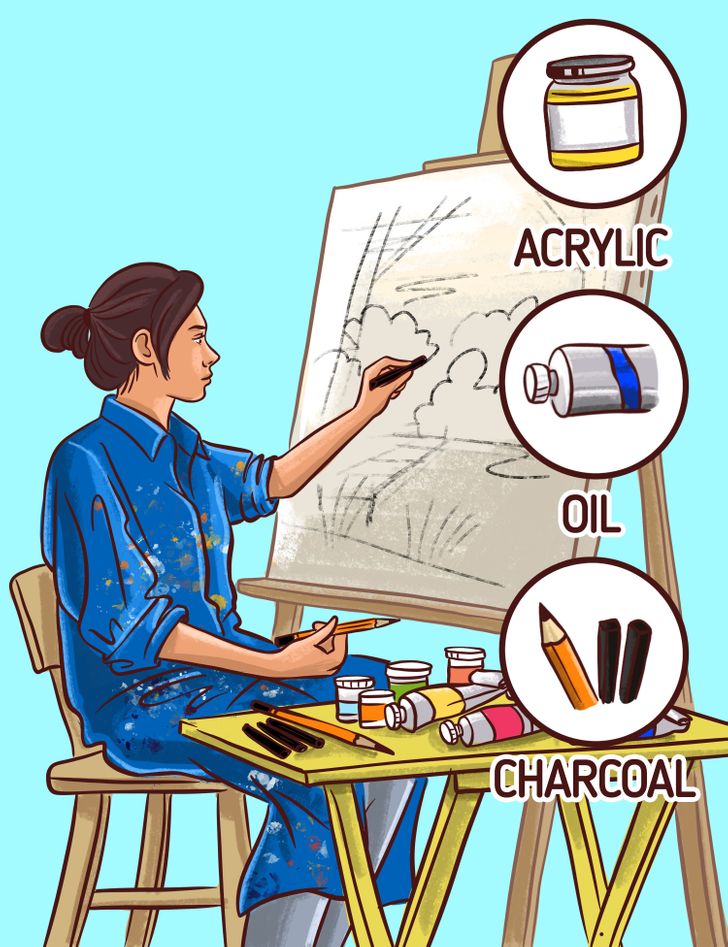
It is always recommended that you start your work by drawing a sketch of what you are going to paint later. You can make the sketch with charcoal, pencil, acrylic, or the same oil that you already have, but very diluted, so that it can dry quickly. You can actually make the sketch straight on the canvas or somewhere else if you prefer. However, if you do a sketch on the canvas, keep in mind the following:
- If you choose charcoal, you should apply a fixative after doing the drawing to prevent the paint from smudging later.
- If you choose pencil, do not press too hard, try to make smooth and fine lines, otherwise, it will be very difficult to erase later.
- You can use acrylic paint to outline your sketch, but keep in mind that you will have to wait for it to dry before applying the oil paint.
2. Respect the shapes and details of your model.

- The drawing you make as a sketch is very important because the result of the work, in general, will depend on it. If it is not well done, or the proportions are not correct, it will be very difficult to correct it later — so it’s important to take your time to get it done right.
- An effective method to make the sketch proportionate to the original model is to draw horizontal and vertical lines. You’ll obtain a set of rulers that will divide the whole canvas into different squares of the same size. This way you will have a perfect scale of your model and it will be easier to transfer it to the painting.
- Draw these lines in the places where you think they can simplify the whole drawing stage. For example, these sorts of rulers can be very useful to have in spaces where you know you’ll be painting key objects. Doing this will allow you to become really aware of their dimensions and make everything proportionate.
3. Mix the colors
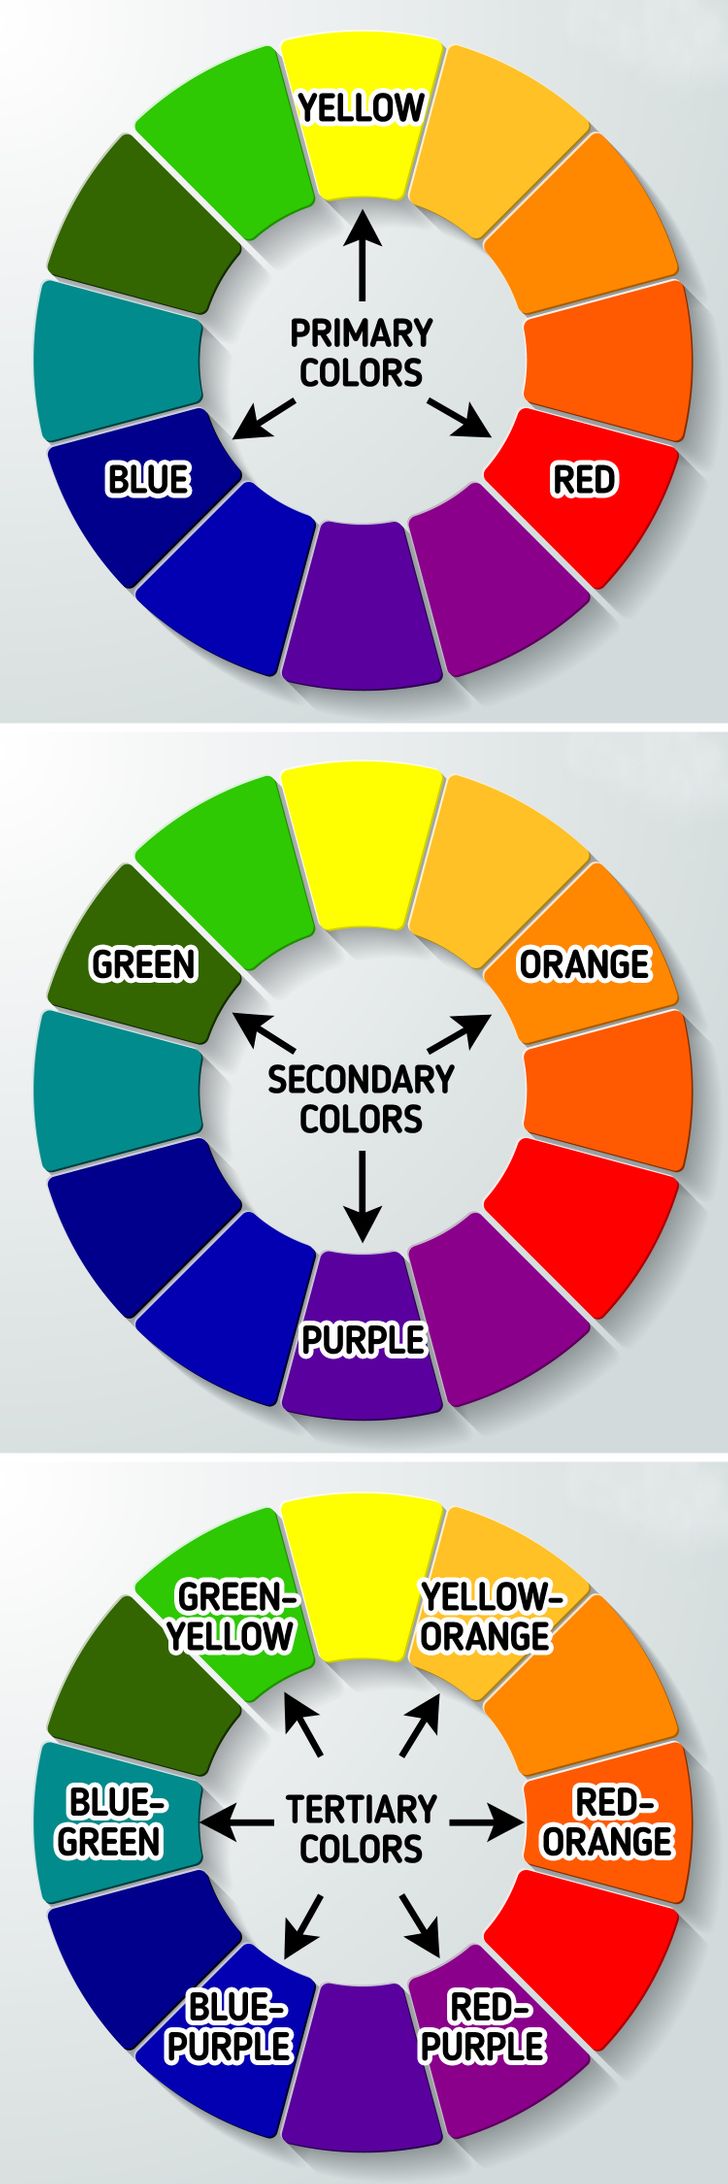
- Always make sure to mix large quantities of paint. Once you have reached the color you need or want, you can store it in jars to use again in your next painting session.
- Don’t forget to use the color wheel. With it as a reference, you will always know which colors you can mix to get a new color and which are the complementary shades that go well together. The color wheel shows you the different groups of colors you have. There are primary colors, which cannot be created by mixing other colors, secondary colors, which are obtained from the combination of 2 primaries (for example, if you mix blue and yellow, you get green). Finally, you can also see the tertiary colors there, which are obtained by mixing a primary color with a secondary color. The rule to keep in mind for this last part is to make sure that the colors you’re mixing here are next to each other on the color wheel.
- If you want to get a pastel tone, add white to any color.
- If you want to paint shades, add black.
4. Let your imagination run wild.
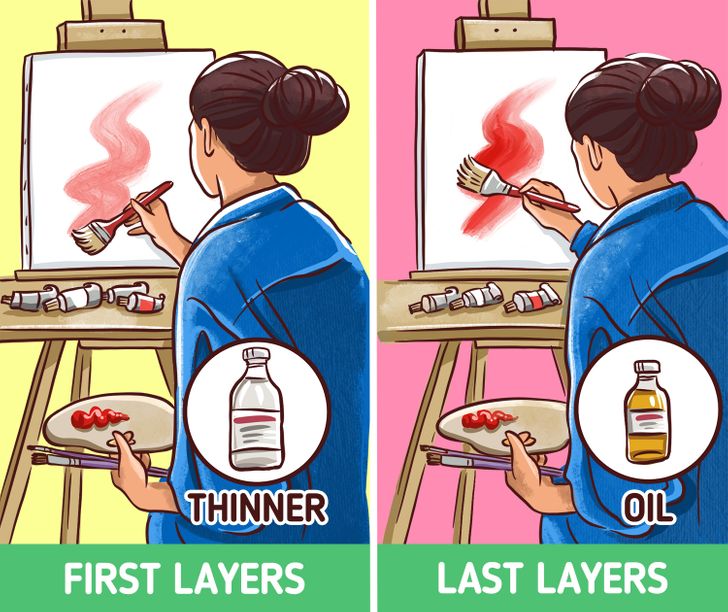
- Feel free to paint according to what inspires and interests you. Although every work of art is unique and conveys a unique view, it’s also true that all activities require some basic premises that act as common ground. Follow them and you will see how your painting will improve up to the point that you can afford to break those basic rules.
- Try starting with small paintings. You can start with 8×10 inch canvases. Experiment with different techniques. Learn how to mix your colors by playing around with different combinations.
- Use thinner paint on the first layers and save the thicker strokes (with more oil and less solvent) for the next layers. Working in this way will make sure that your painting dries faster while at the same time preventing the paint from cracking.
- Work with a limited palette. You’ve probably heard the saying before, but in this case, less is more as well. Start by choosing the primary colors, from which you can get the most diverse shades.
- Start with a large brush. This will allow you to make more confident strokes and to cover the canvas more quickly.
- Use the palette knife or spatula to not only blend colors, but also to outline contours, add details, create sharp strokes, and give texture to objects.
Step 4. Correct your artwork and make sure your workspace is tidy.
1. Correct errors.
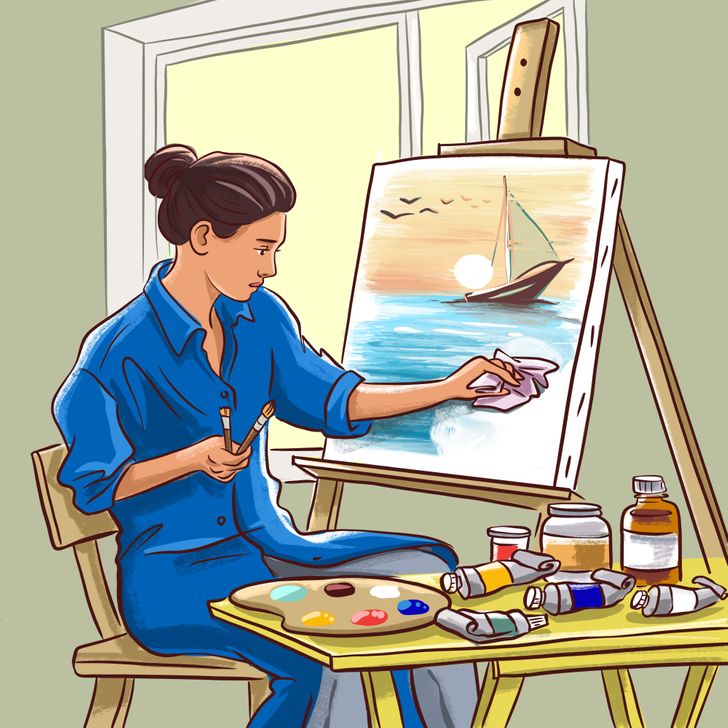
Step back some distance from the canvas to observe it as a whole. Keep an eye on anything you already wanted to modify or correct to see if it actually needs to be changed, and if so, how. Oil paint takes approximately 3 days to start drying. That means that during those days you still have time to correct any mistakes with a damp cloth.
2. Clean the paintbrushes.
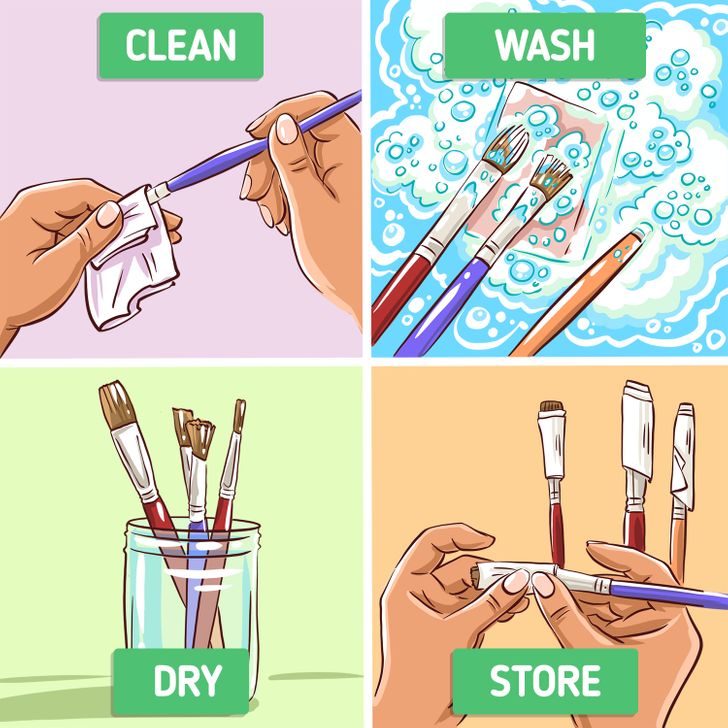
- Use a paper towel to remove any clumps or solid paint from the brushes.
- Wash your paintbrushes immediately after using them. Oil paint will ruin them if you let them dry. You can always rinse them with natural water and liquid soap. If you do so, wait until the foam that forms comes out completely white and finally check to make sure that there aren’t any traces of paint left in between the bristles. Leave them in a jar with the bristles upward and wait for the air to dry them. Then store them in an open place, not in a cupboard or drawer.
3. Wait for it to dry and then varnish.
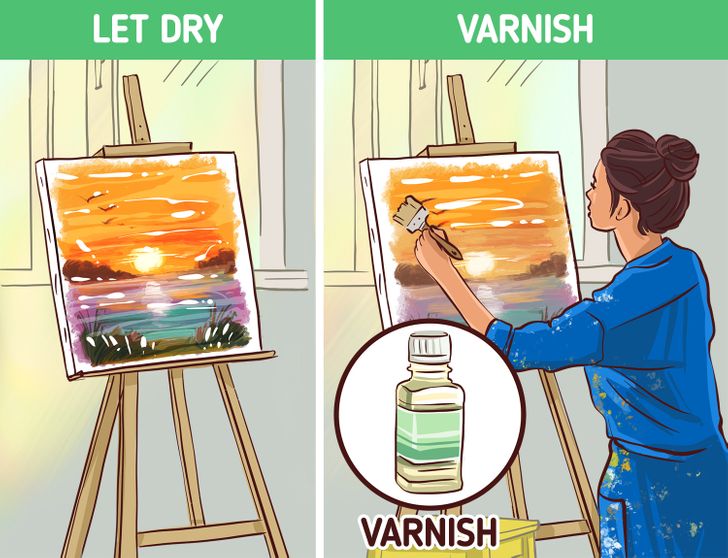
- Remember that it could take up to a month for all the paint to dry completely. Of course, that depends on several things, including the size of the canvas and how thick and oily the strokes were, among others.
- Let it dry, if possible, in a room with plenty of light, and dry and warm air.
- When it is completely dry, add a coat of varnish to protect the paint and preserve its color for a longer period of time. Then, let this new layer dry and after all this work, you’re finally done.