How to Patch a Wall
If you want to fix the walls of a room that have suffered some damage, depending on what you’re looking at, you might have to resort to patching them. 5-Minute Crafts is showing you how to do it, step by step. In addition, we’ve included 2 simple methods that will help you cover or fill small holes in your walls.
⚠️ Before starting, always make sure to put on your gloves as well as protective glasses to prevent the material from coming into contact with your hands and eyes. Make sure to read the safety labels of the products you’re going to use.
What you’ll need
- Work gloves and goggles
- 1 cutter
- 1 deep plastic container
- 1 spatula or flat trowel
- Interior acrylic filler and sealer
- Water (the amount will depend on the product’s instructions)
- Plastic mesh (slightly larger than the size of the crack you’ll be patching)
- Wall paint (quantity depends on the size of the area to be patched)
- 1 paintbrush or roller
Instructions
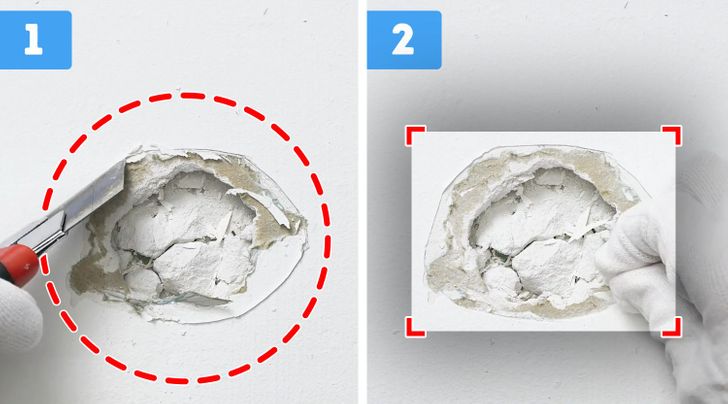
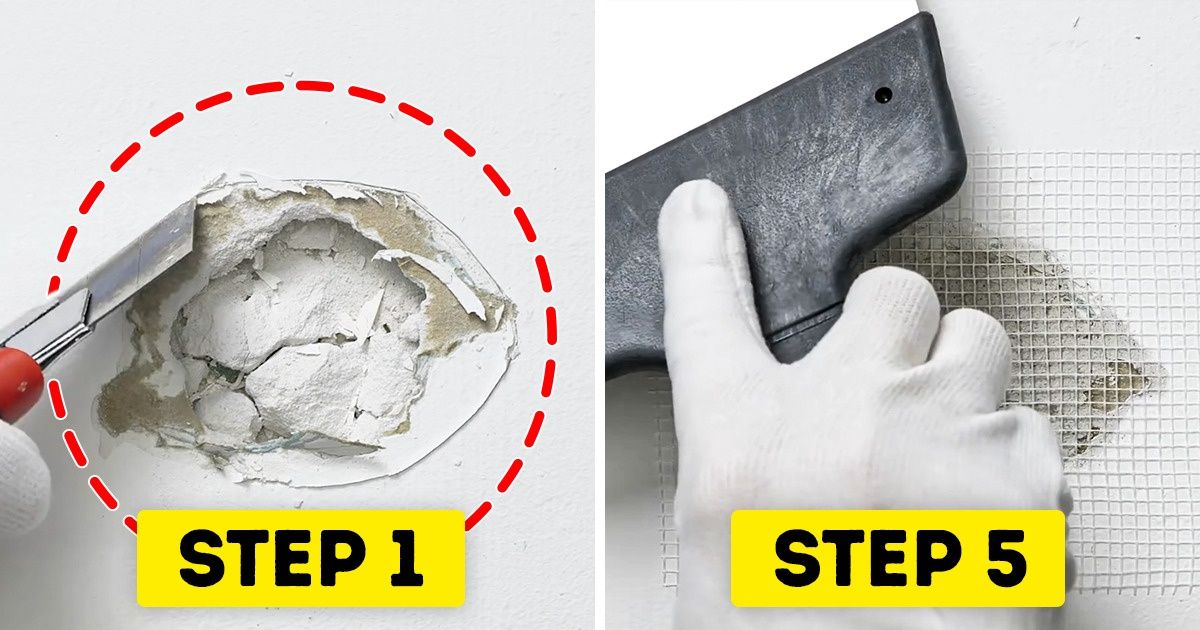
1. Let’s start by preparing the area of the wall that has to be patched. Use a cutter to section off the part around the crack or hole that has to be repaired. This is done to remove pieces of the wall and make it easier to apply the filling.
2. Now that that’s gone, use your fingers to clean the area by gently removing the leftover material or paint from the damaged wall. If you want to, you can also sand the surface using a manual or electric sander. Doing that will make the area smoother and more homogeneous.
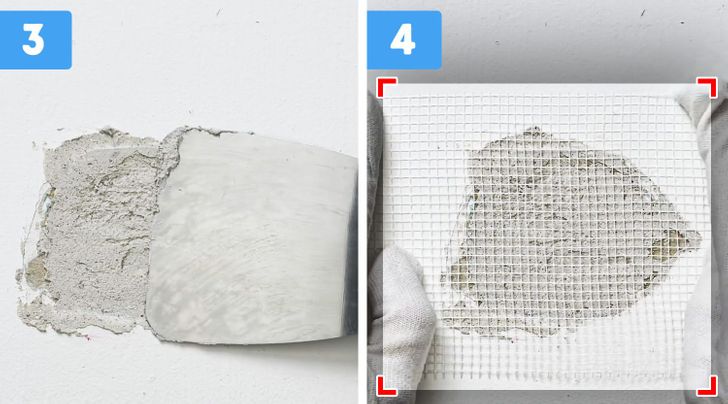
3. Then prepare the filling by mixing it with water in a plastic container. Follow the manufacturer’s instructions that you can find on the package to obtain the best results. Stir the mixture and let it sit for about 5 minutes as it hardens a bit. Then, apply it to the wall using a spatula. Fill in the crack until the surface is uniform.
4. Place the plastic mesh on the patched area without pressing it. The mesh should adhere to the filling.
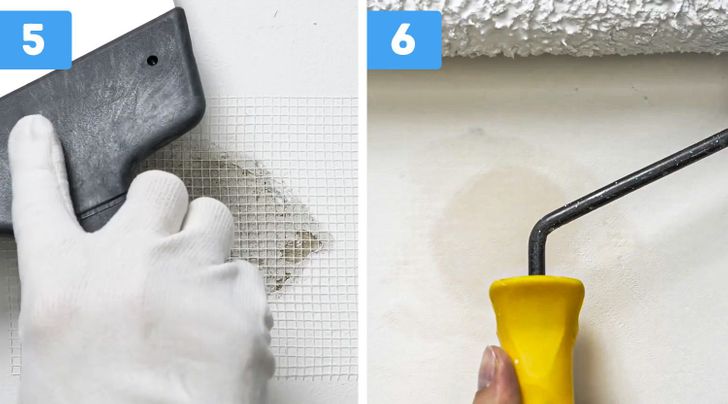
5. Apply sealer to the area, making sure it covers the entire surface of the damaged wall. This will help prevent deterioration of the area due to excess moisture, so it’s an important step. Let it sit for the filler and the sealer to fully penetrate. Drying time will depend on the size of the area you patched and the products you used to fix it.
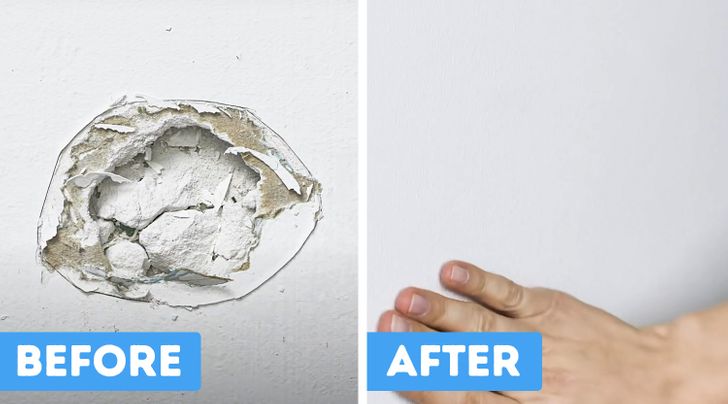
6. Once you notice that the patched area is completely dry, check if the wall is even. If you find that there is any residue or excess sealer, gently sand the wall until it’s perfectly smooth. Then, using a brush or a roller, paint the patched area with the type and color of paint you prefer. Let the paint dry for a couple of hours, and you’re done.
Bonus: how to repair small holes
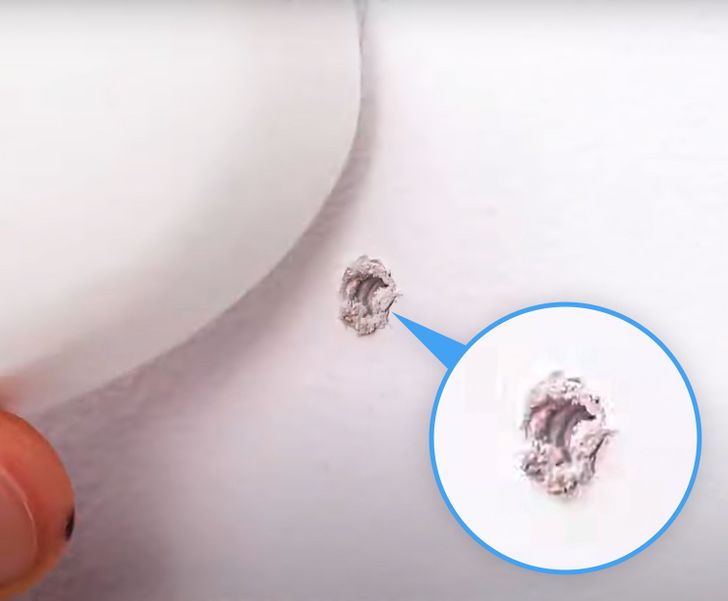
If you need to patch a small hole in your wall, (we’re thinking of those small holes or cracks left behind from hung artwork), you can try these 2 simple methods.
Method 1: with a bar of soap
-
Rub over the crack with a bar of soap that is of the same color as the wall until it’s completely covered. You’re actually not filling in the hole, just simply covering it.
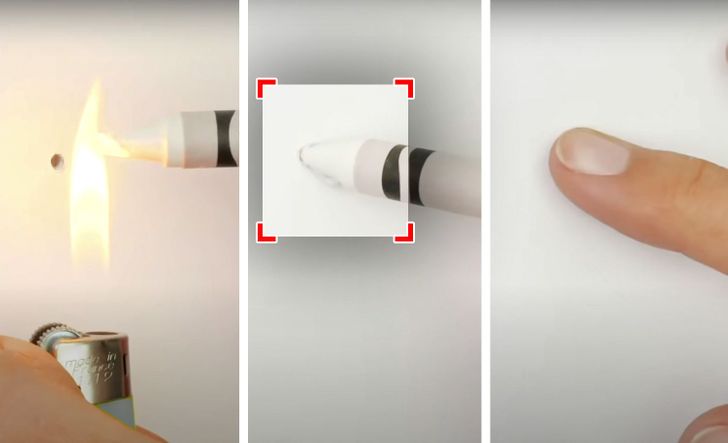
Method 2: with colored crayons
- Use a lighter to heat the tip of a crayon. For the best results, choose a crayon that is of a similar color to that of your wall.
- When the wax from the crayon heats up, insert and rub the tip of the crayon on the hole to fill it in completely.
- Then gently remove the excess product with your fingertips.
