How to Preserve a Flower in Epoxy Resin for Eternal Beauty
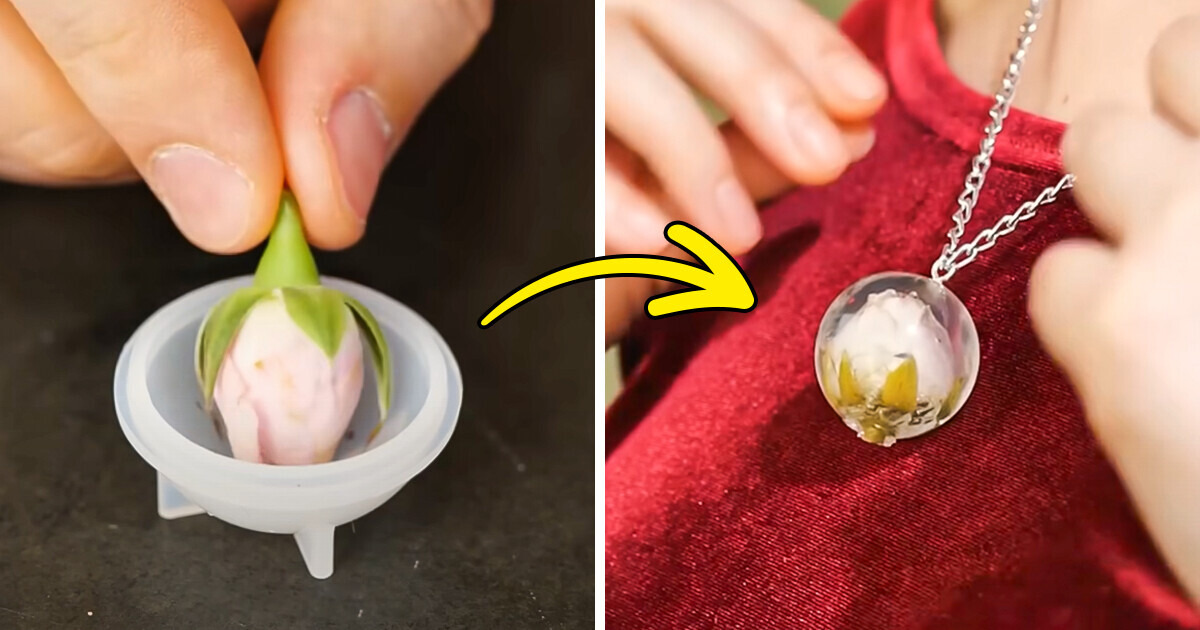
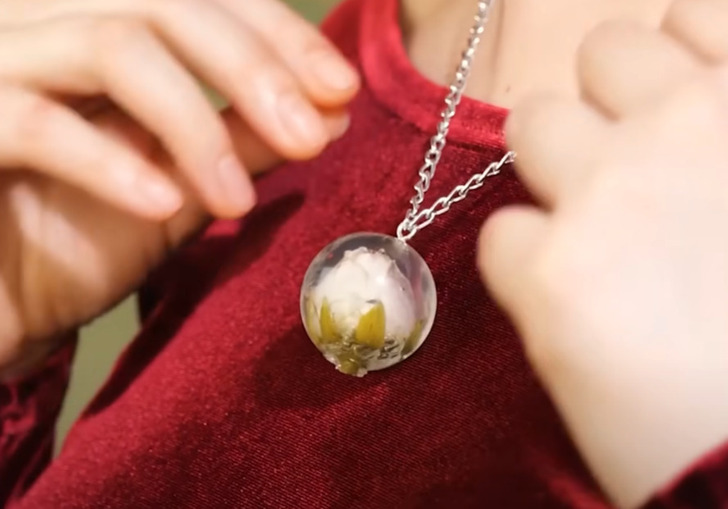
Discover the art of encapsulating flowers in epoxy resin with our step-by-step guide. Create stunning botanical resin pieces that capture the beauty of nature forever. Dive into this fascinating craft and learn how to preserve delicate blooms in crystal-clear resin. Whether you’re a seasoned artist or a beginner, these instructions will help you master the art of flower encapsulation.
Materials You’ll Need
- Epoxy resin
- Mixing cups and stir sticks
- Silicone mold
- Flowers
- Heat gun or torch (for removing air bubbles)
- Craft stick or toothpick (for placement)
1. Ensure your flowers are completely dry (you can press them between sheets of absorbent paper for a few days to remove moisture)
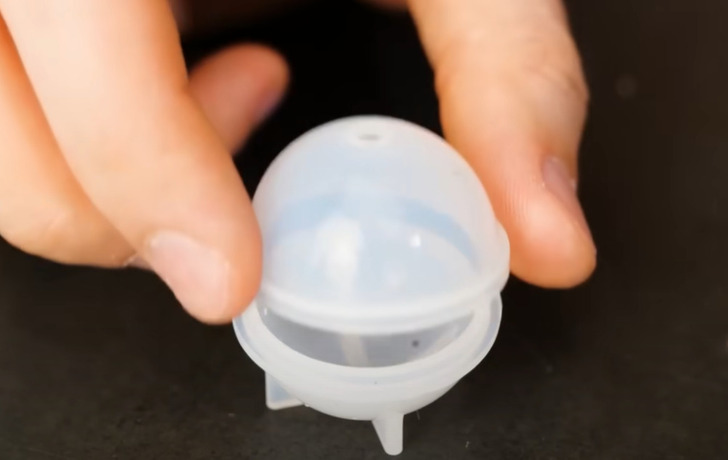
2. Pour a thin layer of the mixed resin into the silicone mold as base
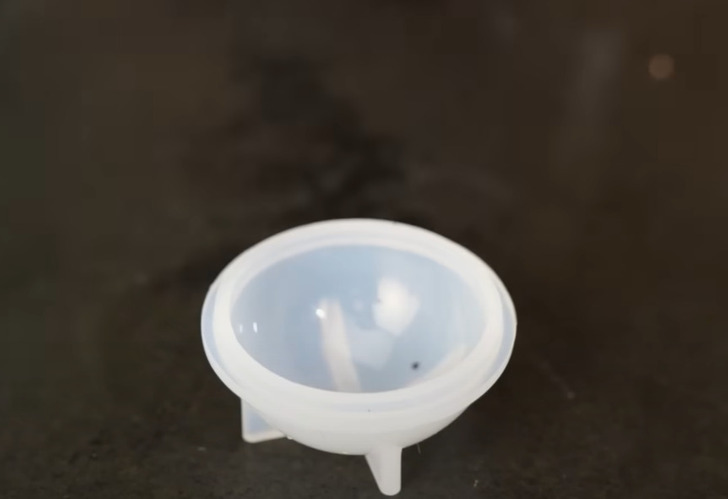
3. Carefully place your dried flowers on top of the thin resin layer
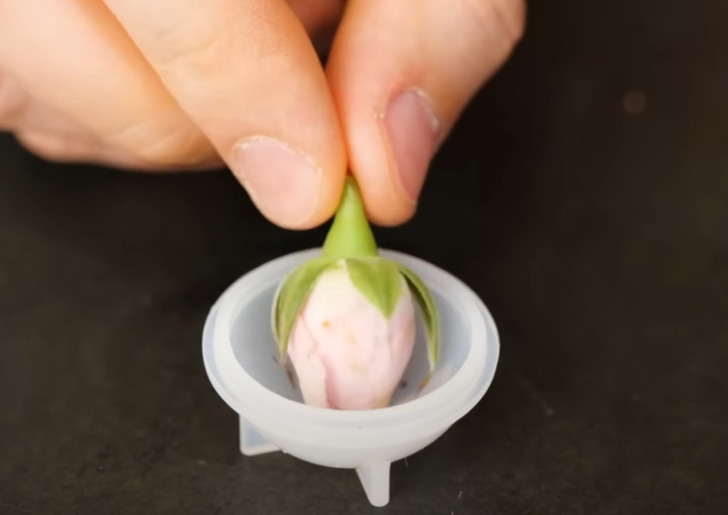
4. Slowly pour more resin over the flowers, making sure they are fully covered
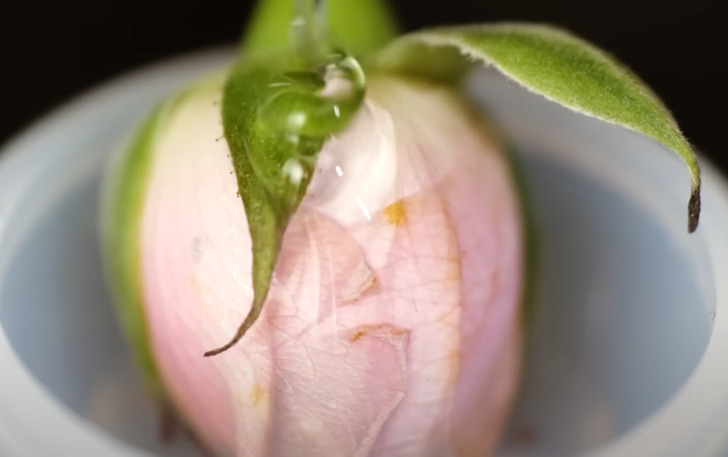
5. If it’s necessary, Use a heat gun or torch to pass quickly over the surface of the resin, this will help to remove any air bubbles that may have formed, but be cautious not to overheat the resin
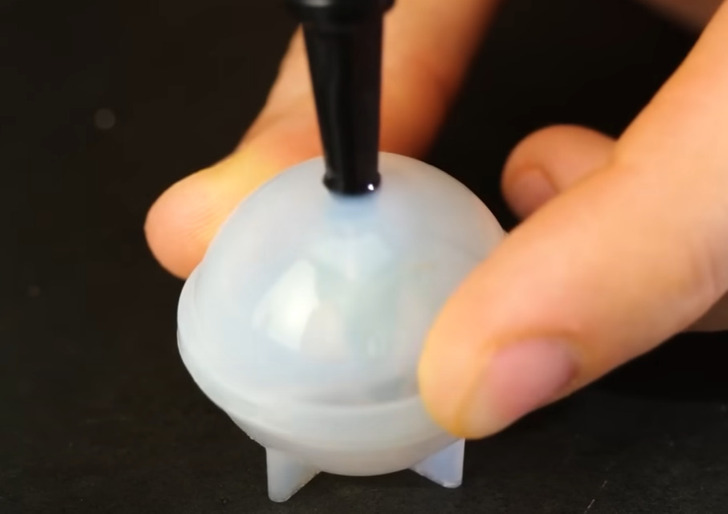
6. Allow the resin to cure, this typically takes 24-72 hours, depending on the product, once the resin has fully cured, gently remove the encapsulated flowers from the silicone mold
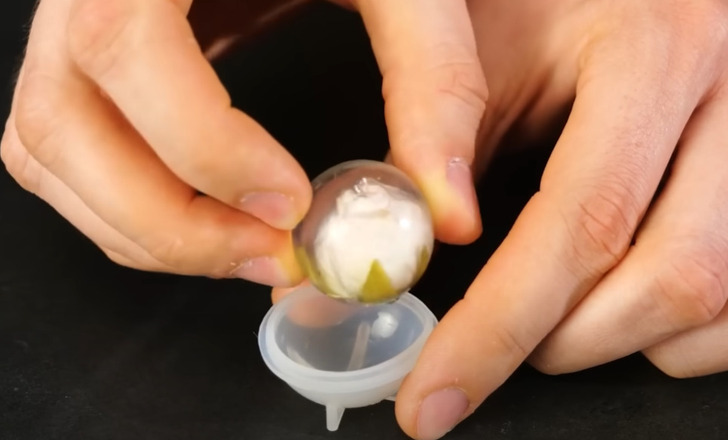
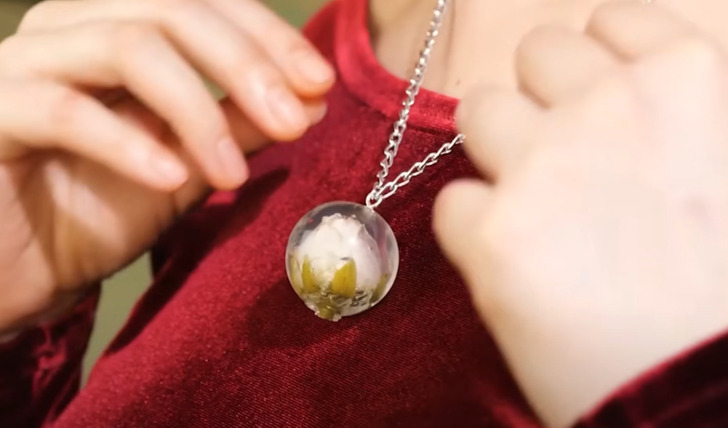
7. Your encapsulated flower resin piece is now ready to be used as a decoration, pendant, paperweight, or any other creative application
Check out more amazing DIY crafts with epoxy resin
Share This Article