How to Repair a Damaged Charger Cable Yourself
The cables we use daily to charge our laptop or smartphone get damaged frequently. We even tend to twist them to the point of wearing them out or handle them so much that their inner wires get exposed.
If one of your cables has worn out or is about to break, 5-Minute Crafts will show you how to repair it easily.
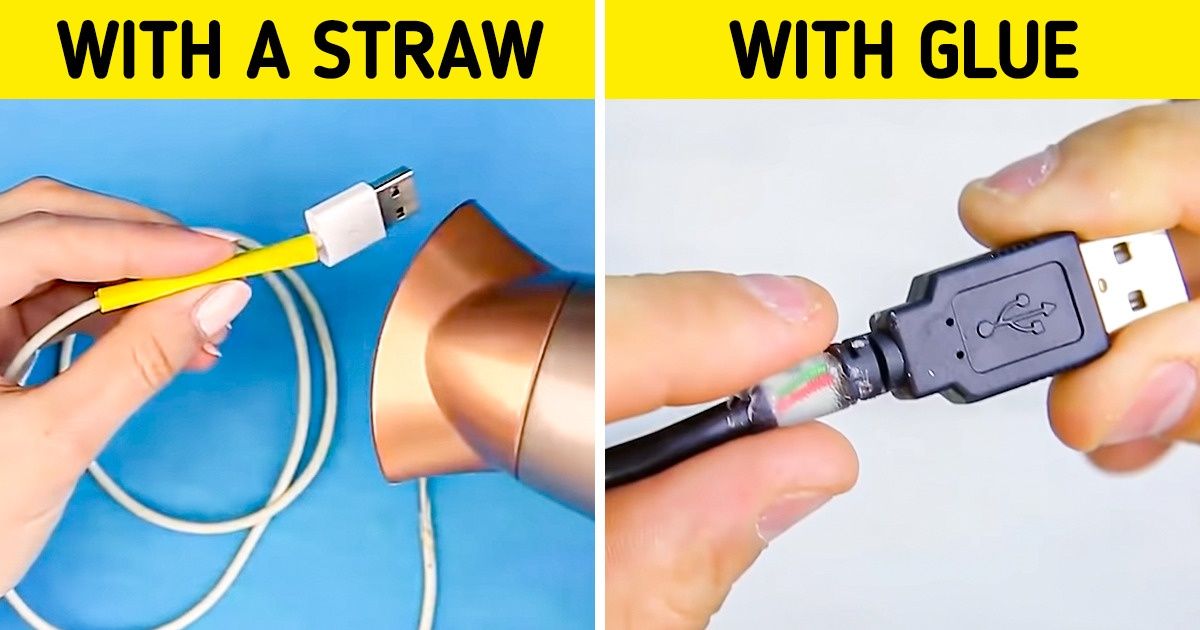
Method 1: Use a straw or a plastic tube.
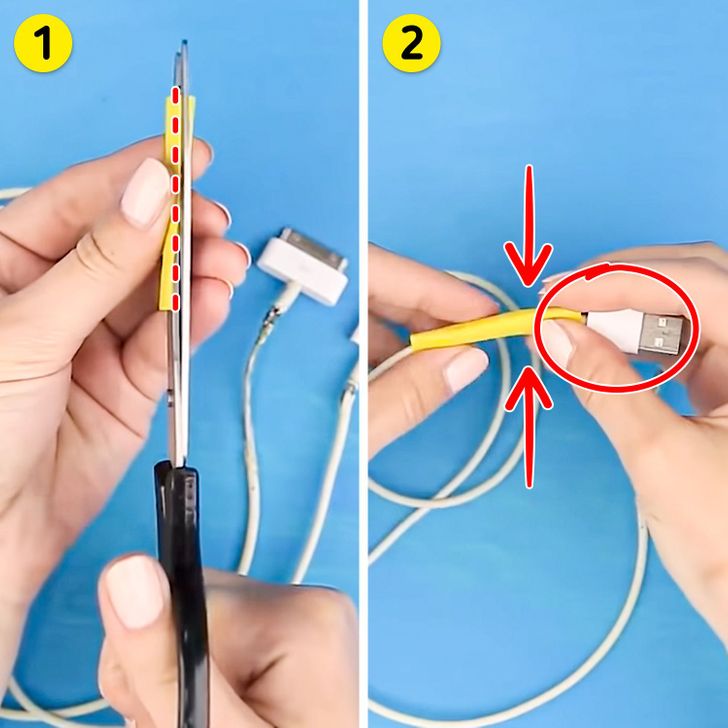
1. Cut a straw or a plastic tube along its length. Use the length you need.
2. Place it over the damaged area.
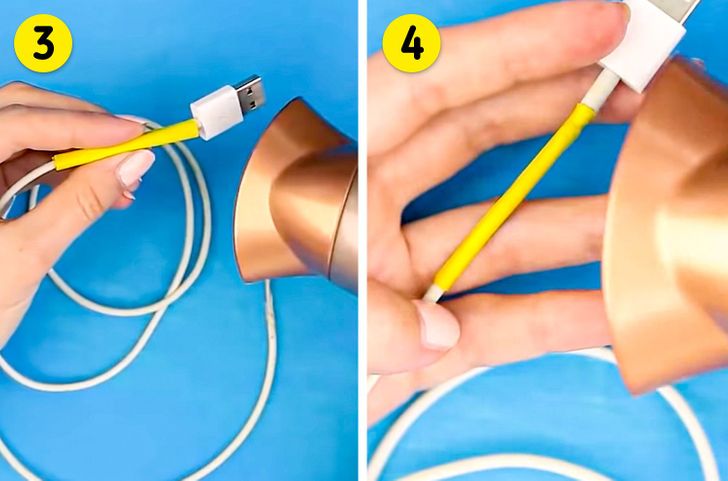
3. Attach the plastic to the cable and heat it up with a hairdryer on medium power.
4. You will notice that the plastic will shrink and stick tightly to the wire. If your cable has several cuts, repeat the process for each one.
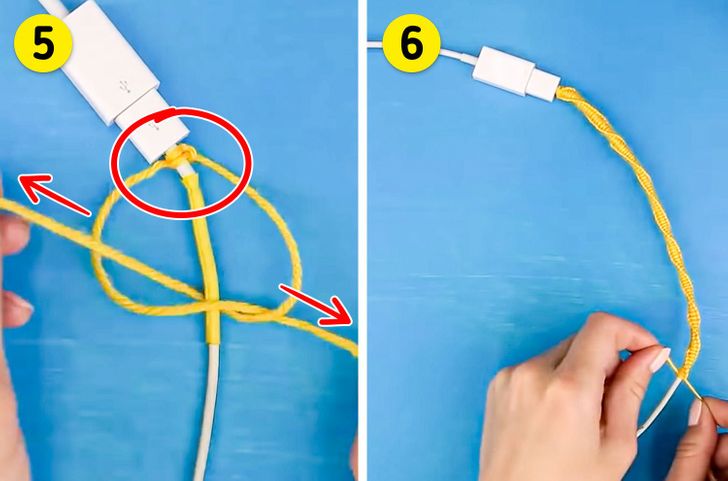
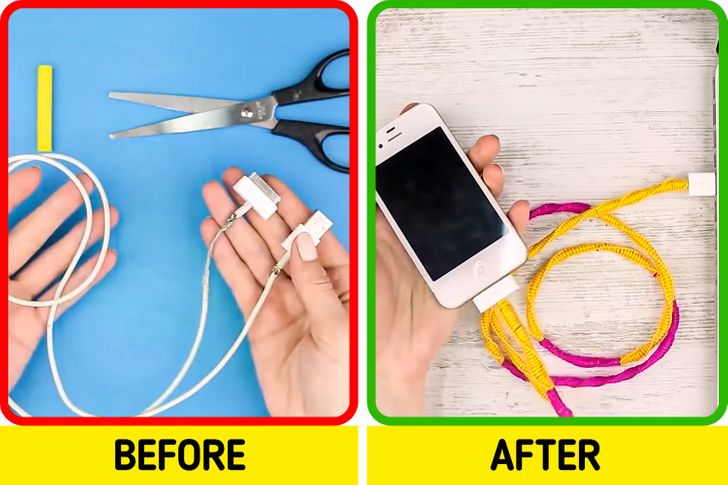
5. To reinforce the affected area, you can braid a thread over it.
6. Make several knots, tying the thread over your cable, depending on the length you want to cover.
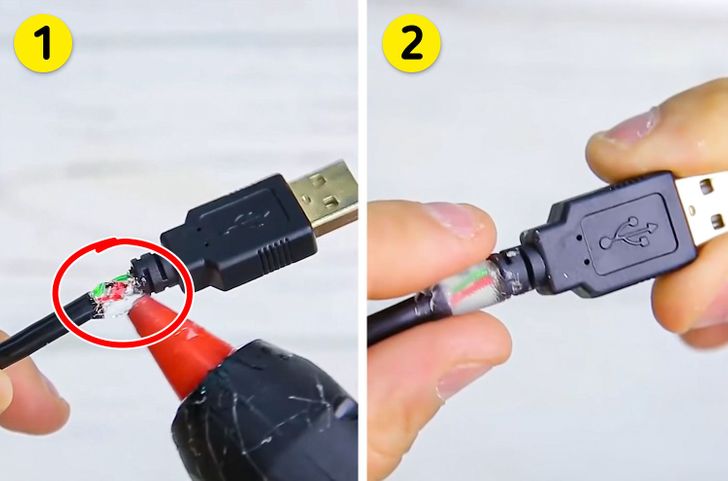
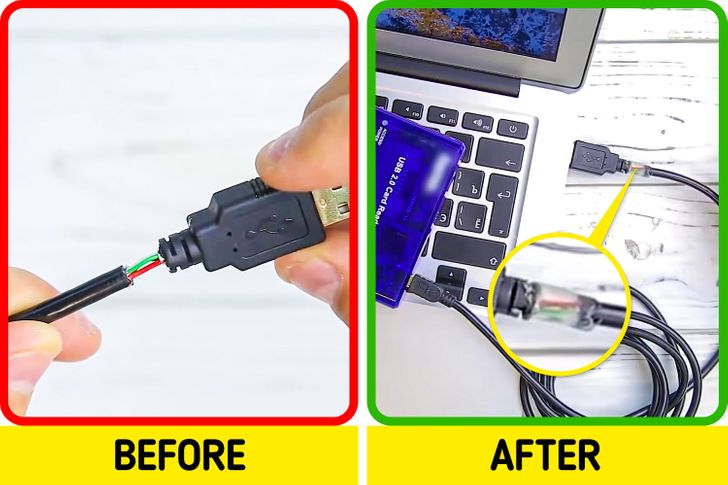
Method 2: Use liquid glue.
1. If a small area of the wire has been stripped, cover the entire space with hot melted glue or insulating tape.
2. Allow the glue to dry and solidify. This process is recommended for repairing places where cables tend to bend more when used constantly.
Bonus: How to prevent cable wear
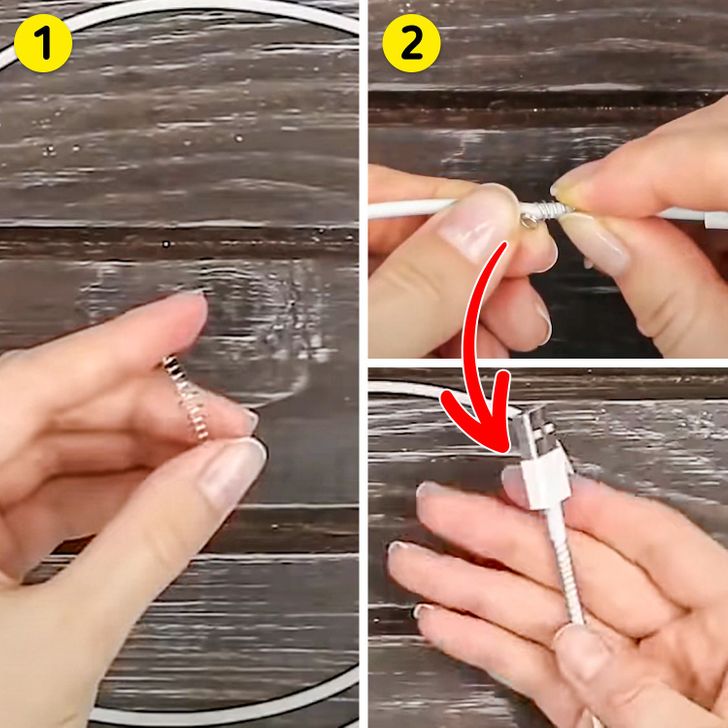
1. Detach the springs from 2 unused pens.
2. Coil a wire at each end of the cable.
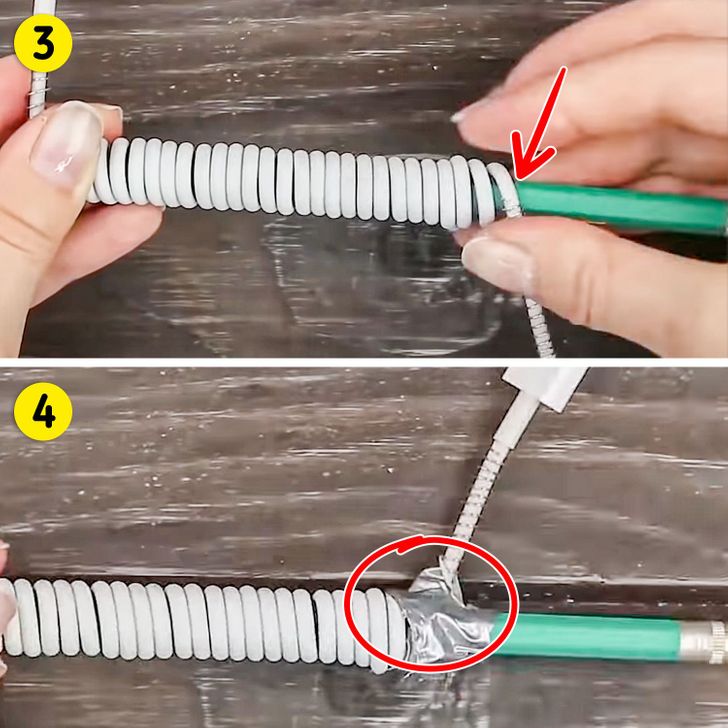
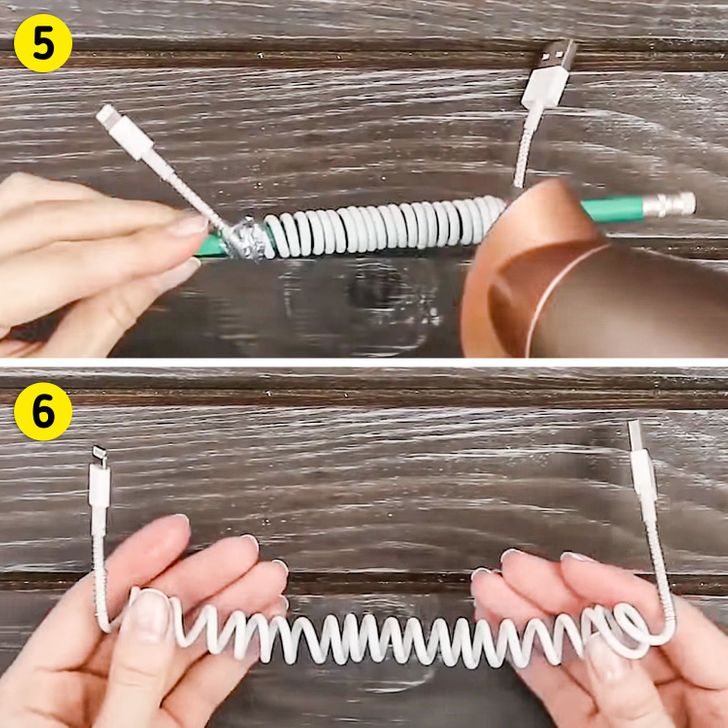
3. Wrap a pencil with the cable, leaving the ends out.
4. Secure the ends with adhesive tape.
5. With the help of a hair dryer at medium power, heat the wire that is coiled over the pencil. Rotate it to heat the entire surface for a few minutes.
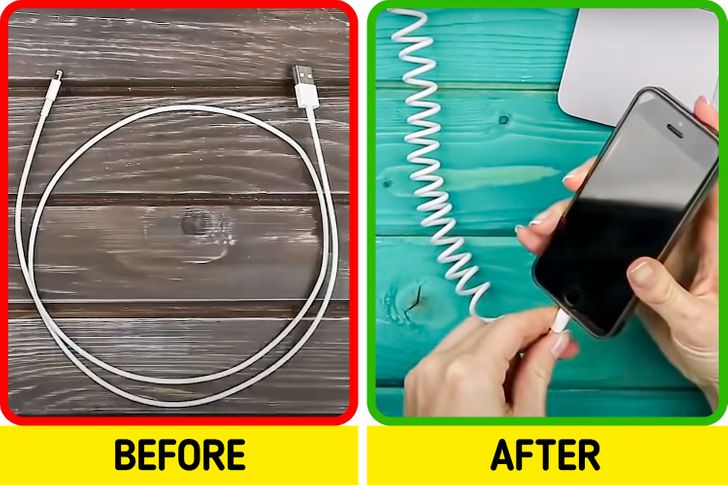
6. Remove the tape from the ends and take out the pencil. Your wire will look like a spring; this way, you will avoid the constant bending.
