How to Transform a Children’s Bed into an Enchanting Dream Castle
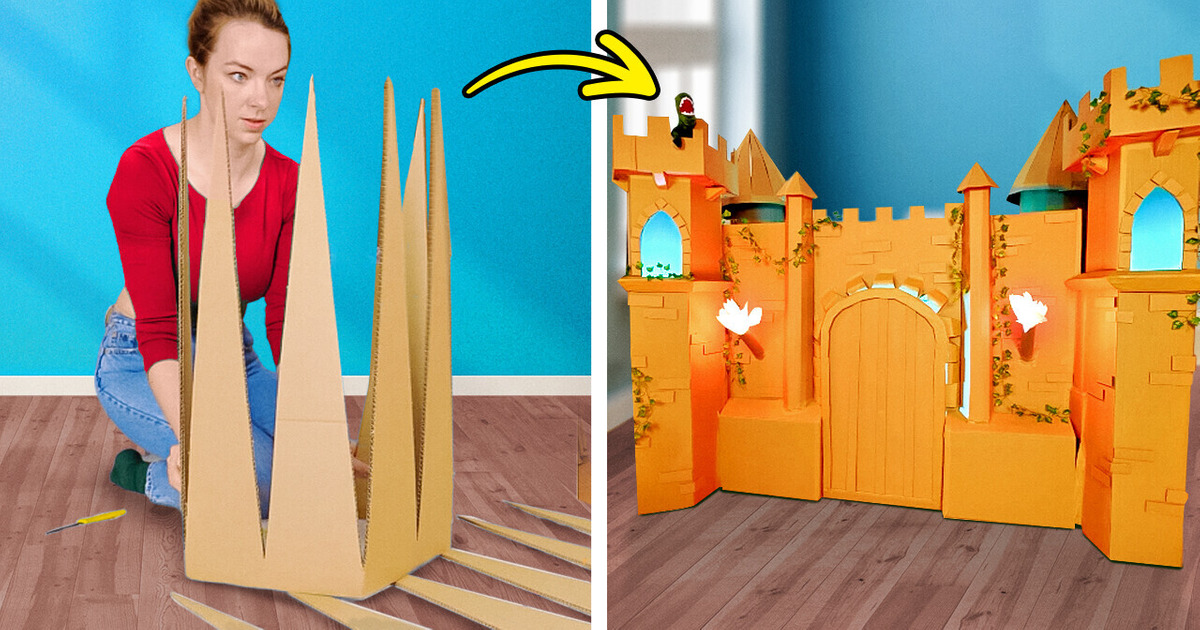
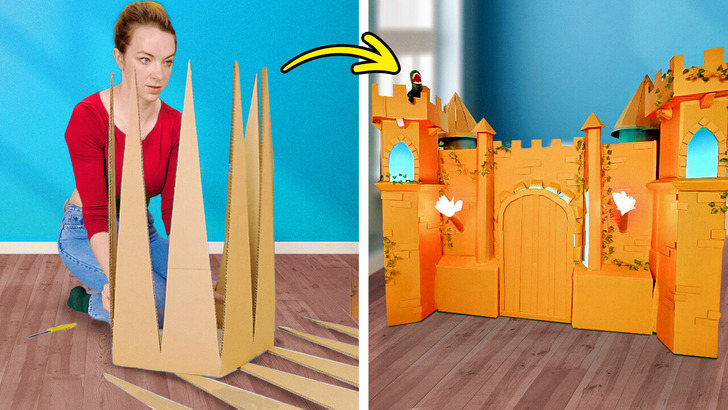
Today, we’ll show you how to transform an ordinary bed into a majestic castle using cardboard. This fun and imaginative project is perfect for kids who dream of having their very own castle. With a little cardboard, some crafting supplies, and a touch of creativity, you can turn bedtime into a royal adventure. Explore the step-by-step instructions and let your child’s imagination run wild as they sleep in their very own castle bed.
Materials you will need
- Cardboard sheets
- Scissors or craft knife
- Ruler
- Pencil
- Glue and tape
- Decorative elements (e.g., faux jewels, stickers, etc.)
- String lights (optional)
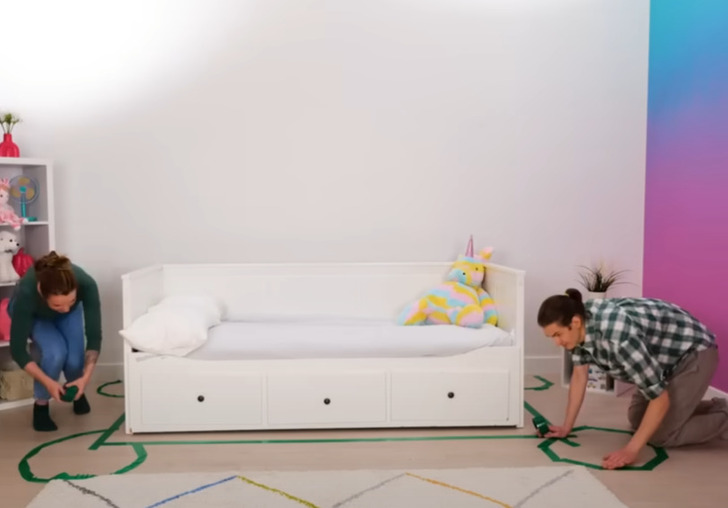
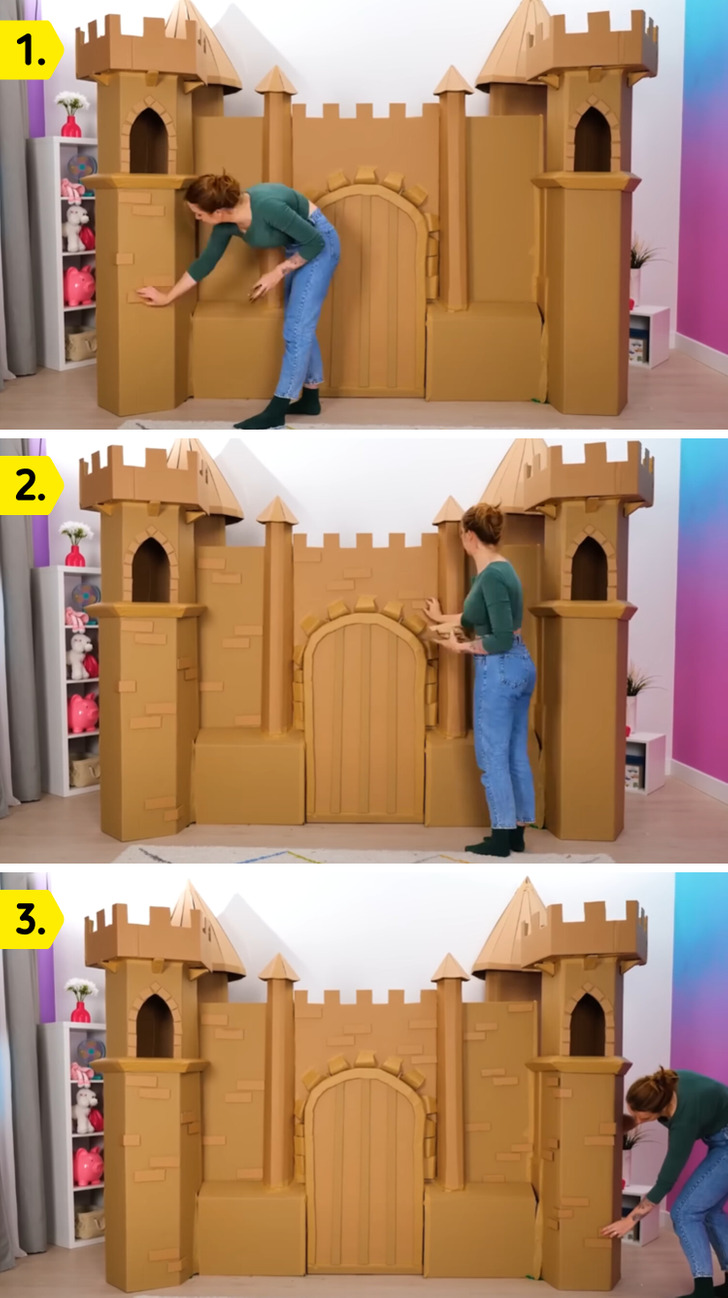
1. Start by sketching the design of your castle on the floor using tape, you’ll need to create the four corner towers and the two central towers
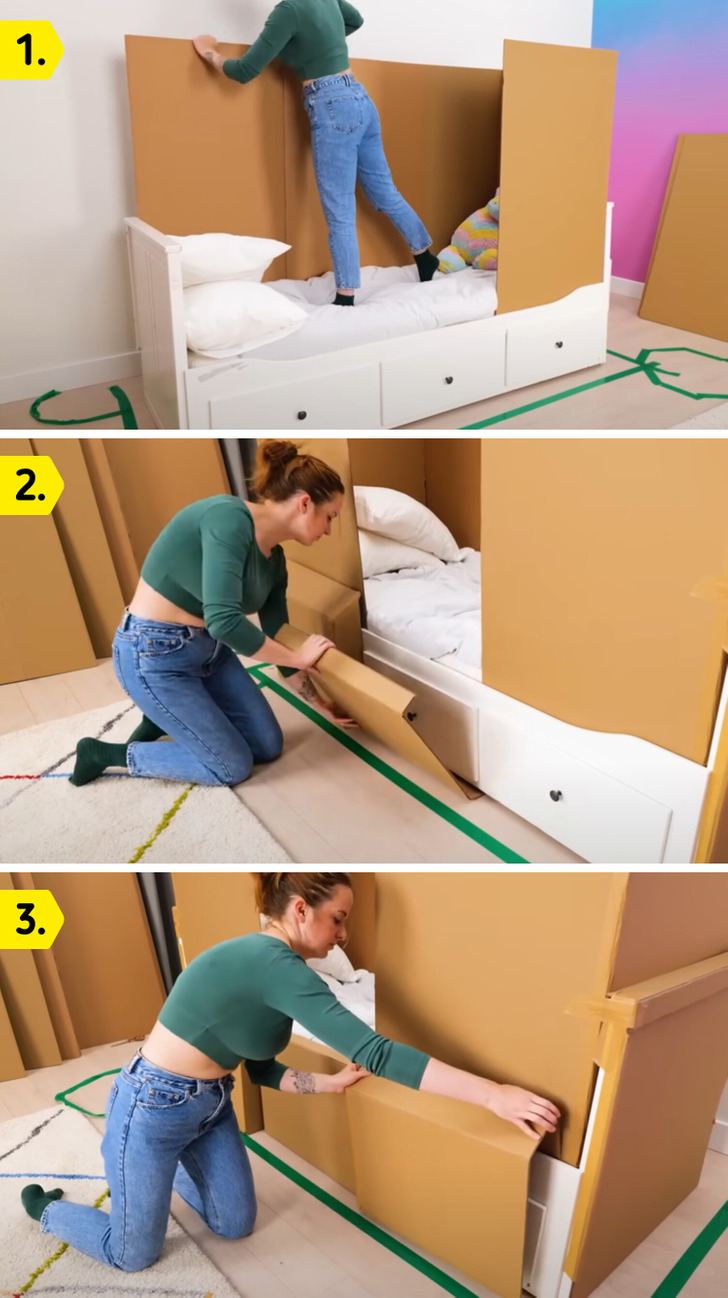
2. Using large cardboard pieces, surround the entire bed, including the headboard and footboard, but leaving the central front area clear to place the entrance door
3. To create the towers, roll cardboard pieces upon themselves to give them a rounded shape
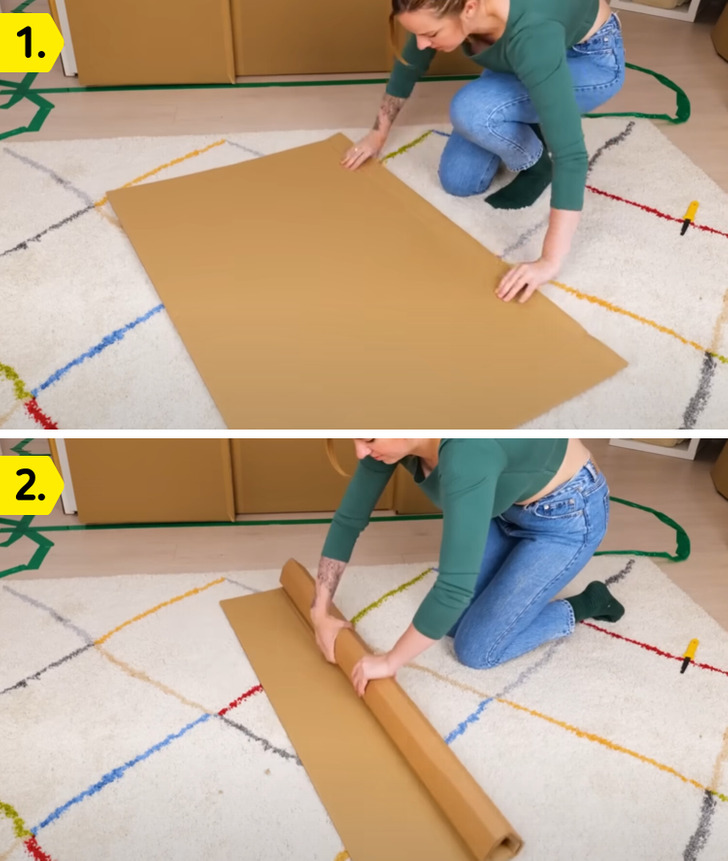
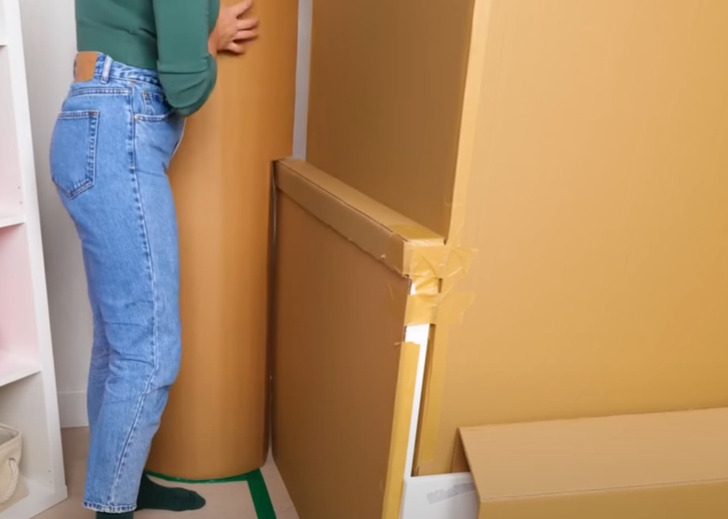
4. Assemble each tower by folding along the lines you’ve sketched, using glue or tape to secure the edges and corners, making sure the towers are stable and stand upright
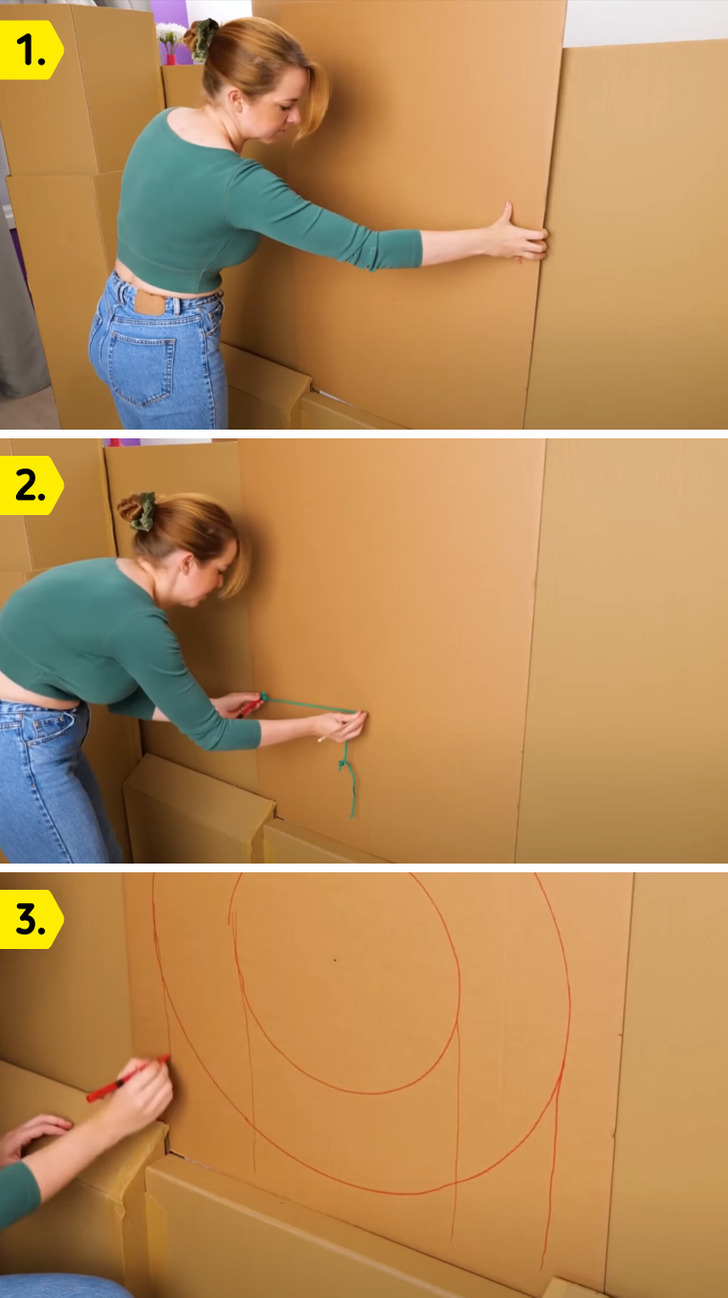
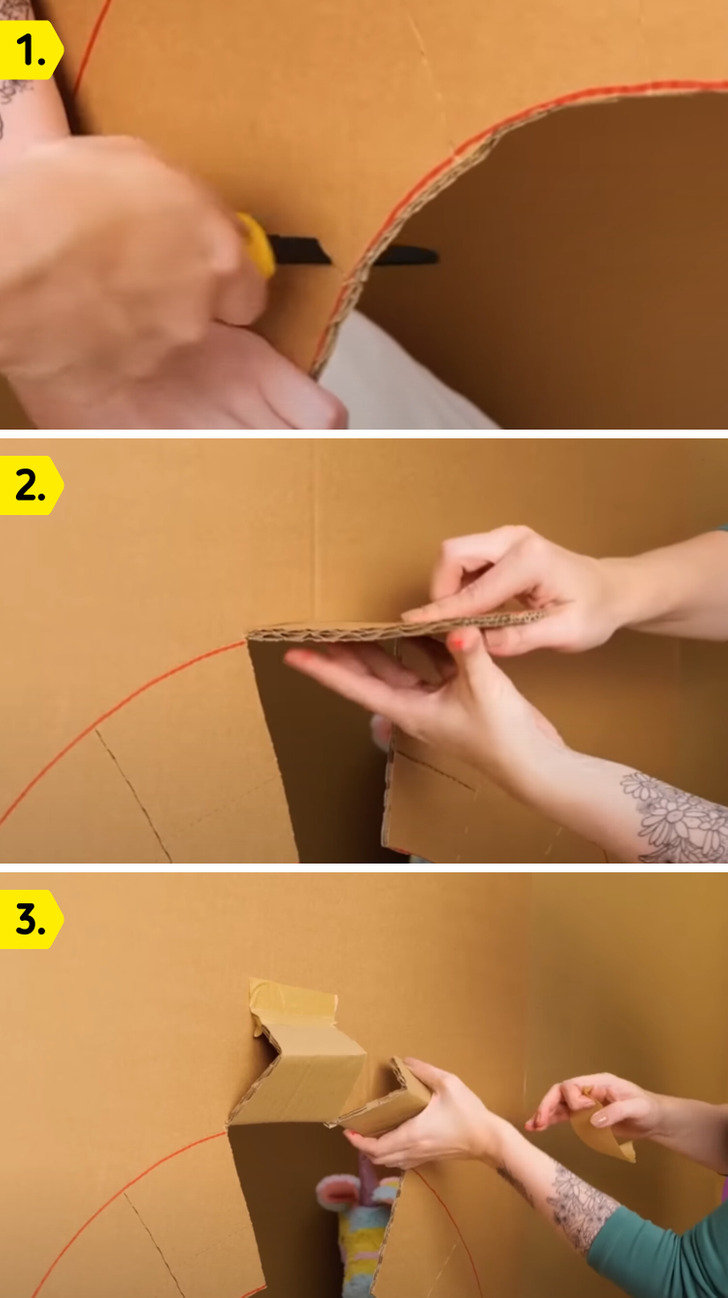
5. Place a cardboard piece in the entrance space, marking on it both a large and a smaller circle and extend straight vertical lines downward from both sides of the circles
6. Carve out the central piece you drew earlier, focusing on the central area only
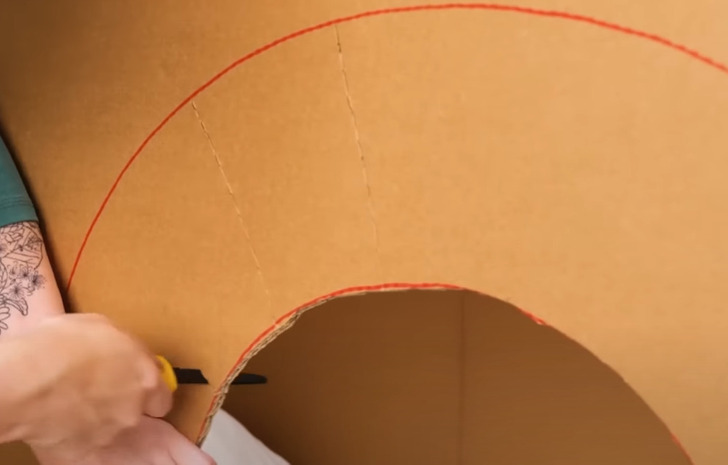
7. Cut diagonal lines around the entire entrance, from the door’s edge to the second mark, and fold the resulting cardboard pieces upwards, securing them with adhesive tape
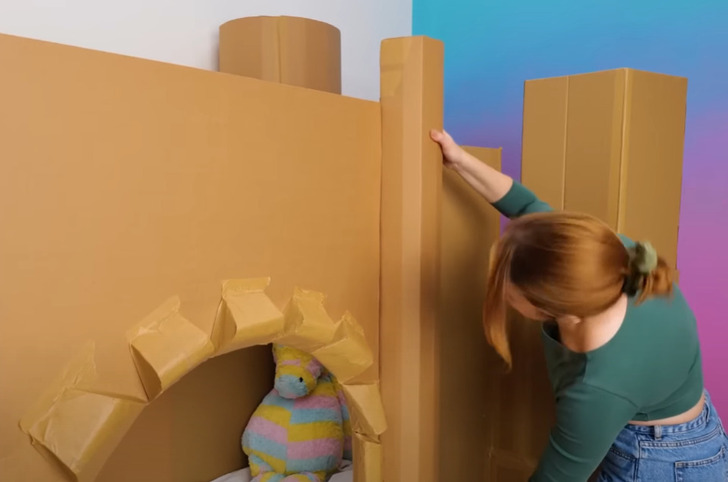
8. Place the two smaller central towers near the flanking the “entrance” area
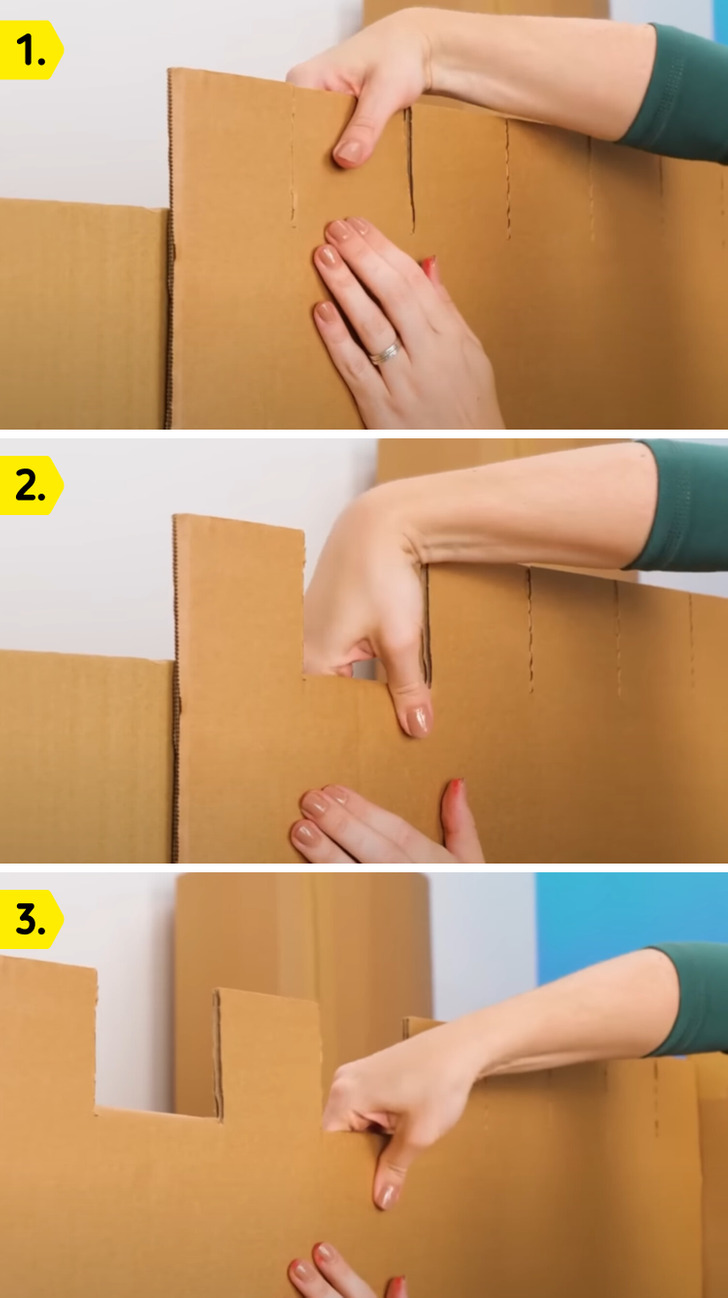
9. On all the upper edges, cut straight vertical lines, and alternatively fold the resulting cardboard pieces backward, securing them on the back with adhesive tape
10. Create two pieces with a similar finish for the two front side towers
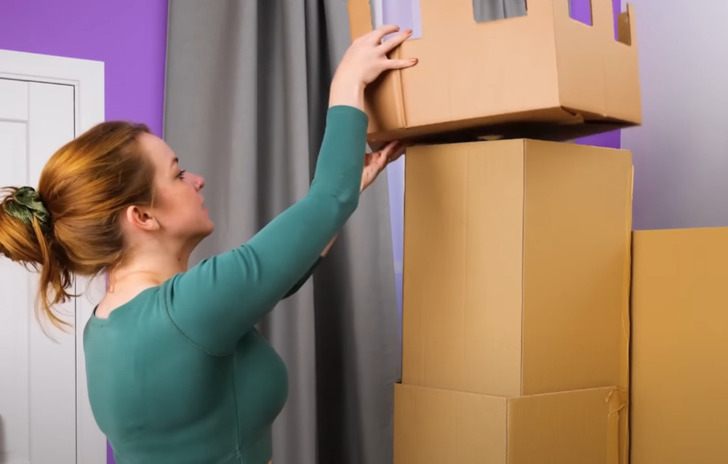
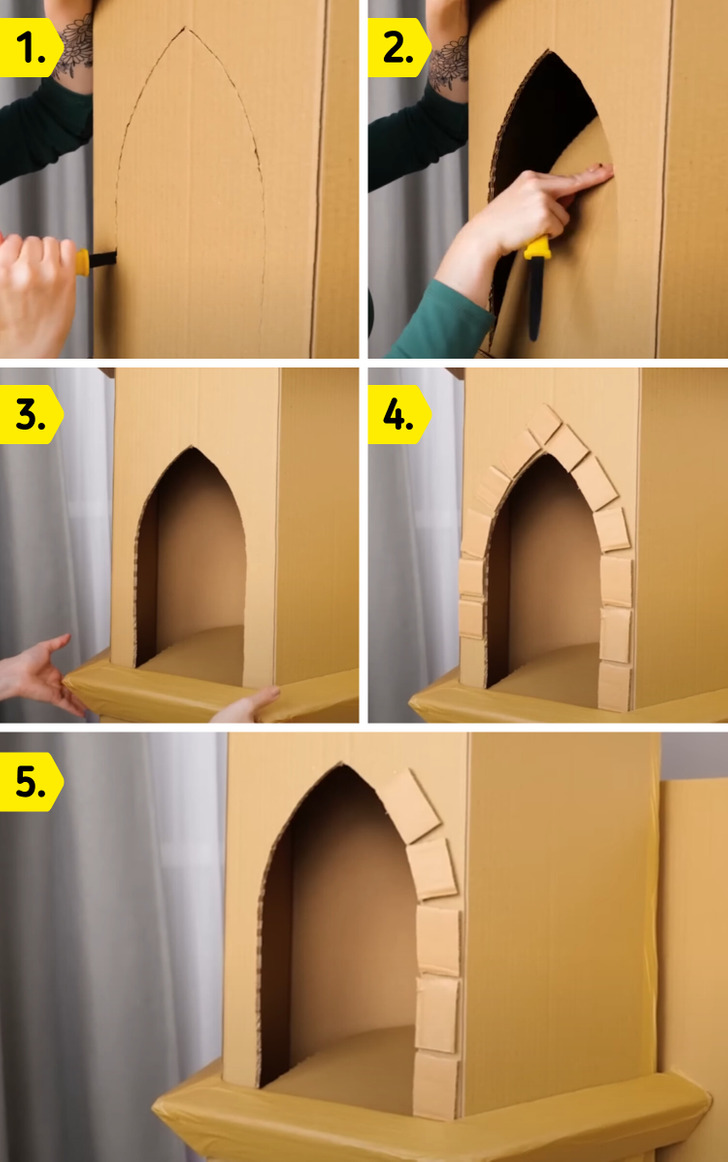
11. Carve a window in each front side tower, attaching rectangular cardboard pieces around their edges as if they were bricks
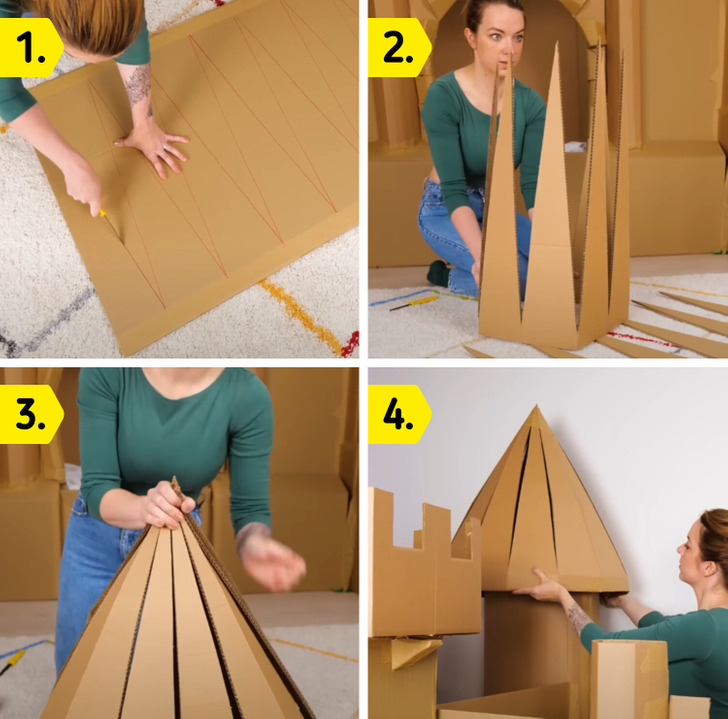
12. To create the upper finishes for the two rear towers, draw a strip of long triangles, cut them out, and join one side of the piece to another both at its base and at its top
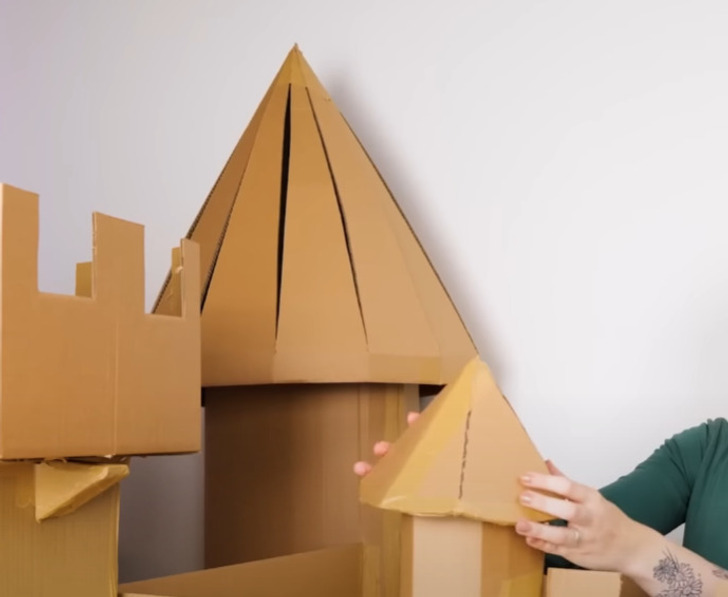
13. Similarly, create the upper finishes for the two small central towers, but make them smaller
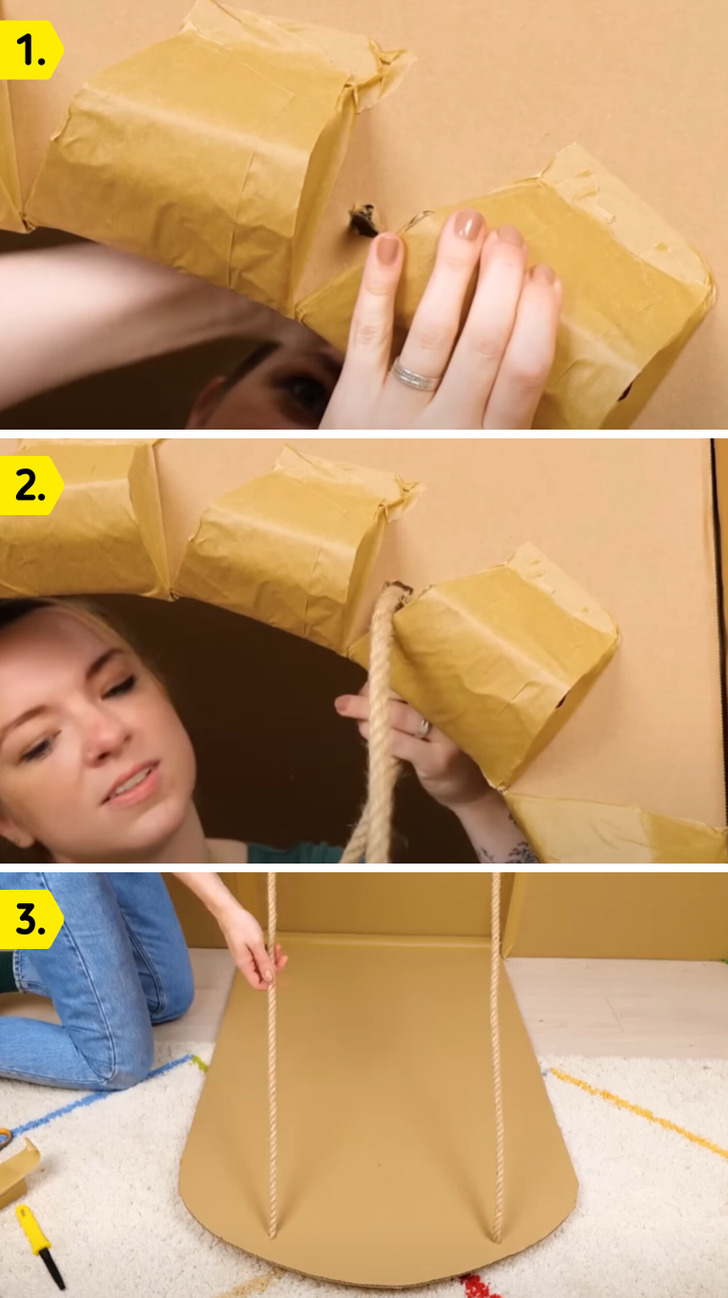
14. Make a hole on each side of the door, and thread a rope through them to connect with a door
15. Add texture to the entire structure by attaching rectangular pieces of cardboard as if they were bricks
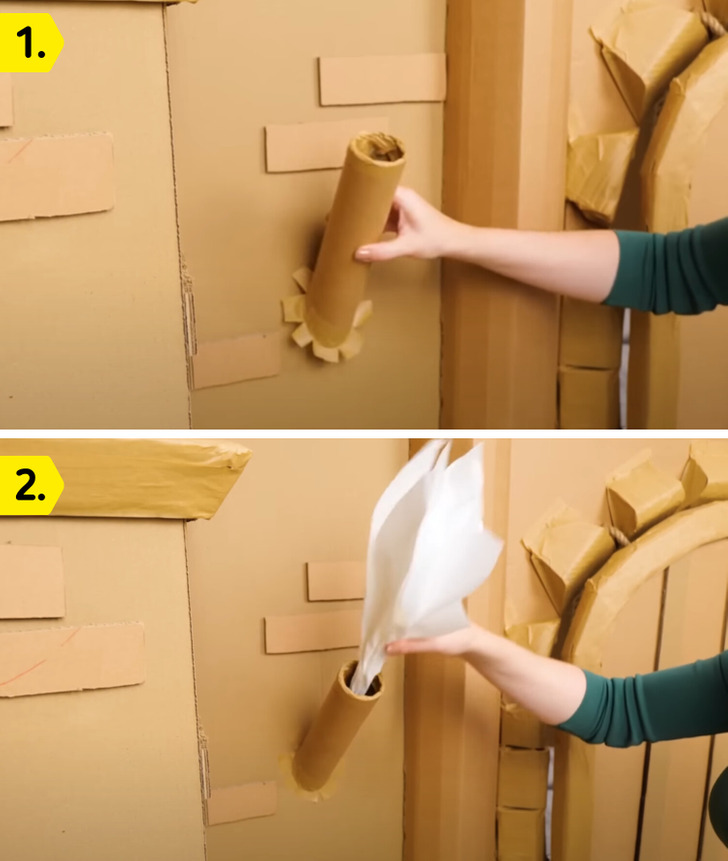
16. Using a paper towel roll and tissue paper, create a torch, and if you place some lights inside the roll, it will give it a fantastic look
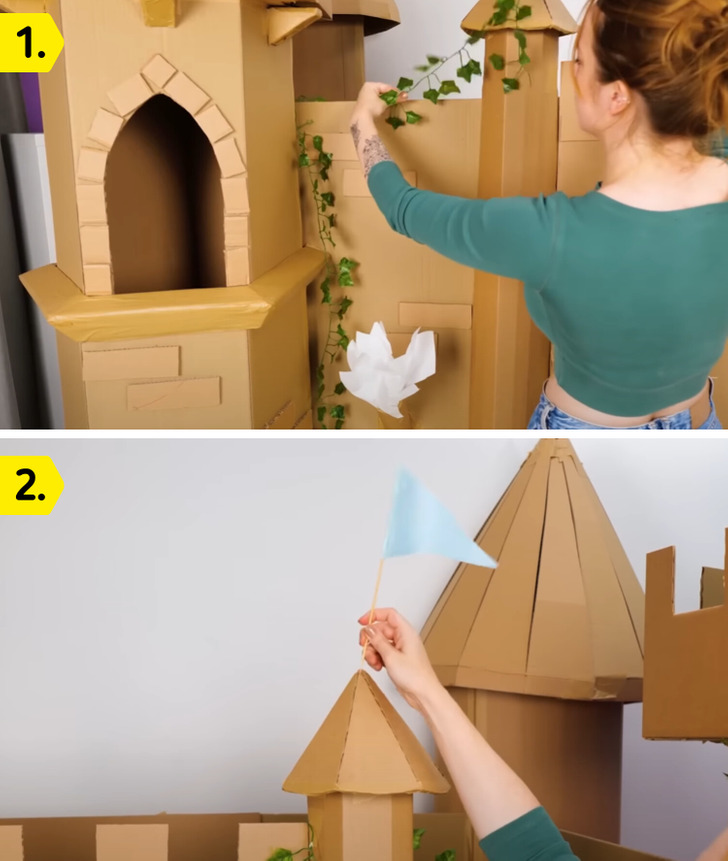
17. Now it’s time to get creative, you can add decorative elements like faux jewels, stickers, or any other embellishments to make your castle canopy unique
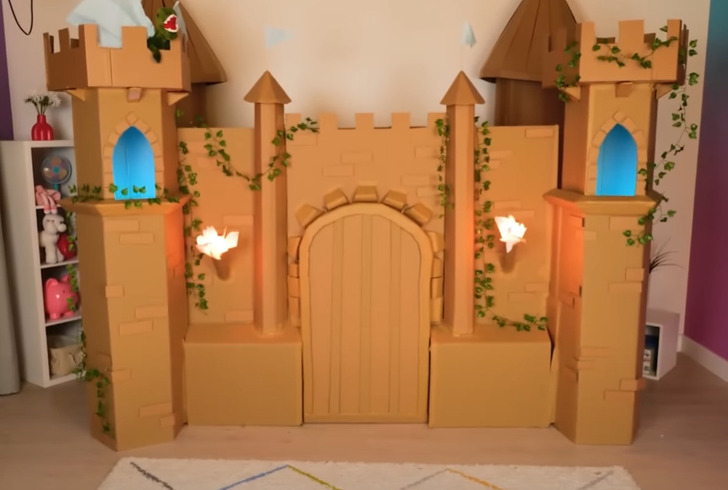
18. Once everything is in place and the glue is dry, your cardboard castle canopy should be ready, and It will transform your bed into a cozy castle retreat for imaginative play or a unique bedroom decor element
Check out more amazing cardboard crafts
Share This Article