How to Transform Any Plush Toy into a Beautiful and Creative Bag
Ever wondered what to do with that cherished stuffed animal from your childhood? Or those cute plush toys gathering dust on your shelf? We have the answers. We’ll guide you through the entire transformation process, from selecting the perfect plush candidate to sewing on the finishing touches. Unleash your inner designer and let your imagination run wild!
Materials you will need
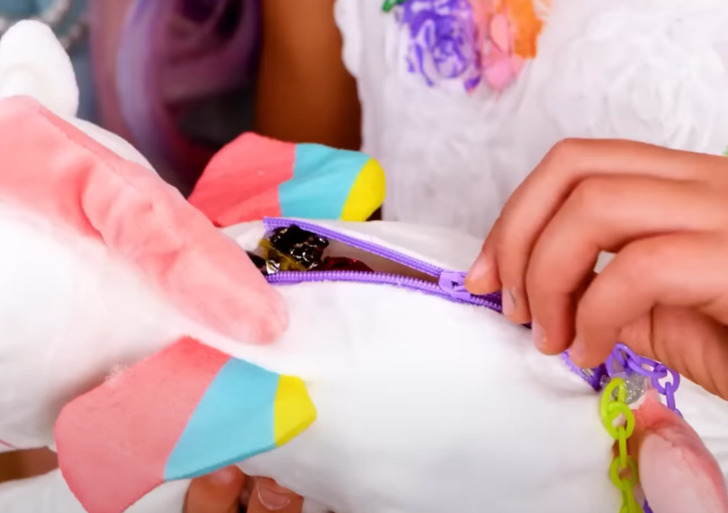
- Plush
- Zipper
- Chain or strap
- Thread, needle, and scissors
- Hot glue
1. Unstitch one of the seams of the stuffed toy
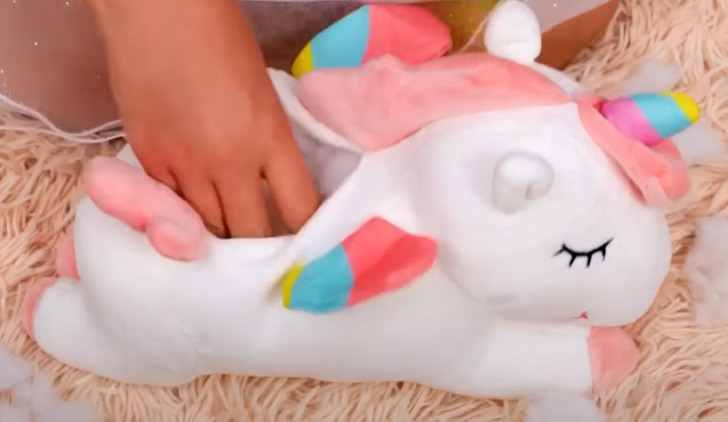
It could be the central back or central front seam, depending on the design of the plush toy chosen. Envision where you will place the hanging straps; once you have that clear, deciding where the bag’s opening should be will be easier. Then examine the plush toy seams and decide which one to unstitch.
2. Remove the stuffing from the stuffed animal
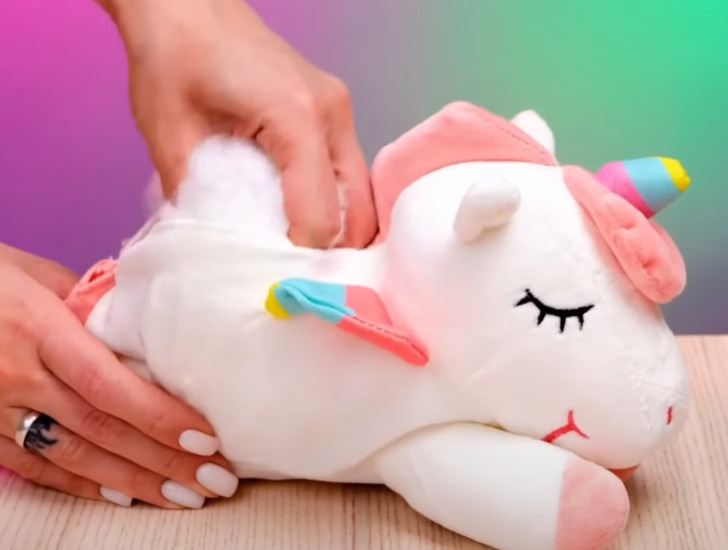
As you remove the filling, observe whether the plush’s extremities are internally closed, meaning if they connect internally to the area you are emptying of filling or not. If they are closed internally, use the thread and needle to seal them to prevent the filling from coming out through the opening we have created in the plush toy.
3. Prepare the zipper closure
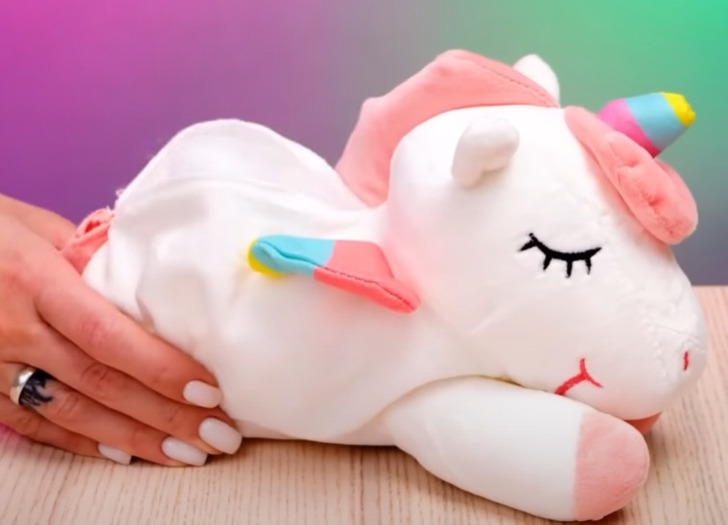
Once the stuffed animal is completely emptied and the interior entrances to the extremities are sewn, if necessary, we will place the zipper to be able to open and close it. First, check if the size of the zipper is the same as the opening, if it is not, we will have to cut it to the appropriate size before placing it.
4. Glue the zipper to the opening
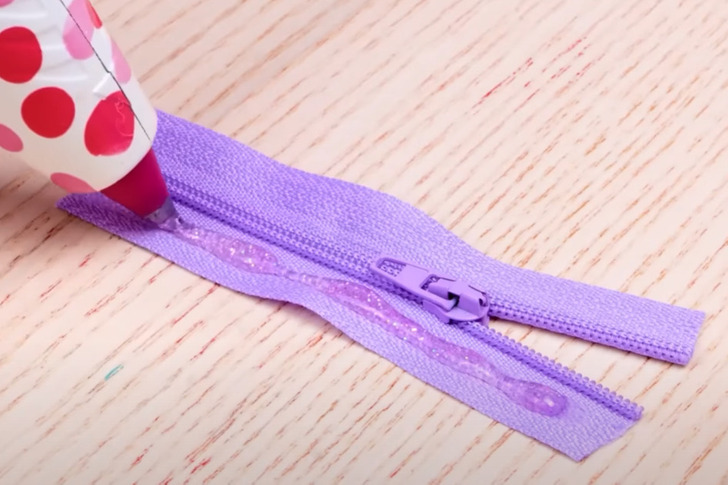
Apply hot glue or fabric glue to both zipper flaps and affix them to the inside of the opening on the stuffed animal. If you are using hot silicone, bear in mind that you must work swiftly, as silicone dries rapidly. If you lack hot glue or fabric glue, you could also sew it.
5. Glue it on the inside
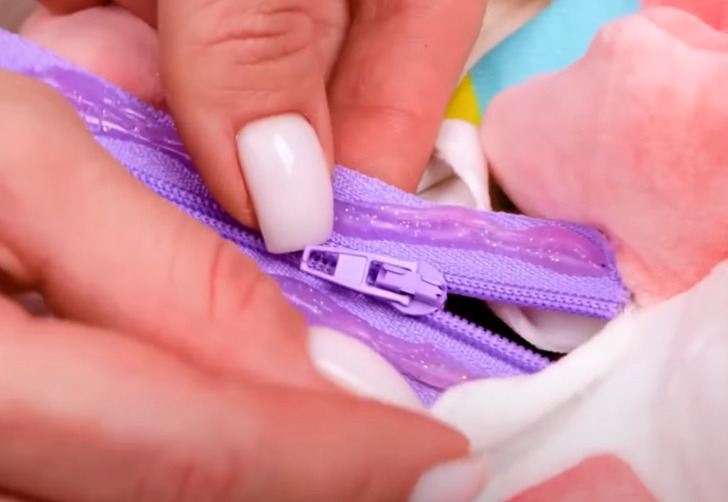
In other words, apply the glue to the upper flap of the zipper and affix it to the inner edge of the opening on the stuffed animal. First, secure one side firmly, then the other, and allow it to dry completely before proceeding.
6. Once dry, inspect the zipper
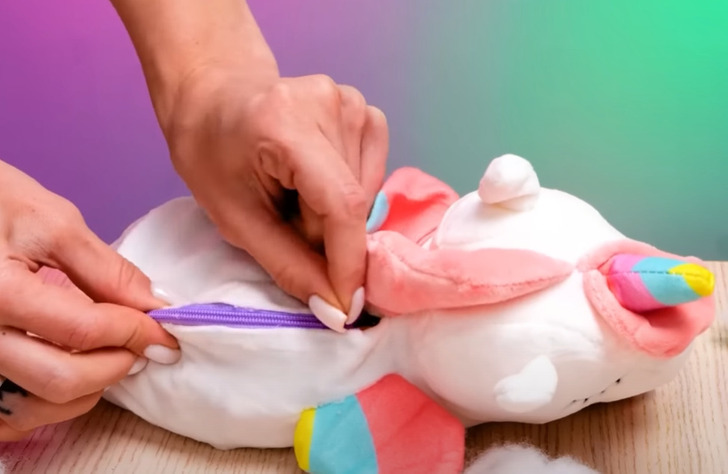
Ensure that the zipper is securely attached and that it can be opened and closed easily. If not, this is a good time to make any necessary adjustments and apply additional glue to any areas that may require it.
7. Place the handles
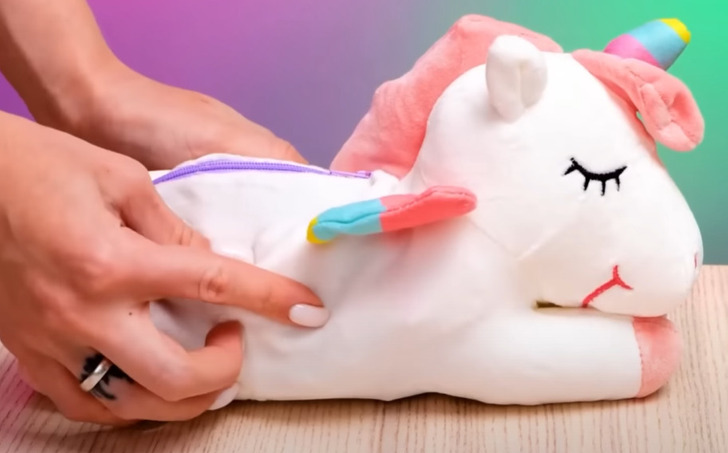
Consider the shape of the stuffed animal when deciding how to attach the handles to the bag. For stuffed animals similar to ours, which are lying or sitting on their stomachs, a long strap attached to the top of the head and tail will be perfect. On the other hand, for stuffed animals that are sitting upright, like bears usually do, you can attach the handle from ear to ear, from one hand to the other, or even as a backpack from the back.
8. Sew the handles onto the chosen location
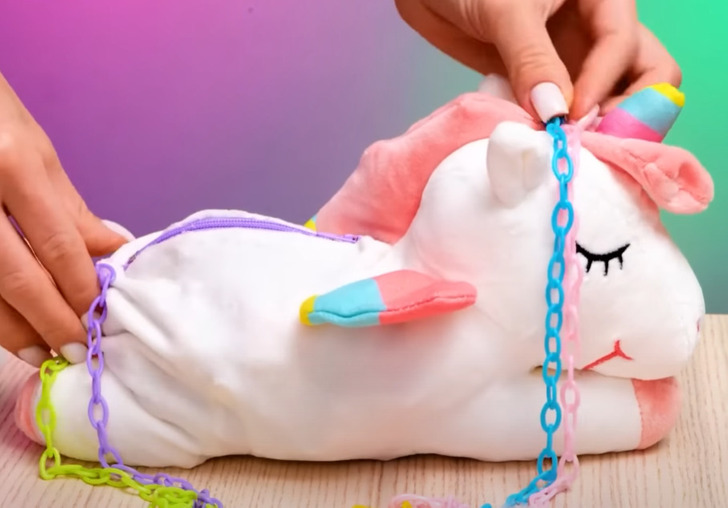
For the handles, it’s preferable to sew them rather than glue them, since they will bear the weight of the bag and its contents. To provide additional support, you can use a thick and durable thread, similar to what is used in the construction of actual bags.
9. Your bag is now ready to explore the world
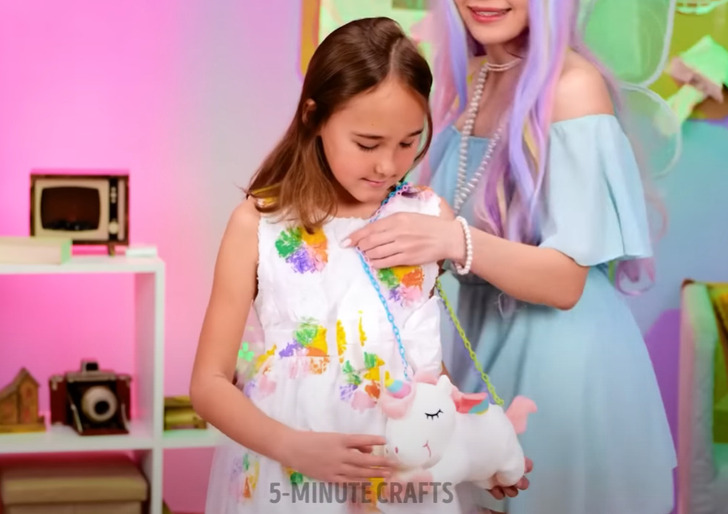
Whether the bag is a gift for another person or for your own use, by following these same steps, you can transform any stuffed toy into a beautiful and unique bag. Let your imagination and creativity soar, and get to work!