How to Upholster a Chair, Step by Step
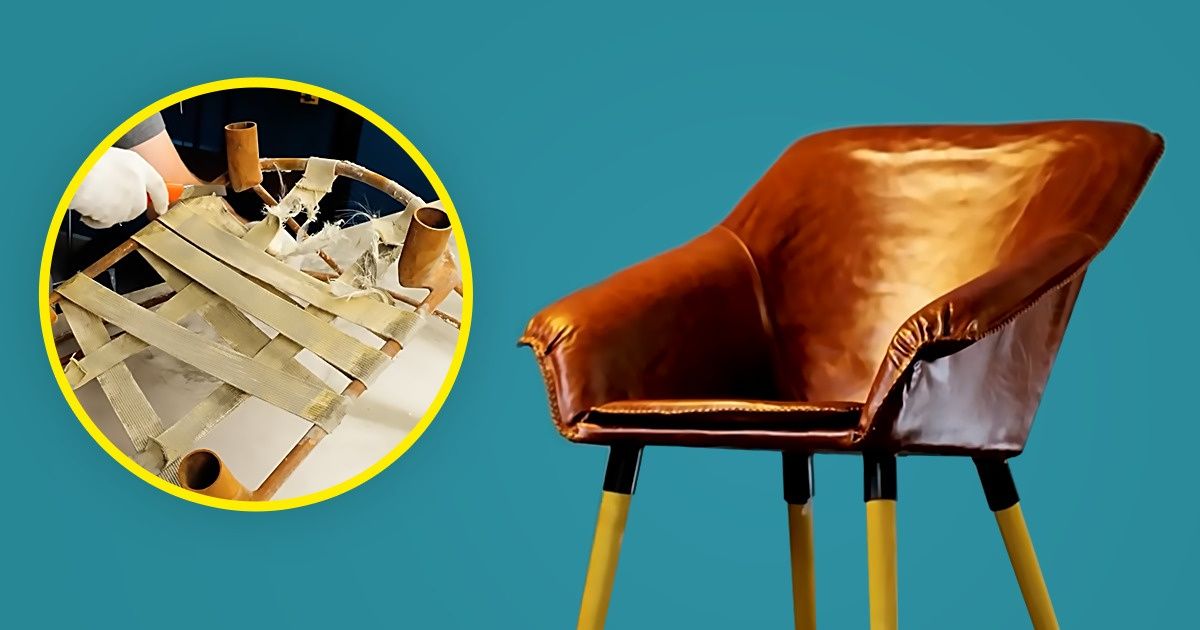
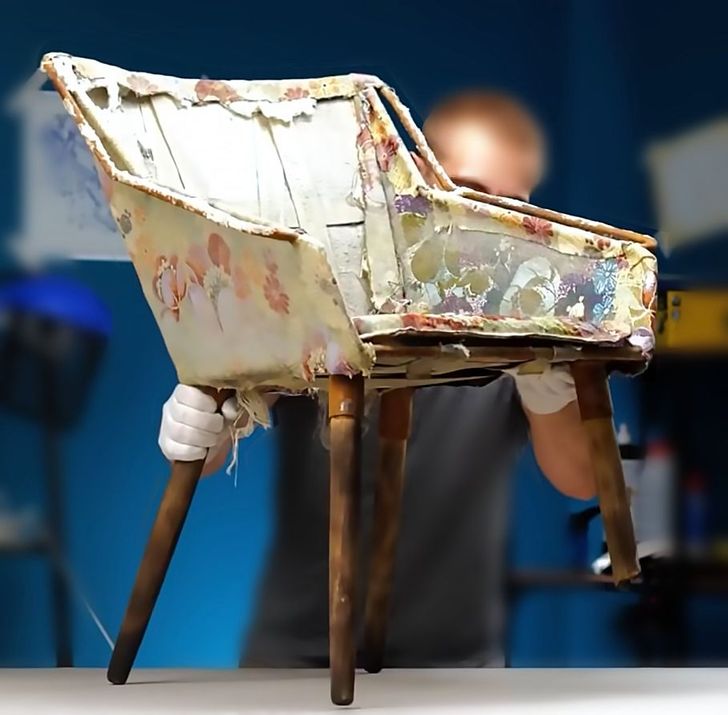
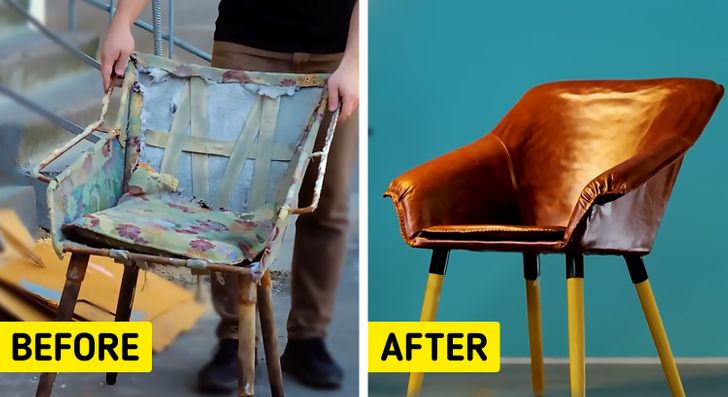
It’s not out of the ordinary to have a favorite piece of furniture at home. But over time, it can deteriorate, which makes us wonder if we should buy a new piece or simply restore it. If you’d like to keep it, try upholstering it yourself. You can make this job your next personal project.
5-Minute Crafts is giving you a step-by-step guide for upholstering an armchair. And while you’re at it, enjoy giving your furniture a new look and add a little bit of your own personal flair to it.
What you’ll need
-
1 individual armchair
-
1 stationery knife (cutter)
-
1 pair of cut-resistant gloves
-
1 pair of clear glasses
-
1 metal fiber brush (electric) or sandpaper for wood
-
Anti-rust spray paint
-
Transparent glue
-
Elastic latex tape
-
Upholstery foam (measurements will depend on the size and shape of your furniture)
-
Fabric to cover the armchair (in the material and color of your choice; measurements will depend on the size and shape of your furniture)
Instructions
-
Before you begin working, put on your protective gear. Wear gloves and goggles during the upholstery procedure.
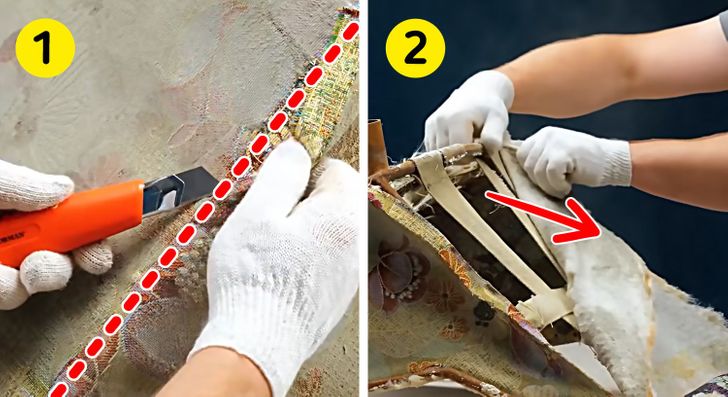
1. Place the chair in a comfortable work area. Turn it upside down and remove its legs. If they’re in good condition, you can reuse them. Gently take out the upholstery fabric using a knife; if it has staples, extract them with a flat screwdriver. Set these pieces aside — you’ll need them later to create the fabric patterns.
2. While you separate the different layers that cover the furniture, pay attention to how the fabrics, elastics, and foams or sponges are set.
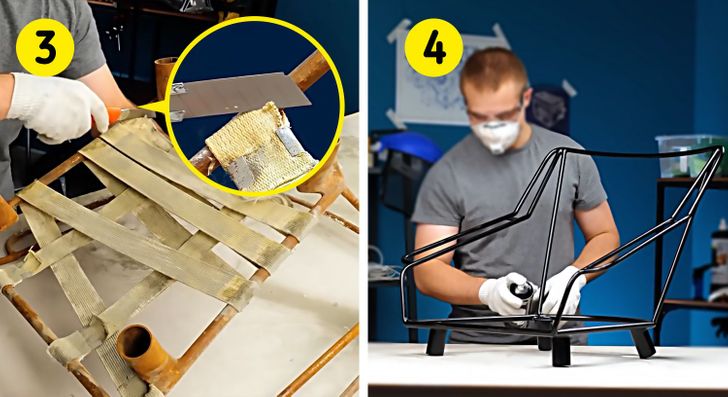
3. Once you remove all the fabric, you’ll notice the elastic is the only material that remains. Take a good look at how it’s placed to adjust the new elastic in the same location. Using a pair of scissors or a knife, cut it off and discard it.
4. If the frame is made of a metallic material, it’s important to sand and eliminate the rusty edges before painting it with a spray or brush. If it’s made of wood, check to see if it’s in good condition, sand it, and apply varnish and a coat of wood paint.
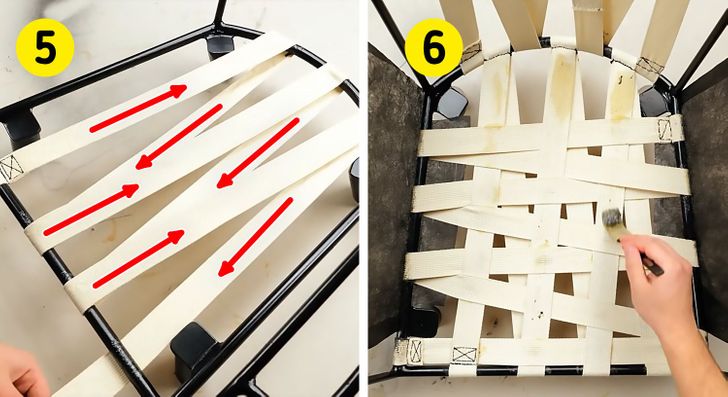
5. Put glue on the metal, fix one end of the elastic band, fold it, and sew it. Use multiple stitches to keep it tight and in place. Then, pass the elastic from top to bottom in a zigzag pattern. Try to recreate the same pattern it followed when you took it apart. The key point here is to make sure you cover the back. Do the same in the seat section, as if you were knitting; pass one line over the other.
6. Line the armchair with fabric to fill the furniture and fix it with glue. Do it on the sides, the back, and the seat.
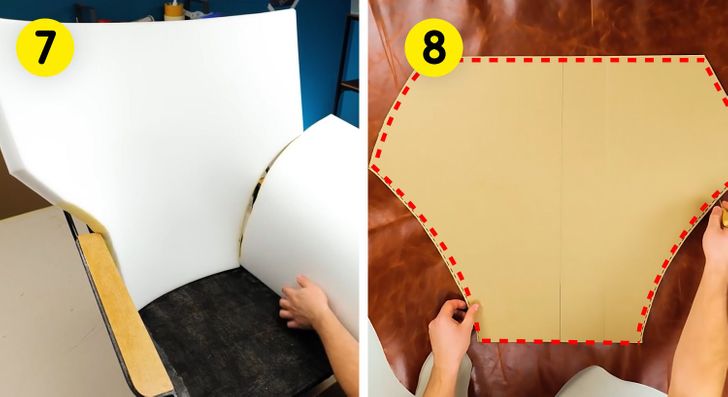
7. Take the upholstery foam for the next layer to cover the furniture. Mold it according to the couch structure and fix it with plenty of glue. With the knife or scissors, cut off any leftovers that are out of place. Allow the material to dry for good adhesion.
8. Grab the pieces of fabric that you removed at the beginning of the project. Cut out the new fabric, according to your furniture’s pattern and model. Depending on the type of tapestry you pick, you could sew it or use staples to fix it to the chair.
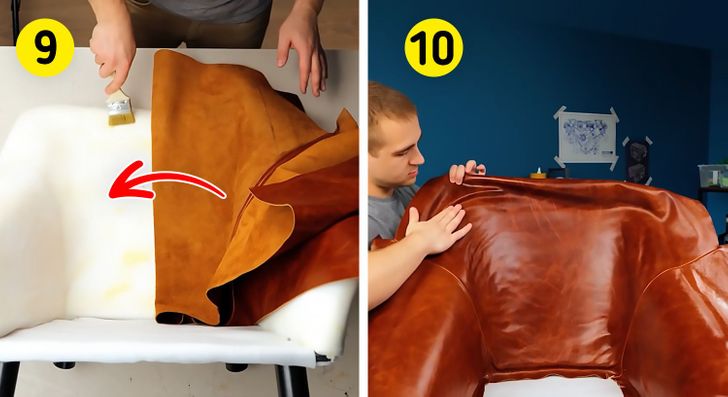
9. Lay glue on the foam and paste the fabric to it. Make sure to stretch it out completely.
10. Do this in parts: first the backrest, then the arms, and finally, the seat. The important part here is that the fabric is wrinkle-free and well-adhered to the foam.
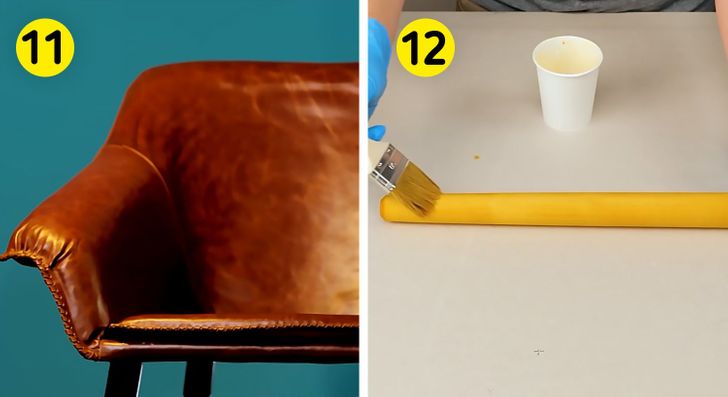
11. Once you’ve completed the furniture top restoration, allow the glue to dry for a couple of hours. If you use it right away, you could wrinkle it or detach the fabric from the foam.
12. In the meantime, take care of restoring the legs. If they’re in good condition, sand them down and put varnish or wood sealer on them. If the original legs are damaged, you can buy new ones or make them by cutting wood in a similar way to fit the frame. Paint them in the color that best matches your new chair.
