Step-by-Step Guide for Beginners to Start Working with Polymer Clay
Introducing you to the fascinating world of polymer clay! In this comprehensive guide, we will walk you through the exciting process of working with polymer clay, a versatile and colorful material that can be transformed into intricate creations. Explore the basics to start to craft jewelry, figurines, and various artistic pieces. Unlock your creativity and embark on a journey of artistic expression with this beginner-friendly guide to polymer clay artistry.
Working with Polymer Clay: Step-by-Step Guide
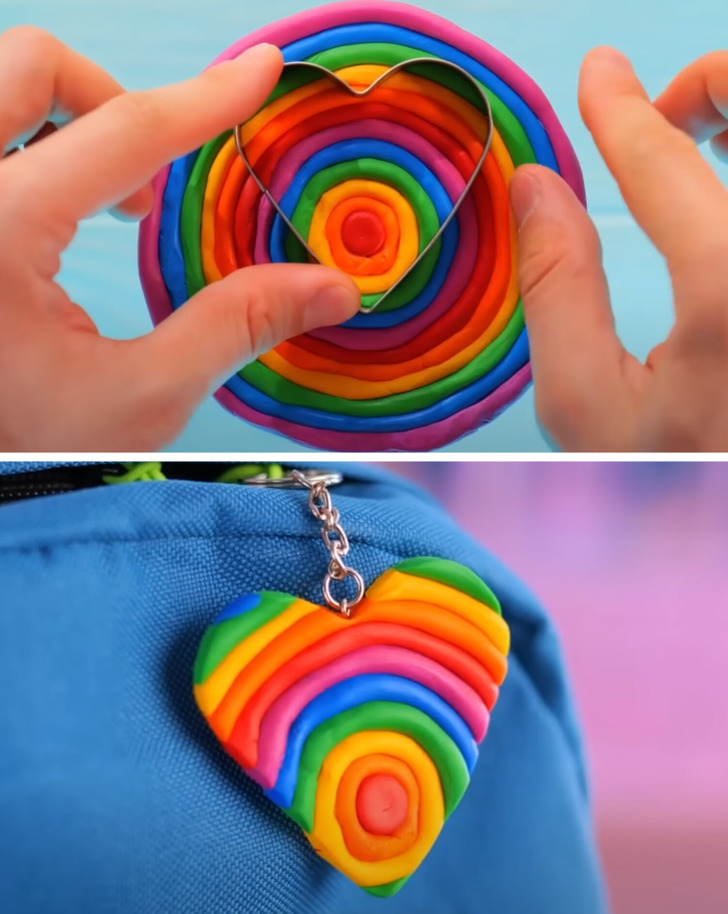
Polymer clay is a versatile and fun material for crafting, sculpting, and creating various artistic projects. Whether you’re a beginner or an experienced artist, this step-by-step guide will help you get started and explore the possibilities of working with polymer clay.
Materials Needed to start:
- Polymer clay in various colors
- Work surface (glass, ceramic tile, or a dedicated clay mat)
- Craft knife or clay blade
- Sculpting tools (optional but helpful)
- Rolling pin or acrylic roller
- Oven for baking (do not use for food afterward)
- Baking parchment paper or a ceramic tile
- Optional: Sandpaper, varnish, glaze, and additional embellishments
Step 1: Prepare Your Workspace
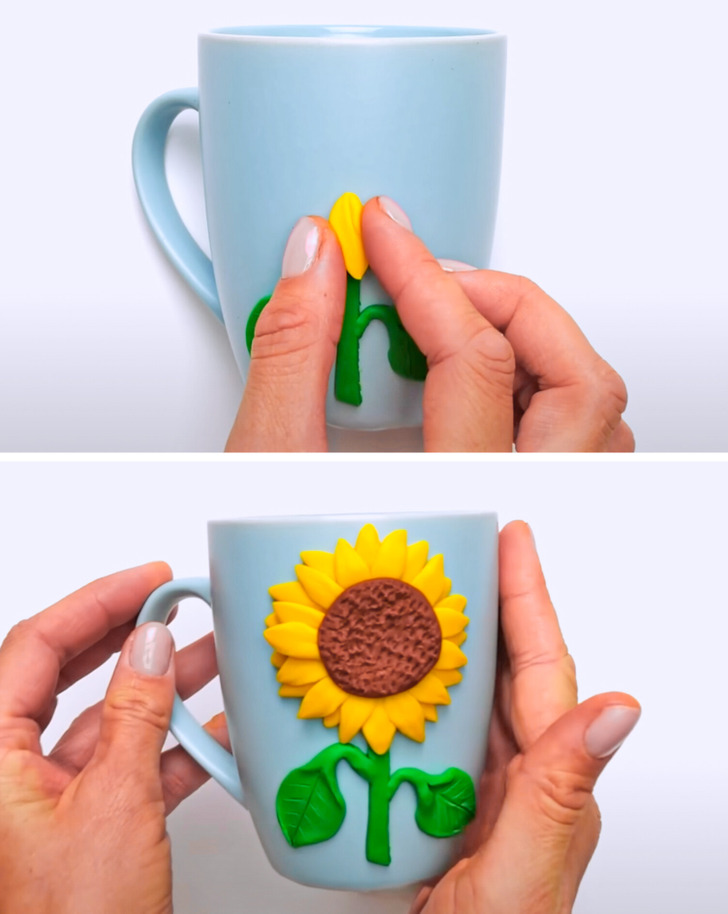
- Choose a clean, well-ventilated workspace with ample lighting.
- Cover your work surface with parchment paper or a dedicated clay mat to prevent sticking and staining.
Step 2: Condition the Clay
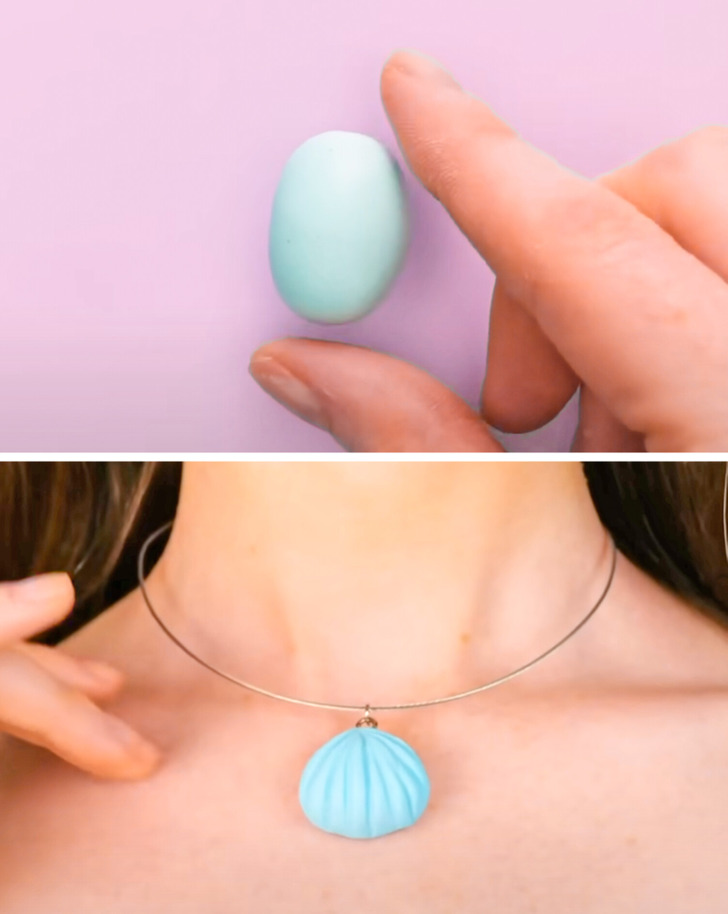
- Take a piece of polymer clay and knead it in your hands until it becomes soft and pliable.
- Conditioning the clay makes it easier to work with.
- You can also use a pasta machine on the lowest setting to condition the clay quickly and evenly.
Step 3: Sculpt or Mold Your Design
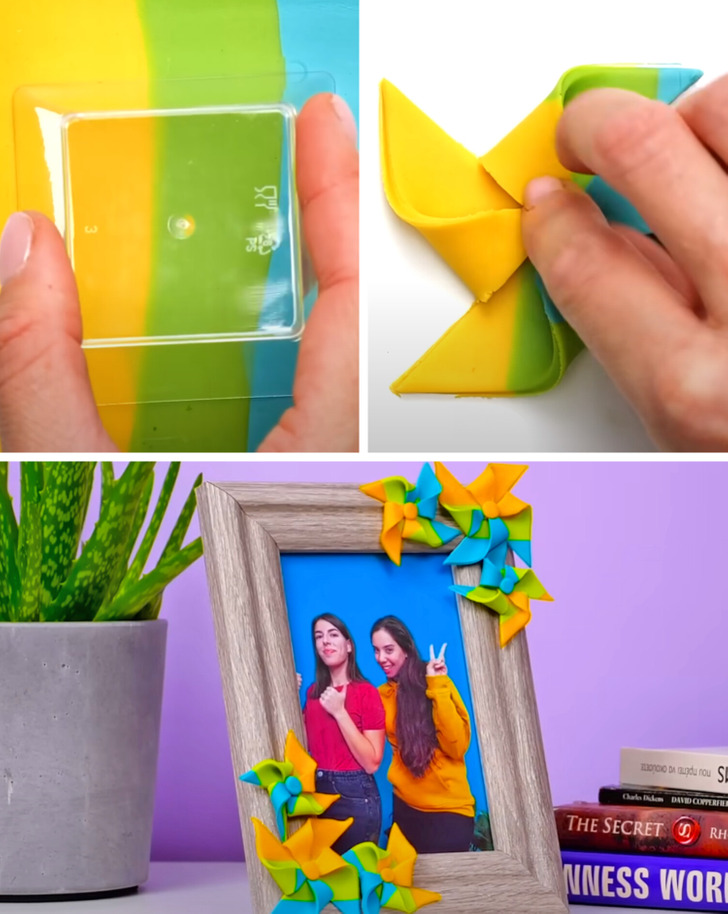
- Polymer clay can be molded, sculpted, and textured in various ways.
- Use your hands or sculpting tools to shape the clay into your desired design.
- Experiment with different colors and techniques to create unique patterns and effects.
Step 4 (first option): Preparing the Oven
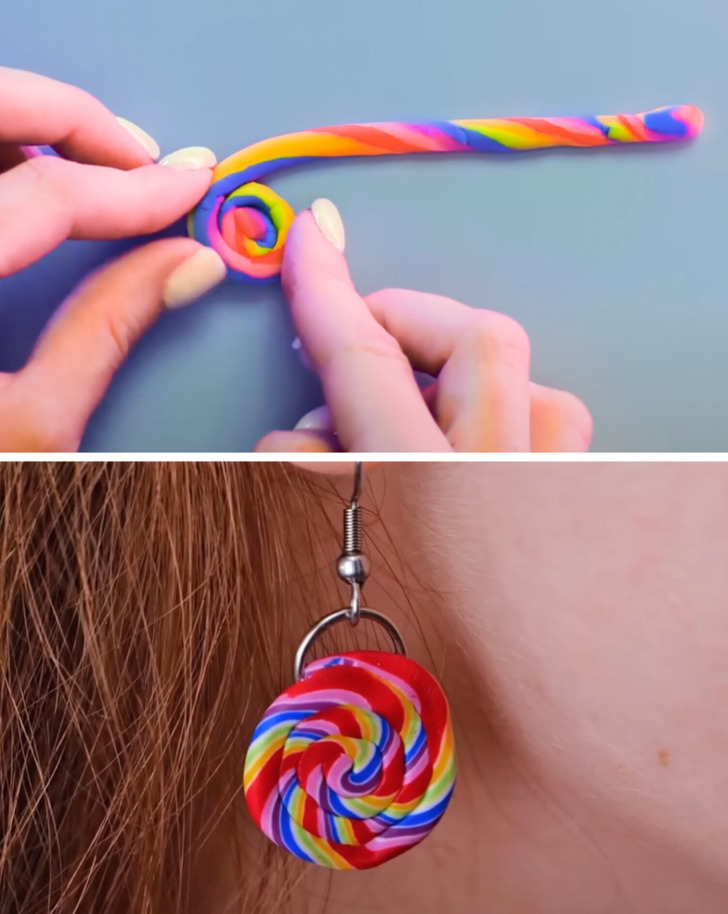
- Preheat your oven to the temperature specified on the polymer clay packaging (usually between 230°F to 275°F or 110°C to 135°C).
- Place your clay creation on a ceramic tile or a piece of parchment paper on a baking tray.
Step 5: Baking the Clay
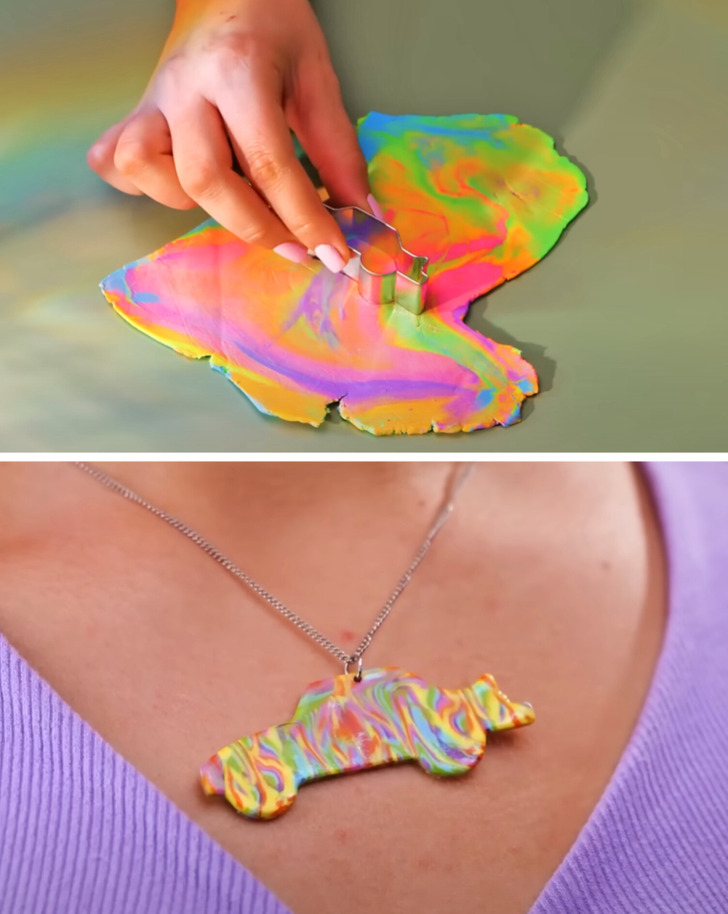
- Bake your clay in the oven for the time indicated on the package, typically 15–30 minutes per 1/4 inch (6 mm) of thickness. Do not over bake, as it may cause the clay to darken.
- Ventilate your workspace during baking to avoid inhaling fumes.
- Allow the clay to cool completely before handling.
Step 4 (second option): Air Dry
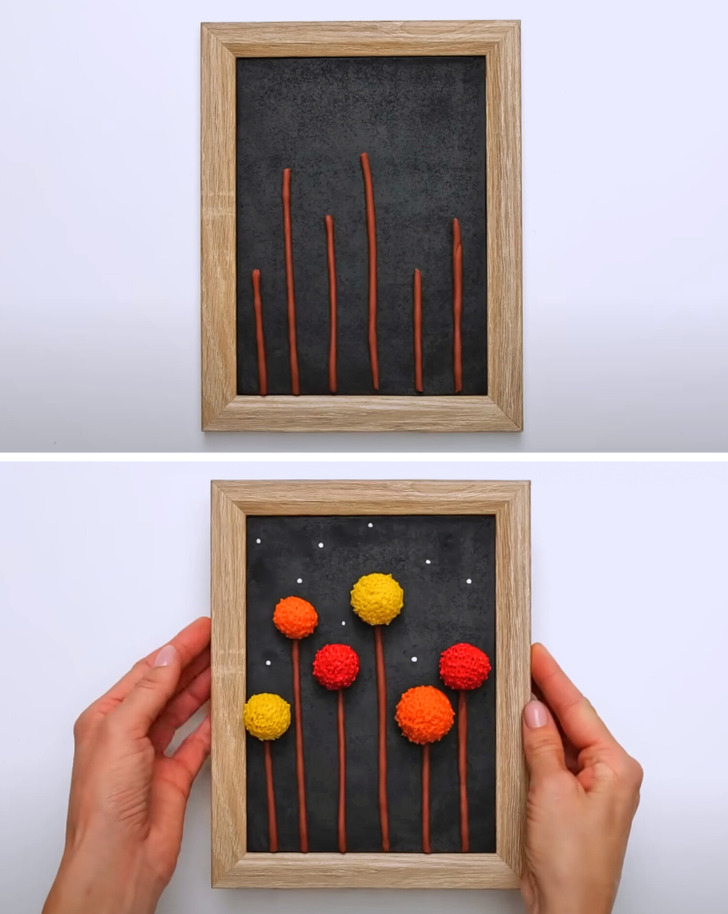
- Cover your work surface with wax paper or parchment paper to prevent the clay from sticking.
- Place your clay creation on the prepared surface in a cool, dry, and dust-free area.
- Allow it to air dry naturally for an extended period. The drying time will vary depending on the thickness and size of your creation, as well as the humidity in your environment.
- To speed up the drying process, you can use a small fan set to low and position it so that it gently circulates air over your clay creation. This can help reduce the risk of cracking during the drying process.
Step 5: Check for Dryness
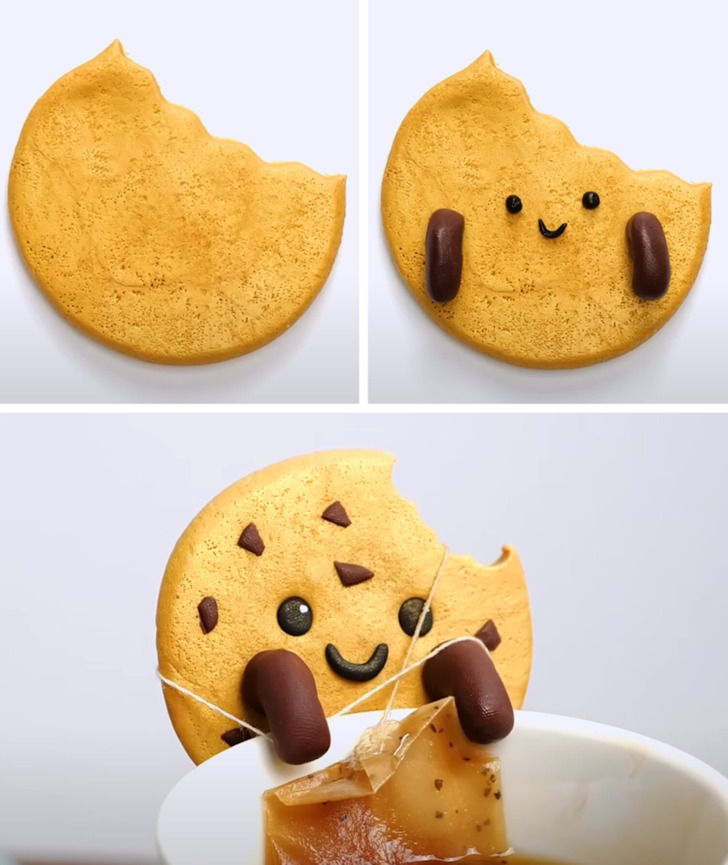
- Periodically check your clay creation for dryness by gently touching it. The clay should feel firm and hard when fully dried.
- Depending on the thickness of your creation, it may take several days or even weeks to completely air dry. Thicker pieces will take longer.
Step 6: Finishing Touches
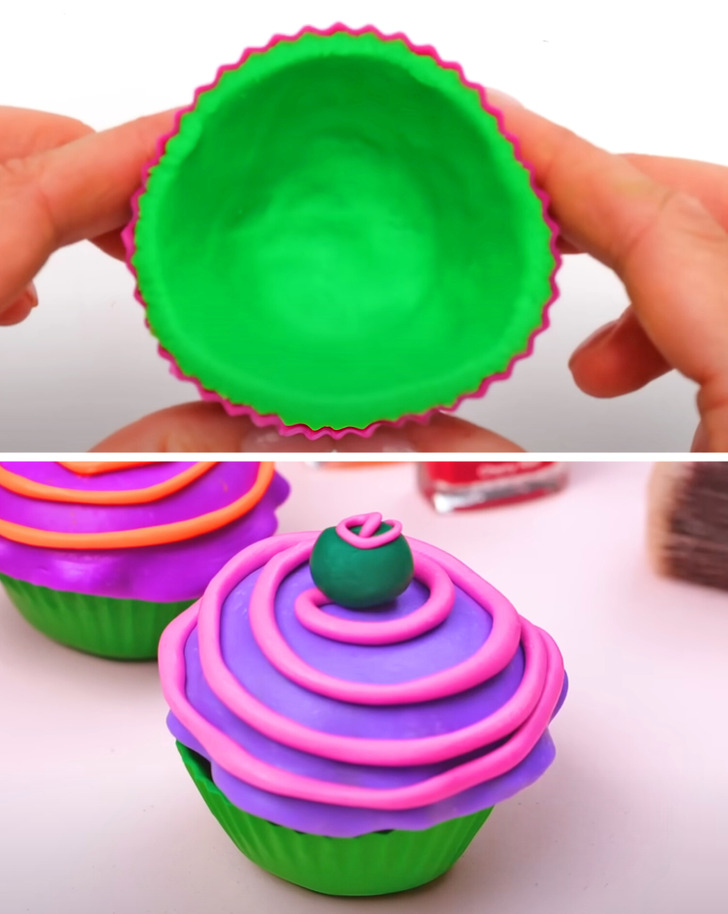
- Once your clay creation has cooled, you can sand it to smooth any rough edges or imperfections.
- Apply varnish or glaze to give your project a polished finish. Follow the product’s instructions for application and drying times.
- Add any additional embellishments like beads, wire, or paint as desired.
Step 7: Enjoy Your Finished Piece
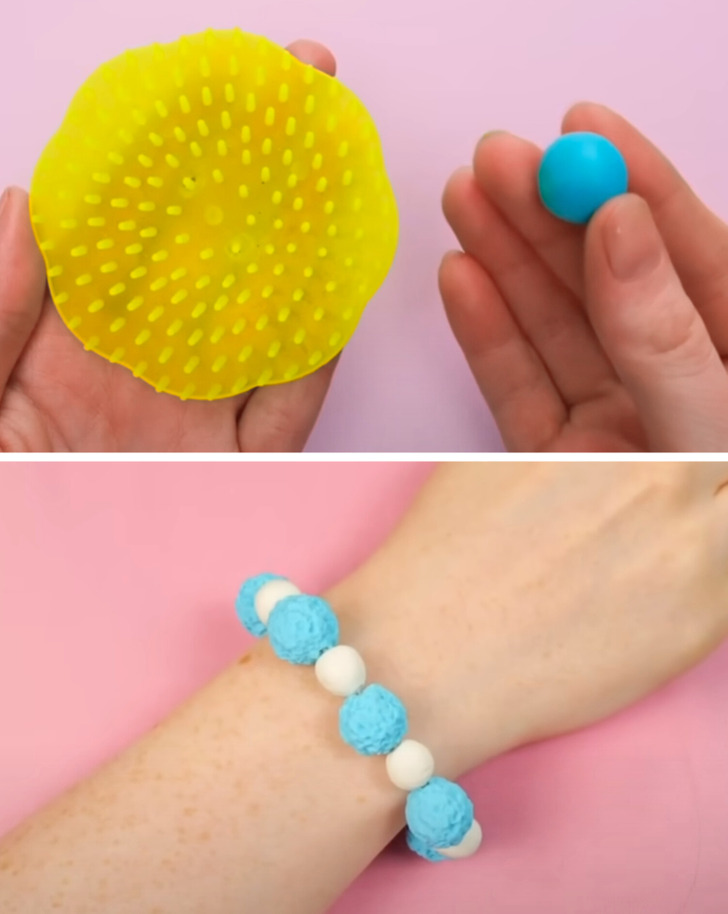
- Your polymer clay creation is now complete and ready to be used, displayed, or given as a gift.
- Polymer clay allows for endless creative possibilities, so continue exploring and experimenting to develop your skills and make unique, personalized items.