How to Carve a Pumpkin for Halloween

Carving a pumpkin for Halloween isn’t just about taking the pumpkin out and cutting out a scary set of eyes and mouth. It’s more about the basics, done correctly so that the process becomes easy and clutter-free. So, 5-Minute Crafts is super excited to help you carve a cute jack-o-lantern with the steps listed below.
The process
Things you’ll need:
- A carving pumpkin
- Butcher paper or newspaper
- Marker
- Pumpkin carving kit or vegetable knife and soup ladle
- 2 bowls
- Kitchen towel
- Tea light candles or solar lights
- Matches or lighter with an extended nozzle
1. Pick a good pumpkin.
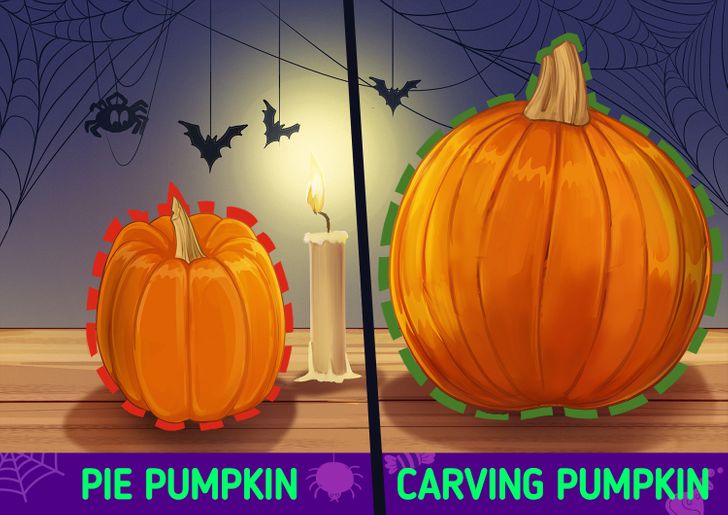
Before choosing a pumpkin, you need to understand the difference between Pie pumpkins and carving pumpkins. The former are meant for baking and they are smaller and rounder. The latter are thinner and easier to pierce into. They also have fewer guts on the inside, making them easy to clean.
When selecting a pumpkin, make sure it’s sturdy, has no bad spots, and sits flat.
2. Find an ideal workspace.
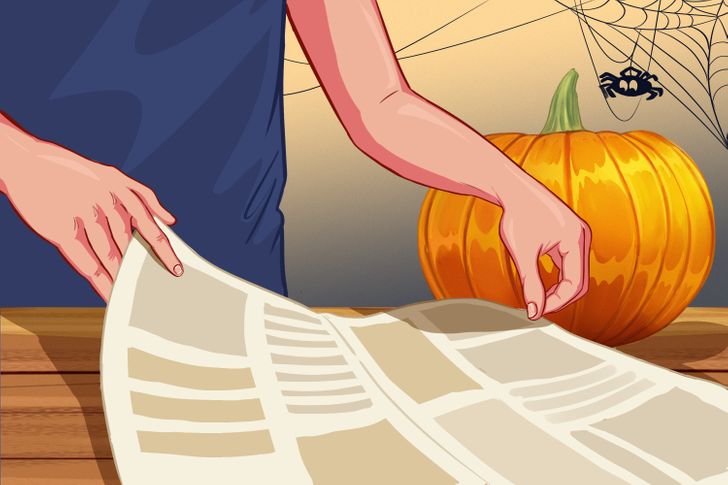
Working outdoors where it’s okay for you to get messy is ideal. Find a sturdy table or somewhere comfortable on the ground and line your workspace with butcher paper, newspaper, or anything you can dispose of later. Lay down multiple layers of this paper and you’re all set.
3. Gather the right tools.
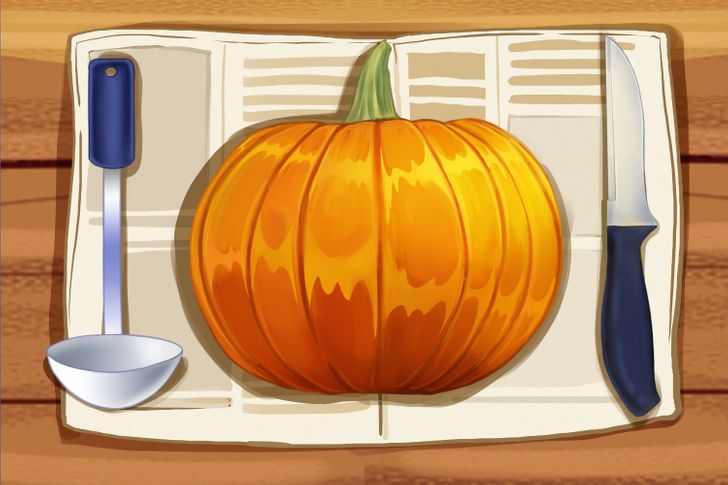
All you need to carve a pumpkin are 2 tools from your kitchen: a vegetable knife and a soup ladle. There are also readymade pumpkin carving tools available at local drugstores, supermarkets, and Halloween pop-up shops.
4. Draw before you carve the pumpkin.
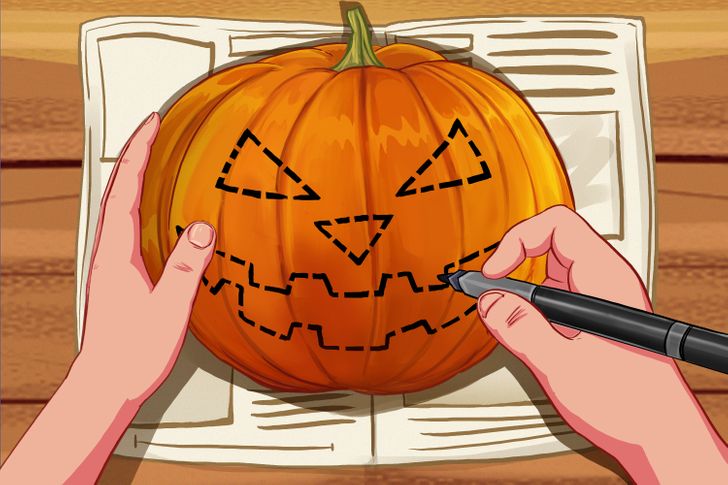
Get a pen or a marker to sketch out the Jack-O-Lantern’s eyes, nose, and toothy grin. Also, get a couple of big bowls before you carve. One bowl is for the seeds and the other is for the gooey and the throwaway parts of the pumpkin.
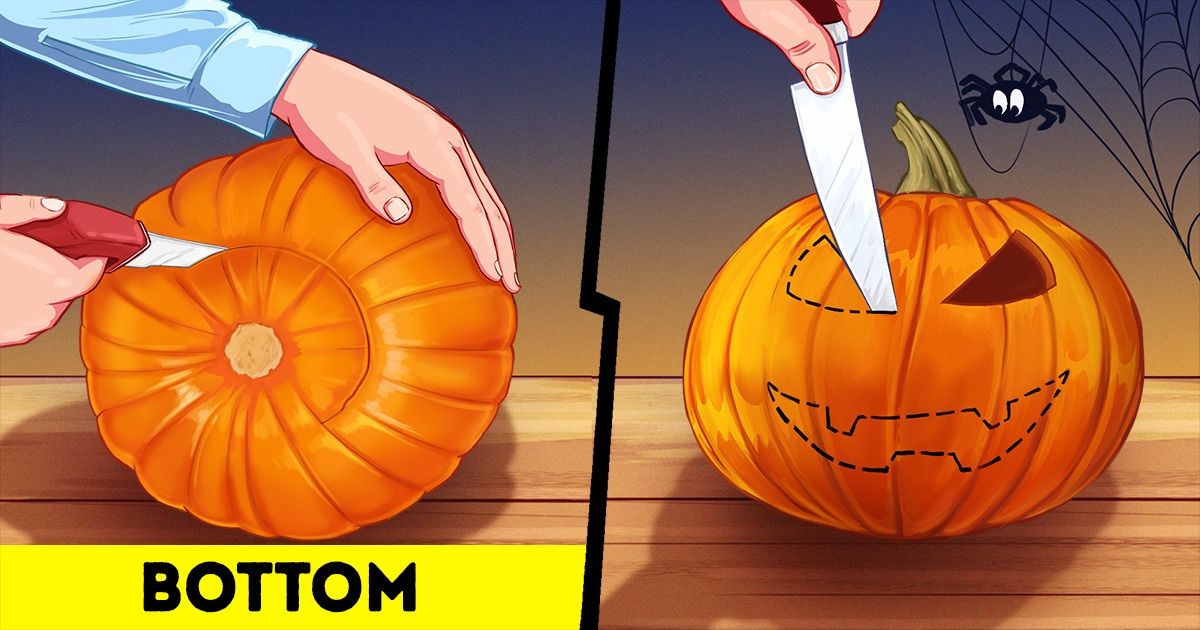
5. Cut out the pumpkin from the bottom.
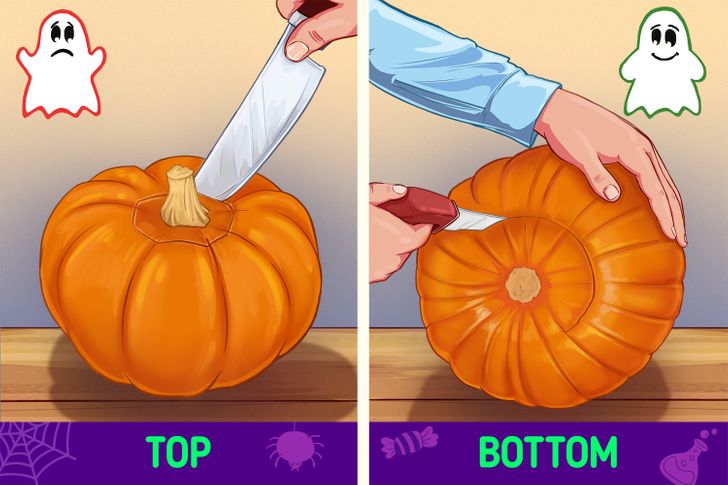
Usually, people cut out the lid from the top of the pumpkin, but cutting a hole on the bottom lets the moisture inside escape rather than accumulate at the base. When it pools at the bottom, it causes the pumpkin to rot. Plus, you can keep this carved pumpkin on top of a candle or a solar light as well for easier lighting.
6. Scoop out the pumpkin seeds and guts.
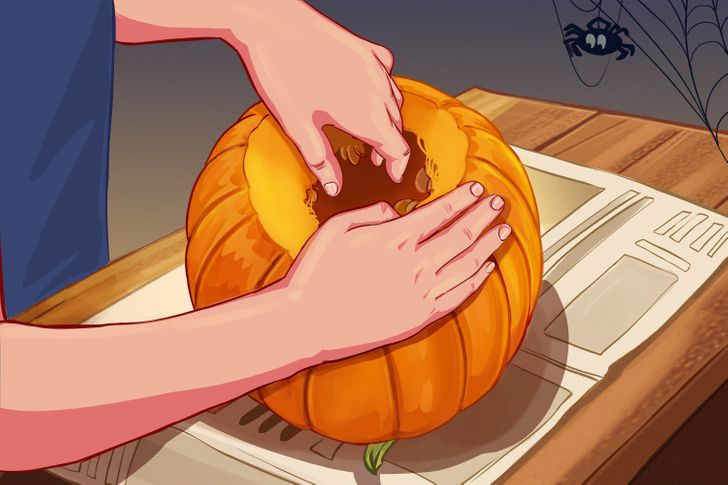
You’ll find the seeds attached by thin strings inside the pumpkin. Remove and keep them in a bowl to clean them later.
With the help of a ladle, clean out the pumpkin insides until no stringy parts remain. Discard them in a separate bowl.
7. Wipe the pumpkin clean.
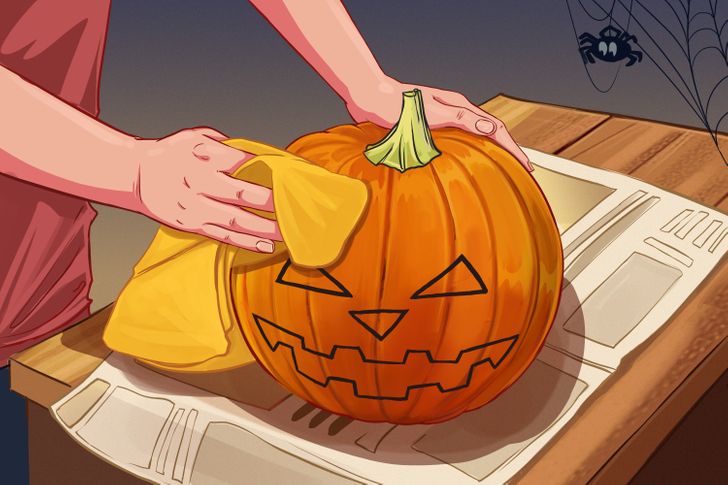
With the help of a kitchen towel, clean the outer part of the pumpkin to make it easier for you to carve. Spray some peppermint dish soap inside the cut pumpkin to slow the decaying process and then refrigerate it overnight.
8. Carve out the design.
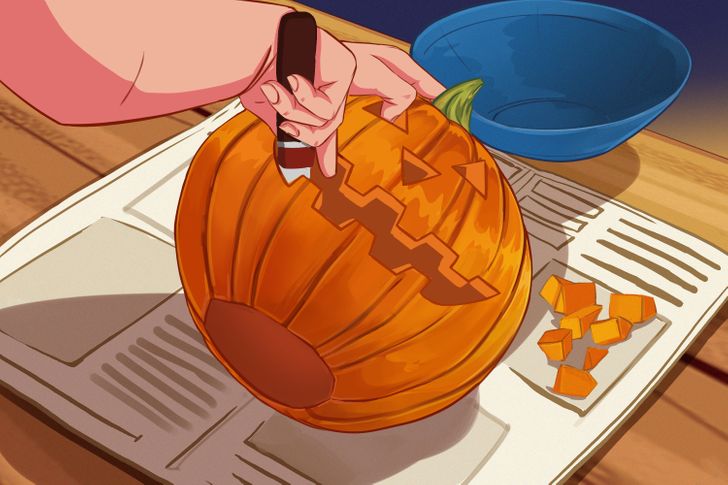
Now it’s time to cut out the design along the lines you made on the pumpkin and discard the unnecessary pieces in the pumpkin guts bowl. After you’re done cutting, clean up the details with the help of the wire tool in your carving kit. If you don’t have a wire tool, you can also scrape off the lines — they won’t be visible in the dark.
9. Light up your pumpkin.
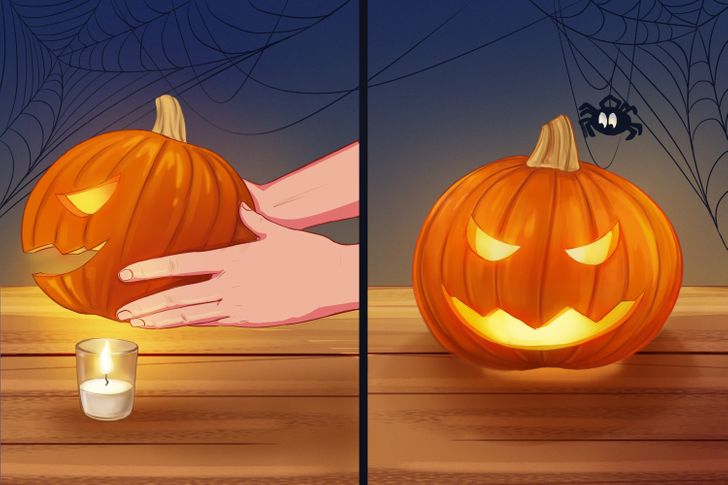
Place your pumpkin on the top of a candle or solar light.
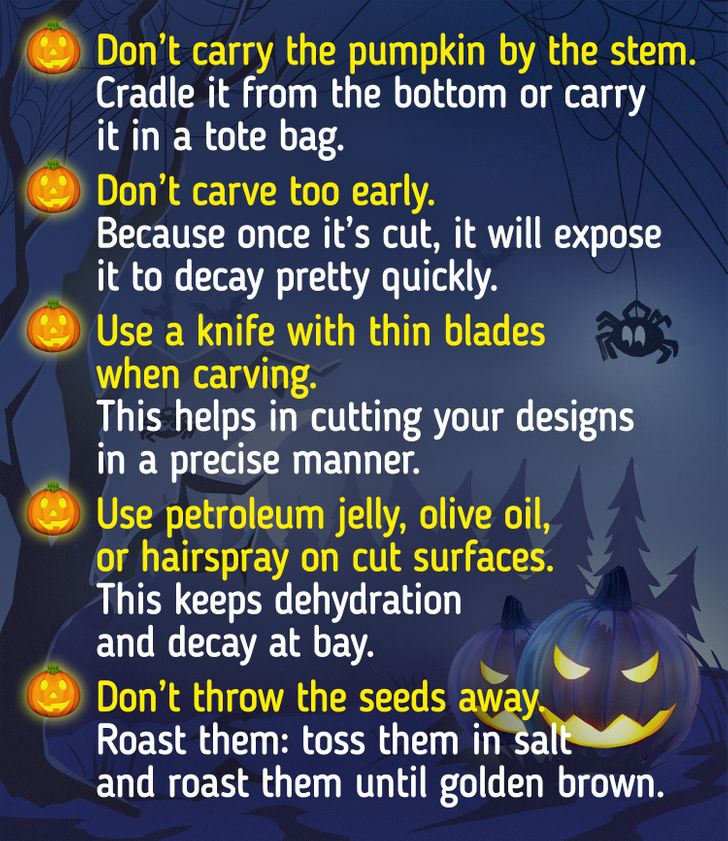
Bonus: Do’s and Don’ts
